
Would you like to create a Copper CRM email signup form for your WordPress site?
Copper CRM lets teams manage contacts, deals, and projects directly from Gmail and Calendar. It automates data entry, logs communications, and offers visual pipelines to track sales and onboarding. It helps businesses focus on relationships instead of administrative work.
In this tutorial, we will learn how to connect WordPress with Copper CRM so you can create optin forms to collect and save leads and information to your account using our powerful Copper integration plugin.
Creating Copper CRM Optin Forms in WordPress
To create a Copper CRM lead capture or email signup form for your WordPress website, follow the steps below.
Step 1: Install and Activate MailOptin Plugin
To get started, purchase a MailOptin plan and download the plugin.
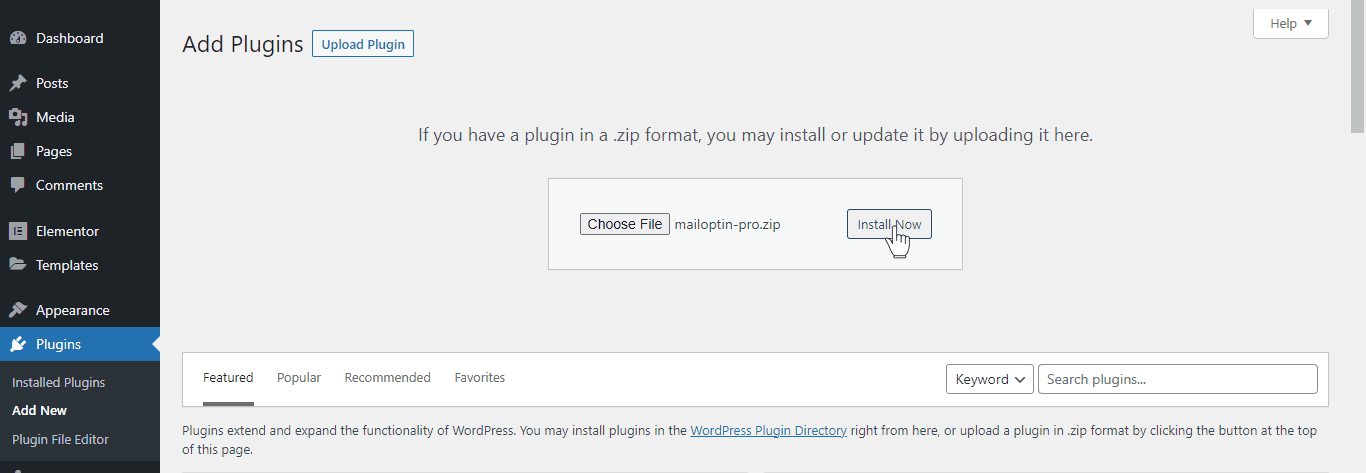
Then, upload and install the plugin into your WordPress website.
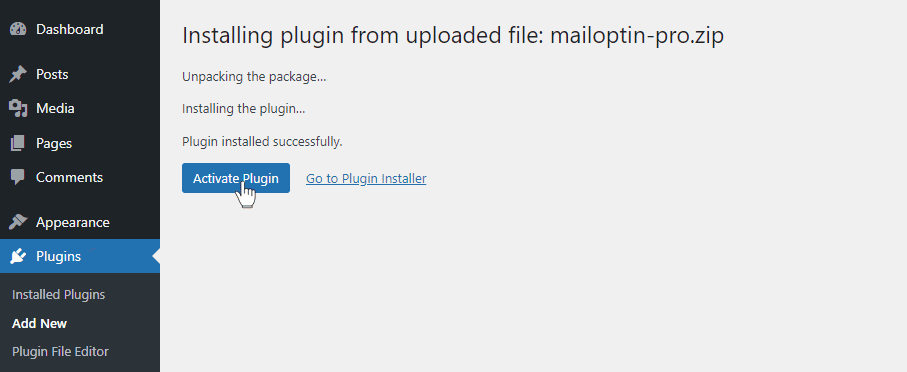
Once installed, click “Activate” to activate the plugin.
Step 2: Connect MailOptin to Copper CRM
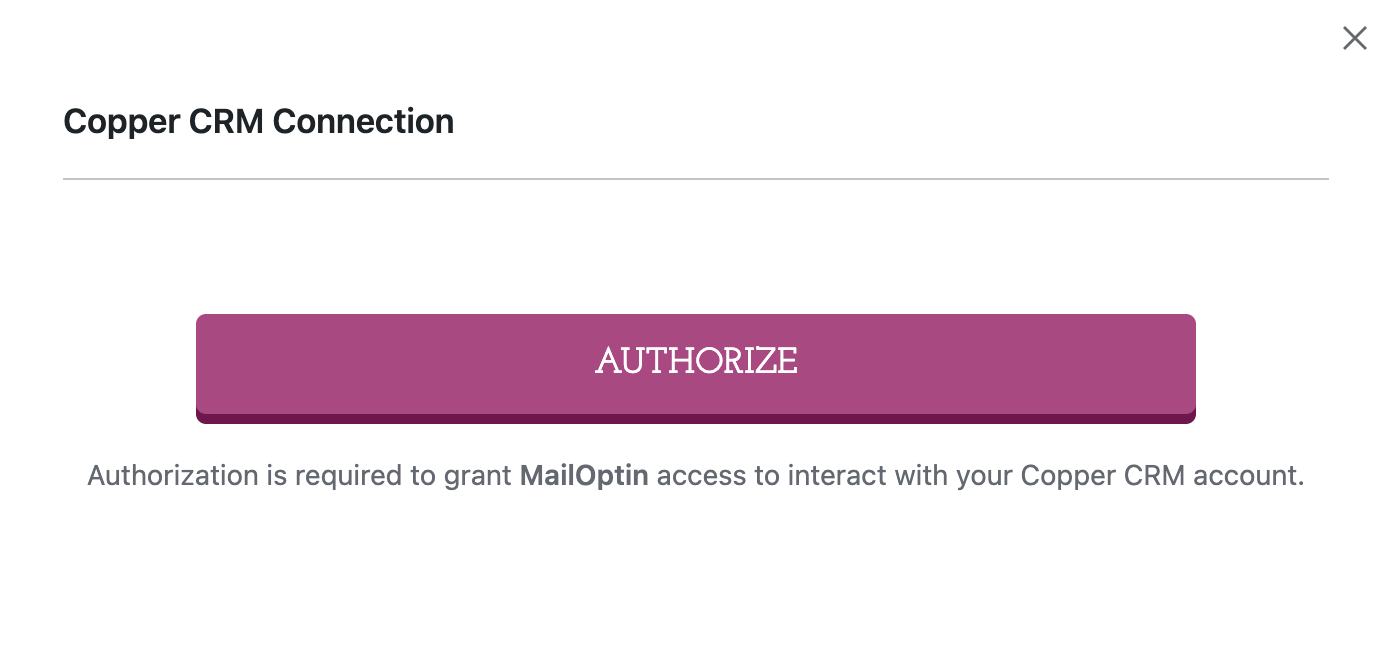
Now, MailOptin is ready to use on your WordPress site. The next step is to connect MailOptin with your Copper account.
Step 3: Create a Copper CRM WordPress Form
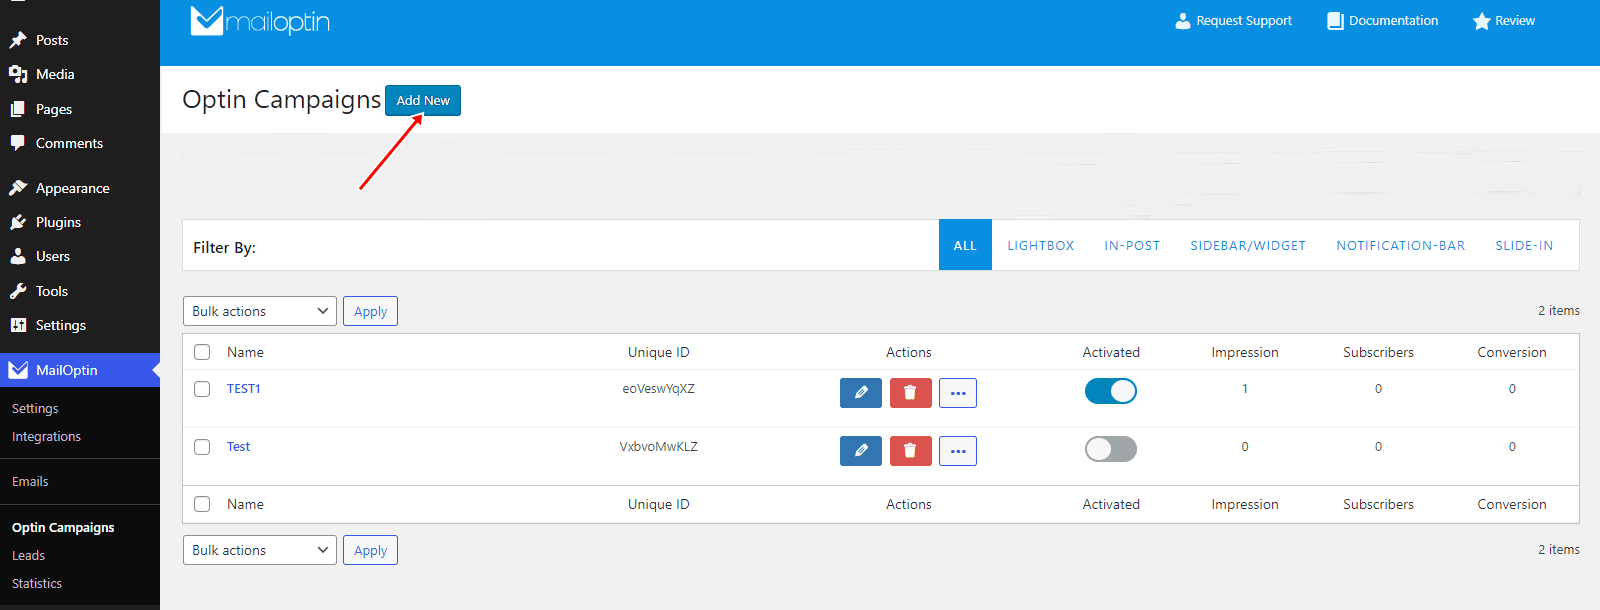
To create a Copper CRM optin form for your WordPress website that will capture leads and save them to your Copper CRM account, navigate to MailOptin > Optin Campaigns > Add New.
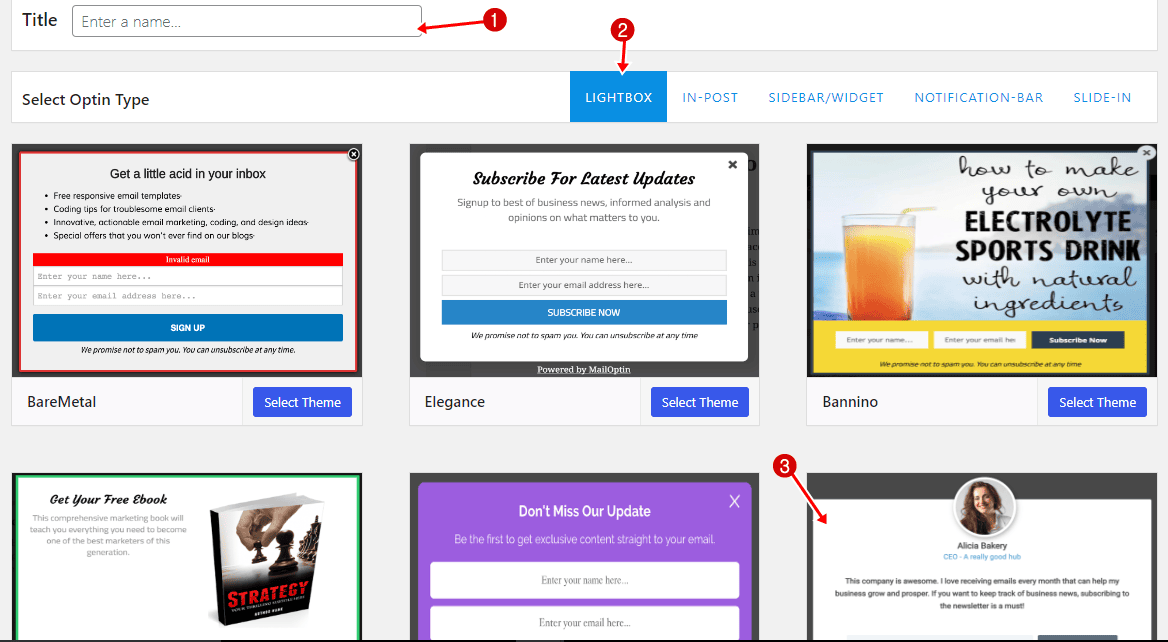
Enter a title for the optin campaign, select the optin type (for this tutorial, we’ll choose Lightbox), and click the optin form design you want.
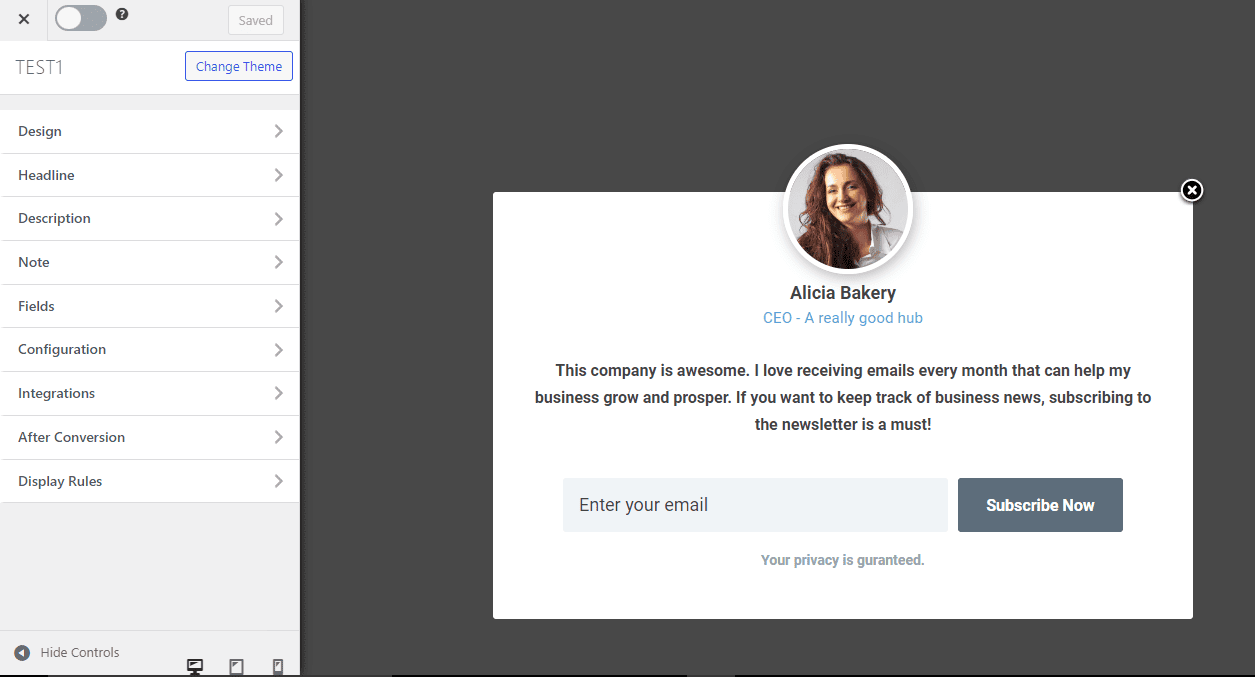
You will then be redirected to the form builder, which has options and the flexibility to customize the Copper CRM optin form to your heart’s content.
See: Adding Extra Fields to Your Optin Form
After customizing the form, open the Integration panel, select Copper CRM as the integration, and choose the record type (either People or Leads).
Note that Leads are turned off by default on new accounts, you may enable leads by navigating to Profile (Upper Left) > Workspace Settings > Customize > Lead Statuses > Enable Leads.
You can specify tags to assign to the form capture leads and map custom fields.

To display the Copper email signup form on your site, toggle the activate switch ON at the top (near the “Save Changes” button).
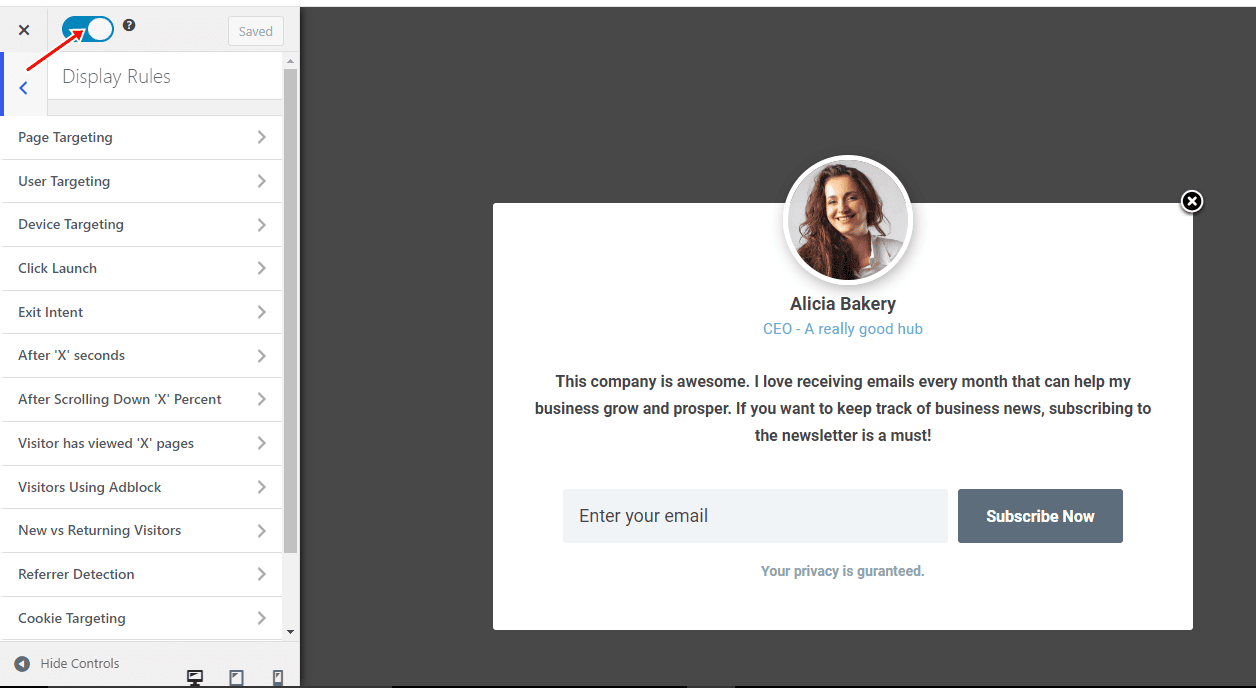
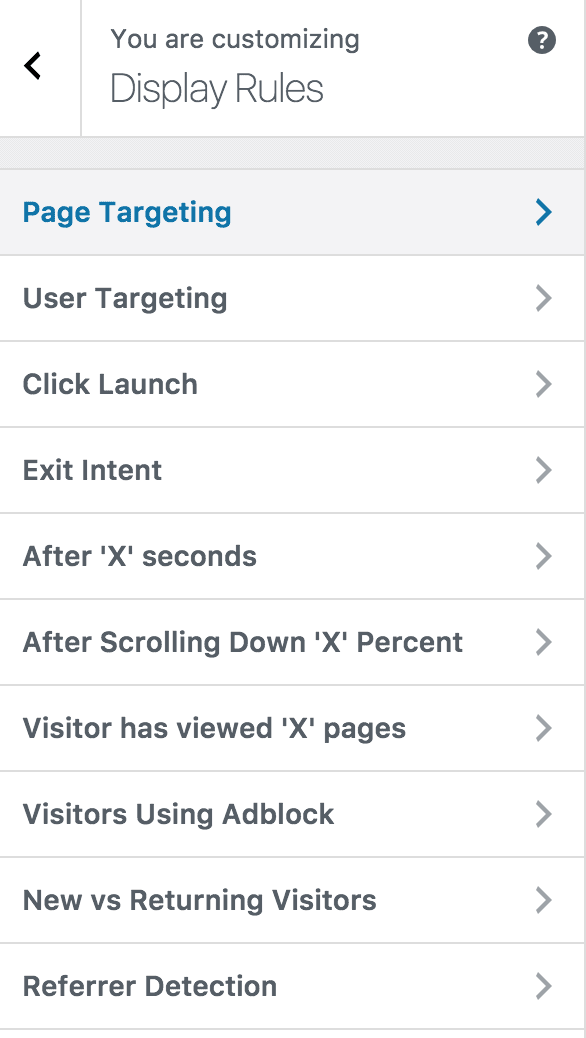
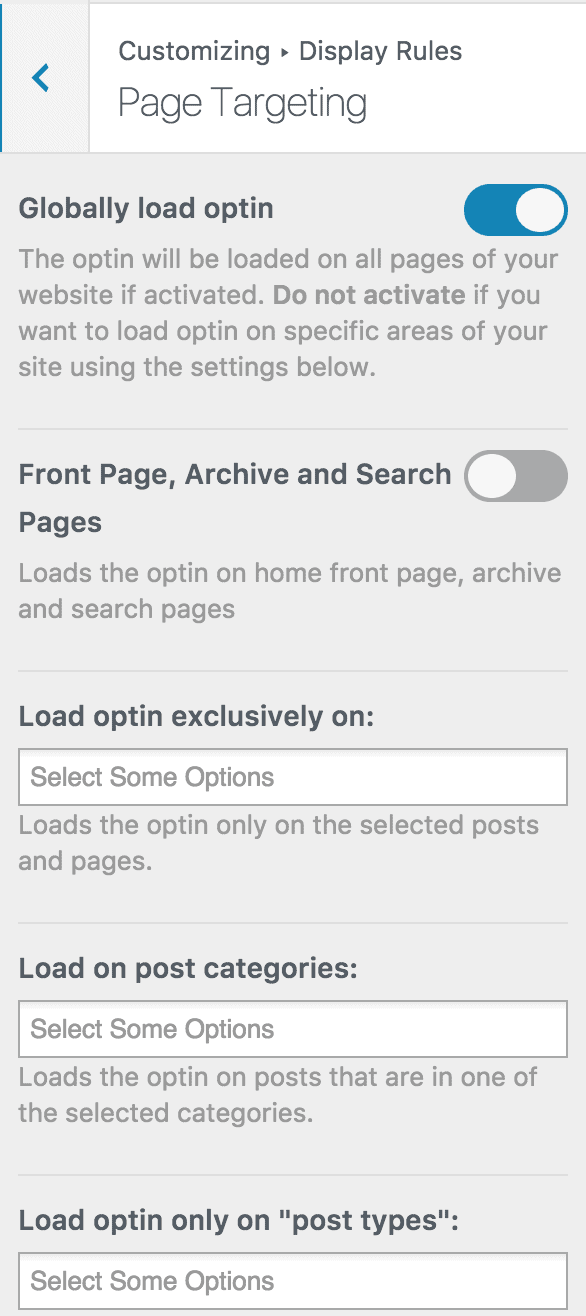
Navigate to the “Display Rules” panel. If you want the opt-in form displayed everywhere on your WordPress site (on all pages), check “Globally load optin.” Otherwise, use page-level targeting and triggers to determine where and how the opt-in will be shown on your site.
Finally, save the changes.
Preview your WordPress website, and you should see the Copper CRM optin displayed. If it doesn’t show up, clear your browser cache and website cache.
You can follow the guide below to learn how to create other popular email opt-in forms. And remember to select Copper CRM as the integration.
- How to Create a Notification Bar (Bottom/Top Bar) Optin
- How to Create a Slide-in Optin Campaign
- How to Create Before and After Post Optin Forms
- How to Create Sidebar Widget Optin Forms
Integrating Copper CRM with your WordPress site through MailOptin provides a powerful way to capture leads and increase sales.
Businesses can boost lead generation and enhance their marketing strategies by creating Copper CRM signup forms for their WordPress websites.
With MailOptin’s flexibility and features, you can effectively engage your audience and drive conversions.
Start using Copper CRM and MailOptin today to elevate your outreach and marketing.