How to Create WordPress Notification Bars (Bottom/Top Bar)

Do you want to add a notification bar to your WordPress site?
Notification bars (also known as top bars, bottom bars, floating bars, or hello bars) are one of the most popular and effective methods for building an email list and converting subscribers without being intrusive.
In this guide, we will show you how to add a notification bar with an email signup form or opt-in form to your WordPress site using the MailOptin plugin.
Benefits of WordPress Notification Bars
Notification bars in WordPress, whether positioned at the top or bottom of a website, offer several advantages that can significantly enhance your online presence and marketing efforts. Here are some key benefits:
Improved Conversion Rates: By providing a clear and concise message, notification bars can effectively capture visitors’ attention and prompt them to take desired actions, such as signing up for a newsletter, taking advantage of a promotion, or downloading a resource.
User-Friendly: Notification bars are designed to be non-intrusive, offering a subtle yet effective way to communicate with your audience without disrupting their browsing experience. They provide important information without requiring users to navigate away from the current page.
Versatile Uses: Notification bars can be used for various purposes, including announcing sales or special offers, collecting email addresses, promoting new content, providing important updates, and more. Their versatility makes them a valuable tool for any website.
Easy to Implement and Customize: Most plugins and tools for creating notification bars, such as MailOptin, offer user-friendly interfaces that make it easy to design, implement, and customize bars to match your website’s branding and specific needs.
Creating WordPress Notification Bars Using MailOptin
MailOptin is a powerful lead generation and email automation plugin for WordPress that offers various features, including the ability to create attractive notification bars. It’s easy to use and provides a range of customization options to match your site’s design.
In this section, we will walk you through the process of setting up notification bars using MailOptin.
Step 1: Install and Activate MailOptin
To start, buy a MailOptin license and install the plugin on your WordPress website.
After buying, log in to your WordPress admin dashboard. Go to the Plugins page and click the Add New button to upload the plugin.
Then, click Choose File to select the downloaded plugin zip file. Click Install Now.

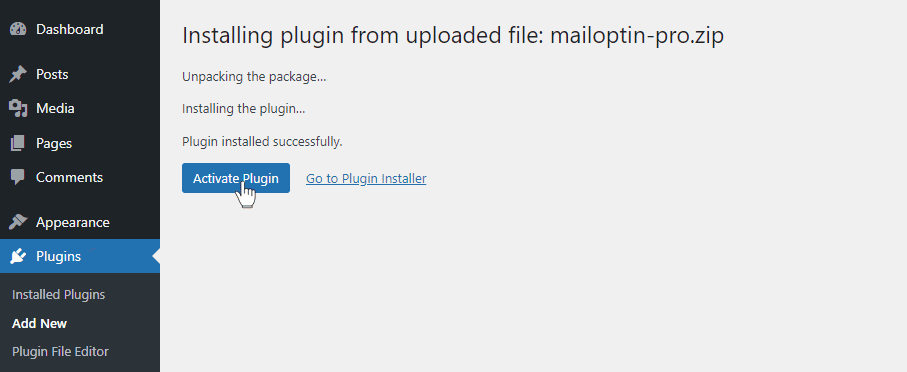
After installing the plugin, activate it by clicking ‘Activate Plugin’.
Step 2: Integrate with Email Marketing Services
MailOptin integrates with all popular email marketing software and CRM software. See how to connect with your email marketing service provider. You can skip this step if you intend to use our MailOptin Leads feature to store your leads.
Step 3: Create a WordPress Notification Bar
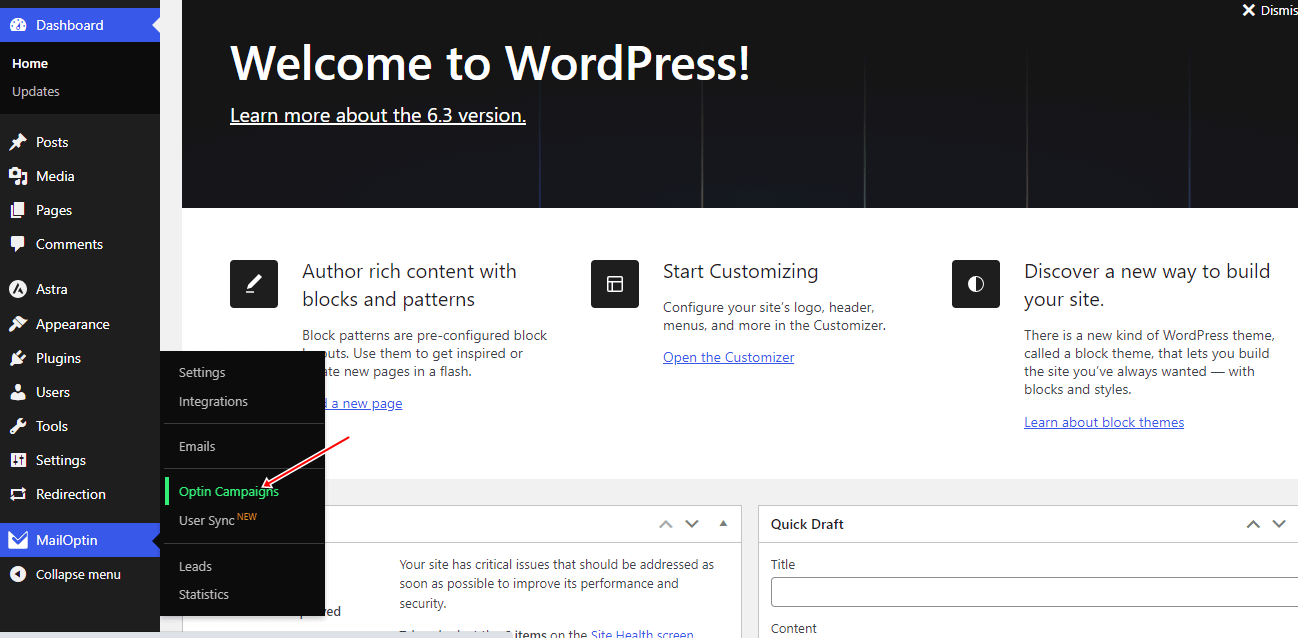
To create a WordPress notification bar; from your WordPress dashboard, navigate to MailOptin > Optin Campaigns.
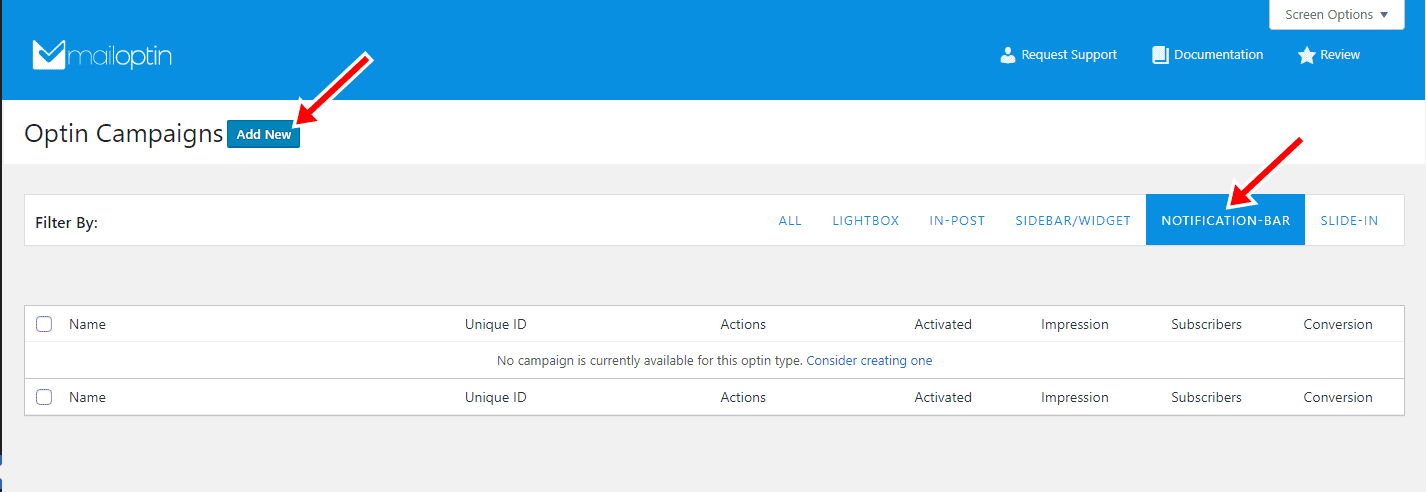
Then, click the notification bar tab. Next, click the ‘Add New’ button at the top of the page.
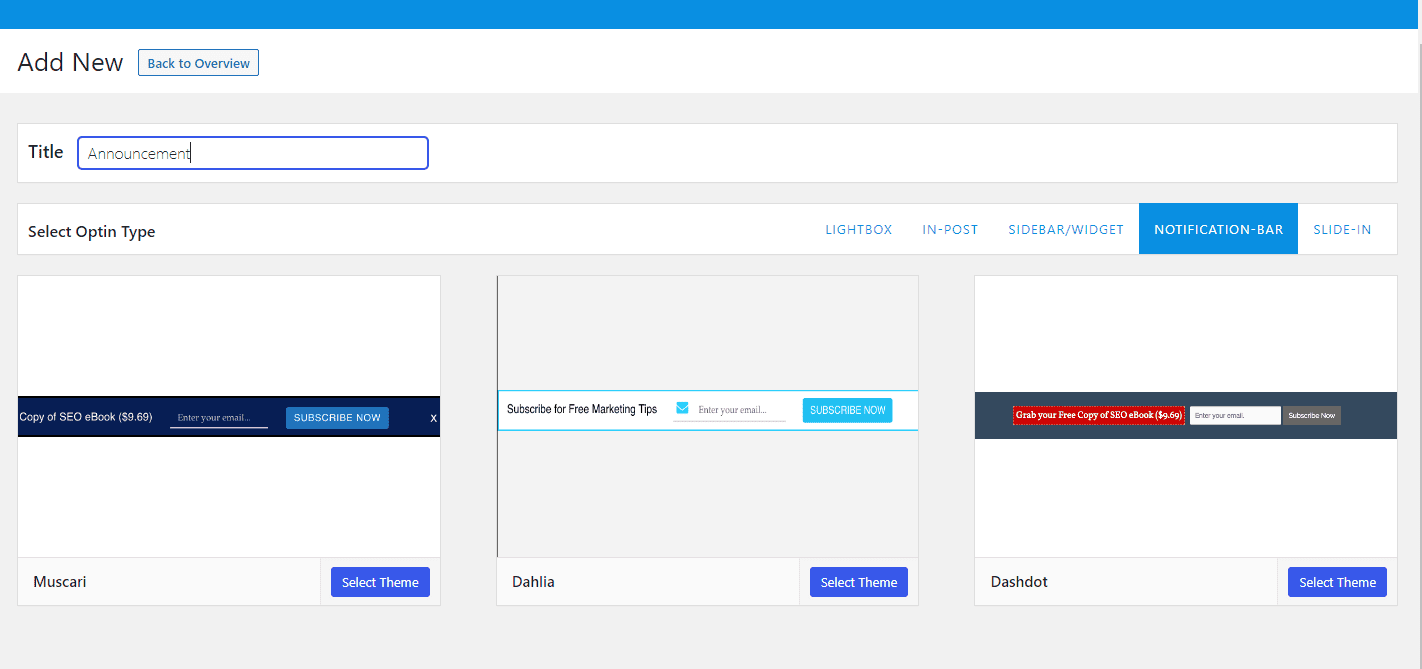
Next, you will see a field to name your notification bar. Choose any name you like. Then, select your preferred theme to redirect you to the form builder.
Step 4: Customize Your Notification Bar
Customize the opt-in form using our intuitive form builder. You can change colors, fonts, and sizes to match your site’s branding.
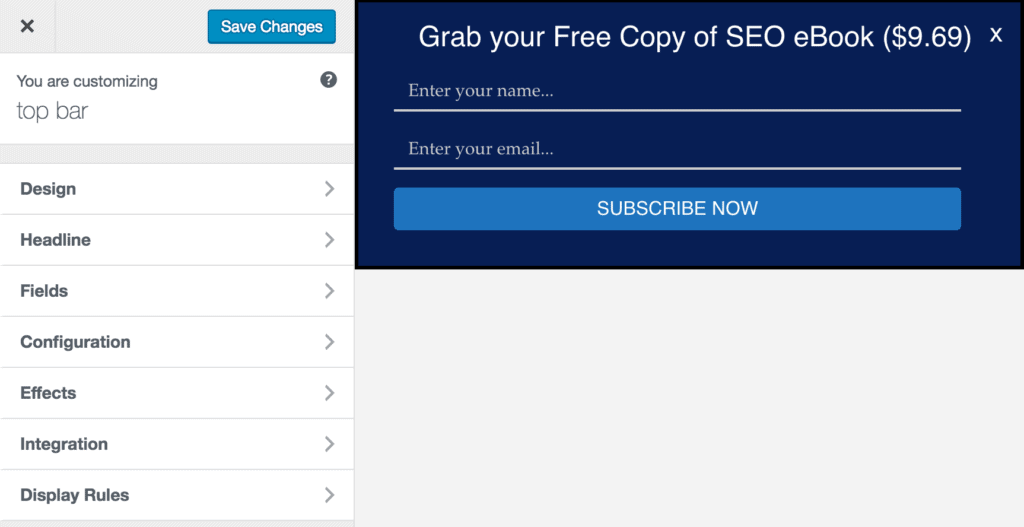
Next, go to the “Integration” panel, select your email service provider, and choose the email list where all captured leads/conversions will be saved. You can also decide to use MailOptin Leads for lead storage and be done with it.
Step 5: Set Up Targeting and Triggers
To get the optin to display on your site, navigate to the “Display Rules” panel, go to the “Quick Setup” section, and check “Activate 0ptin”.
If you want the optin to be displayed on every post and page of your site, also check “Globally load optin.” Otherwise, use page-level targeting to display it only on specific parts of your site.
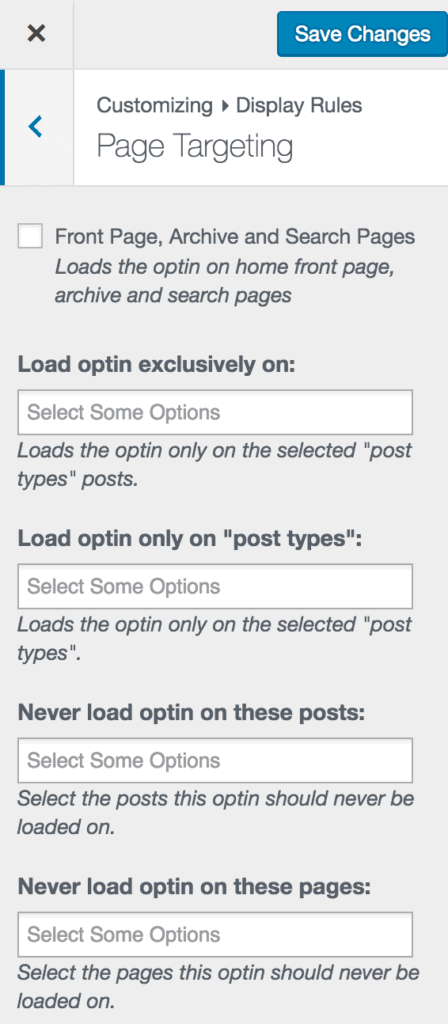
To display the optin form on posts, pages, or both, In the page level targeting panel under Load optin only on “post types”, select either or both.
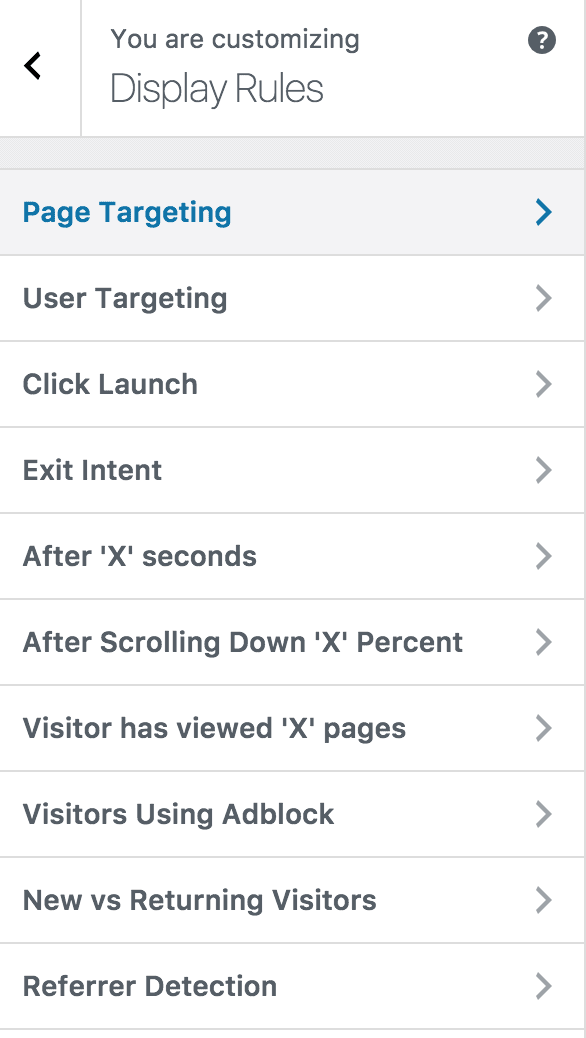
Use Triggers to cause the optin to display based on user activities and interactions on your site, such as exit intent, scroll trigger, time on site, and number of page views.
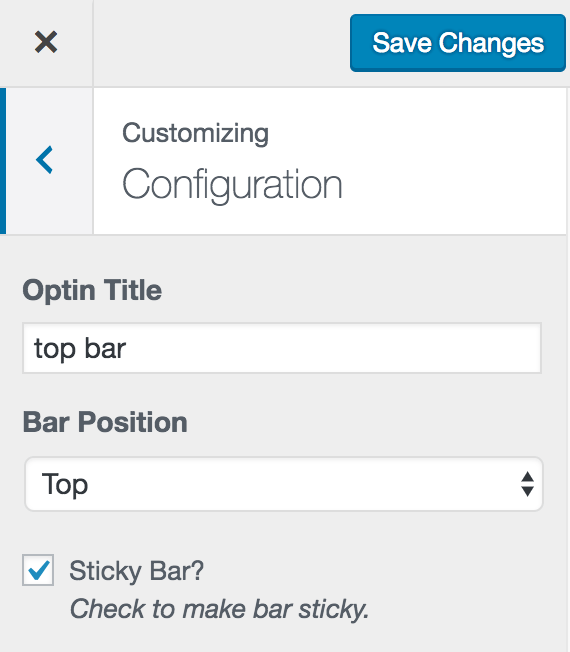
Use the “Configuration” panel to decide whether to display the notification bar at the top or bottom of the visitor’s screen. The sticky bar option allows you to make the top notification bar sticky. That is, it will stick to the top of visitors’ screens even when they scroll down your page.
Save the changes and preview your site. You should now see it displayed.
Start Creating WordPress Notification Bars Today!
Using MailOptin, creating effective notification bars for your WordPress site is straightforward and can significantly enhance your website’s engagement and conversion rates. By following the steps outlined in this guide, you can easily set up a WordPress notification bar that is display at the top and bottom of your website.
Get MailOptin WordPress plugin today.