How to Create a Custom WordPress User Registration Form

Do you want to create a custom WordPress registration form for your website?
The default WordPress registration form is functional but might not be ideal for your website’s needs. Creating a custom WordPress user registration form can be a powerful way to enhance the user experience on your website and collect specific information from your users.
In this tutorial, we will learn how to create a custom WordPress user registration form or user signup form allowing visitors to create accounts on your website. The form can be a lightbox or popup, slide-in or scroll-trigger box, notification bar, sidebar widget, etc.
Whether you want to collect specific user data, improve security, or enhance the visual appeal of your registration form, this guide will help you create a frontend WordPress registration form efficiently and effectively.
Creating a Custom User Registration Form
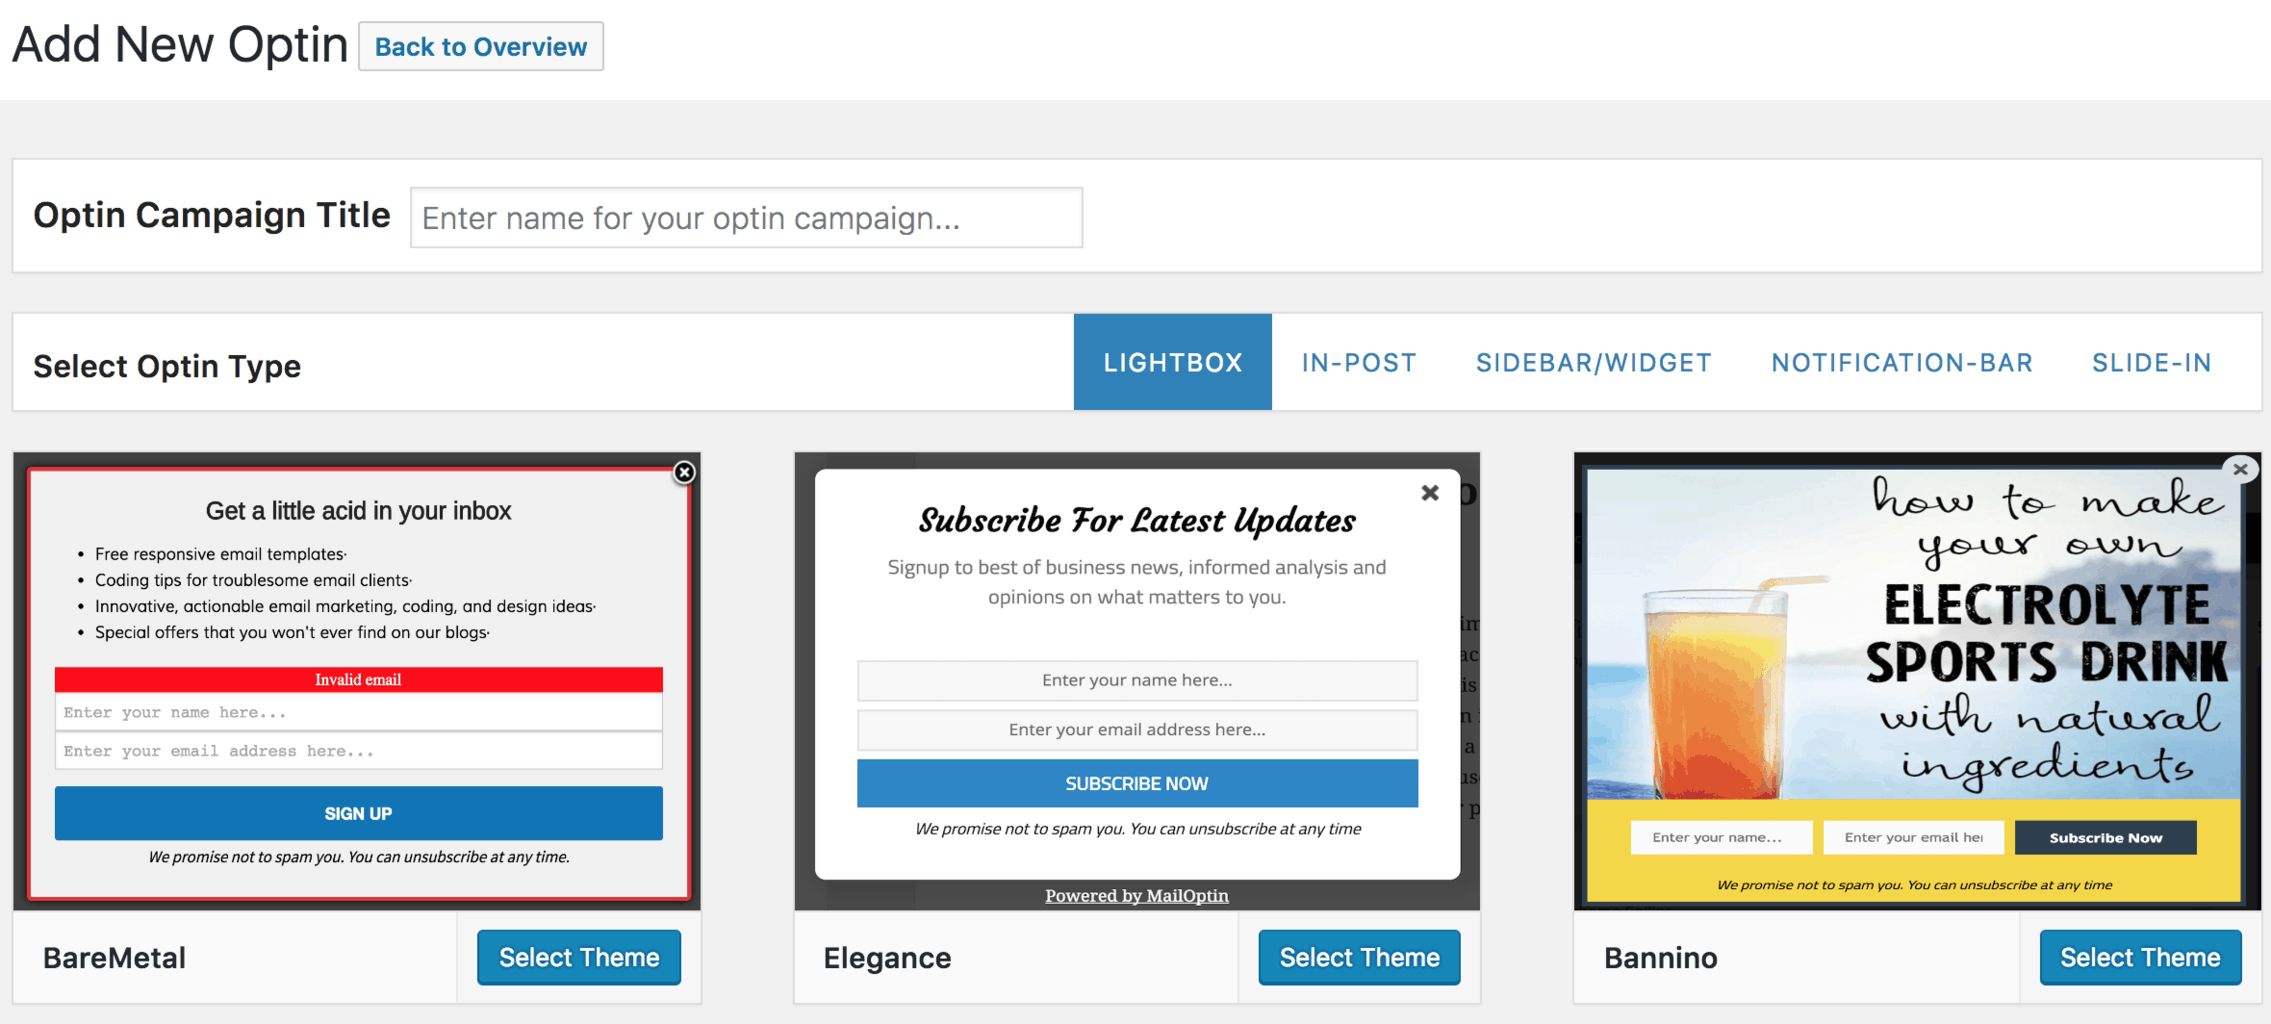
Go to the Optin Campaign page and click the Add New button at the top to create an optin form.
Enter a title and select a lightbox optin template or theme to use.
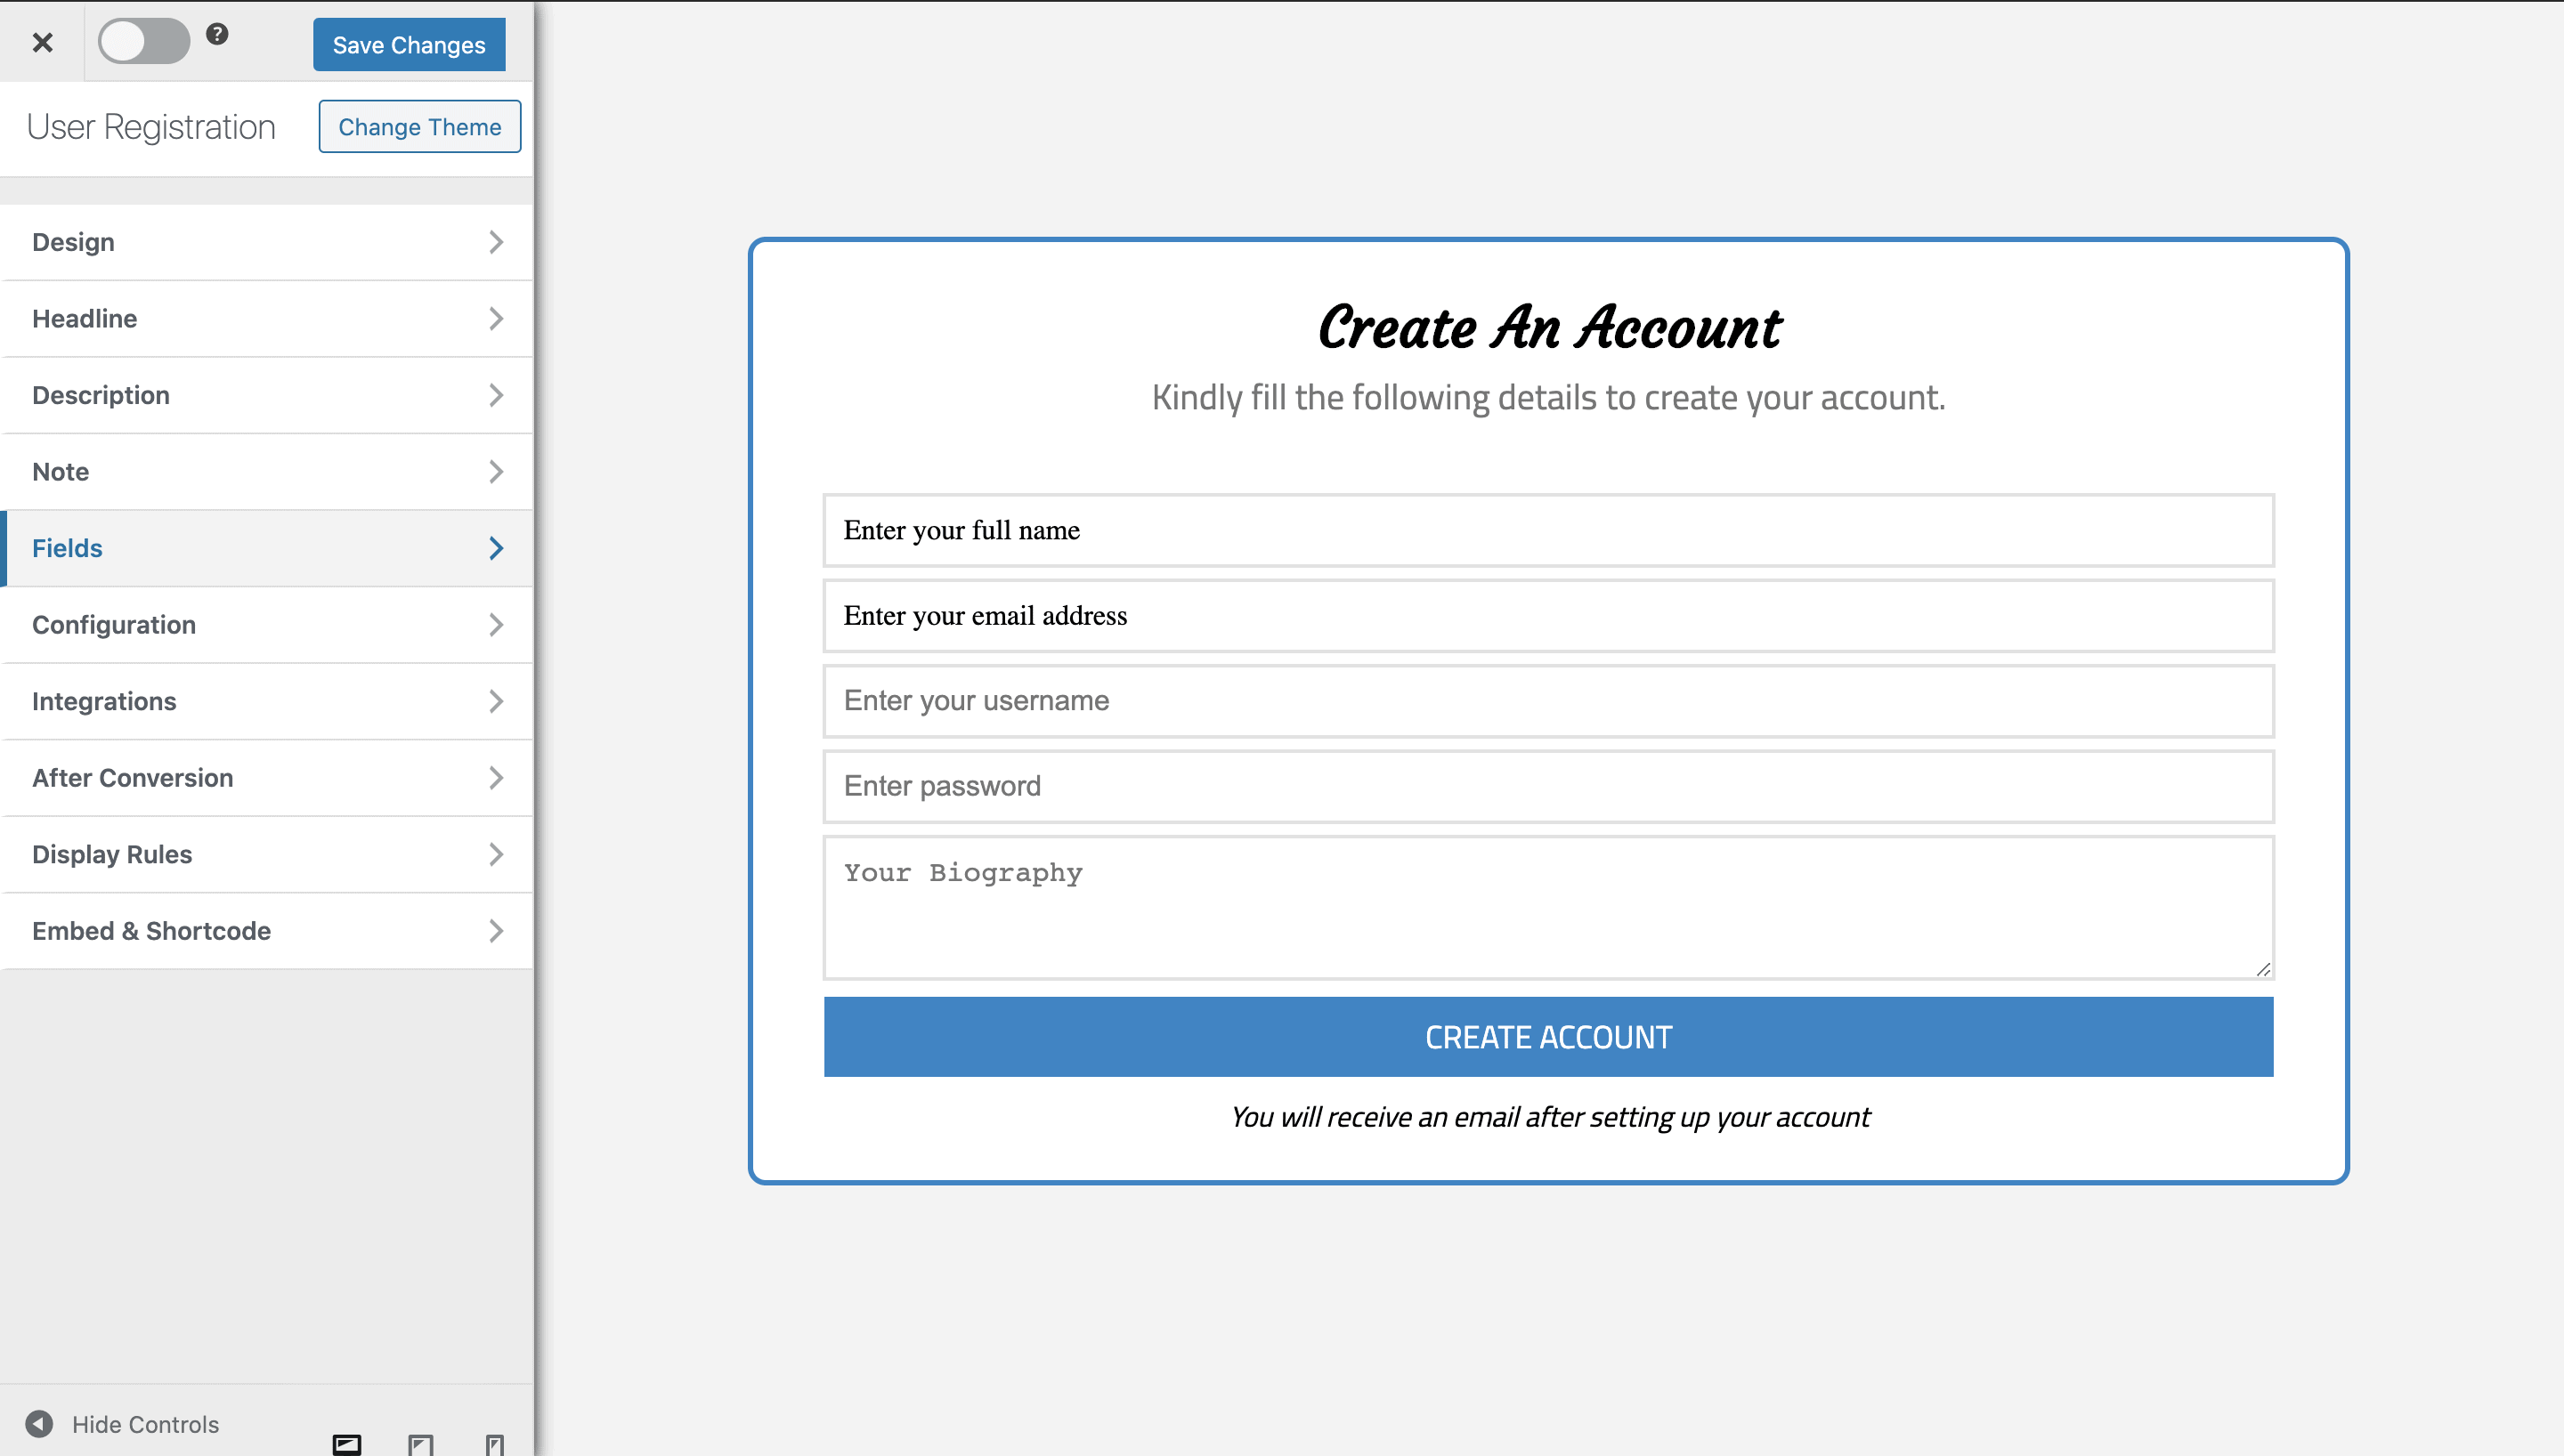
You will then be redirected to the form builder, which has options and the flexibility to customize the optin form to your heart’s content. You can change the headline, description, note, fields, and others to suit your needs. See the screenshot below as an example:
After customizing the form, open the Integration panel. Select WordPress User Registration as the integration and assign the user role. You can also enable Autologin, which automatically logs users into your site after registration.

Click the “Map Custom Fields” button to map any extra fields you added to the form to their corresponding user profile fields.
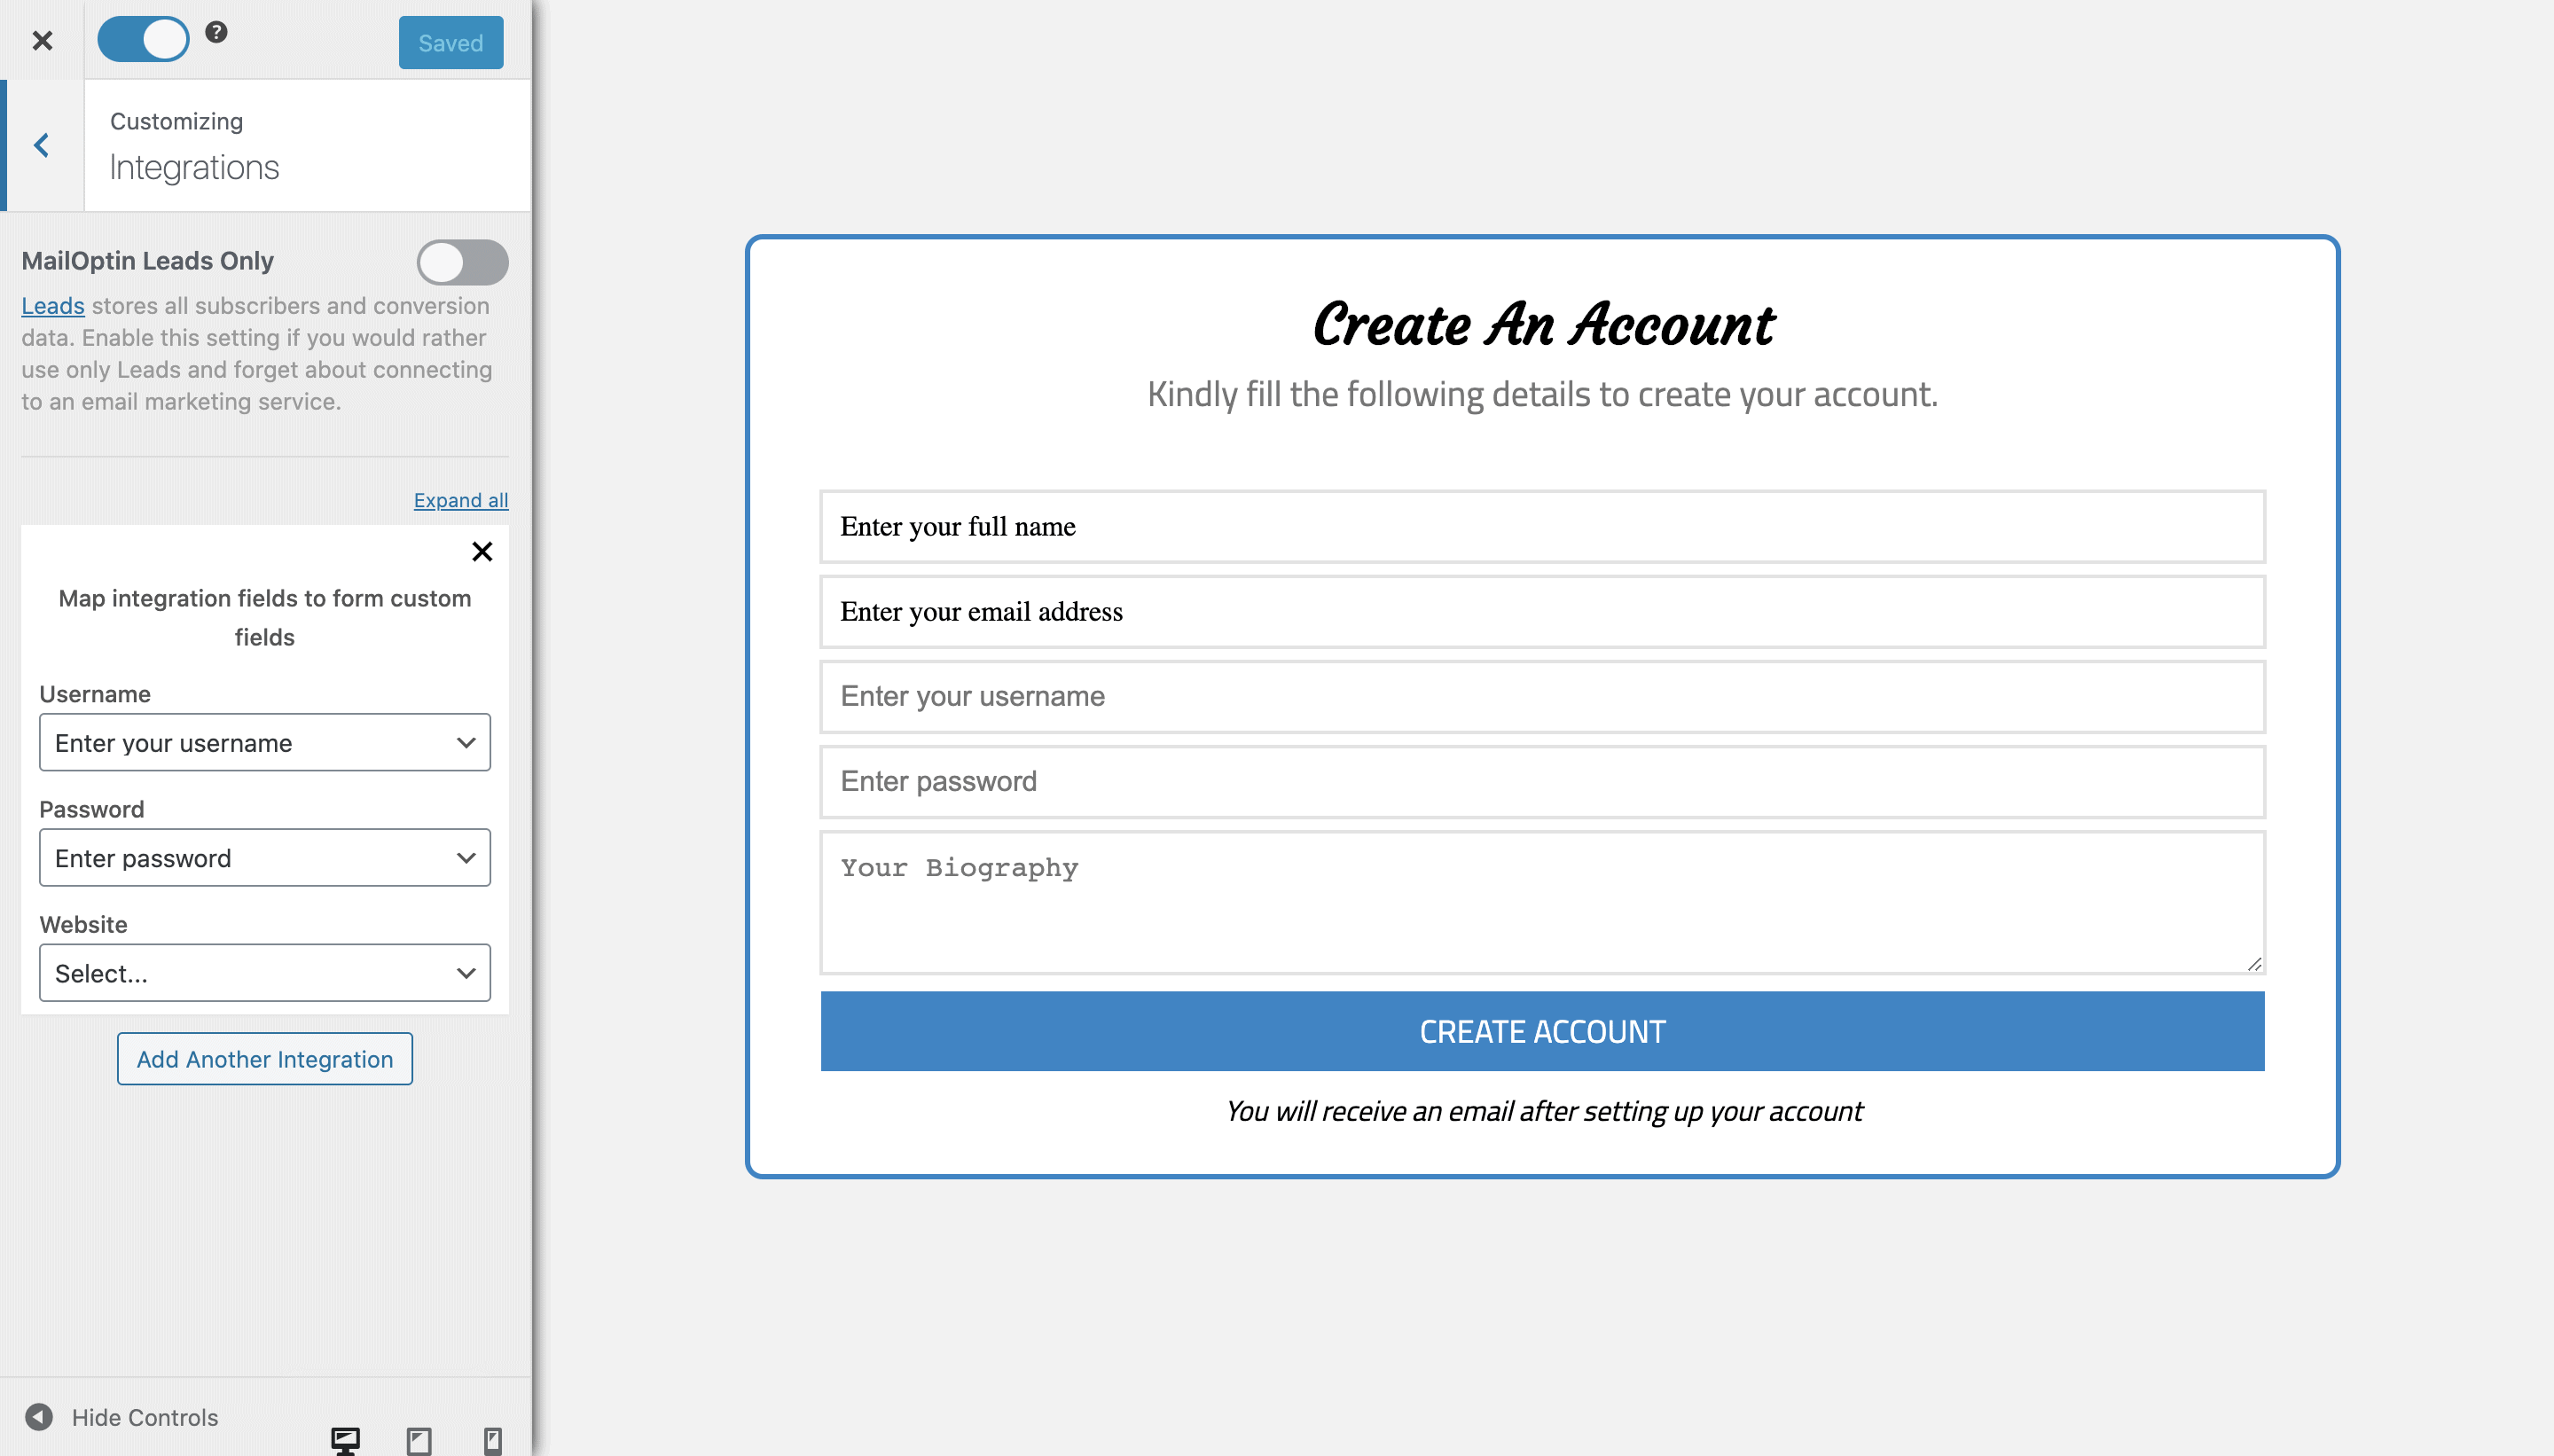
To get the user registration form to display on your WordPress site, toggle the activate switch ON at the top (close to the “Save Changes” button).
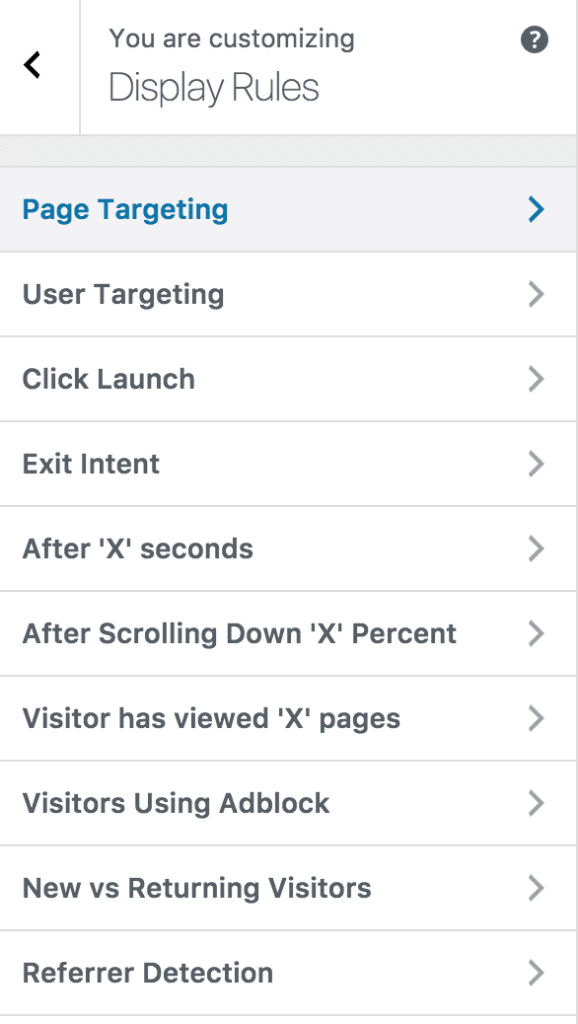
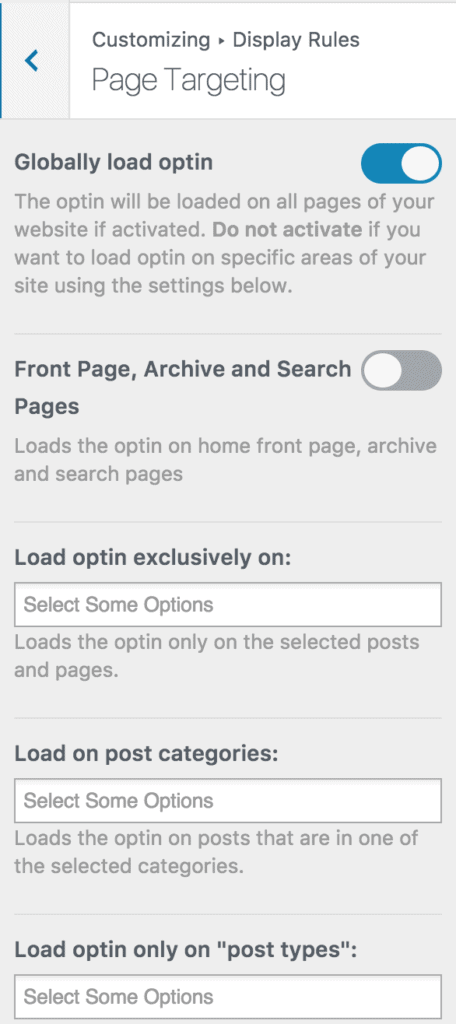
Navigate to the “Display Rules” panel.
If you want the user registration form to be displayed everywhere (all pages) of your WordPress site, also check “Globally load optin” Otherwise, use the page-level targeting and triggers to determine how and where in your site the form will be shown.
Finally, save the changes. Preview your website, and you should see the WordPress registration form displayed. If it doesn’t show up, clear your website and browser cache.
Follow the guide below to learn how to create other popular types of email opt-in forms. Remember to select “WordPress User Registration” in the “Integration” panel.
- How to Create a Notification Bar (Bottom/Top Bar) Optin
- How to Create a Slide-in / Scroll Box Optin Campaign
- How to Create Before and After Post Optin Forms
- How to Create Sidebar Widget Optin Forms
We hope you’ve learned how to create a custom user registration form for your WordPress website. If you have any questions, please get in touch with us.