Use Elementor to Create WordPress User Registration Forms
Do you want to create a WordPress user registration form using Elementor on your site?
While Elementor doesn’t natively offer a user registration via their form widget, integrating MailOptin makes it possible. In this article, we’ll demonstrate how to harness the design capabilities of Elementor and the user registration functionalities of MailOptin to create a WordPress registration form.
How to Create a WordPress User Registration Form using Elementor
There are two things involved in creating your user registration form using Elementor.
- The form itself
- MailOptin plugin
Follow these steps to create an Elementor WordPress user registration form on your site:
Step 1: Install and Activate Elementor Pro and MailOptin Plugin
To begin, install and activate the Elementor Pro plugin on your WordPress site.
Next, install and activate the MailOptin plugin.
With Elementor Pro and MailOptin plugins activated, you’re ready to create a user registration form for your WordPress website.
Step 2: Creating The WordPress Registration Form
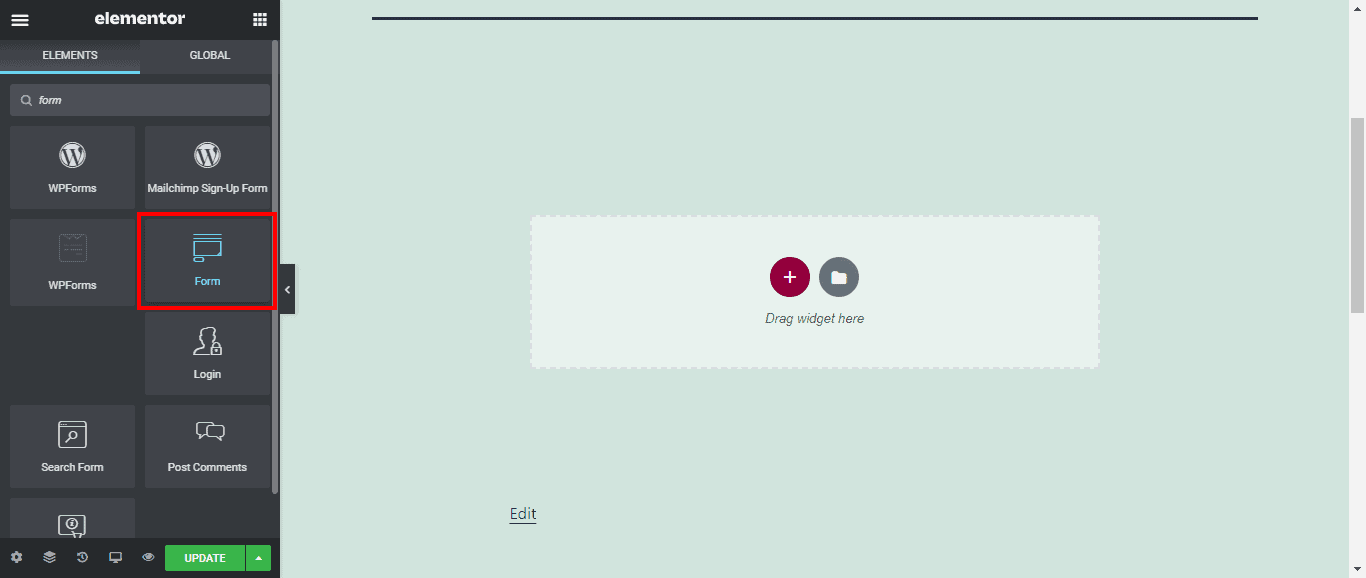
Create a page and edit with Elementor. Drag and drop the form widget from the widget sidebar.
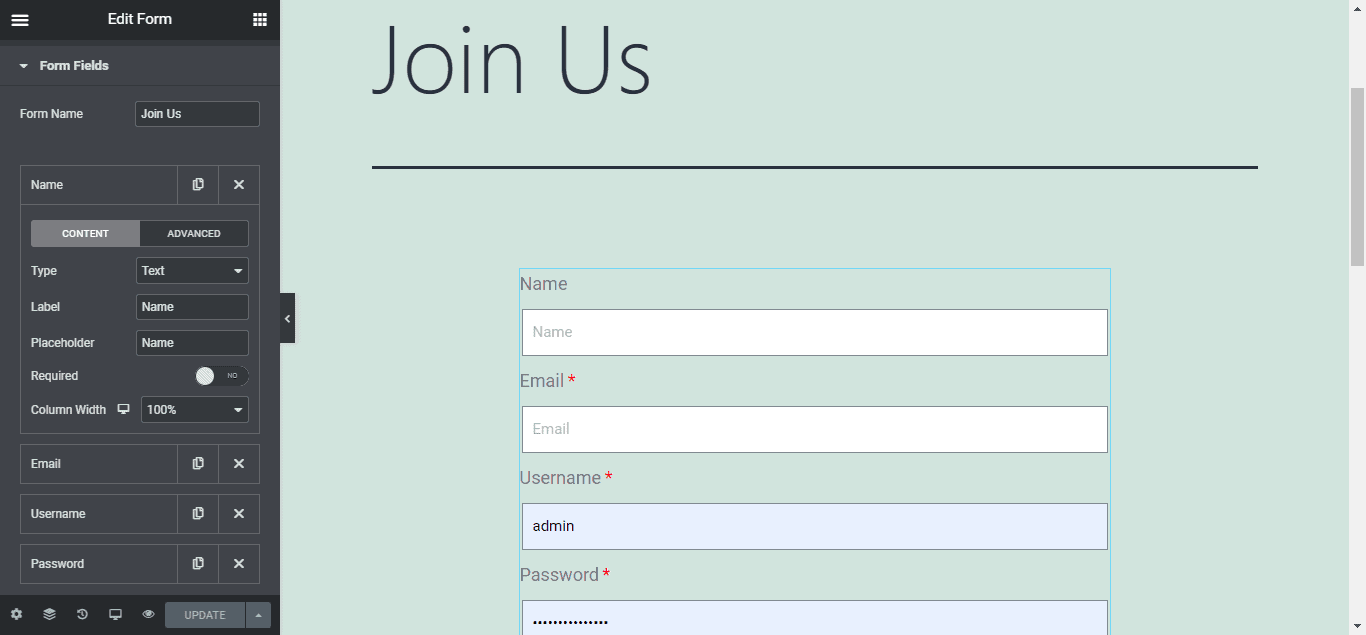
Next, you will see the default form fields (Name, Email, and Message). You can add or remove fields to fit your user registration requirements.
You can change the field type, label, and placeholder text on each form field, toggle the required option, and column width. For user registration, you should include the Username and Password fields.
You can also add custom fields like Address or Social Media handle to the WordPress registration form you are creating.
Step 3: MailOptin Configuration
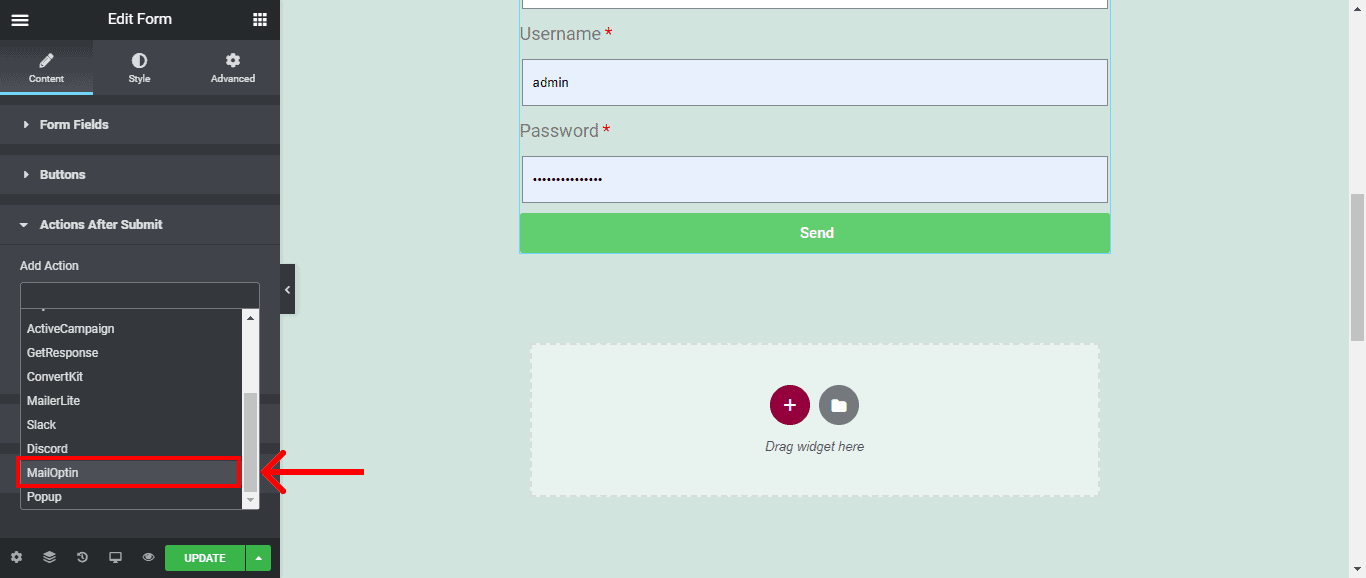
In the “Action After Submit” section, select MailOptin.
Now expand the MailOptin tab and select “WordPress User Registration” under Select Email Service.
Next, pick the user role to assign to registered users under Select Email List.
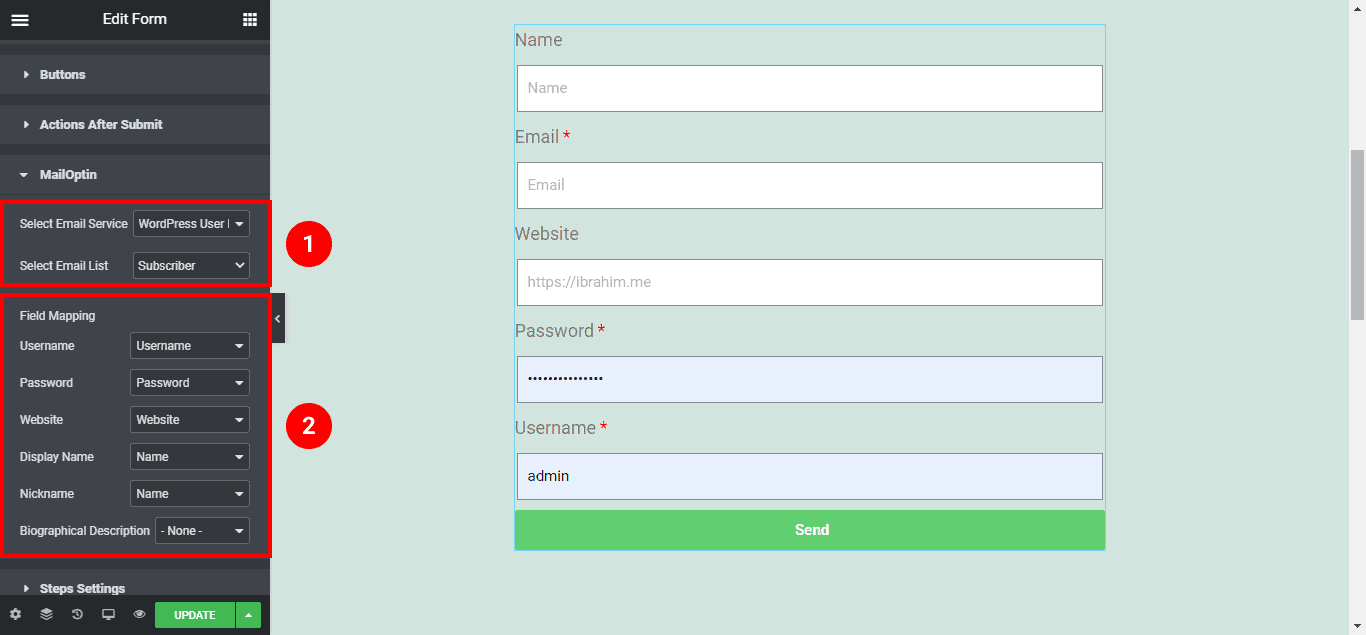
Step 4: Field Mapping
Next, you need to map the form fields to the user profile registration attributes. You can map the field attributes in your form and leave those not in use as ‘None.’
You can also use the following actions, which can be performed after the user registers through your form:
Redirect: After successful registration, you can redirect the user to a Thank You page or a login page. You can paste the required page URL in the URL field using this option.
Email: This option will send the user an email with a custom message. You can customize the email content under the Email section.
Finally, save the changes. Preview your page, and you should see the registration form displayed.
We hope this article helped you learn how to use Elementor to create WordPress user registration forms. You can also check out our articles on connecting Elementor forms to email marketing software & CRM.