How to Create WordPress Sidebar Widget Optin Forms
Do you want to create optin forms that display on the sidebar of your WordPress site?
Sidebar Widget Optin forms are arguably the most common and popular method of building an email list and a great way to convert subscribers without being intrusive. In fact, many website visitors automatically look to the sidebar when they’re interested in subscribing to your newsletter.
This guide will demonstrate the benefits of using a WordPress sidebar opt-in form on your site and how to add a sidebar email signup form using MailOptin.
Benefits of WordPress Sidebar Widget Optin
Implementing sidebar widget opt-in forms on your website can offer a multitude of benefits, including significantly enhancing your online presence and driving engagement with your audience.
One key benefit is enhanced lead capture. By placing opt-in forms in the sidebar, visitors can easily subscribe to your email list, leading to more lead capture and potential conversions.
Another benefit is improved user experience. Offering a nonintrusive opt-in form in the sidebar can enhance your website’s overall user experience.
Finally, sidebar widget opt-in forms can increase conversion rates. They are strategically placed to catch visitors’ attention, resulting in higher conversion rates compared to other opt-in methods.
Creating a Sidebar Widget Optin Form
Follow these steps to make a WordPress sidebar widget optin form.
Step 1: Install and Activate MailOptin Plugin
The first step is to install and activate the MailOptin plugin on your WordPress website. You can find it in the WordPress plugin repository or download it from the MailOptin website.
Next, connect MailOptin to your email marketing service provider. You can skip this if you intend to use our MailOptin Leads feature to store your leads.
Step 2: Creating the Optin Campaign
Go to the Optin Campaigns admin page and click the “Add New” button at the top of the page.
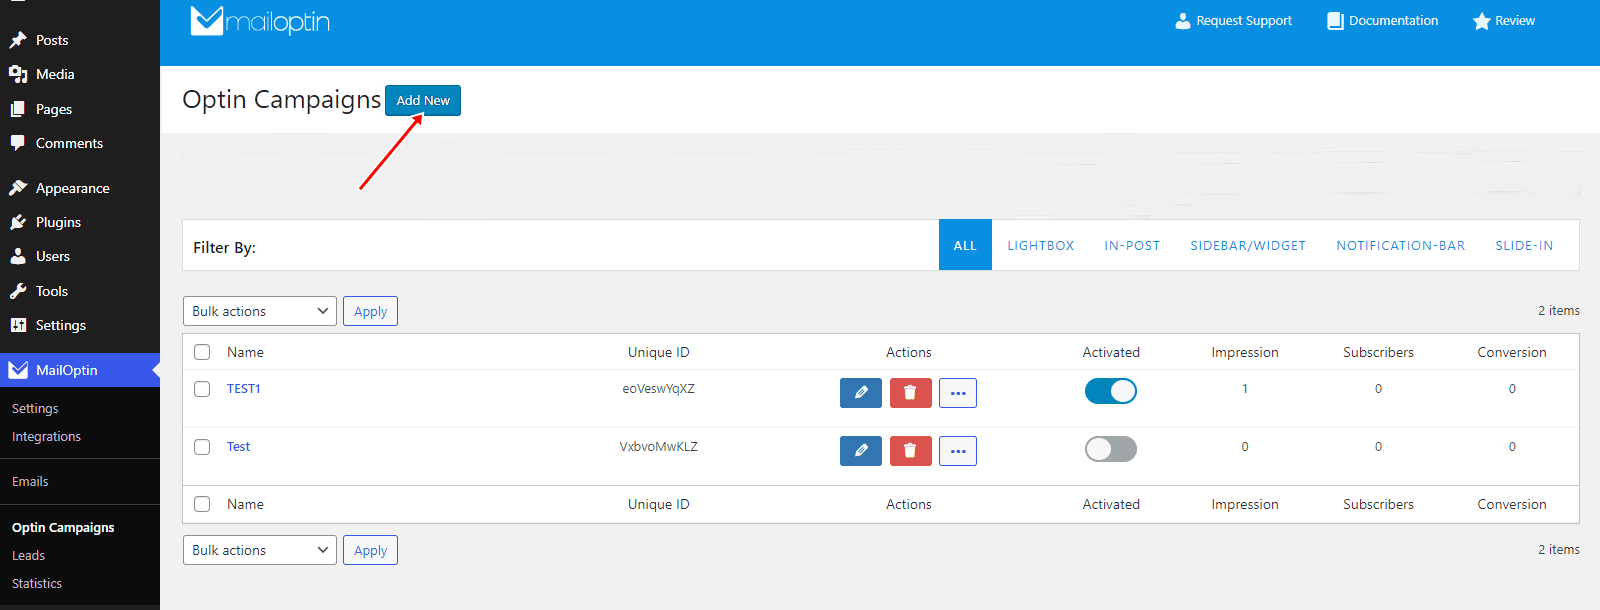
Enter a title for the optin campaign. Select the Sidebar/Widget optin type. Click your preferred theme to go to the form builder.

Next, customize the opt-in form exactly how you want it using MailOptin’s easy-to-use form builder.
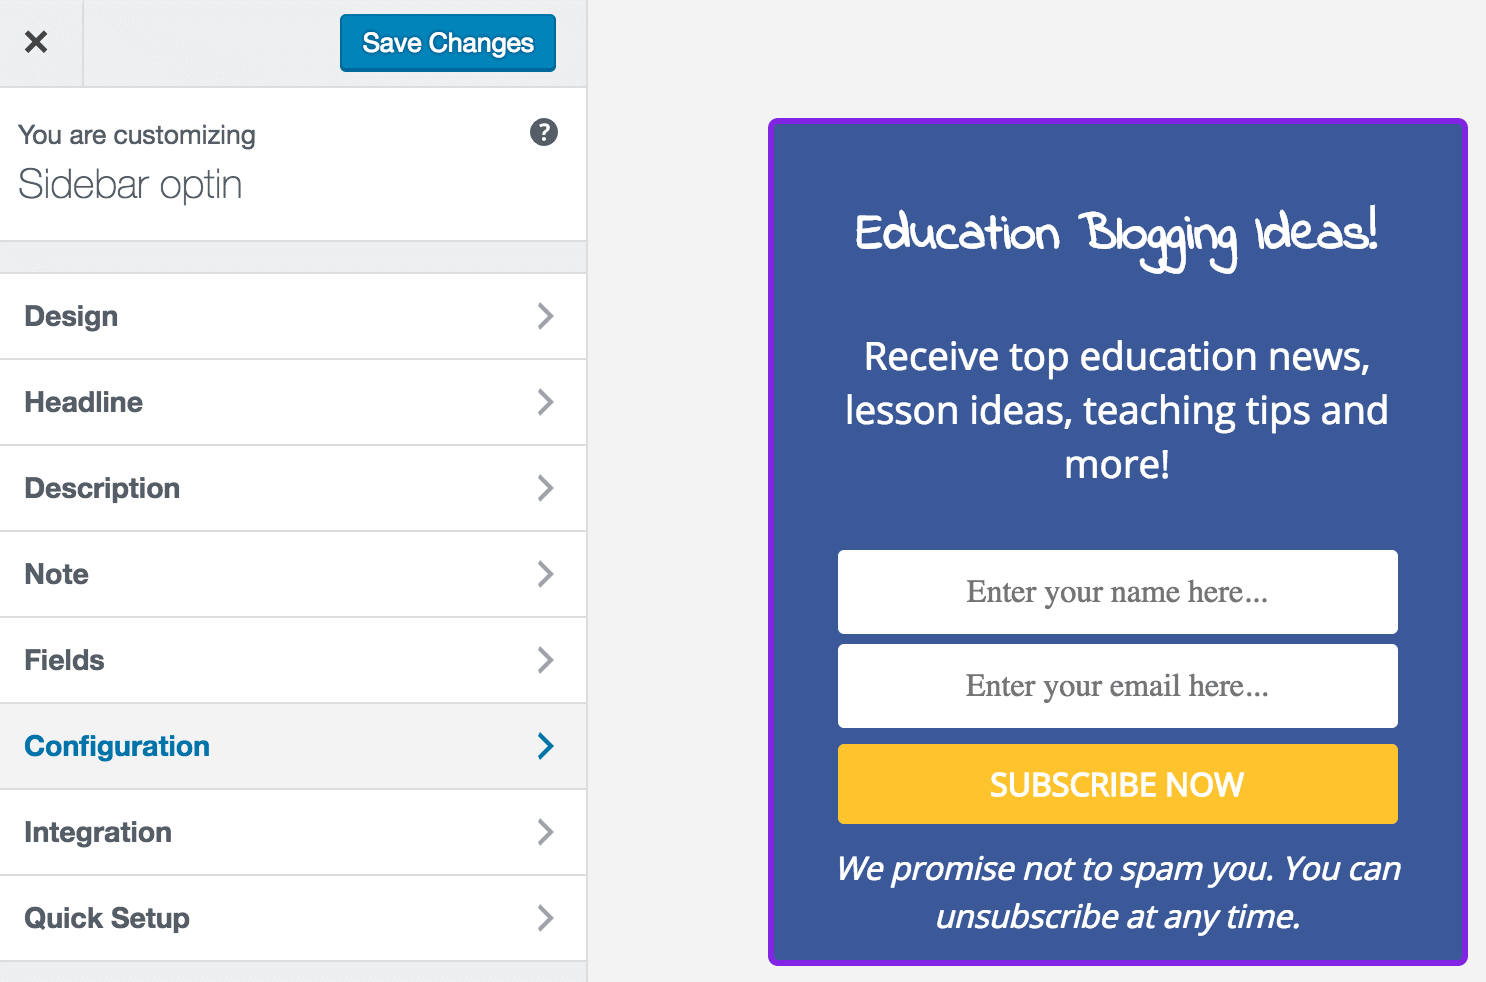
When done, go to the “Integration” panel, select your email service provider, and select the email list to which you want all captured leads/conversions saved. You could decide to use MailOptin Leads for lead storage.
Don’t forget to activate the optin by toggling to your right, the switch at the top right corner of your screen.
Step 3: Displaying the Optin
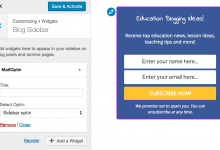
Finally, to show the optin form on the sidebar of your WordPress site, go to Appearance >> Widget or Appearance >> Customize >> Widgets. Add or drag the “MailOptin” widget to your sidebar or any area of your site where you want the optin shown.
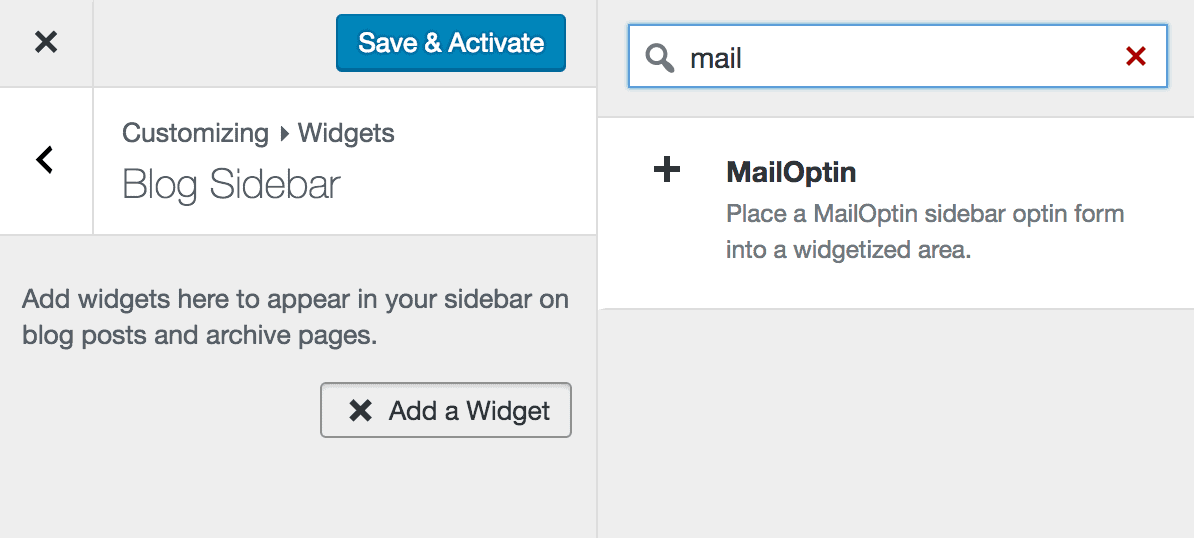
Choose the sidebar optin you want to display, then save the changes.
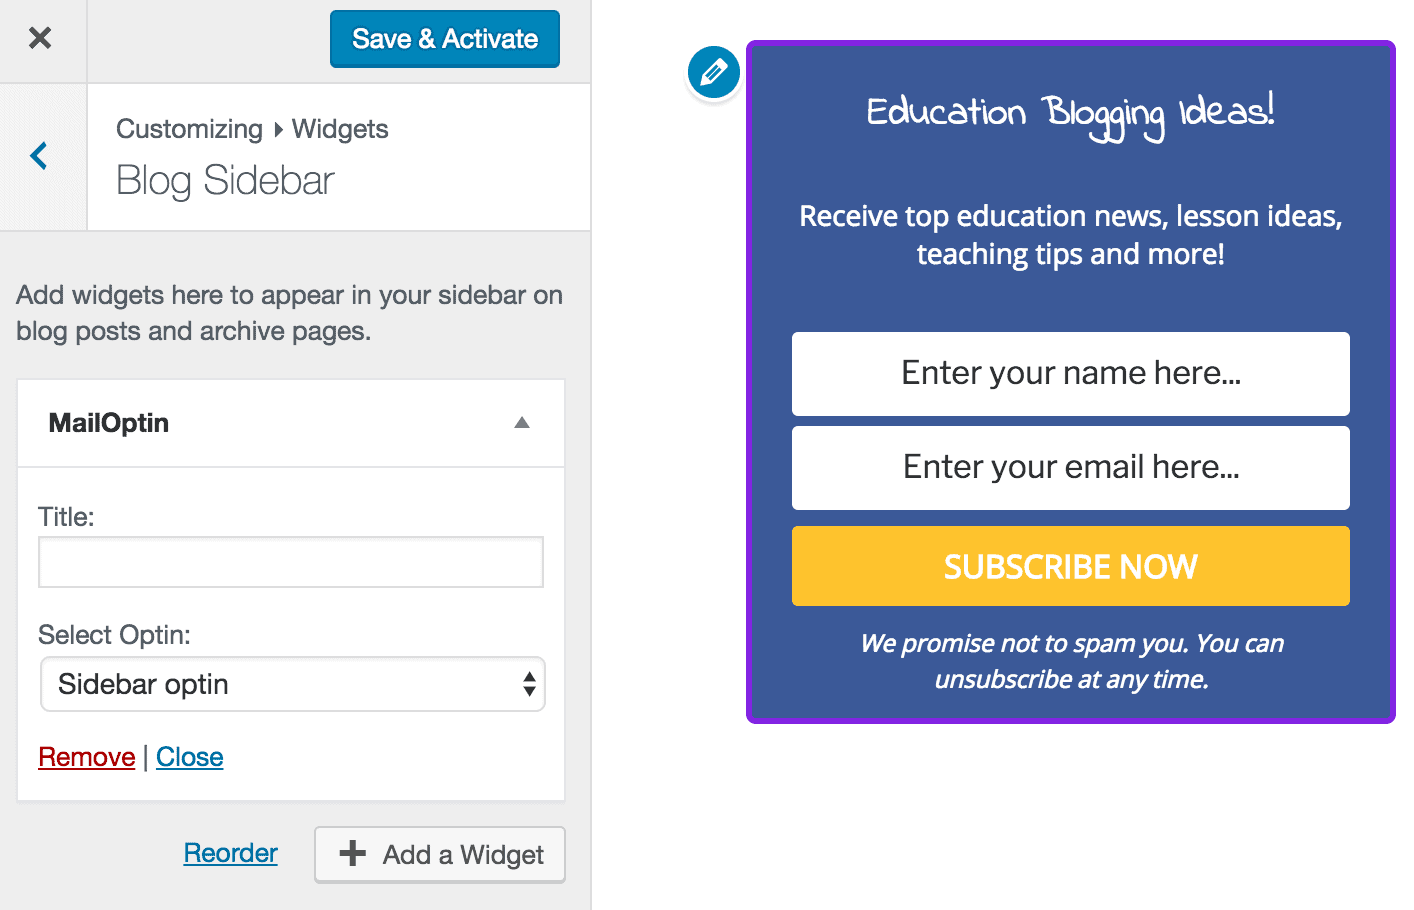
That’s it! You should now see the optin form displayed on your WordPress site sidebar.
Grow Your Email List with WordPress Sidebar Optin Forms
Implementing WordPress sidebar widget optin forms can be a game-changer for expanding your email list. Adding these forms to your website’s sidebar creates an easy path for visitors to subscribe to your newsletter and stay engaged with your content.
With the step-by-step guidance in this article, you’re equipped with the tools and knowledge to fully use WordPress sidebar widget optin forms.
Don’t wait any longer. Get MailOptin and set up a sidebar optin form on your website today.