How to Create WordPress Slide-in Popup / Scroll Triggered Box
Do you want to create a slide-in popup or scroll-triggered box for your WordPress site?
Slide-ins or scroll-triggered boxes (combined with a scroll trigger) are powerful tools for engaging your website visitors, capturing leads, and promoting special offers without overly being intrusive.
In this guide, we’ll show you the steps to make beautiful slide-in optin campaigns for your WordPress site using the MailOptin plugin.
Why Slide-in Popups or Scroll-Triggered Boxes?
Non-Intrusive Engagement: Unlike traditional popups, which can disrupt the user experience by suddenly covering the screen, slide-in popups, and scroll-triggered boxes appear smoothly and contextually as visitors scroll through your content.
High Conversion Rates: Slide-in popups and scroll-triggered boxes tend to have higher conversion rates because they appear at the right moment when your users have engaged with your content. They capture visitors’ interest without annoying them, leading to more sign-ups, subscriptions, and conversions.
Versatility: You can use them for many purposes, such as growing your email list, promoting special offers, sharing important updates, collecting feedback, and more.
Guide to Creating a Slide-in Popup
Follow these steps to set up a slide-in popup and scroll-triggered box on your site using MailOptin:
Step 1: Install and Activate MailOptin Plugin
Begin by installing the MailOptin plugin on your WordPress website. If you don’t have it, purchase a plan that fits your needs.
Next, log in to your WordPress admin dashboard and go to the Plugins page. Click the Add New button and then Upload Plugin.
Then, click Choose File to select the downloaded plugin zip file. Click Install Now.

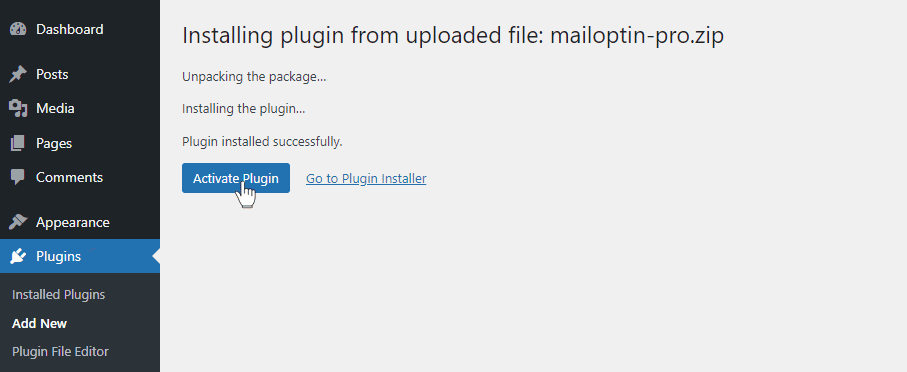
After installing the plugin, activate it by clicking ‘Activate Plugin’.
Step 2: Integrate with Your Email Marketing Software
You’ll need to connect your slide-in popup to your email marketing service to capture leads. MailOptin integrates with all popular email services, including MailChimp, Salesforce, Microsoft Dynamics 365, Drip, AWeber, ConvertKit, MailerLite, Constant Contact, GetResponse, Sendy, Campaign Monitor, ActiveCampaign, Brevo (Sendinblue), Gist, Klaviyo, Sendlane, Mailster, Vertical Response, Mailjet, HubSpot, Ontraport, Moosend, MailPoet, Zoho CRM, Zoho Campaigns, Keap Max Classic (Infusionsoft), HighLevel, Omnisend, Flodesk, Beehiiv, Benchmark Email, SendFox, iContact, Mailgun, E-goi, SendGrid Email Marketing, Elastic Email, GoDaddy Email Marketing, weMail, FluentCRM, CleverReach, NewsMAN, Facebook custom audience.
Go to the Integrations tab in MailOptin. Select your email marketing provider and follow the prompts to connect your account.
You can skip this if you intend to use our MailOptin Leads feature to store your leads.
Step 3: Create a New Optin Campaign
After installing the plugin, it is time to create the slide-in popup or scroll trigger popup for your WordPress website.
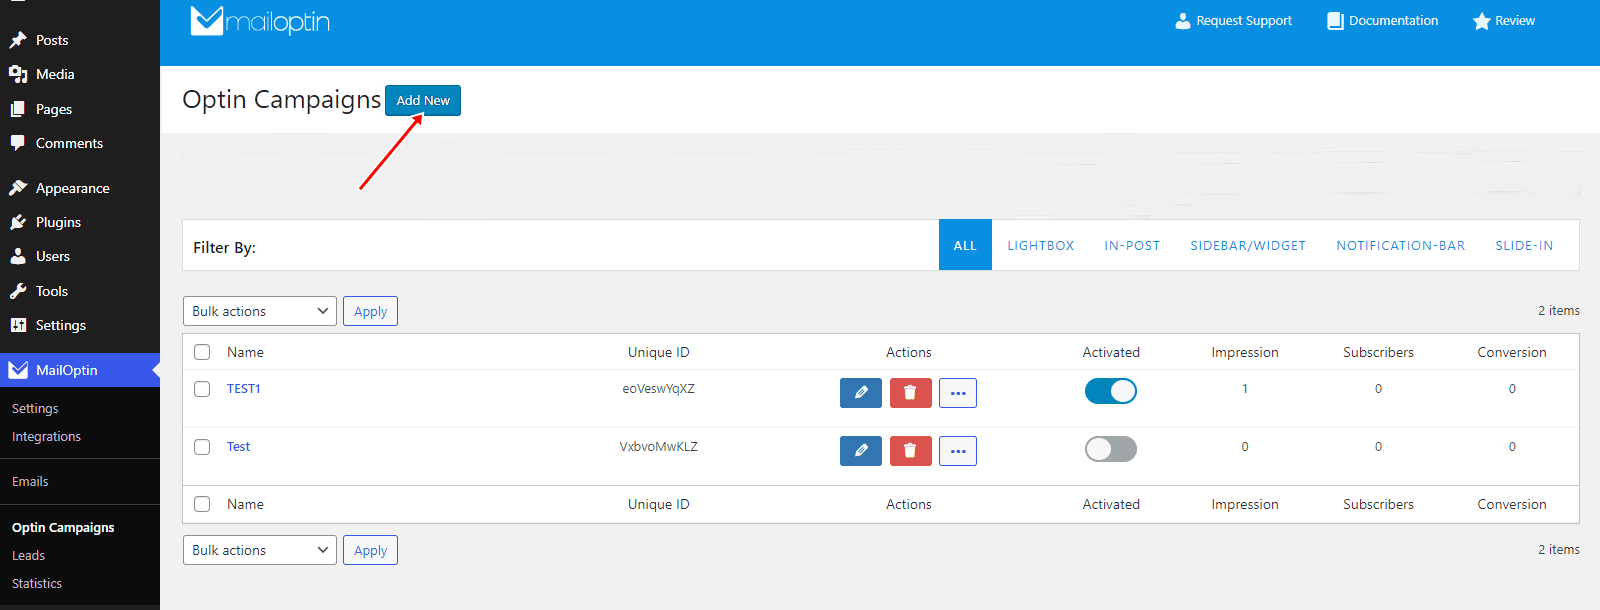
To do this, open your WordPress dashboard and go to MailOptin > Optin Campaigns > Add New.
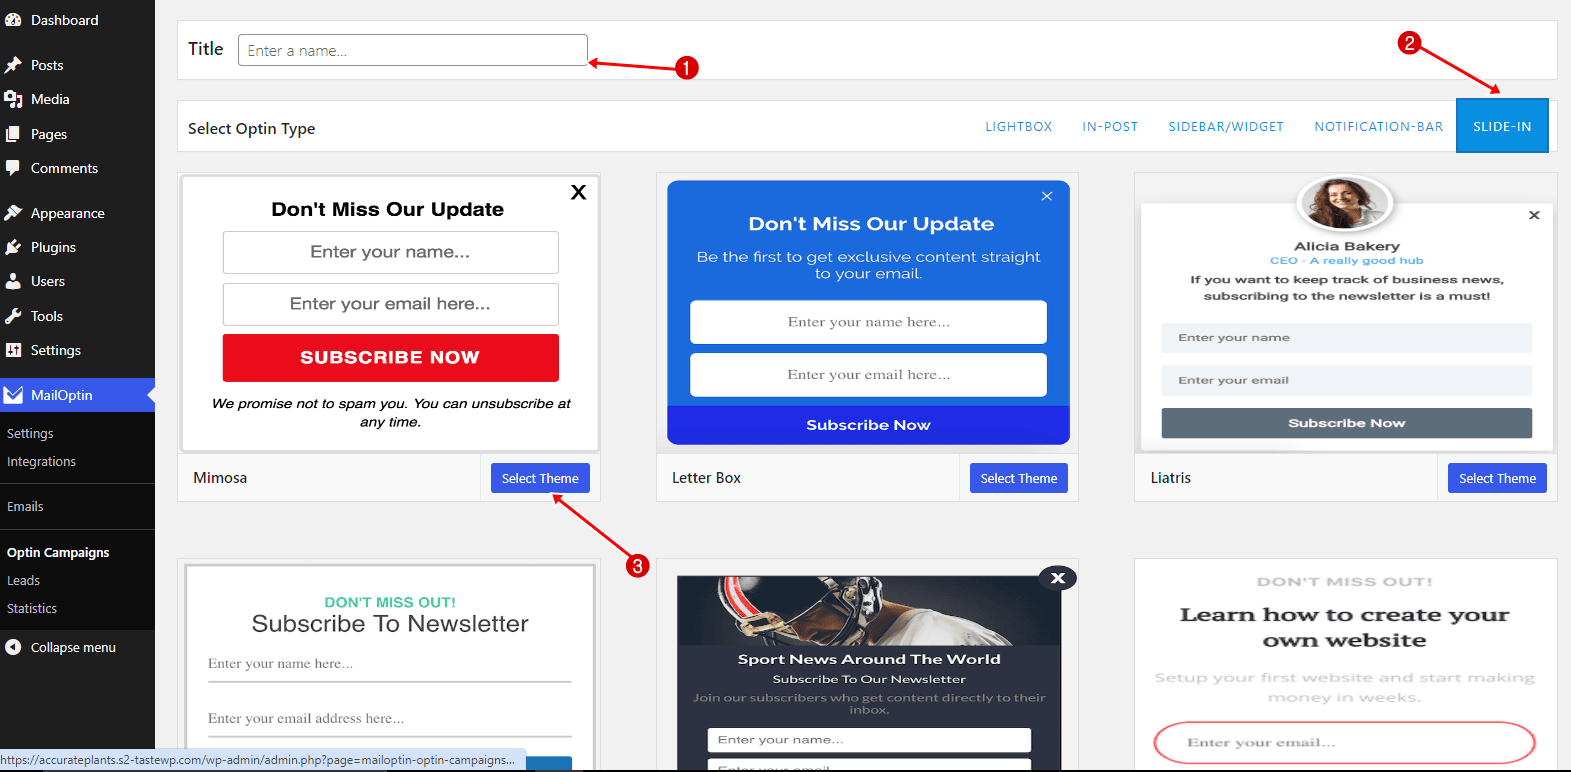
Enter a title for the optin campaign, select SLIDE-IN optin type, click the theme to use, and you will be redirected to the form builder.
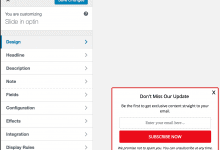
Customize the slide-in popup to your heart’s content using our intuitive form builder.
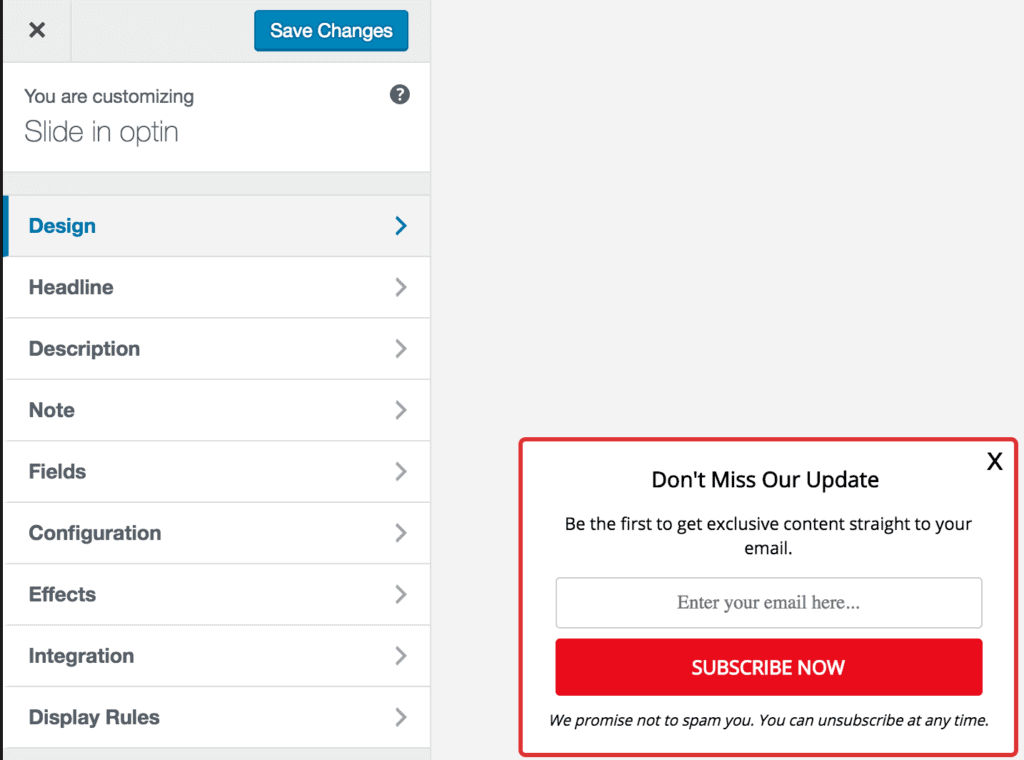
To get the optin to display on your site, check “Activate 0ptin”.

Use the “Display Rules” panel to configure how the slide-in popup will appear, such as:
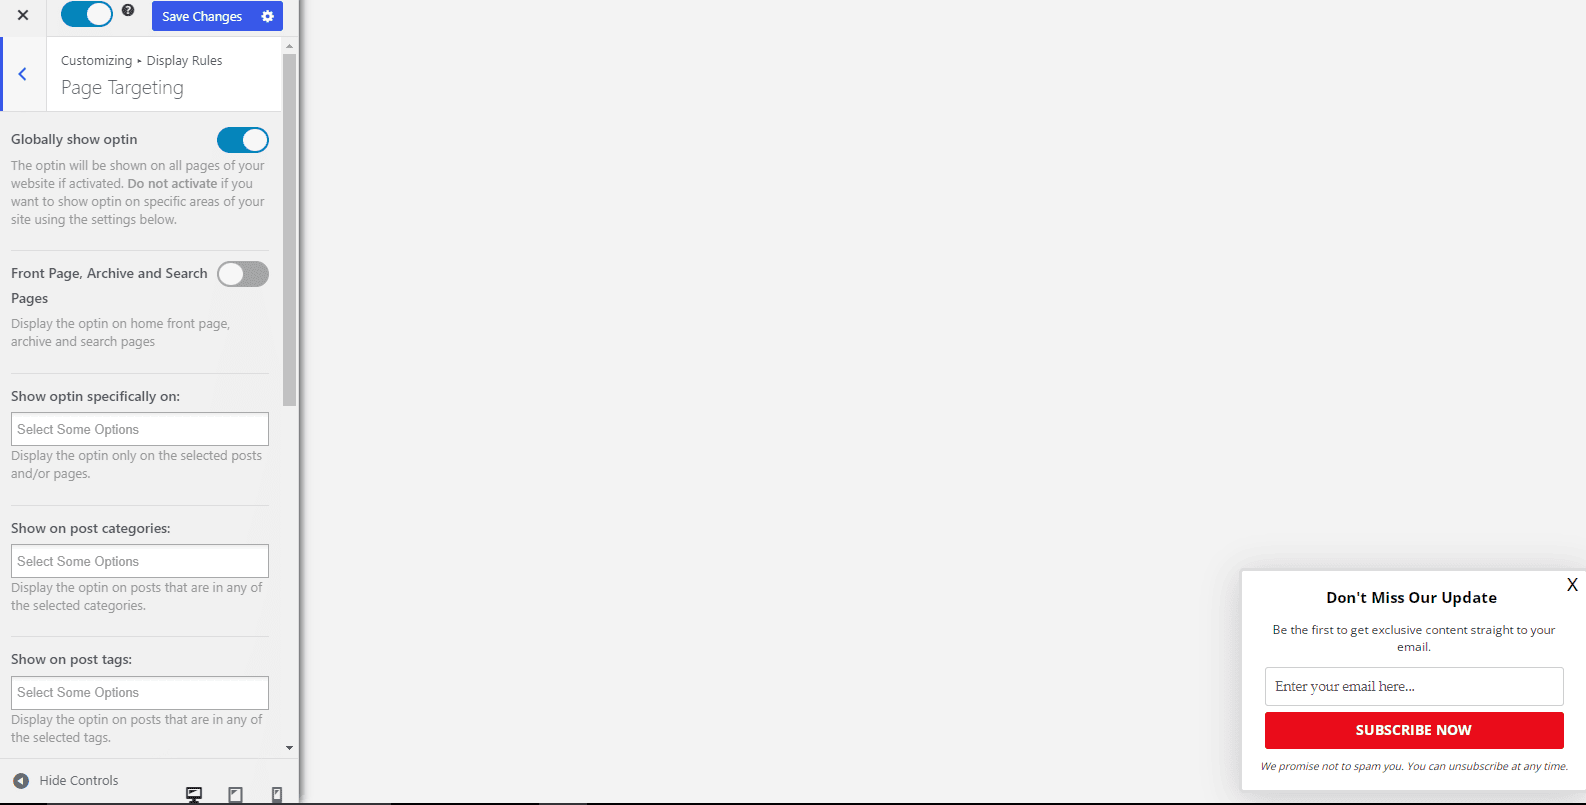
Page-level targeting to control the pages, posts, categories, and custom post types where the optin form will be included or excluded for display.
If you want the optin to be displayed everywhere (all pages) of your site, navigate to the “Display Rules” panel, go to the “Page Targeting” section, and check “Globally load optin”. Otherwise, use page-level targeting to target a specific section of your site to display the optin campaign.
Triggers to cause the optin form to display based on user activities and interactions on your site, such as exit intent, scroll trigger, time on site, and number of page views.
Finally, go to the ‘Integration’ panel, select your email service provider, and choose the email list where all captured leads/conversions will be saved. You could decide to use ‘MailOptin Leads’ for lead storage and be done with it.
Ready to create a WordPress slide-in popup?
Creating slide-in popups and scroll-triggered boxes on your WordPress site is an effective way to engage visitors, capture leads, and promote special offers. The MailOptin plugin makes it easy to design and implement these popups, providing a seamless and non-intrusive experience for your users.
We hope this article helped you learn how to add a WordPress slide-in popup or scroll-triggered box to your website.
Get MailOptin today!