How to Create WordPress Before, Middle & After Post Optin Form
Imagine strategically placing opt-in forms that integrate with your blog content, capturing leads at key moments—before, in the middle, and after your post content. If this sounds like the boost your website needs, you’re in the right place.
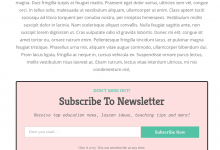
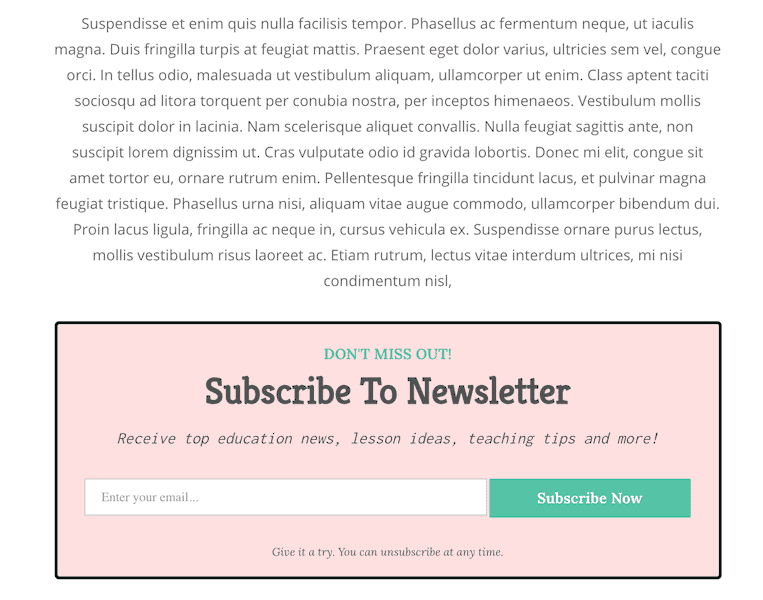
Before and after post optin forms are static banner-type forms placed before and/or after your post or page content. They are a polite way of asking readers of your blog posts to subscribe to future post updates, which in turn increases your email list subscribers.
In this guide, you will learn how to use MailOptin to add a before and after post email signup form to your WordPress site.
Benefits of Before, Middle, & After Post Optin Forms
Before, Middle, and After Post Optin Forms are used in blog posts to capture readers’ attention at different engagement stages. By strategically placing these forms, you can maximize your chances of capturing leads and encouraging user interaction.
Each optin form placement—before, during, and after a post—offers a unique opportunity to deliver targeted messaging. Before Post optin forms can entice readers with exclusive content or rewards. Middle Post can bolster the value of your content. After Post optin forms can encourage readers to stay connected for future updates or related content.
Leveraging these benefits provides a powerful tool for growing your email list, engaging your audience, and driving conversions on your WordPress website.
Creating WordPress Before, Middle & After Post Optin Forms
Follow these steps to make a WordPress before, middle & after post optin form.
Step 1: Install and Activate MailOptin Plugin
Begin by installing the MailOptin plugin on your WordPress website. You can find it in the WordPress plugin repository or download it from the MailOptin website. Once installed, activate the plugin to access its features.
Next, connect MailOptin to your email marketing service provider. You can skip this if you intend to store your leads using our MailOptin Leads feature.
Step 2: Create the Optin Campaign
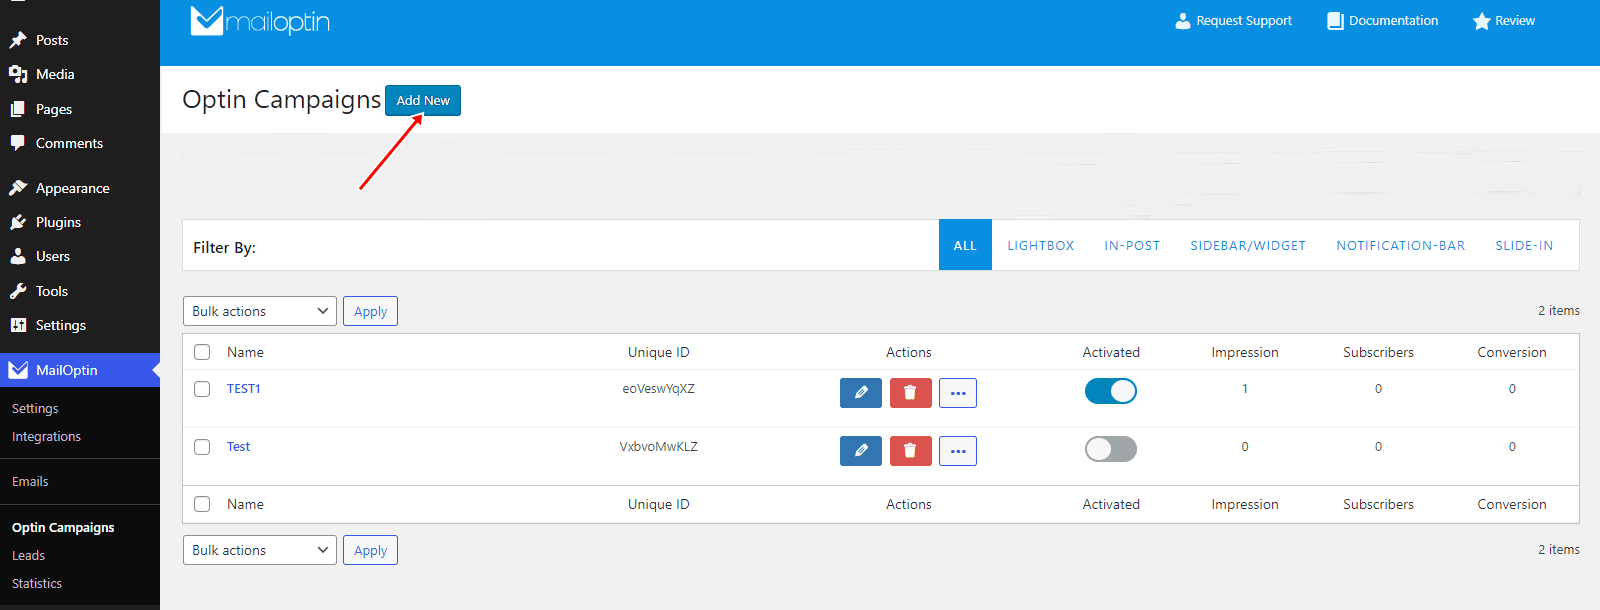
Go to the Optin Campaigns admin page and click the “Add New” Button at the top of the page.
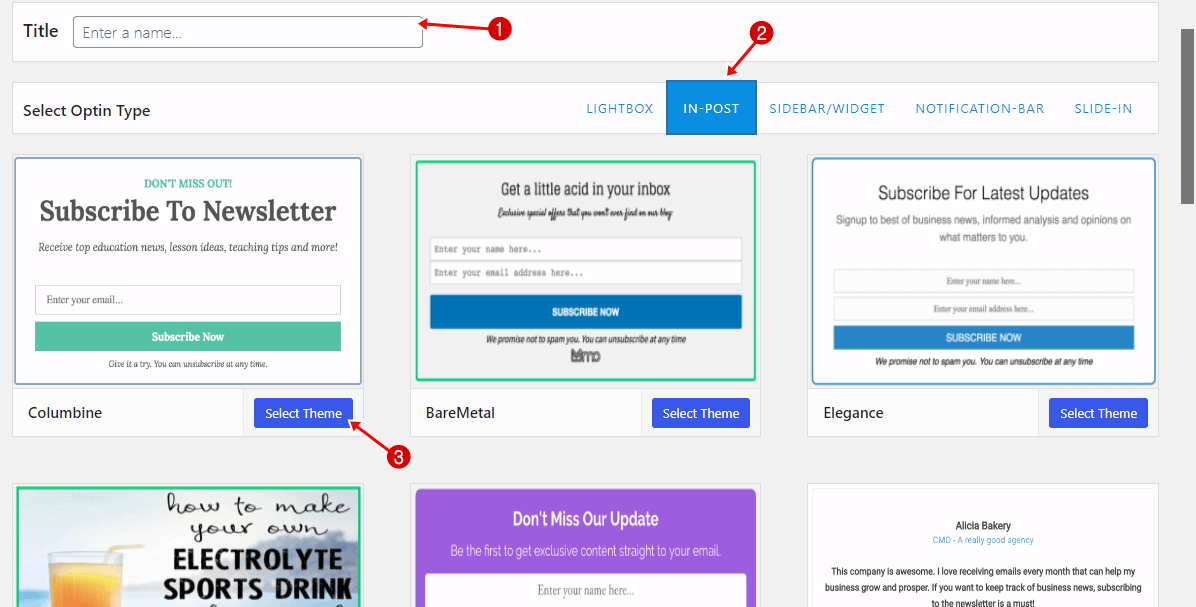
Enter a title for the optin campaign, select In-Post optin type, Then select the theme to use, and you will be redirected to the form builder.
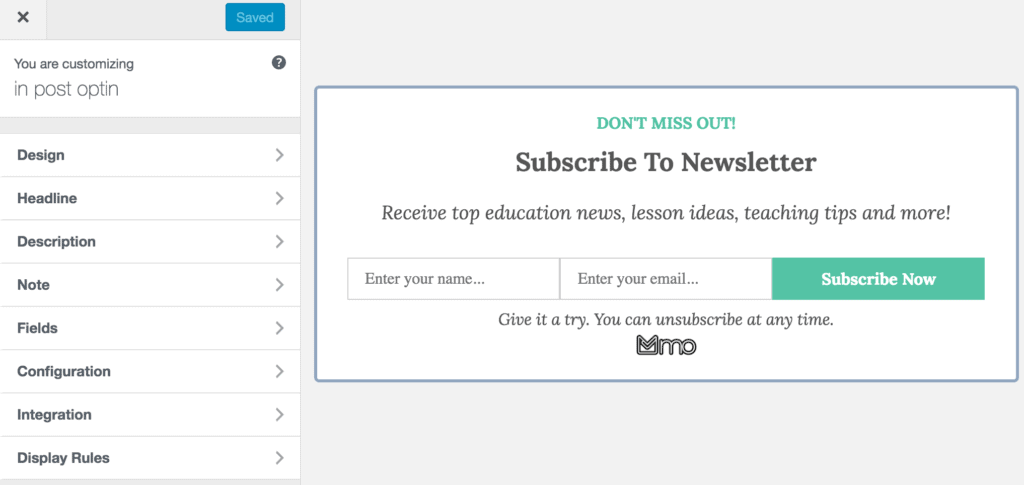
Customize the opt-in form to your heart’s content using our intuitive form builder.
To actually get the optin to display on your site, navigate to the “Display Rules” panel, go to the “Quick Setup” section, and check “Activate 0ptin”.
If you want the optin to be displayed on every post and page of your site, also check “Globally load optin”; otherwise, use page-level targeting to display only on specific areas of your site.
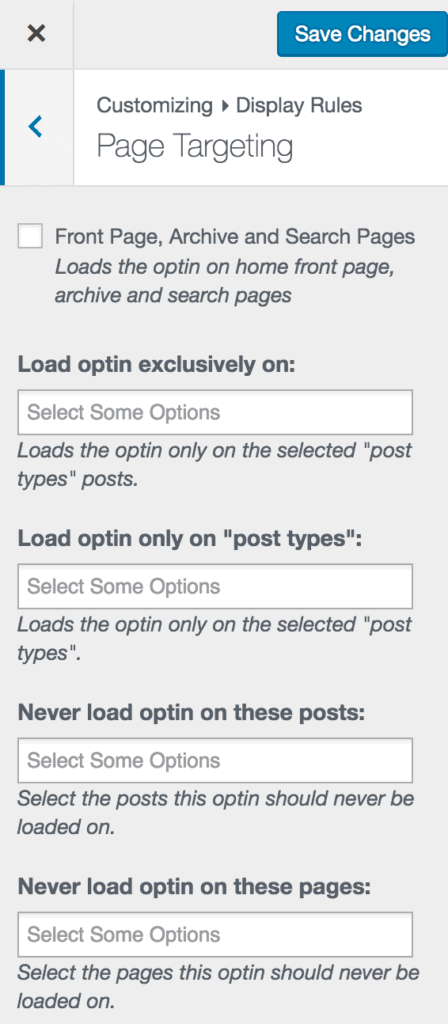
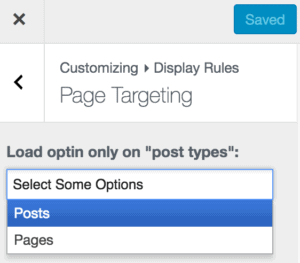
To display the optin form on posts, pages, or both; In the page-level targeting panel under Load optin only on “post types”, select either or both.
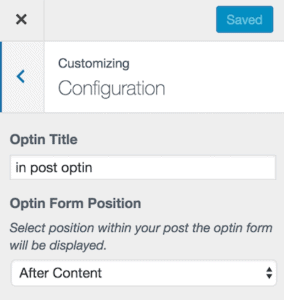
Use the “Configuration” panel to decide whether to display the optin form before, middle, or after your post/page content.
Go to the “Integration” panel, select your email service provider, and select the email list to which all captured leads/conversions will be saved. You could decide to use MailOptin Leads for lead storage and be done with it.
You should now see the optin display before or after your post/page content.
We hope you have learned how to create optin forms and targeted messages that are displayed before, middle, and after your post content in WordPress.
Get MailOptin today to embed optin campaigns in published articles or posts on your WordPress website.