How to Connect WordPress With Constant Contact

MailOptin offers seamless integration with Constant Contact, an email marketing platform. Follow the step-by-step guide below to connect MailOptin with your Constant Contact account.
Update: we’ve developed a new Constant Contact v3 integration using their latest API that support custom fields. However, there is a limitation. You can only connect your account and use the same Constant Contact application with MailOptin on only one site. See these links for more info.
Legacy Integration Instruction
Go to the Integrations settings page by clicking the sidebar menu link or top menu tabs.

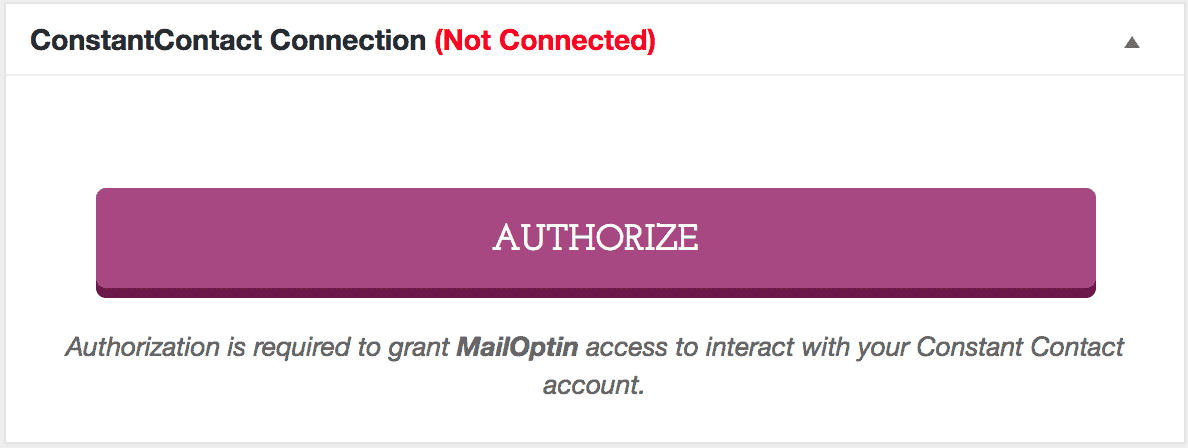
On the Constant Contact Connection section, click the “Authorize” button.
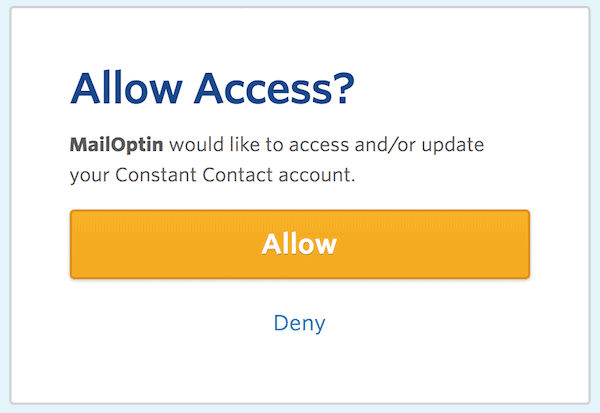
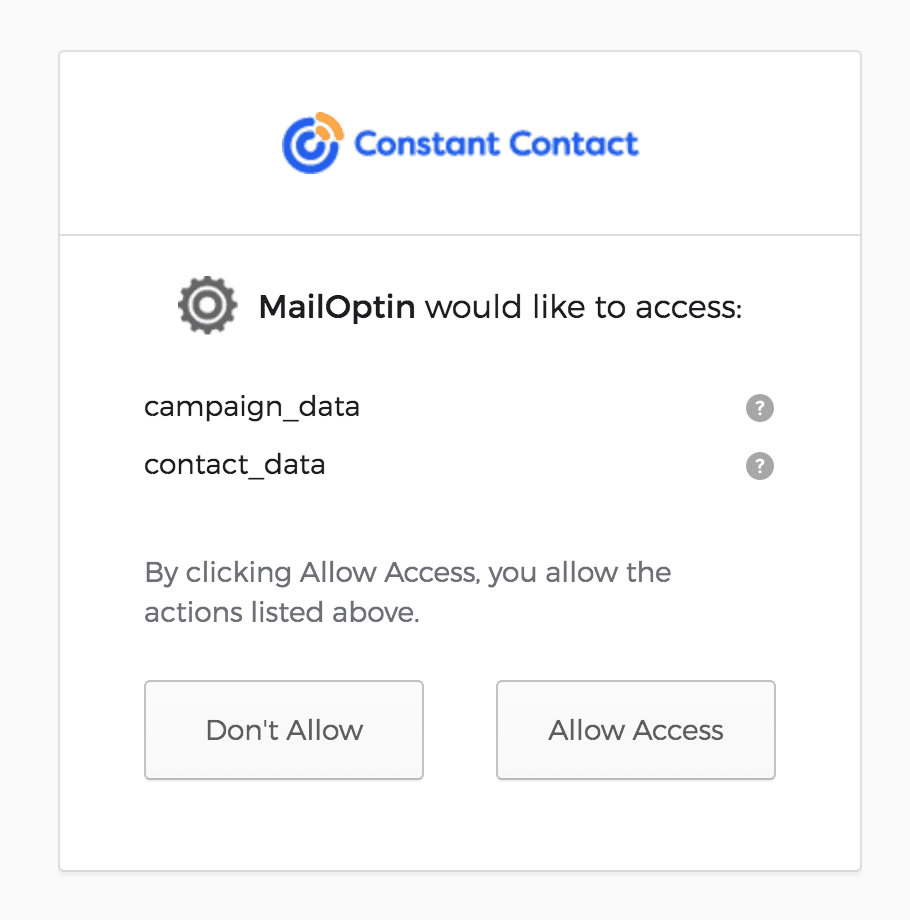
You will then be redirected to log in and allow MailOptin access to your Constant Contact account.
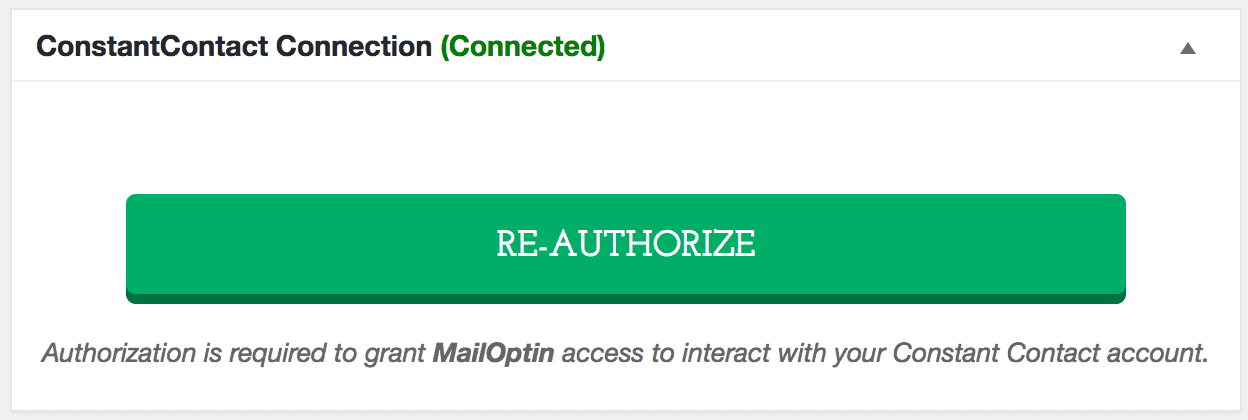
You will then be redirected back to the MailOptin connections page with the button color now green, indicating a successful connection.
New v3 Integration Instruction
The new Constant Contact integration requires creating an “application” to generate an API key and App Secret.
Notice: each app should be dedicated to only one website. If you have multiple sites, create multiple Constant Contact applications, one for each. These instructions are included at the top of the Settings page.
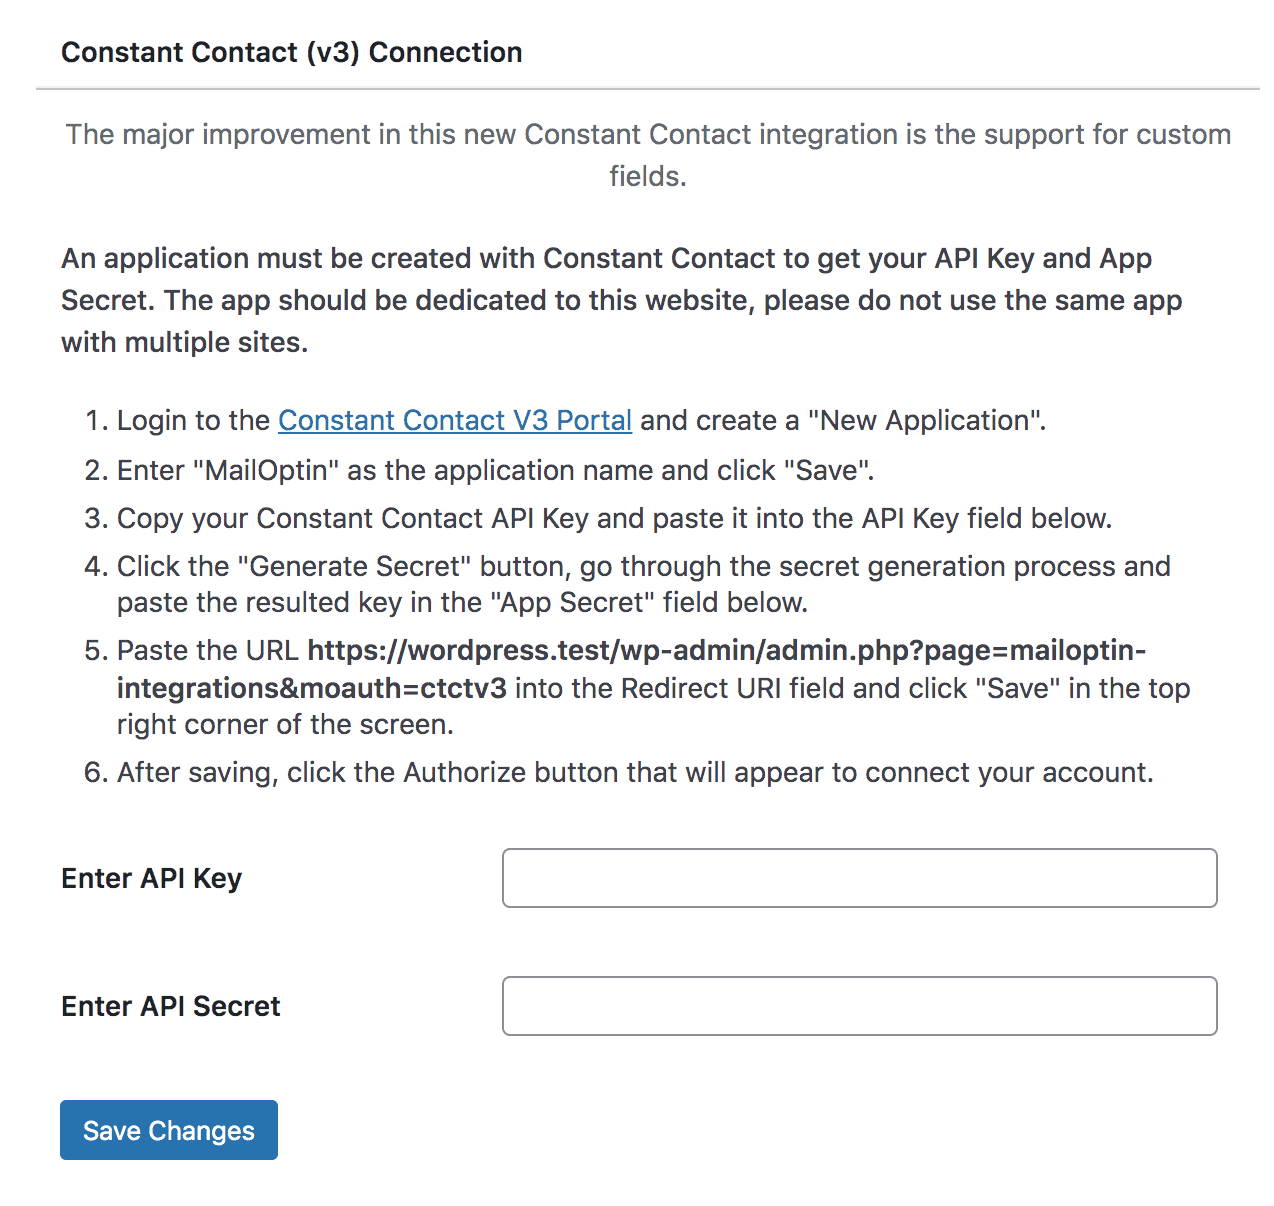
- Login to the Constant Contact V3 portal and create a “New Application “.
- Enter an application name like “MailOptin” and click “Save “.
- Copy your Constant Contact API Key. You will paste it into the API Key field on the Constant Contact (v3) tab of the MailOptin Integrations page.
- Click the “Generate Secret” button, go through the secret generation process, and copy it. You will paste it into the “App Secret” field on the integration settings page in MailOptin.
- Copy and paste the URL displayed in step five of the setup instructions on the MailOptin> Integrations> Constant Contact (v3) tab in WordPress into the Redirect URI field in Constant Contact App Details and click “Save” in the top right corner of the screen.
Authorizing the Application
The application needs to be authorized to communicate with your Constant Contact account. This is done by entering your API keys into the Constant Contact settings in MailOptin.
Log into your WordPress admin dashboard.
On the left-side navigation menu, hover over MailOptin and click on Integrations.
From this page, click the Constant Contact (v3) tab.
Enter your API Key and App Secret obtained in the previous section and save.
Click AUTHORIZE YOUR ACCOUNT. If you’ve entered your account information correctly, you will be redirected to a new page asking you to grant the Constant Contact API permissions.
Once permissions are granted, you will be redirected to the Constant Contact Settings page in the WordPress dashboard and see a new button, Disconnect Integration.
Having completed the setup, you can now start capturing leads and sending newsletters.