How to Connect WordPress With Brevo/SendinBlue
MailOptin offers seamless integration with Brevo, formerly SendinBlue email marketing service. Follow the step-by-step guide below to learn how to connect MailOptin with your Brevo/Sendinblue account.
- Go to the Integrations settings page by either clicking the sidebar menu link or the top menu tabs.
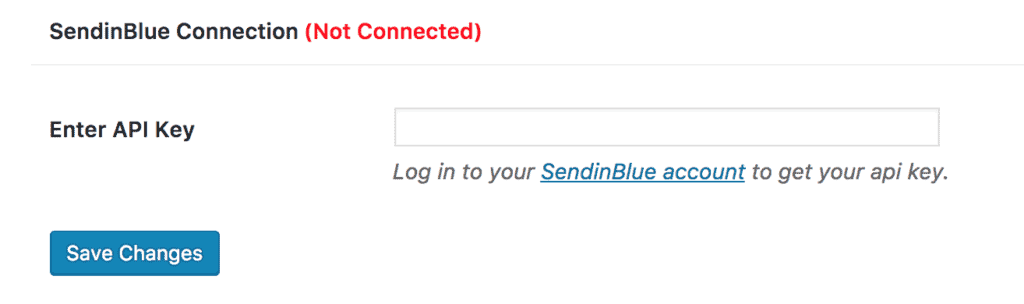
- At the SendinBlue Connection section, click the SendinBlue account link beneath the API key text field to log in to your account.
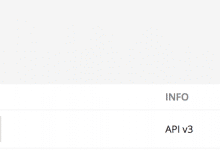
- After logging in, you will be redirected to your account settings where you will find your API key. Chances are you would find two keys. One for v3 and the other for v2. Kindly note that we require the v3 key.

- Copy the API key, paste it into the “Enter API Key” field, and finally, hit the “Save Changes” button.
Enabling Double-Opt-In (DOI)
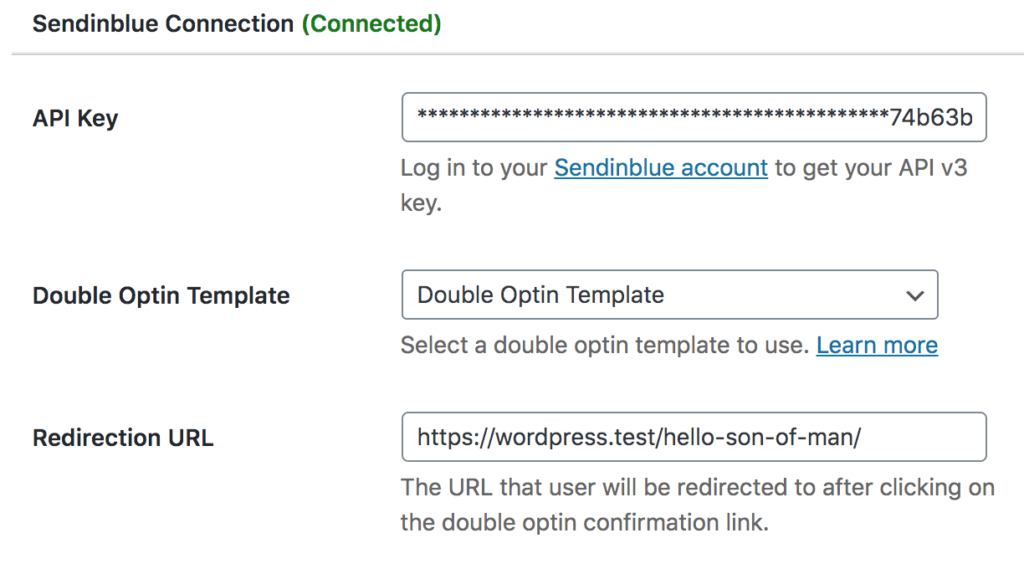
To enable double opt-in support, select a double opt-in (DOI) template and specify a redirection URL where subscribers will be redirected to after confirming their subscription.
If you don’t know how to create a double opt-in template, see the guide below
How to Set Up Double Opt-In Template
Log in to your Sendinblue account. Go to Campaigns >> Templates and click the “New Template” button.
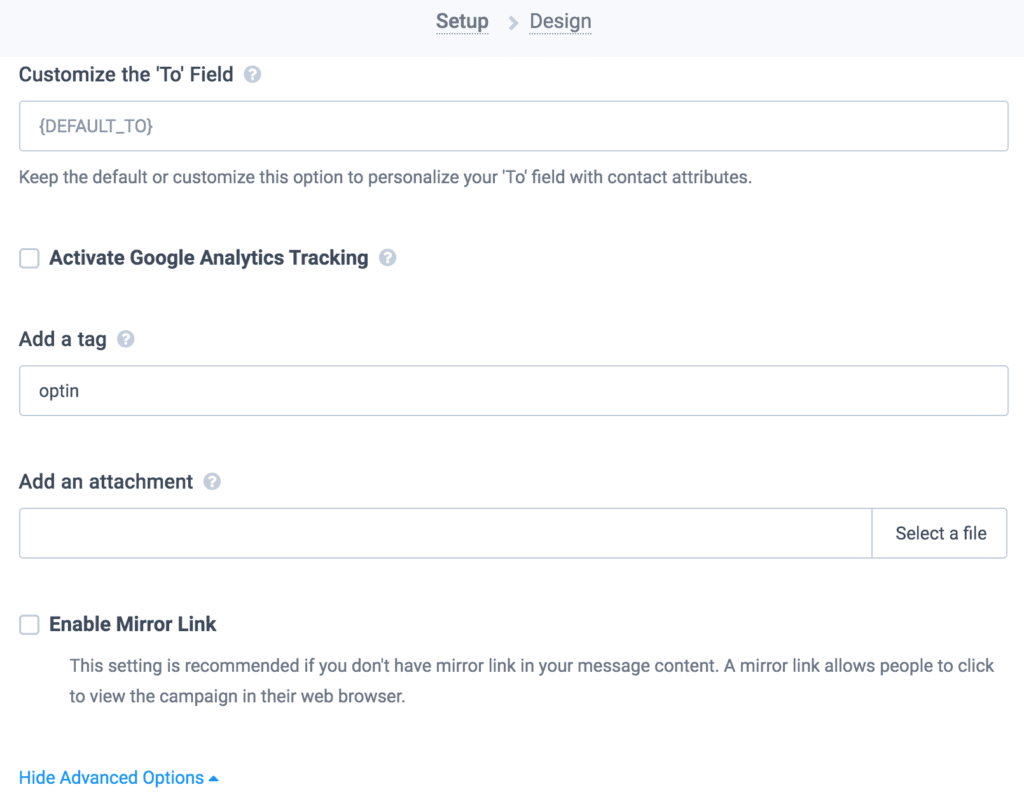
Fill out the template creation form. Importantly, open “Advanced Options” and add the tag “optin” to the template.
Finally, edit the template as desired and add the confirmable link to the template using the merge tag {{ doubleoptin }}
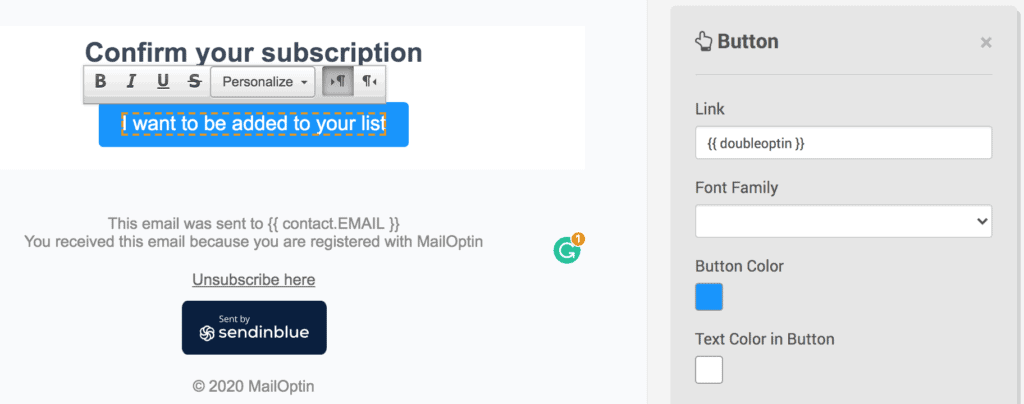
Please Note: Do not add personalization using contact attributes to your double opt-in confirmation template. Since no information is stored in the attributes of the contacts who will receive this email.
Having completed the setup, you can now start capturing leads and sending newsletters.