How to Create Brevo/SendinBlue WordPress Opt-in Forms to Capture Leads
Brevo, formerly SendinBlue, is a popular email marketing service provider used by thousands of bloggers, internet marketers, and business owners of all kinds.
In this tutorial, we will learn how to integrate MailOptin with Brevo so you can start capturing and saving leads with conversion-optimized email sign-up forms (AKA opt-in forms) to your account.
Firstly, ensure you’ve connected Brevo/Sendinblue by saving your account API key to its connection settings. Do this by following this guide. When you are done, return to this page.
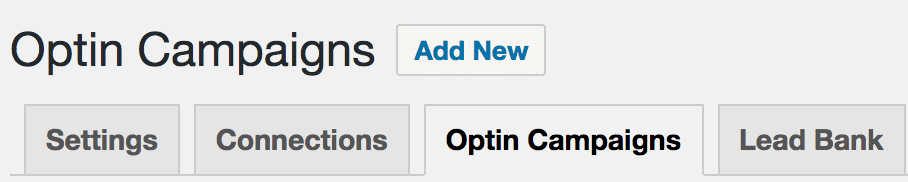
Then go to the Optin Campaign page and click the Add New button at the top to create an opt-in form.
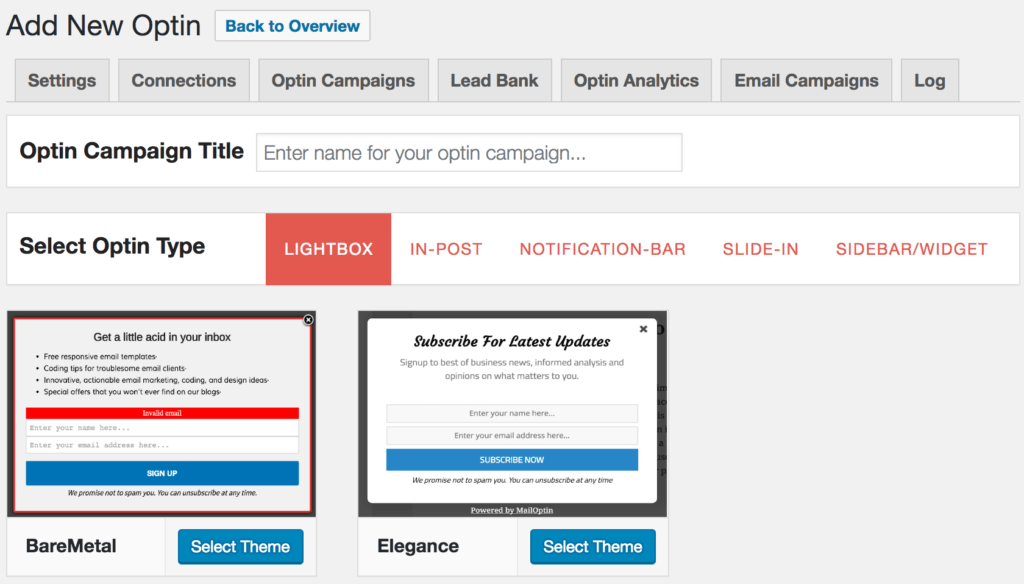
Enter a title for the campaign, select the optin type (for this tutorial, we’ll select lightbox), and click the optin form design you want.
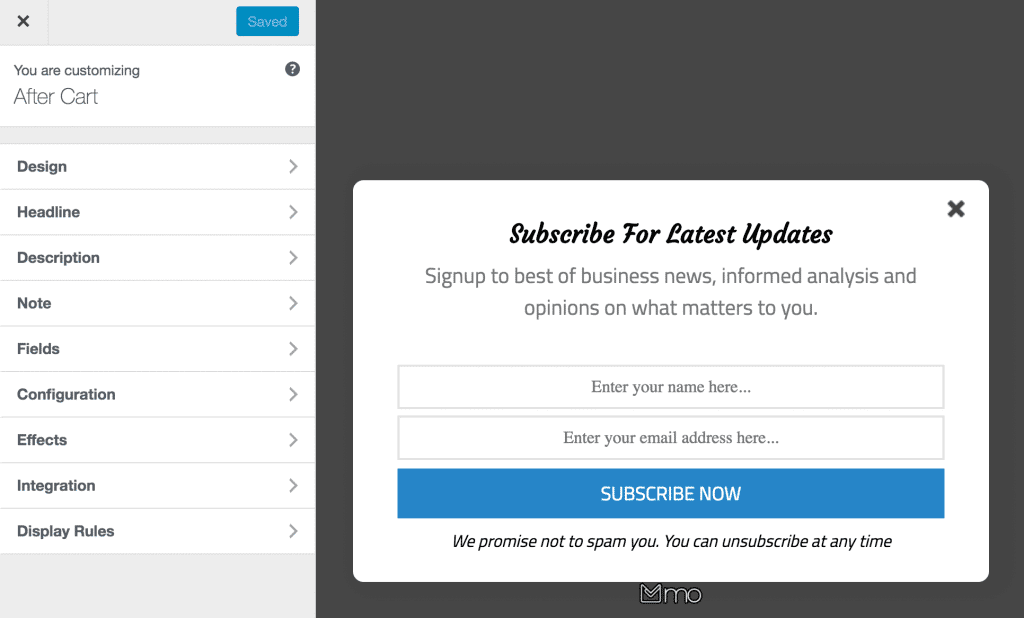
You will then be redirected to the form builder where you have options and the flexibility to customize the optin form to your heart’s content.
See: Adding Extra Fields to Your Optin Form
Having finished customizing the form, open the Integration panel, Select Brevo/Sendinblue in the Email Provider dropdown, and the Brevo/Sendinblue List to subscribe users to.
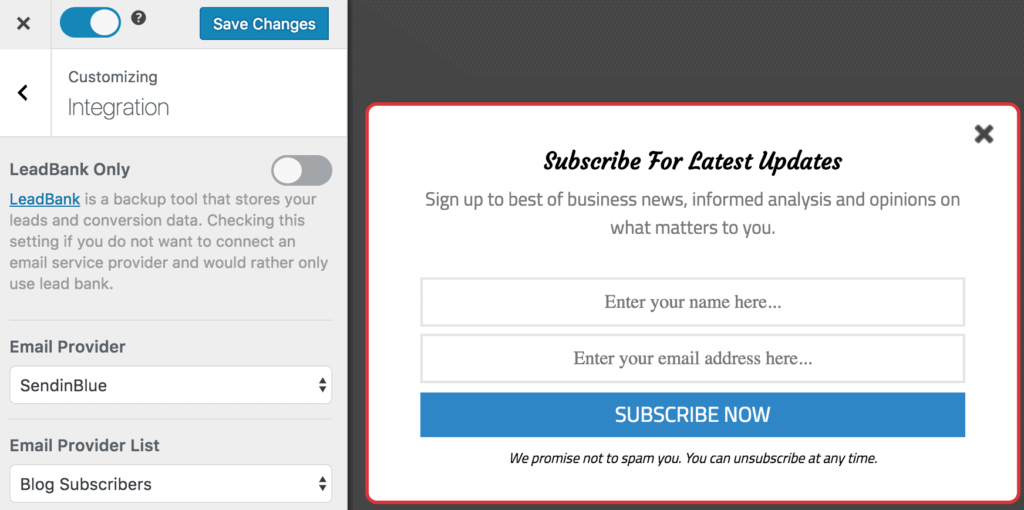
There is also the option to enable double opt-in. But first, ensure the double-option template and redirection URL are set.
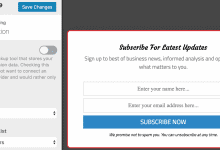
To actually get the opt-in to display on your site, toggle the activate switch ON at the top (close to the “Save Changes” button).
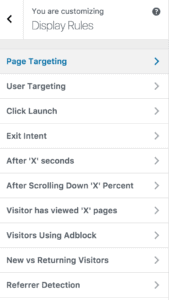
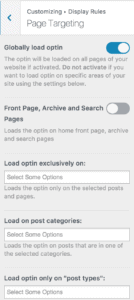
Navigate to the “Display Rules” panel. If you want the opt-in form to be displayed everywhere (all pages) of your WordPress site, also check “Globally load opt-in” otherwise, use the page-level targeting and triggers to determine how and where in your site the opt-in will be shown.
Finally, save the changes. Preview your website, and you should see the opt-in displayed. If it doesn’t show up, be sure to clear your website and browser cache.
Follow the guide below to learn how to create other popular types of email opt-in forms. And don’t forget to select Brevo/Sendinblue in the Integration panel.