Adding Custom Fields to Your Optin Form in WordPress
Do you want to add custom fields to your WordPress optin form?
Capturing leads is crucial for initiating and nurturing relationships with potential customers. Opt-in forms serve as gateways to obtaining these valuable leads, and they are most effective when they can gather specific details from users. This is where custom fields play a key role.
By default, when you create a WordPress optin form using MailOptin, it only has fields for name and email address. But you can add more fields, like a phone number or company name, to get the exact details you want.
In this guide, we will discuss the best practices for adding custom fields and walk you through adding them to your optin form in WordPress.
Best Practices for Using Custom Fields
Custom fields can significantly improve your data collection. They also improve your ability to segment in email marketing and CRM systems. To make the most of custom fields, follow these best practices:
Keep It Relevant: Only collect information relevant to your marketing objectives and the value you provide to your subscribers.
Limit the Number of Fields: Avoid overwhelming visitors with too many custom fields. Stick to essential information to maximize conversions.
Prioritize User Experience: Design your forms with the user experience in mind. Place custom fields in a logical order and use clear, concise labels. Consider the form’s visual design to make it user-friendly and visually appealing.
Map Fields Correctly: Make sure that custom fields map to the right fields in your email marketing or CRM system. This ensures that data flows seamlessly between systems and is available where needed.
Test Thoroughly: Before going live, test your forms to ensure custom fields work as intended. Check that data is captured correctly and integrates smoothly with your other systems.
Steps to Add Custom Fields to Email Signup Forms in MailOptin
Follow these steps to add custom fields to your optin form;
Step 1: Install and Activate MailOptin Plugin
To begin, install and activate the MailOptin plugin on your WordPress website. You can get it from the MailOptin website.
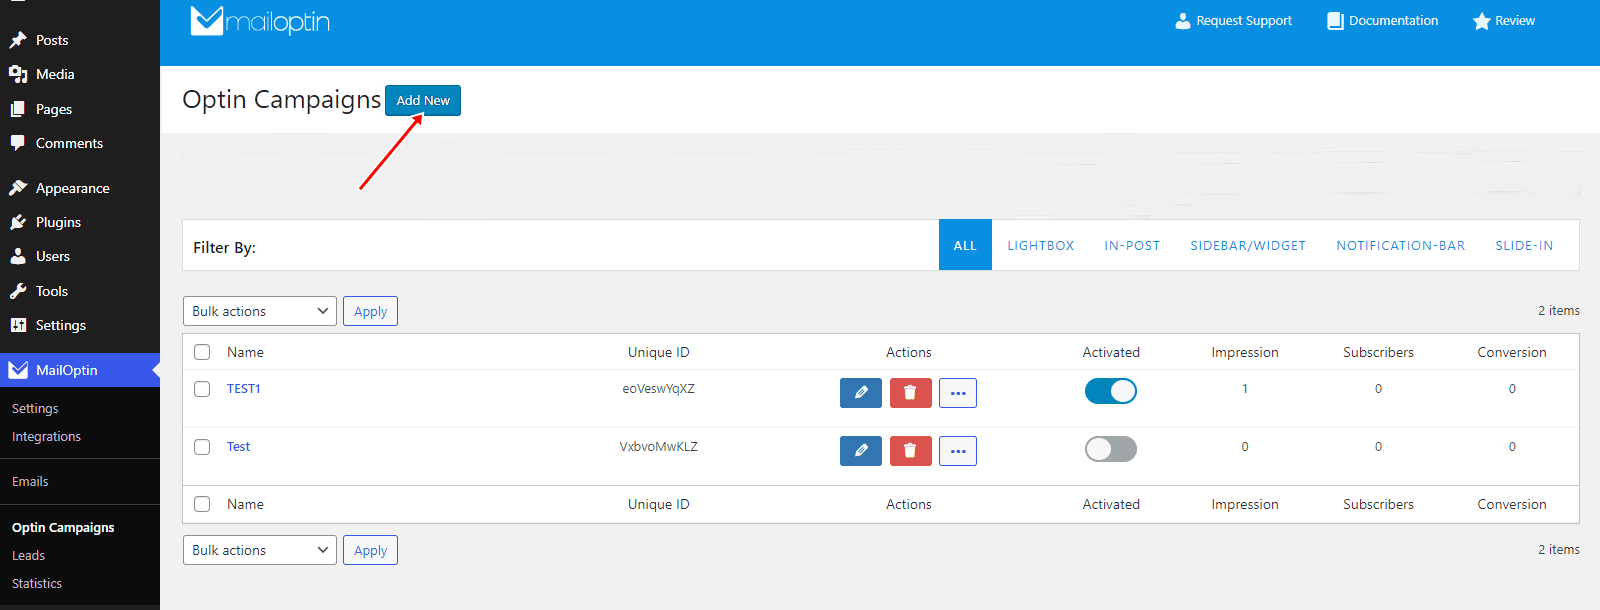
Step 2: Create a New Optin Campaign
Navigate to MailOptin > Optin Campaigns > Add New
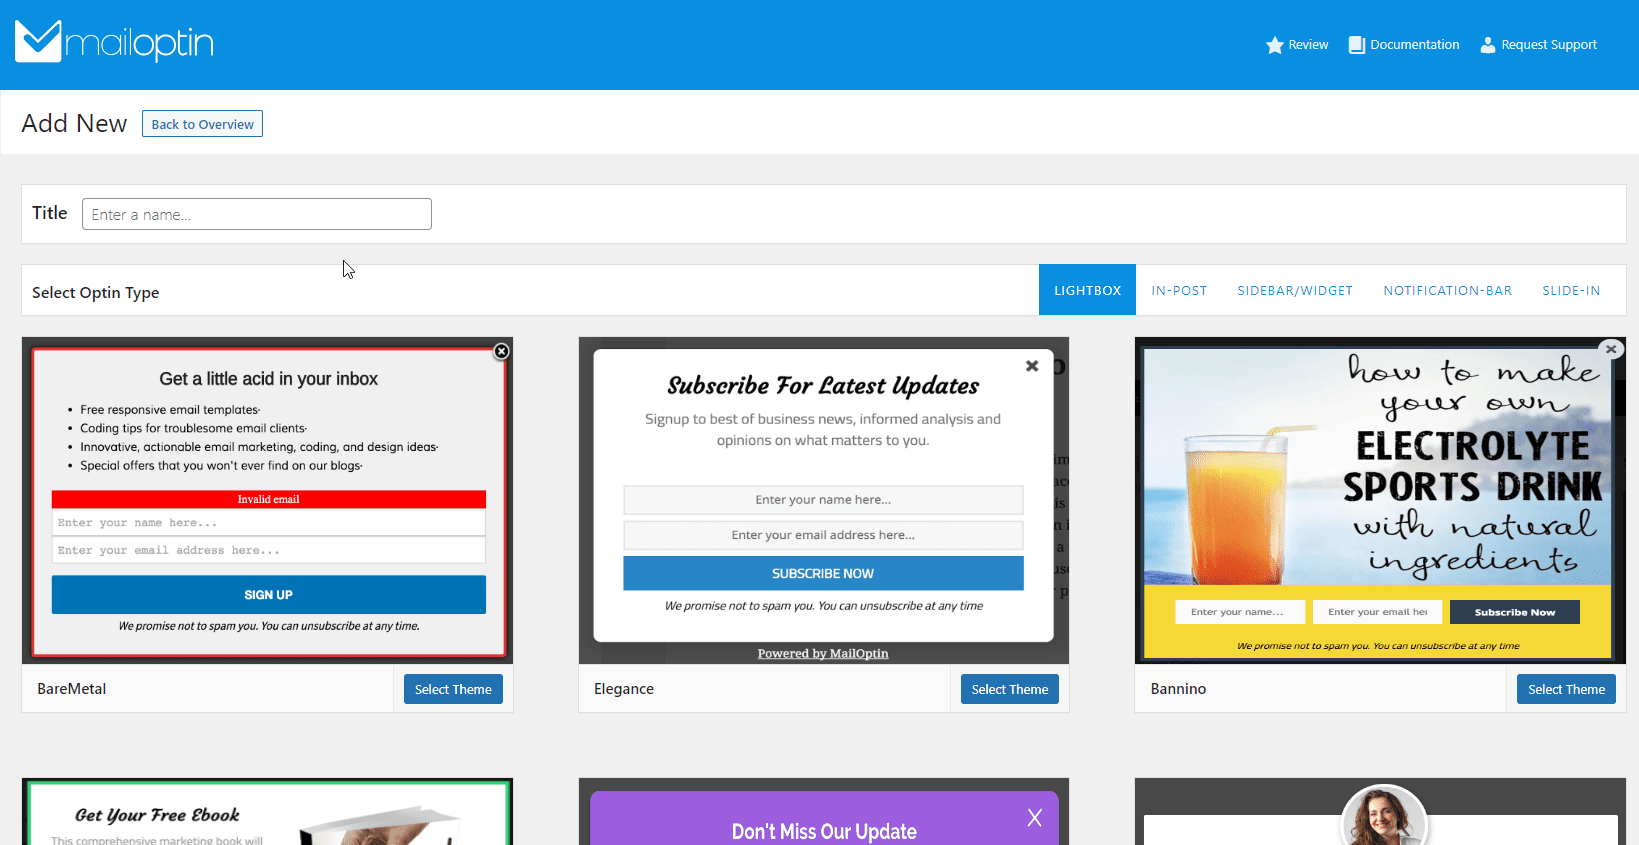
Next, enter a name for your new optin form and select a design:
This will take you to the optin campaign builder page:
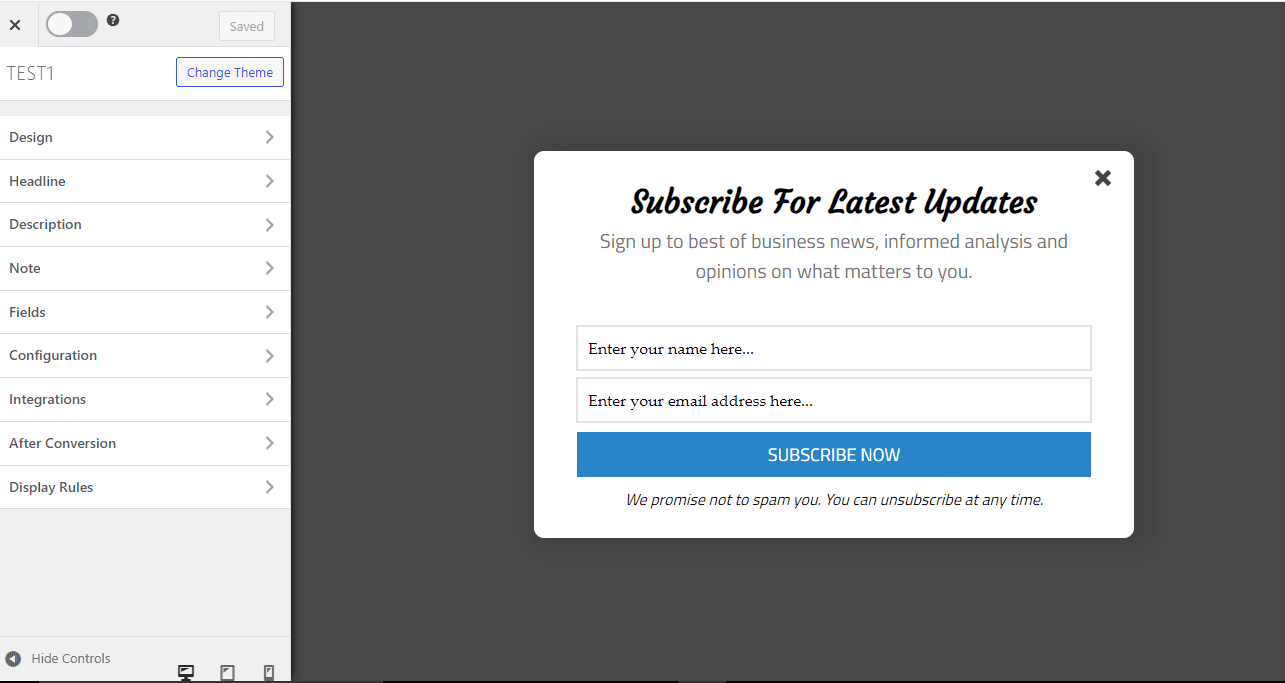
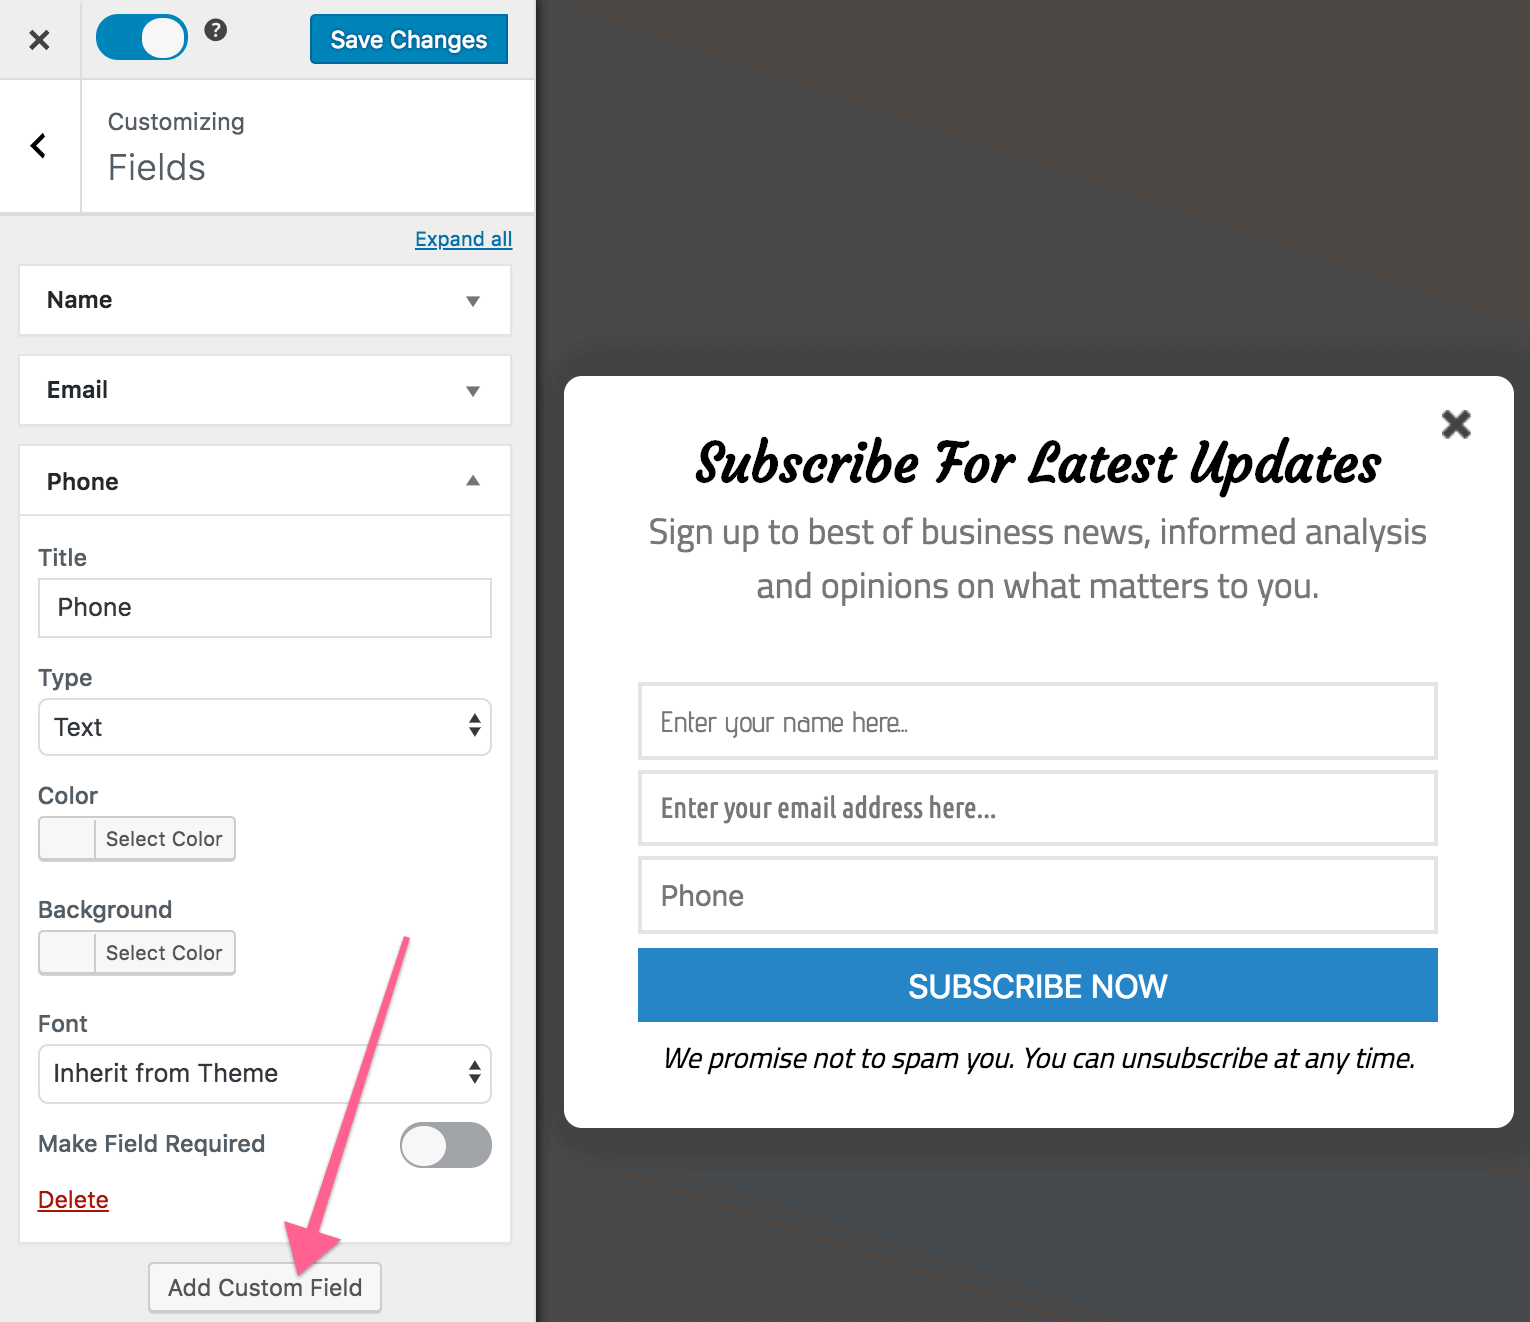
Next, click on the Fields section, and then click the ‘Add Custom Field’ button.
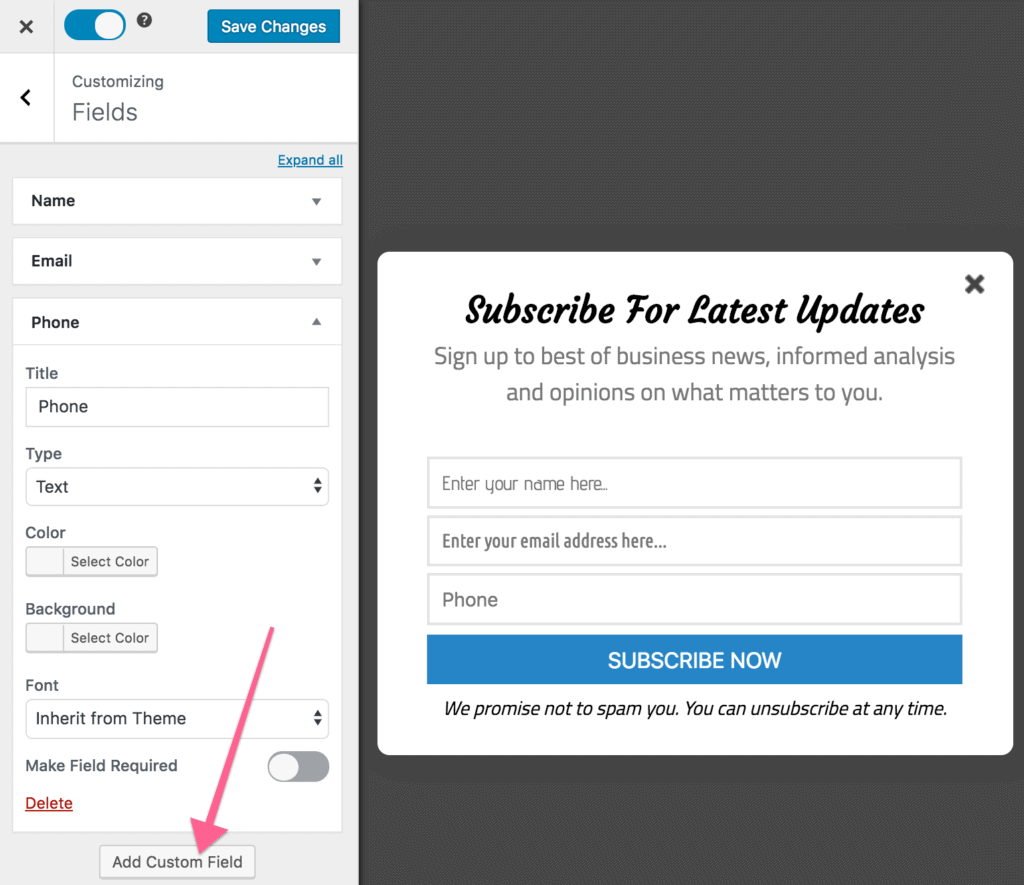
Fill out the form to define the custom field by supplying the title, the type of field (such as text, text area, checkbox, radio button, select dropdown, date picker, hidden field), color, background color, and font family. You also have the option to mark the field as required.
You can add as many fields as you want and sort them via drag-and-drop to re-arrange them.
Must Read: How to Let Users Select Email List in Your WordPress Form
Map Custom Fields To Your Email Service Provider / CRM
What happens to the data collected by the custom fields? You will want to pass or save the data to your email marketing software or CRM. In this section, we will show you how to map the extra fields you added to the form to the custom fields in your ESP/CRM.
Using MailChimp for this demonstration, we will add list subscribers to MailChimp with Address and Phone number fields, in addition to the regular first name, last name, and email fields.
Firstly, we need to add a phone and address field to the form, as described in the first section above.
Open the Integrations panel in the customizer. Select MailChimp as the email provider, and choose the list to which subscribers will be added.
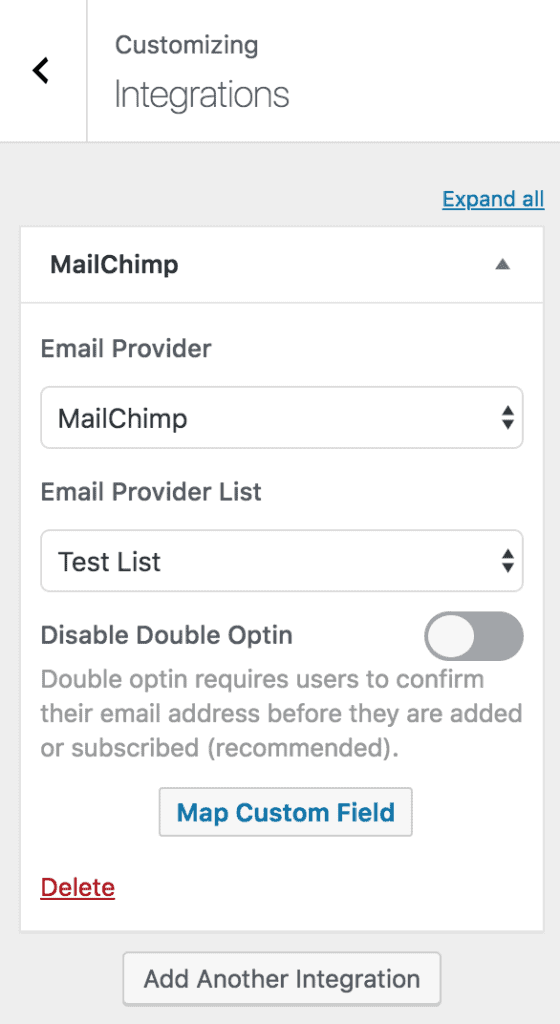
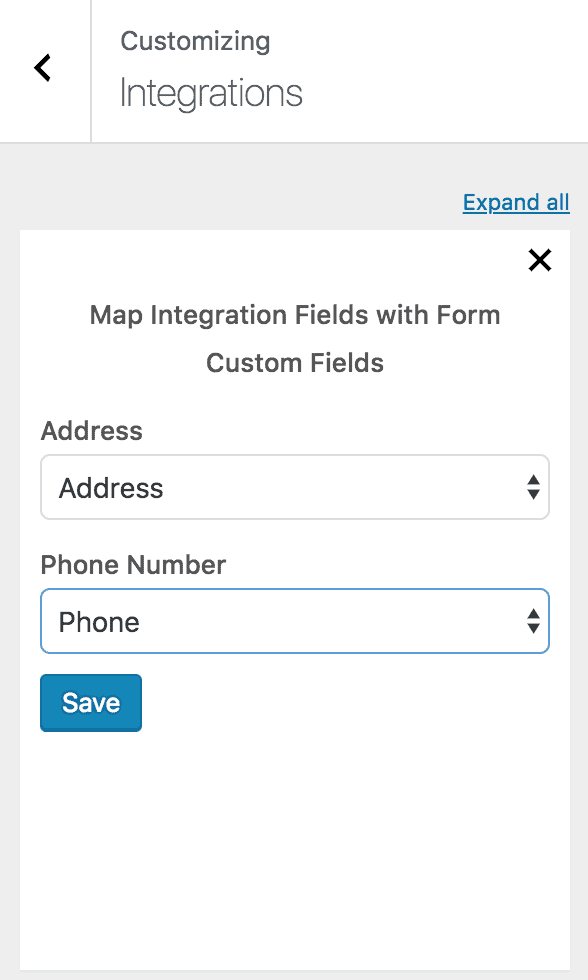
Click the Map Custom Fields button to reveal a UI where we can map the custom or extra fields added to the form to their corresponding fields in the selected MailChimp list. Don’t forget to click the little “Save” button when you are done.
In addition to the form fields, you can map and save the referral URL, IP address, conversion page, and optin campaign name against a custom field.
Easy right?
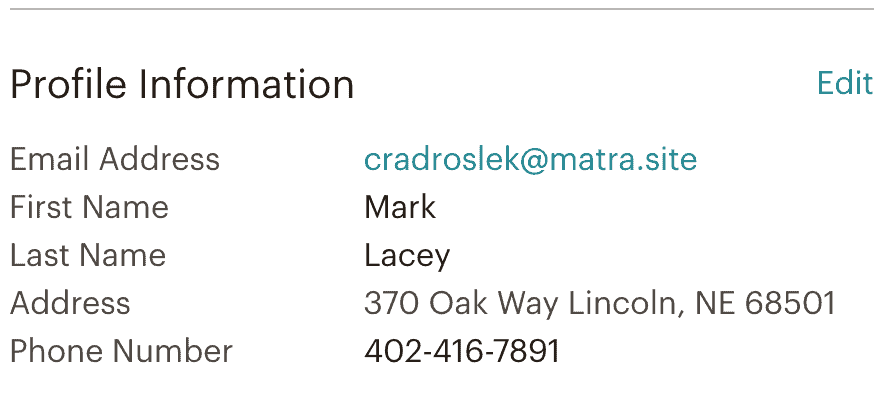
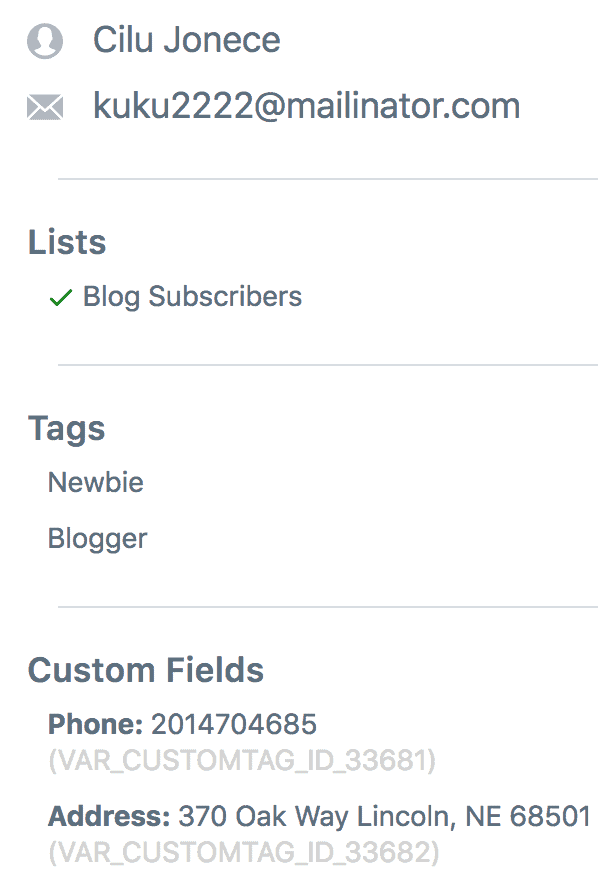
So, when visitors sign up for your list, the information they enter in the custom field will be included in their profile in MailChimp.
Integrations That Work Differently
Not all email marketing and CRM integrations we support work exactly as MailChimp described above. Let’s go over the integrations and their differences.
Klaviyo
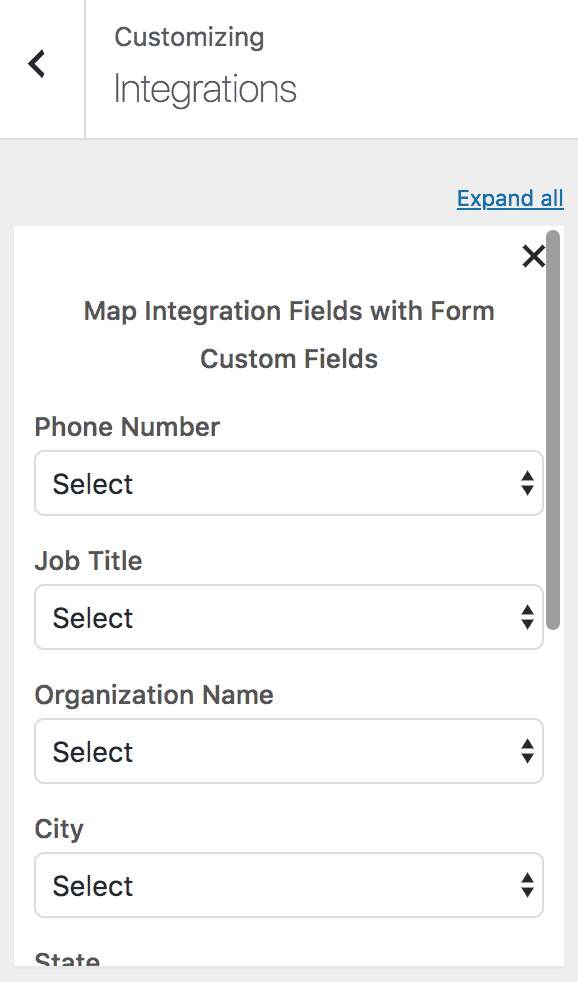
Klaviyo has several fields besides the name and email address that they specially recognize called “special identify properties”. They include Phone Number, Organization, Job Title, City, State, Country, etc.
In MailOptin’s field mapping UI, you can only map custom fields added to your form to these special properties.
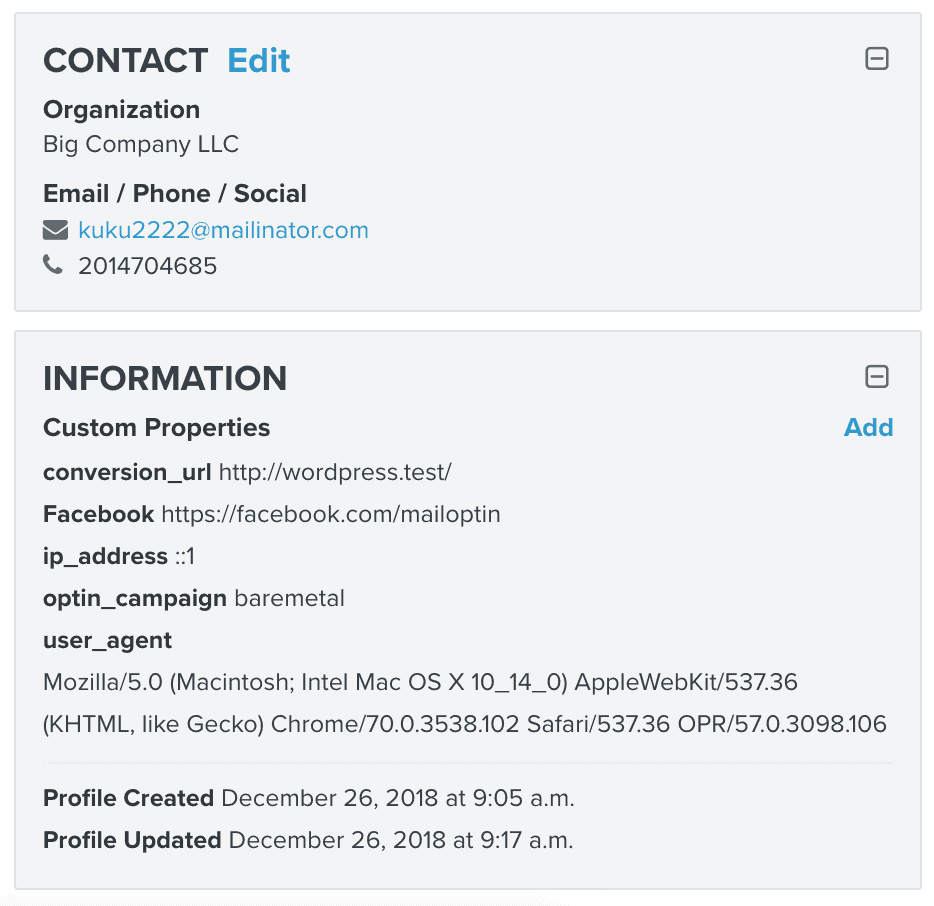
Other custom fields not mapped will not be neglected but saved against the subscriber profile as custom properties.
Sendlane
You don’t have to do any field mapping for Sendlane integration because MailOptin automatically saves the custom field data submitted by a subscriber against their profile in Sendlane.
Sendy
Like Sendlane, you can’t use the map custom fields UI for Sendy integration. However, you can save custom field data against a subscriber by ensuring the title of the custom fields added to your optin form matches the Personalization tag of the corresponding field in Sendy.
Say you have a Company Name field with personalization tag CompanyName, ensure the title of the custom field is CompanyName.

That’s how to add custom fields to your WordPress optin form!
By using the MailOptin plugin, you can add custom fields to your optin forms, allowing you to collect valuable insights from your WordPress website audience. Following the steps outlined in this guide and adhering to best practices, you can create highly effective opt-in forms that drive engagement and conversions on your WordPress website.
If you have any questions, please let us know.