How to Create Mailgun Mailing List Signup Forms in WordPress
Do you want to create Mailgun mailing list signup forms on your WordPress site?
Mailgun is an email infrastructure service that provides a robust cloud architecture maintained by an engineering team for swift and secure email delivery. It offers services like SMTP relay for reliable email delivery and an email platform to send, receive, and track emails. It has a mailing list feature for saving contacts or email subscribers to whom you can send emails.
In this tutorial, we will learn how to integrate WordPress with Mailgun so you can create optin forms to capture and save leads and information to your account using our powerful Mailgun WordPress plugin.
Creating a Mailgun Mailing List Signup Form in WordPress
To create a Mailgun mailing list signup form and add visitors and users to your website as email subscribers, you must first purchase a copy of the MailOptin plugin. Then, install and activate it on your WordPress website.
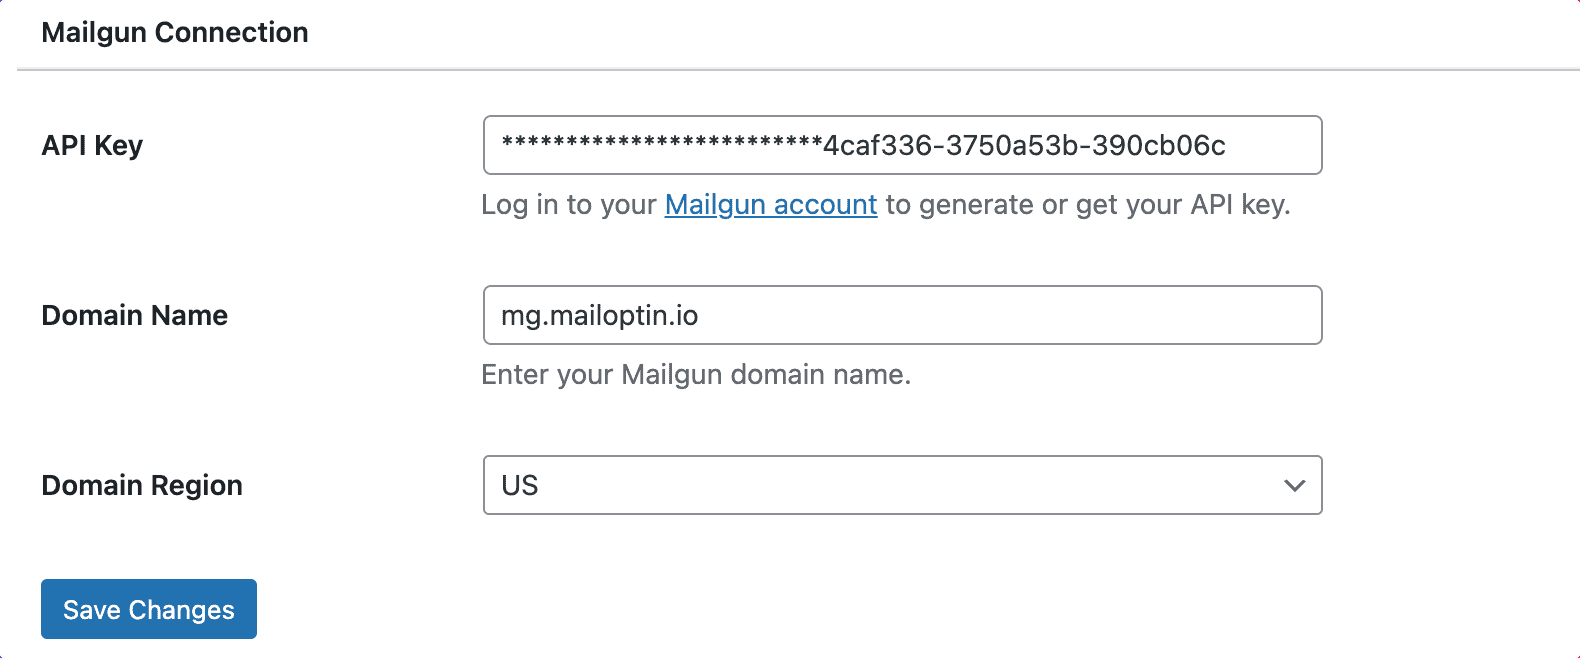
Next, connect MailOptin to your Mailgun account.
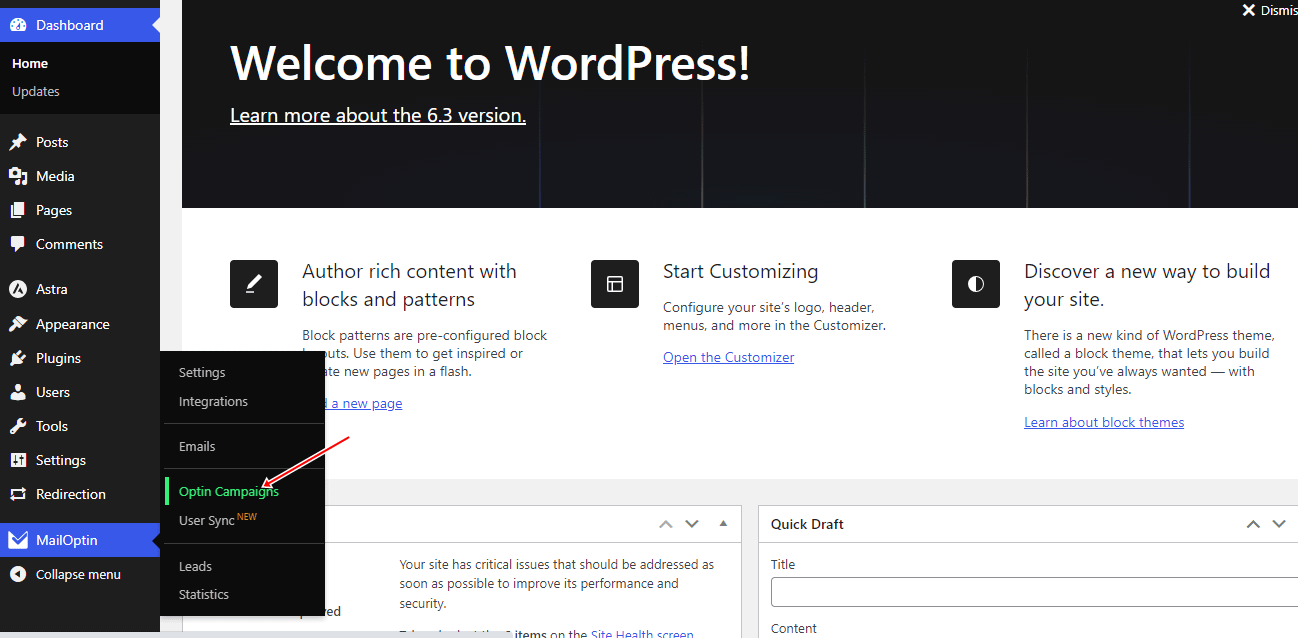
In the MailOptin menu, click on “Optin Campaigns.” to get started creating the Mailgun email signup form for your WordPress site.
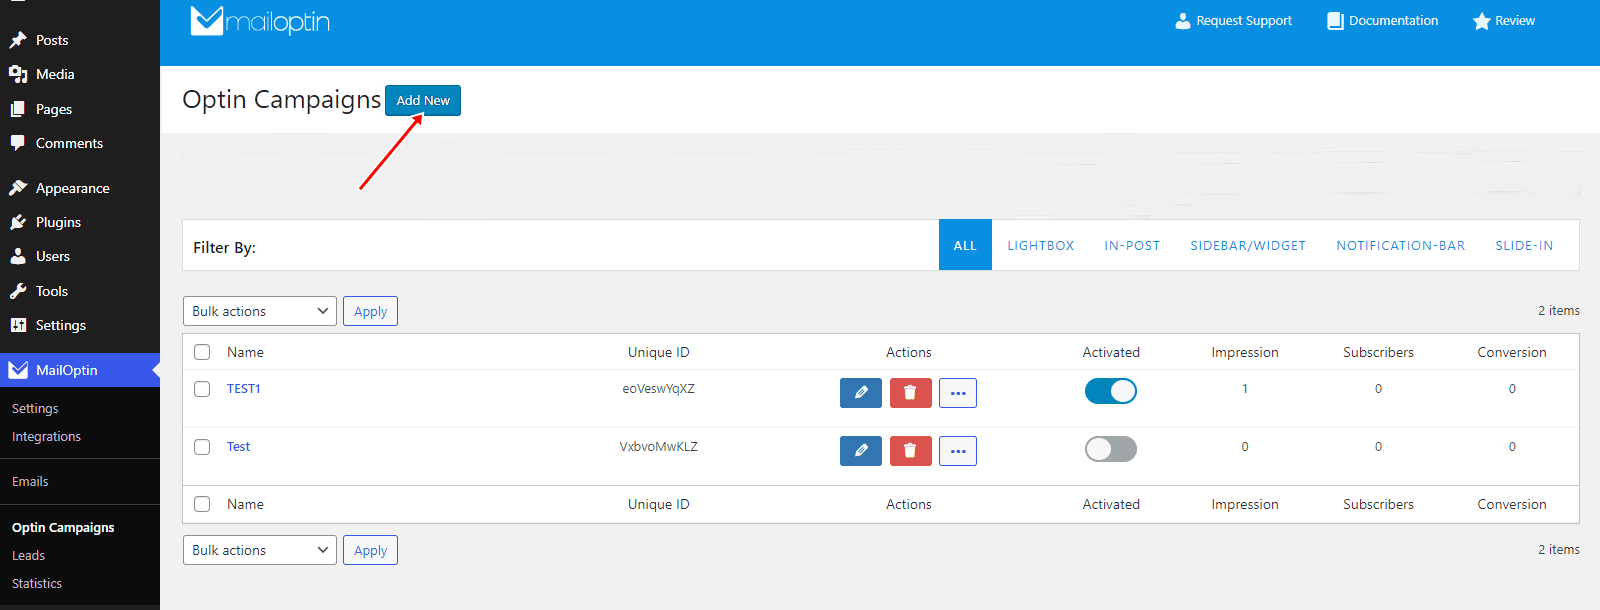
Then click the Add New button at the top to create a WordPress optin form.
Enter a title for the optin campaign, select the optin type (for this tutorial, we’ll choose Lightbox), and click the optin form design you want.
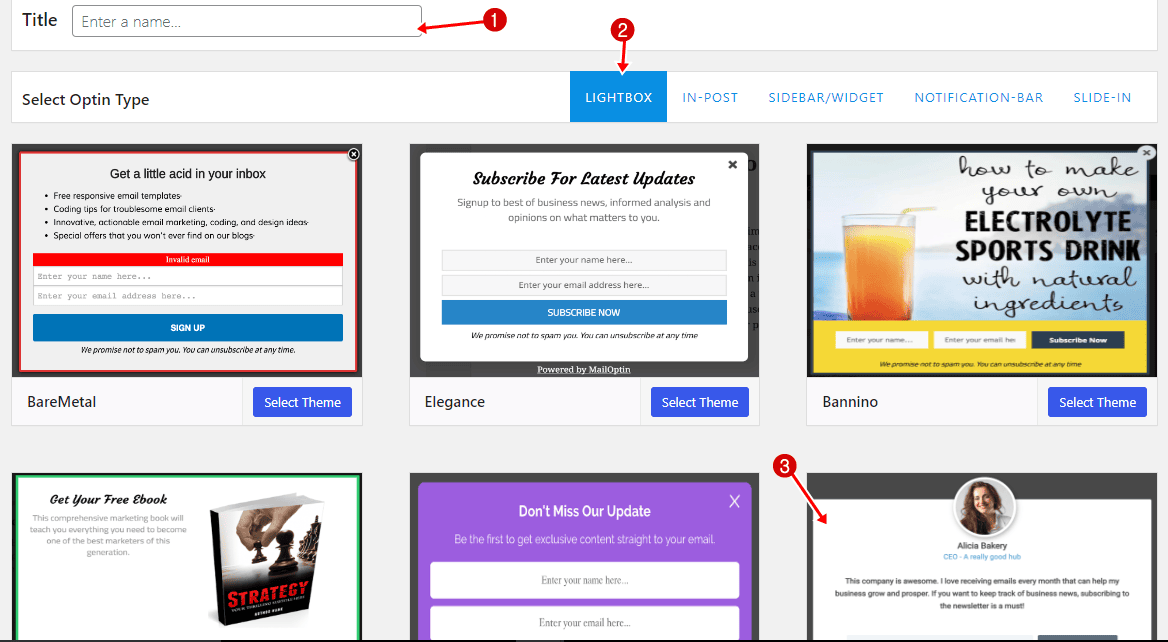
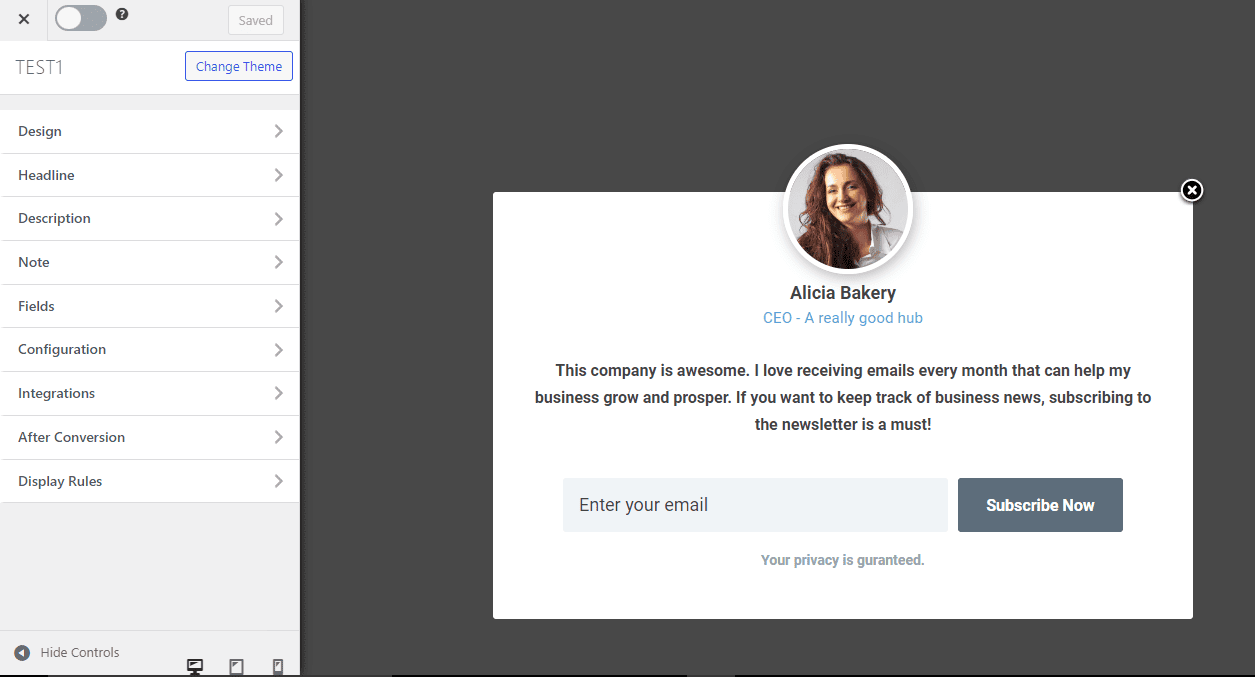
You will then be redirected to the form builder, where you have options and the flexibility to customize the optin form to your heart’s content.
See: Adding Extra Fields to Your Optin Form
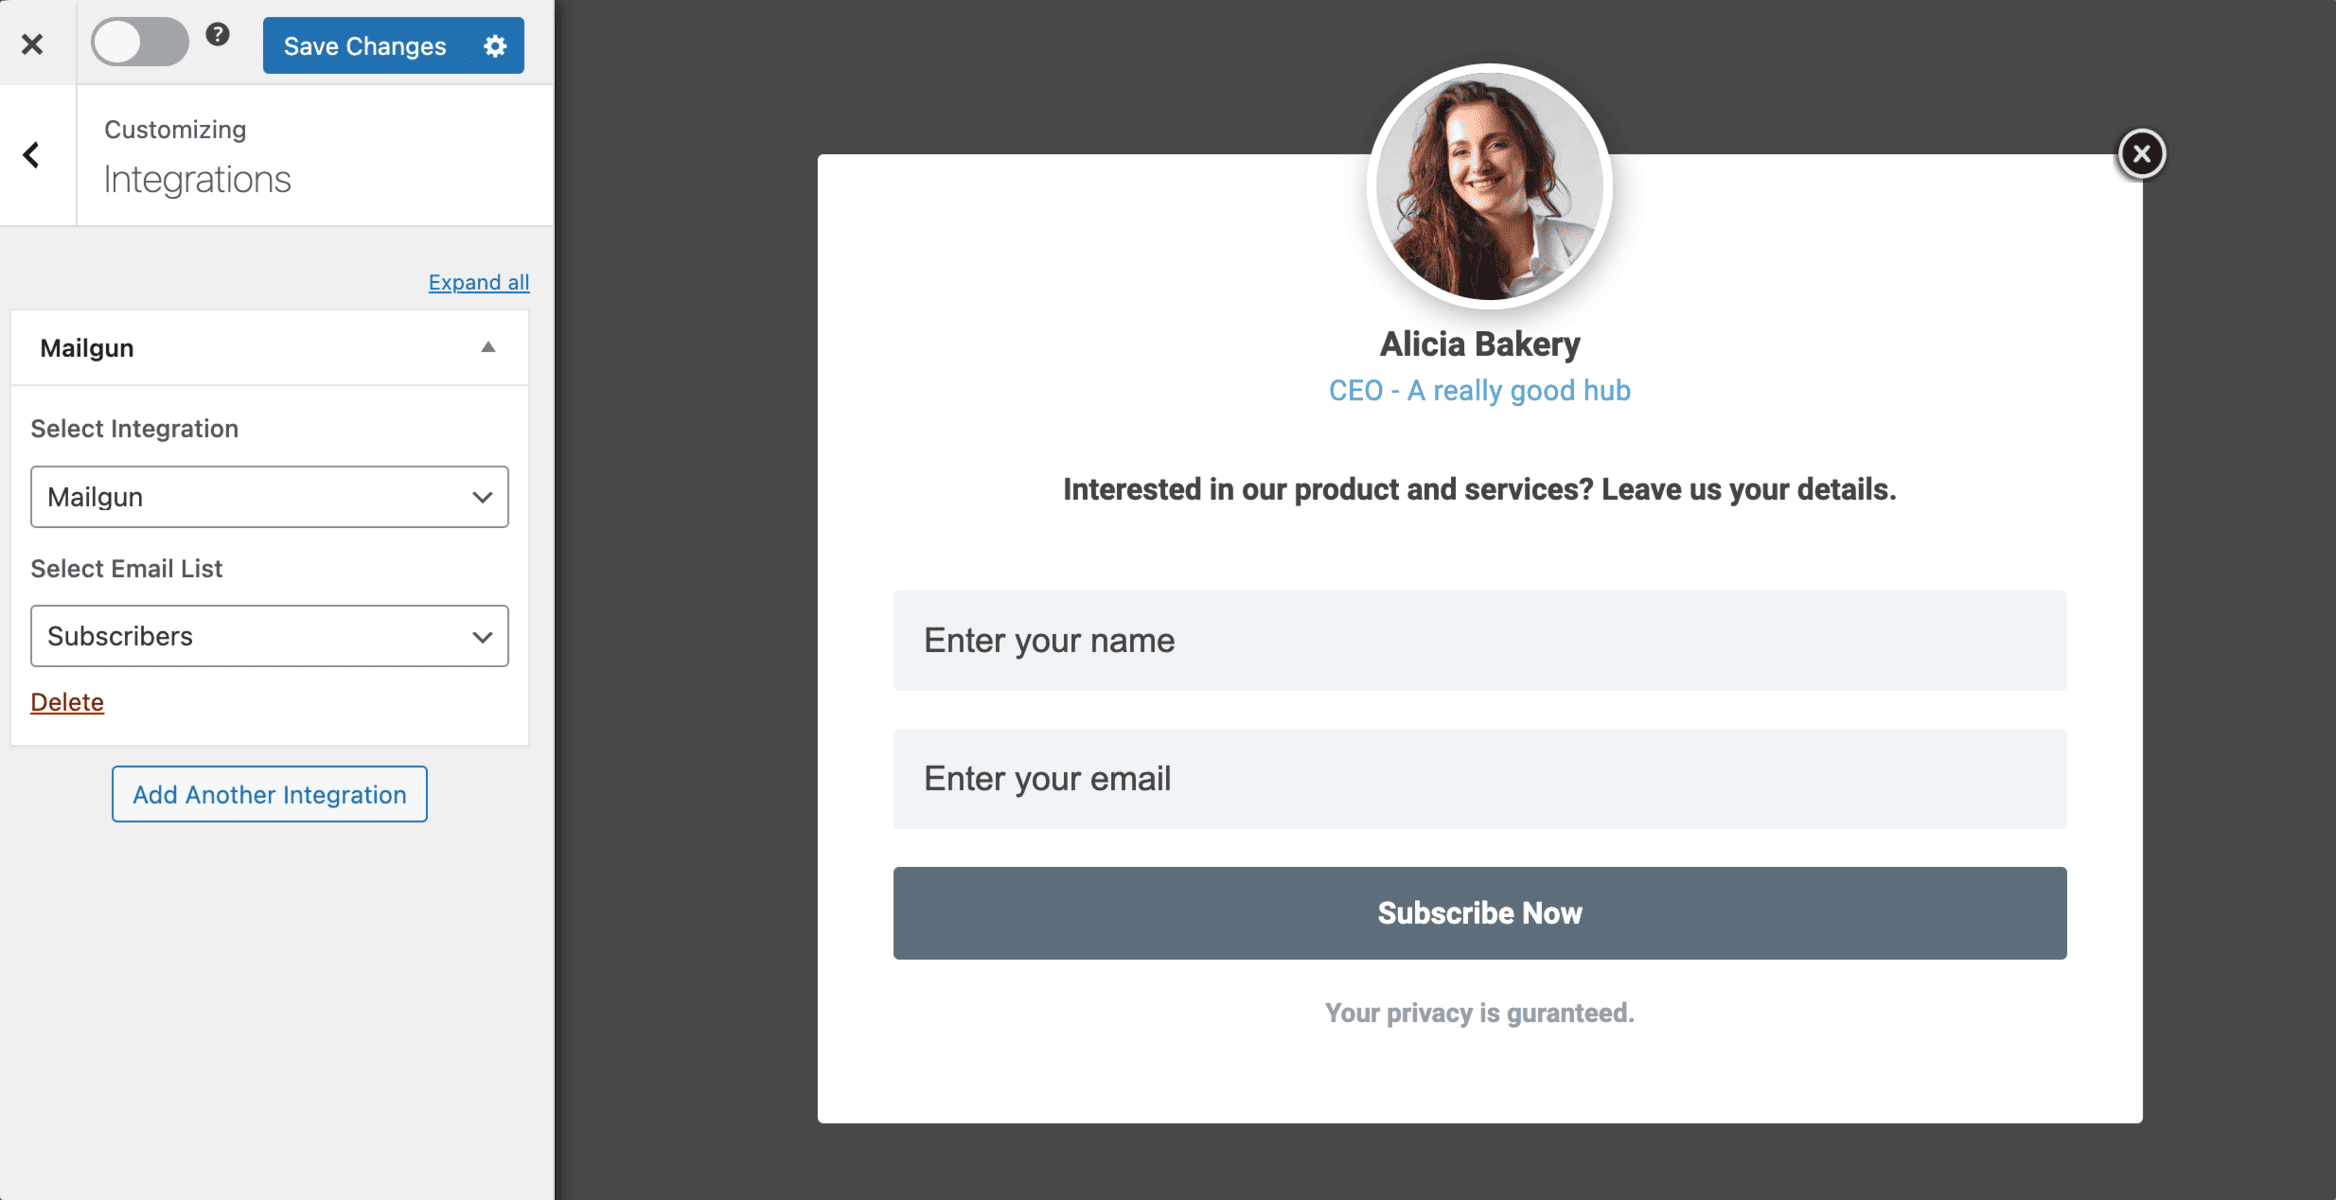
After customizing the form, open the Integration panel, Select Mailgun in the Select Integration dropdown, and the mailing list to subscribe users to.
To get the Mailgun WordPress optin form to display on your site, toggle the activate switch ON at the top (close to the “Save Changes” button).
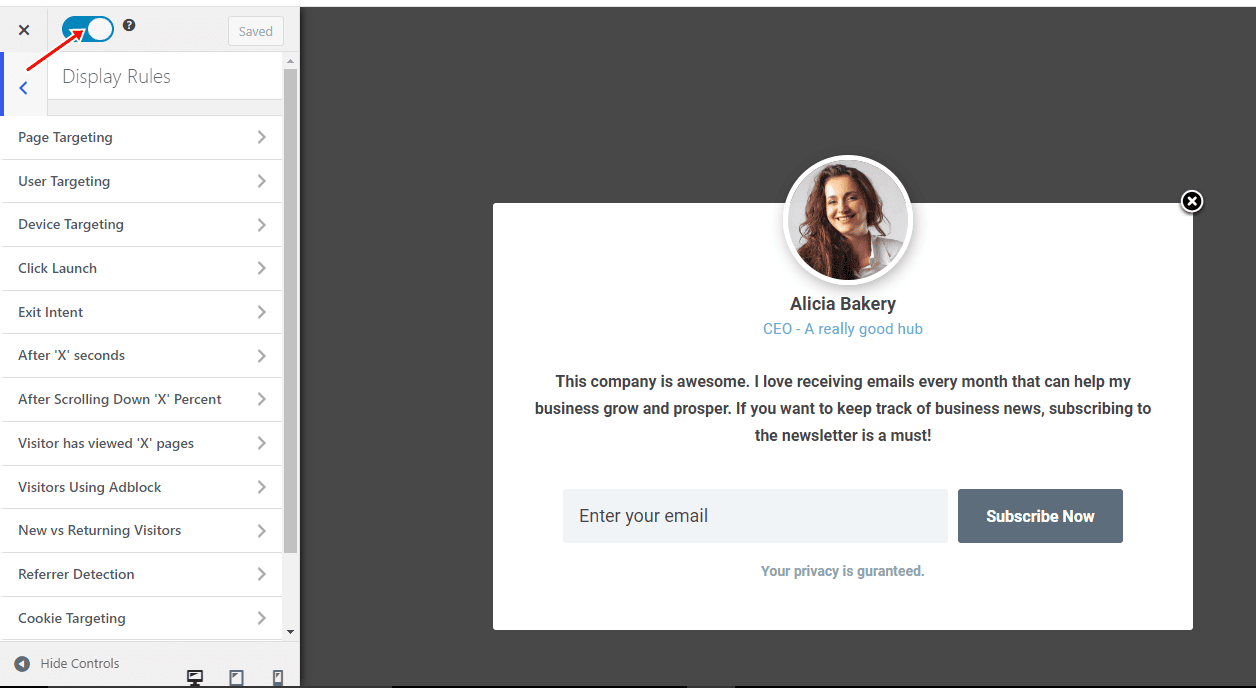
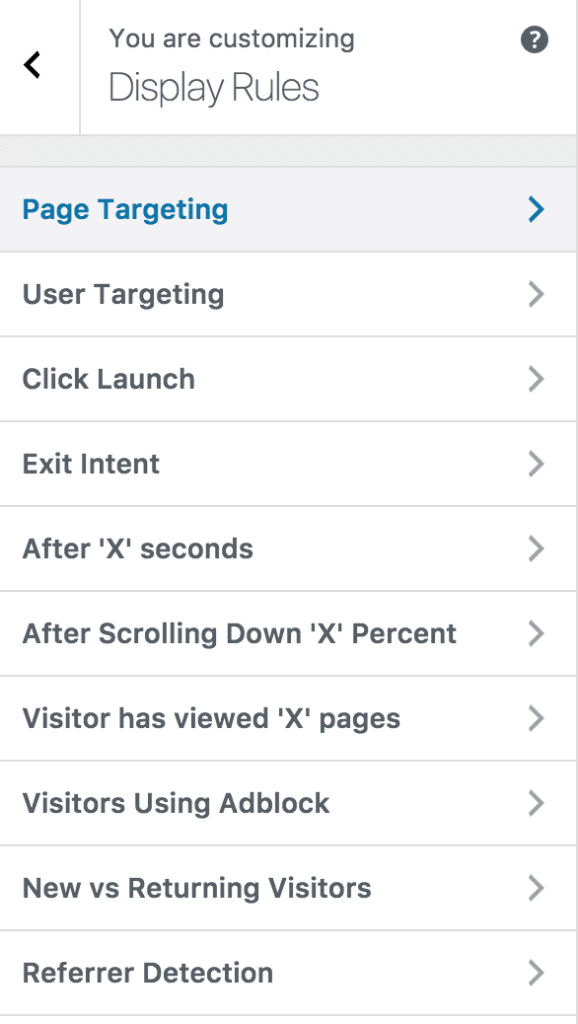
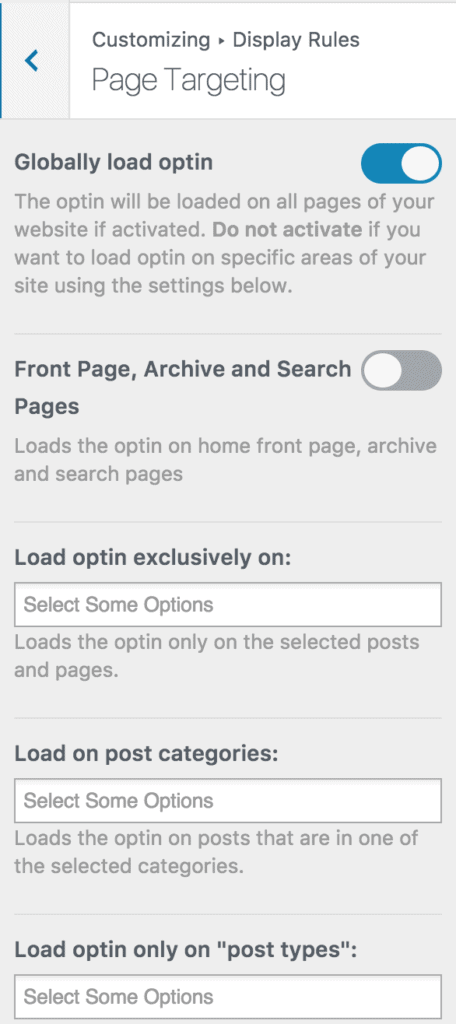
Navigate to the “Display Rules” panel.
To display the opt-in form on all pages of your WordPress site, check “Globally load optin.” Otherwise, use the page-level targeting and triggers to control how and where the opt-in form appears on your site.
Finally, save the changes. Preview your website, and you should see the optin displayed. If it doesn’t show up, clear your website and browser cache.
In conclusion, integrating Mailgun with your WordPress website through MailOptin offers a powerful way to capture leads, boost sales, and enhance your email marketing efforts.
With its user-friendly interface, diverse form types, A/B testing, advanced targeting options, and detailed analytics, MailOptin provides all the tools you need to create highly effective optin forms.
We hope this article has helped you learn how to create Mailgun mailing list signup forms.
You can follow the guide below to learn how to create other popular email opt-in forms. And remember to select Mailgun as the integration.