How to Create WordPress Mailchimp Email Signup Forms

Do you want to create a WordPress Mailchimp email signup Form?
In the digital age, email marketing remains a powerful tool for businesses to connect with their audience. One popular platform for managing email campaigns is Mailchimp, which is known for its user-friendly interface and excellent features.
Integrating Mailchimp with WordPress can supercharge your email marketing efforts. In this tutorial, we will learn how to create Mailchimp subscribe forms (also called email sign-up forms or opt-in forms) by integrating MailOptin with Mailchimp so you can start capturing and saving leads to your account.
It’s worth noting that our WordPress forms are Ajax, which means they don’t require a page reload.
Creating a Mailchimp Email Signup Form for WordPress
Follow these steps to create a WordPress Mailchimp email signup form.
Step 1: Install and Activate MailOptin Plugin
MailOptin is an excellent lead generation and email automation plugin that allows you to create opt-in forms, seamlessly syncing your email subscribers with your Mailchimp account.
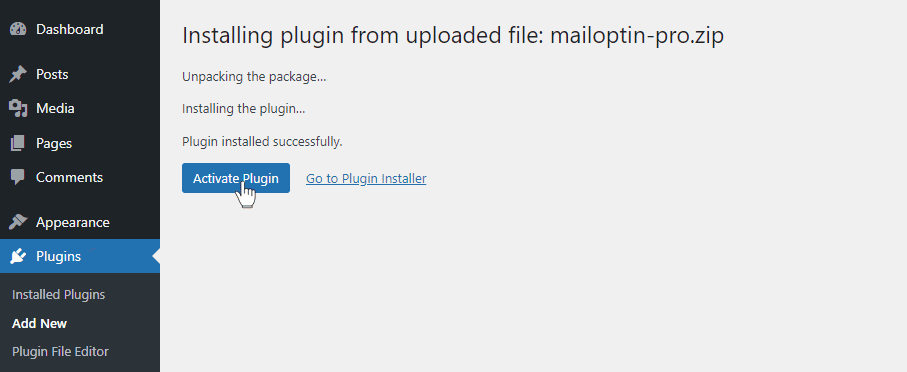
To begin, purchase a MailOptin plan and download the plugin from the welcome email or your MailOptin account. Next, upload and install the plugin on your WordPress website.

Once installed, click “Activate” to activate the plugin.
Step 2: Connecting MailOptin to Mailchimp
MailOptin is now ready to use on your WordPress site. Next, connect MailOptin to your Mailchimp account.
Do this by following this guide. When you are done, return to this page.
Step 3: Create a Mailchimp Optin Form
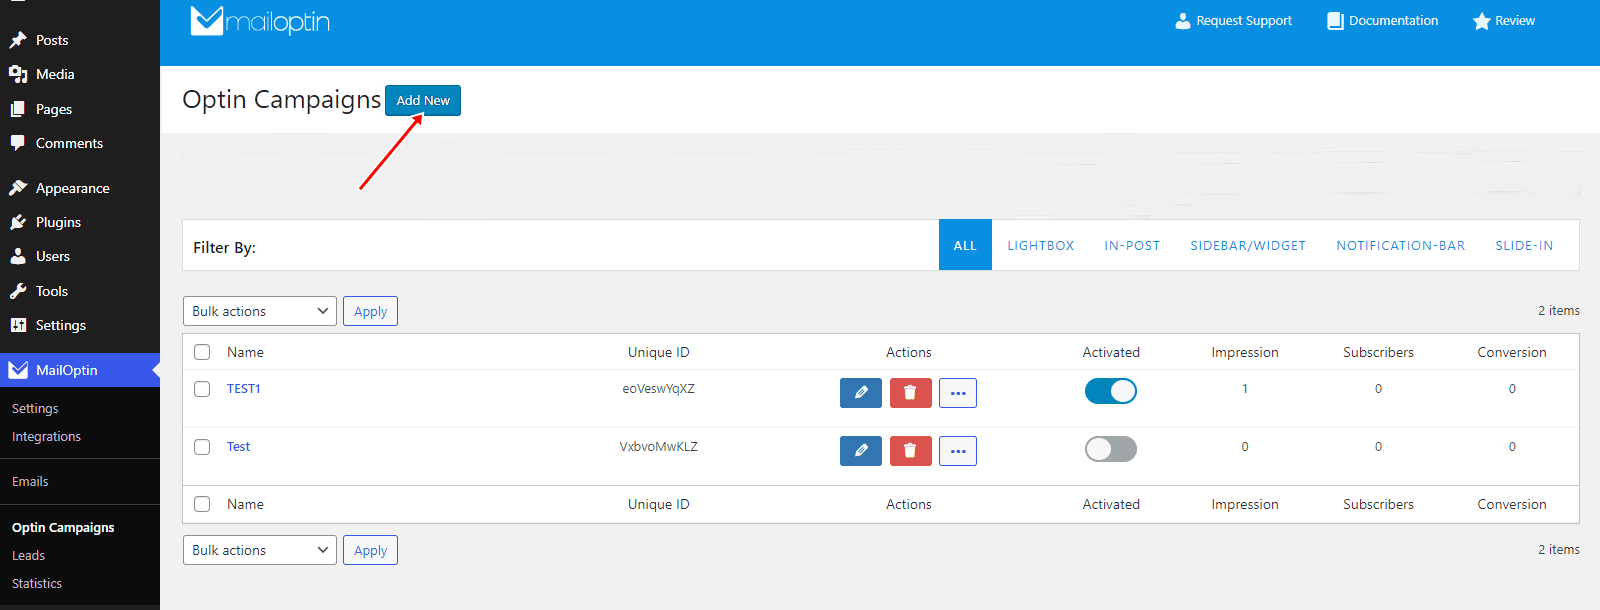
Go to the Optin Campaign page and click the Add New button to create an optin form.
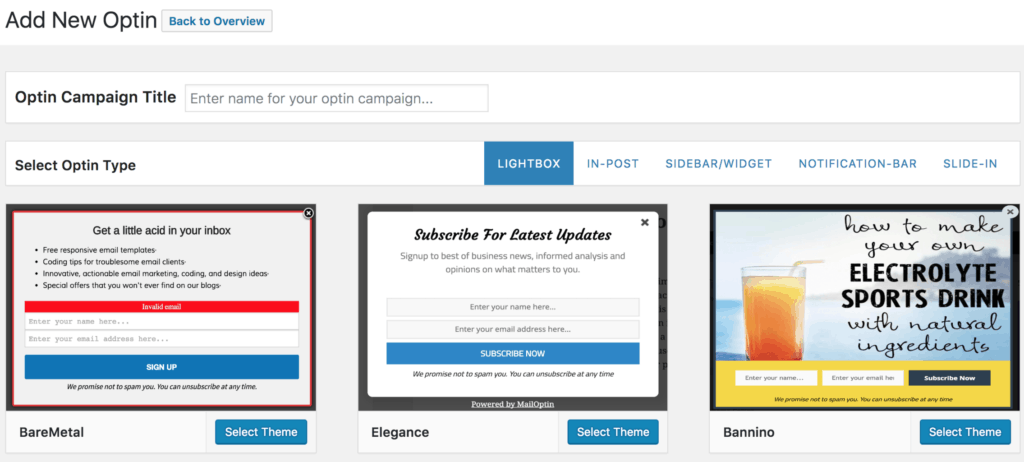
Enter a campaign title, select the optin type (for this tutorial, we’ll select Lightbox), and click the optin form design you want.
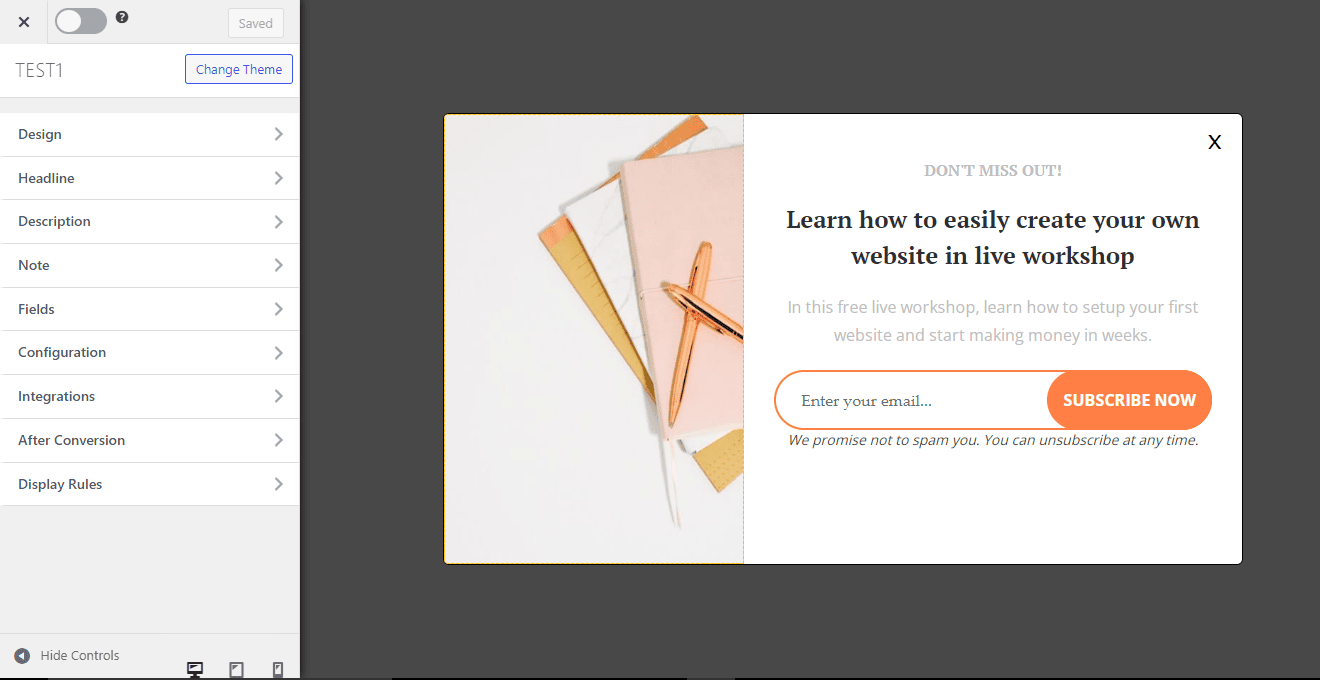
You will then be redirected to the WordPress form builder, which has options and the flexibility to customize the optin form to your heart’s content.
See: Adding Extra Fields to Your Optin Form
Having finished customizing the WordPress email signup form, open the Integration panel, Select MailChimp in the Email Provider dropdown, and the Mailchimp List users will be subscribed to. You also have the option to disable double optin and assign MailChimp tags to subscribers and segment leads into Mailchimp groups.
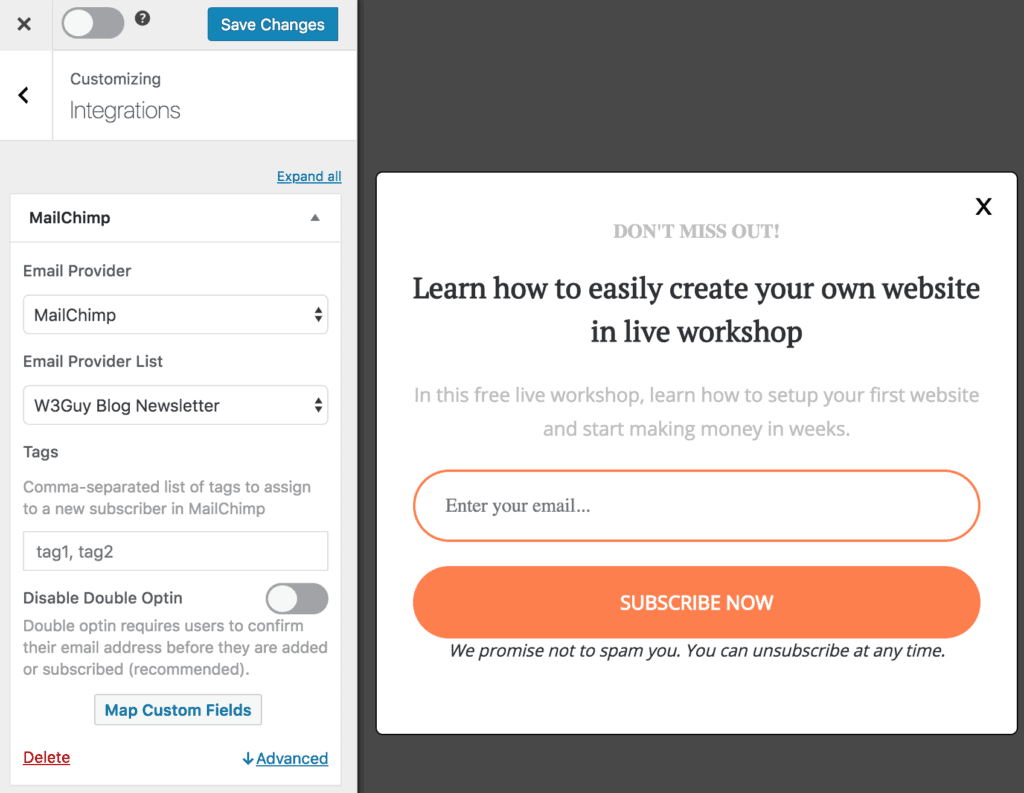
To get the opt-in to display on your site, toggle the activate switch ON at the top (close to the “Save Changes” button).

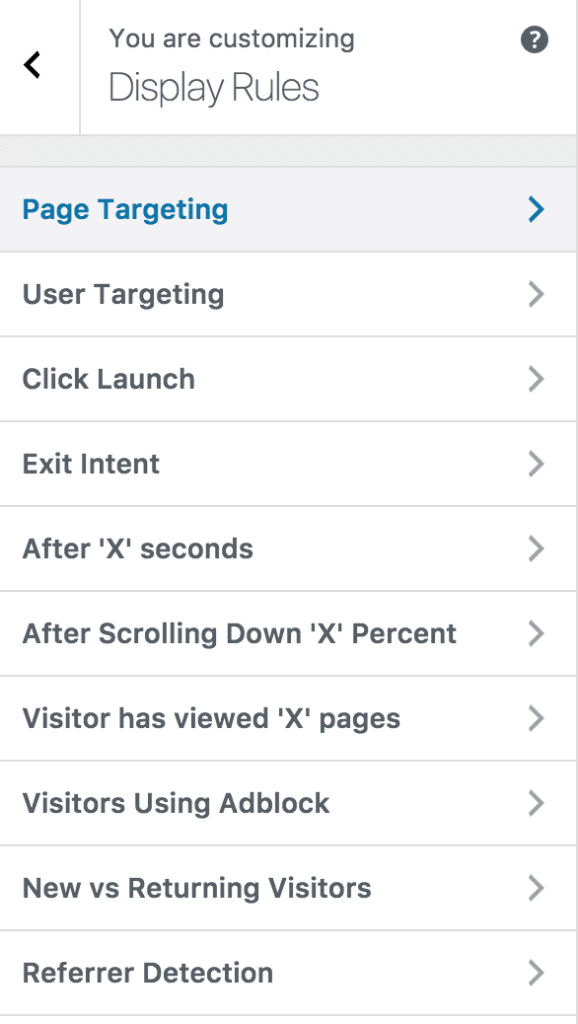
Navigate to the “Display Rules” panel.
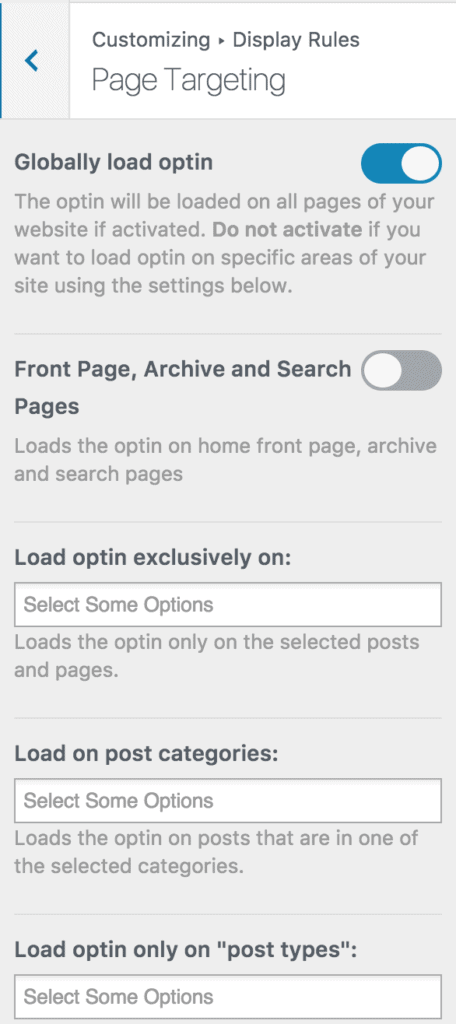
If you want the Mailchimp opt-in form to be displayed everywhere (all pages) of your WordPress site, also check “Globally load optin.” Otherwise, use page-level targeting and triggers to determine how and where the opt-in will be shown on your site.
Finally, save the changes. Preview your website, and you should see the optin displayed. If it doesn’t, clear your website and browser cache.
That’s how to create WordPress Mailchimp email signup forms
Creating WordPress Mailchimp email signup forms using MailOptin is straightforward and effective. By following these steps, you can create and customize your Mailchimp email signup forms, ensuring they align with your website’s design and appeal to your audience.
Follow the guide below to learn how to create other popular email opt-in forms. Remember to select Mailchimp in the Integration panel.
- How to Create a Notification Bar (Bottom/Top Bar) Optin
- How to Create a Slide-in Optin Campaign
- How to Create Before and After Post Optin Forms
- How to Create Sidebar Widget Optin Forms
FAQs
Q: How do I send welcome emails to new leads?
A: MailChimp allows you to send a final welcome email to new leads. To send final welcome emails:
- Final Welcome Email must be enabled in your MailChimp account.
- Alternatively, if you choose not to enable the Welcome Email option, then you need to set up an automation workflow in MailChimp that sends an email once someone subscribes to your list.
For marketing purposes, most users should use MailChimp Automation to send a series of emails to new subscribers.
Q: Can I Add MailChimp Groups?
A: Yes! see our guide for adding new leads to your MailChimp groups.
We hope you have learned how to create a Mailchimp email newsletter or email signup form that is shown to visitors to your WordPress website.