How to Create WordPress Keap/Infusionsoft Opt-in Forms
Do you want to create a Keap (Infusionsoft) WordPress form to add leads, contacts, and subscribers to your account?
Keap (formerly known as Infusionsoft) is a customer relationship management (CRM) and marketing automation software designed for small businesses. It offers tools for managing customer interactions, marketing campaigns, and sales processes.
In this tutorial, we will learn how to integrate WordPress with Keap (Infusionsoft) so you can create optin forms to capture and save leads to your account using our powerful Keap WordPress plugin, MailOptin.
Creating a Keap (Infusionsoft) WordPress Optin Form
To create a Keap (Infusionsoft) email signup form for your WordPress website, you need to first purchase a copy of the MailOptin plugin.
Next, log in to your WordPress admin dashboard. Go to the Plugins page. Click the Add New button and Upload Plugin.
Then click on Choose File to select the downloaded plugin zip file. Click Install Now.

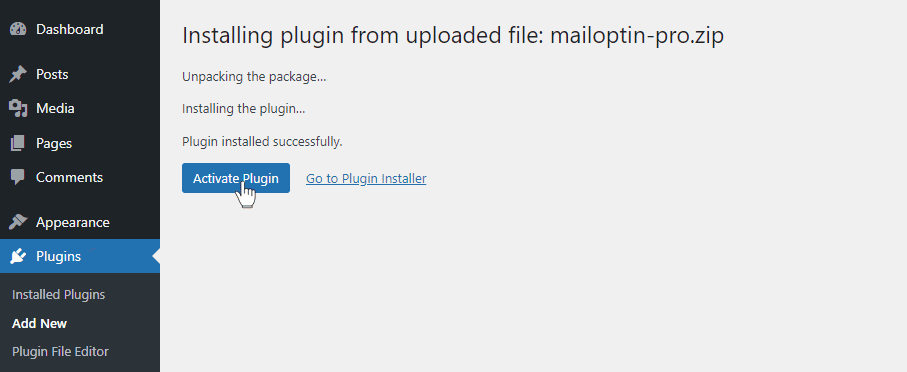
After installing the plugin, activate it by clicking ‘Activate Plugin’.
Connecting MailOptin With Your Keap Account
After installing the MailOptin plugin on your WordPress website, next is to connect WordPress with your Keap (Infusionsoft) account via MailOptin.
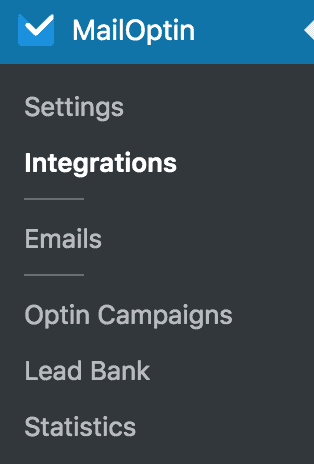
Navigate to the plugin settings in your WordPress dashboard and click on Integrations.
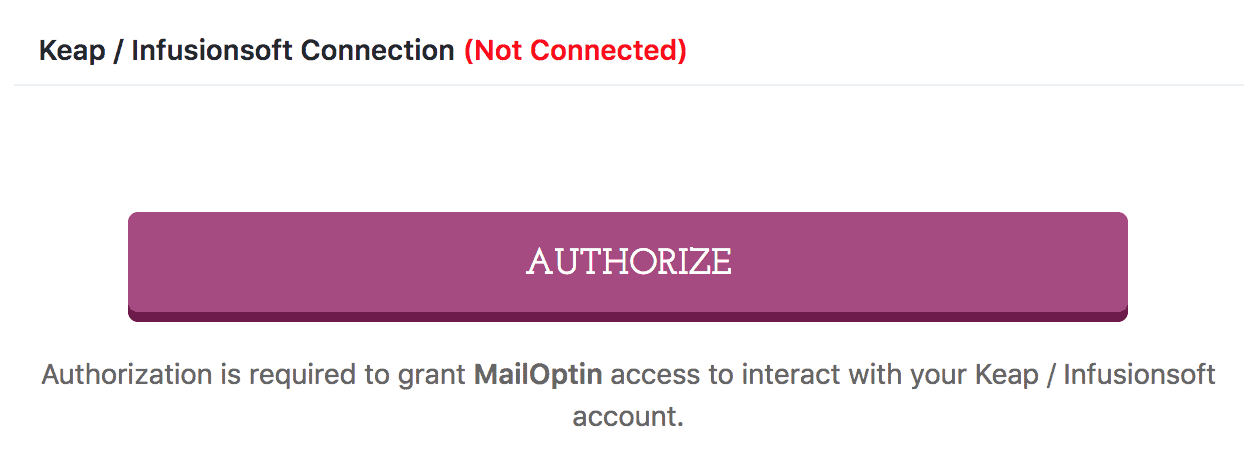
At the Keap / Infusionsoft Connection section, click the “Authorize” button.
Next, you will be redirected to log in to your account, followed by a page where you can authorize MailOptin to access your account.
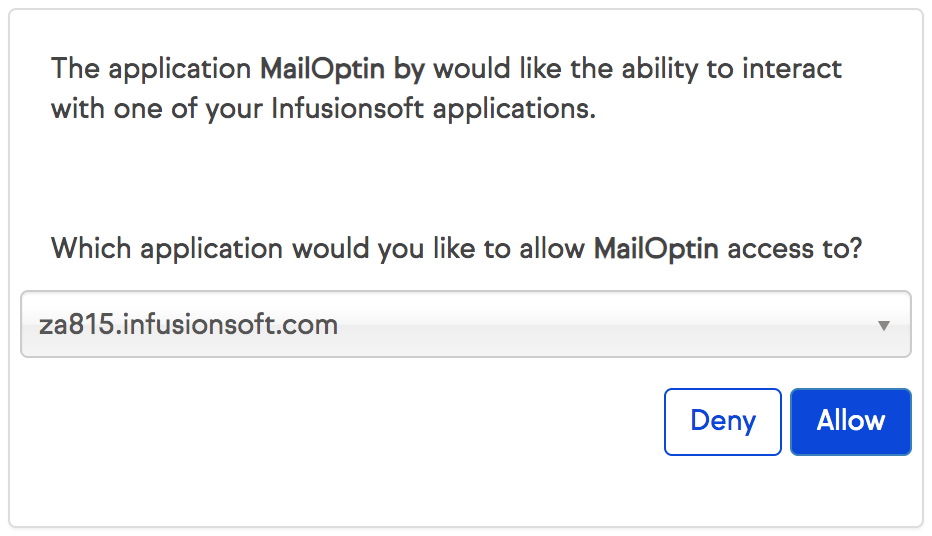
You will then be redirected to the MailOptin integration page upon successful authorization.
Building the Keap (Infusionsoft) WordPress Form
After successfully connecting your accounts, the next is to create the Keap (Infusionsoft) optin form for your WordPress website.
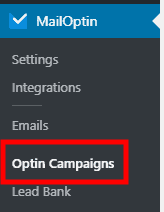
Navigate to your WordPress admin dashboard and click on MailOptin > Optin Campaigns.
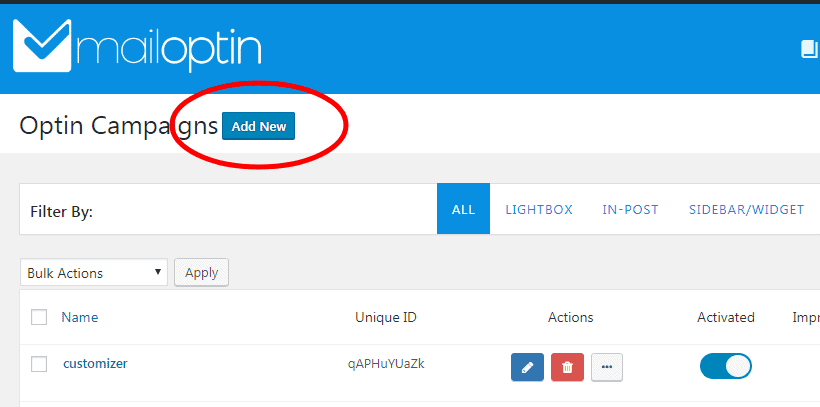
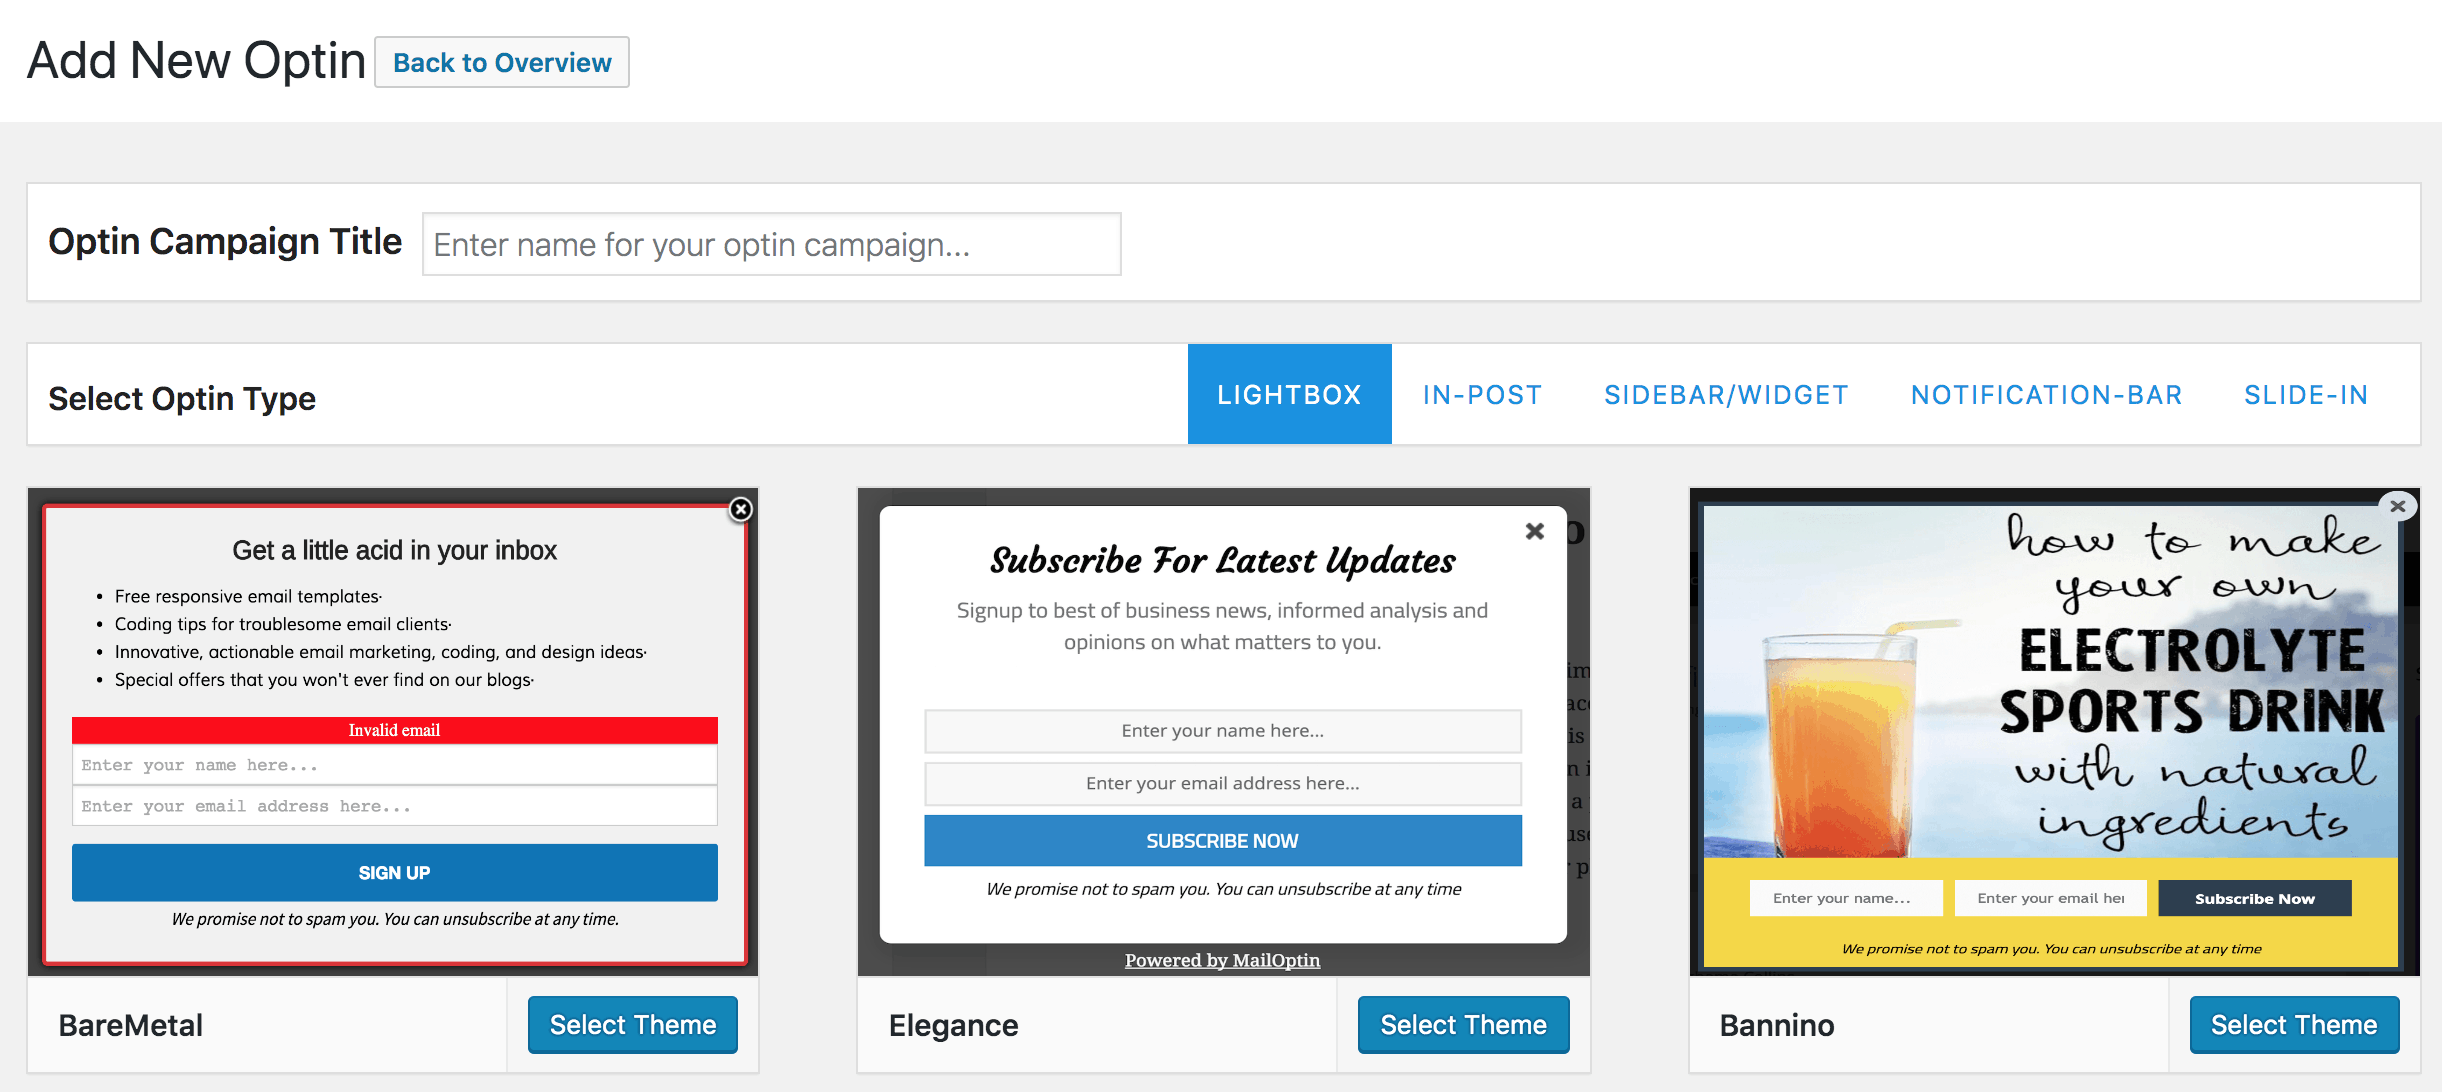
Next, click the Add New button at the top of the page to create a new opt-in form.
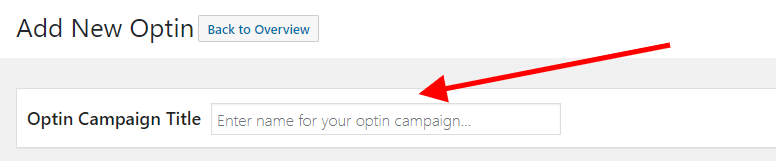
Give your new WordPress optin campaign a name.
Then, select an optin template or theme for the campaign you want to create.
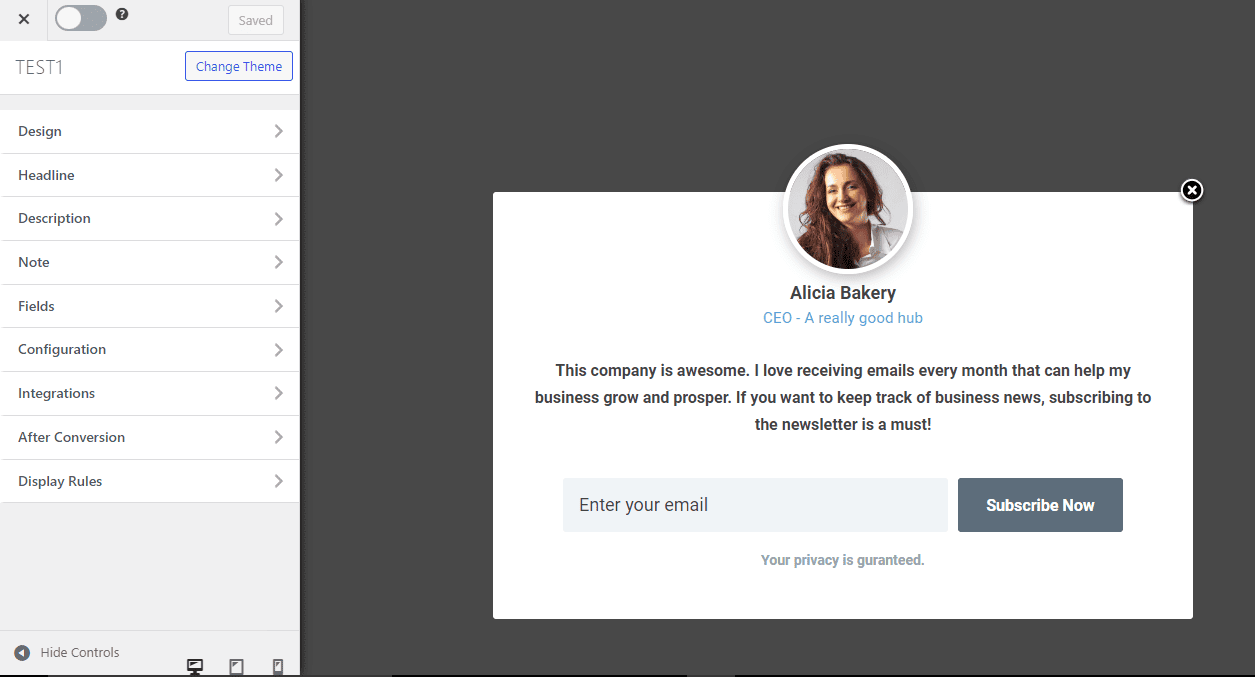
MailOptin will create your new campaign and then redirect you to the campaign customizer, where you will have options and the flexibility to customize the opt-in form any way you like.
See: Adding Extra Fields to Your Optin Form
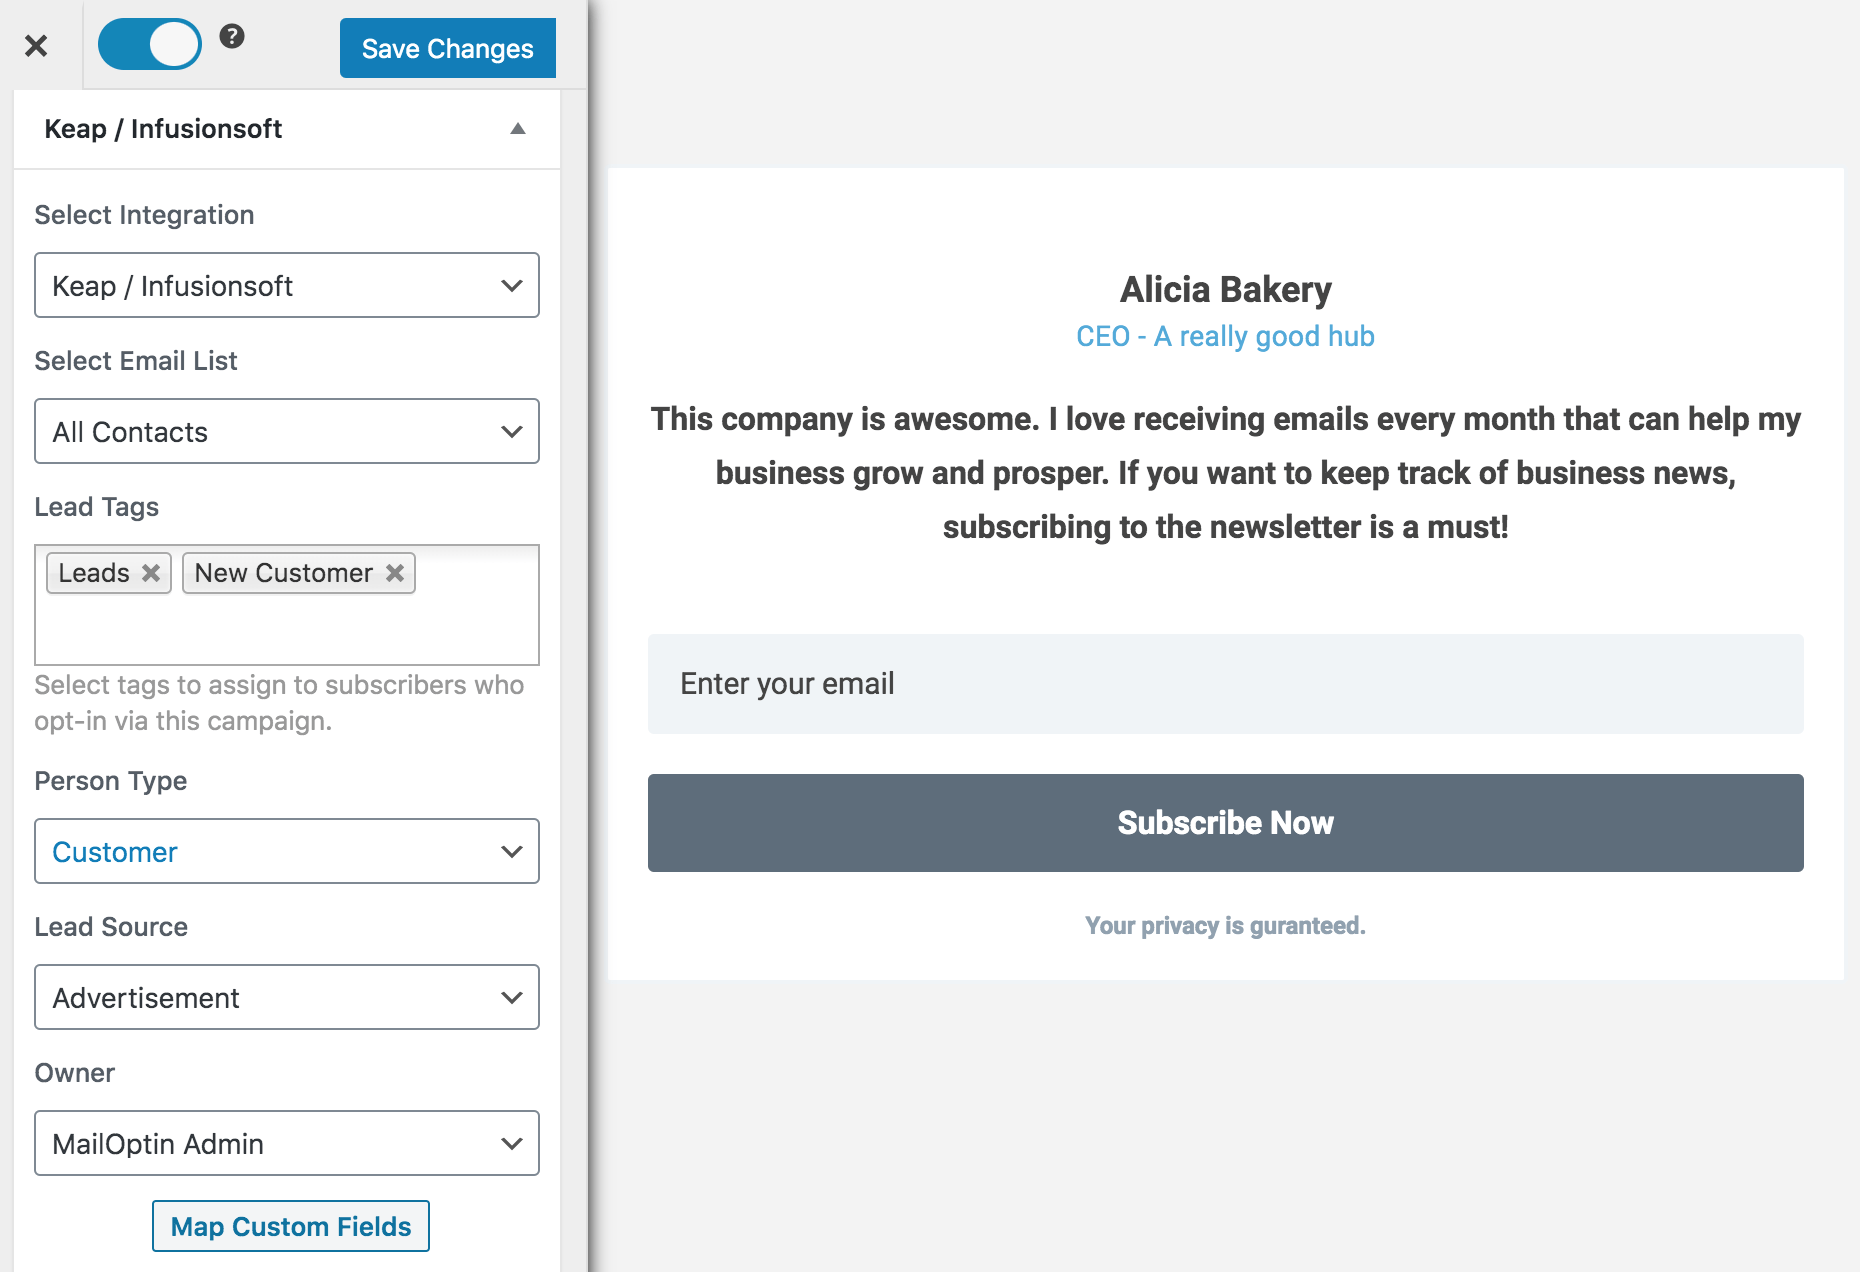
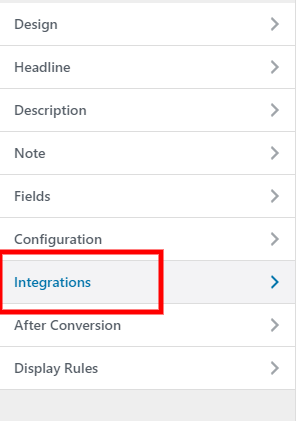
Having finished customizing the form, open the Integrations panel to configure Keap/Infusionsoft.
… then select Keap/Infusionsoft in the Email Provider dropdown and the list to which to subscribe users. You can also specify tags to assign contacts, the person type, lead source, and owner, as well as add and map custom fields, including phone number billing and shipping addresses, birthday date, website URL, etc.
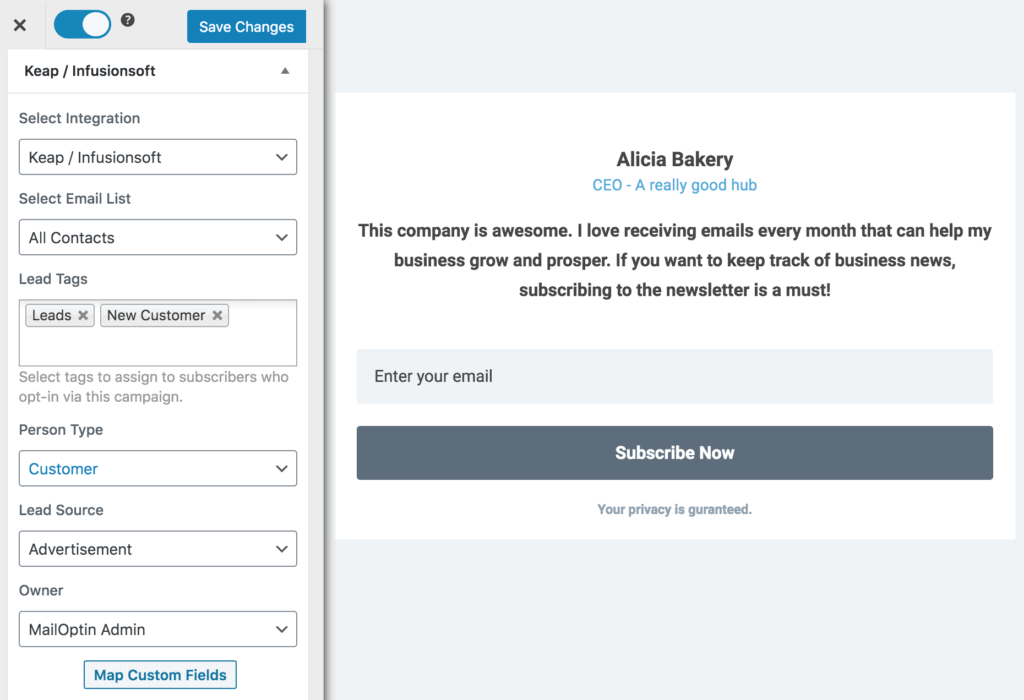
To get the Keap (Infusionsoft) WordPress optin form to display on your site, toggle the activate switch at the top (close to the “Save Changes” button).
![]()
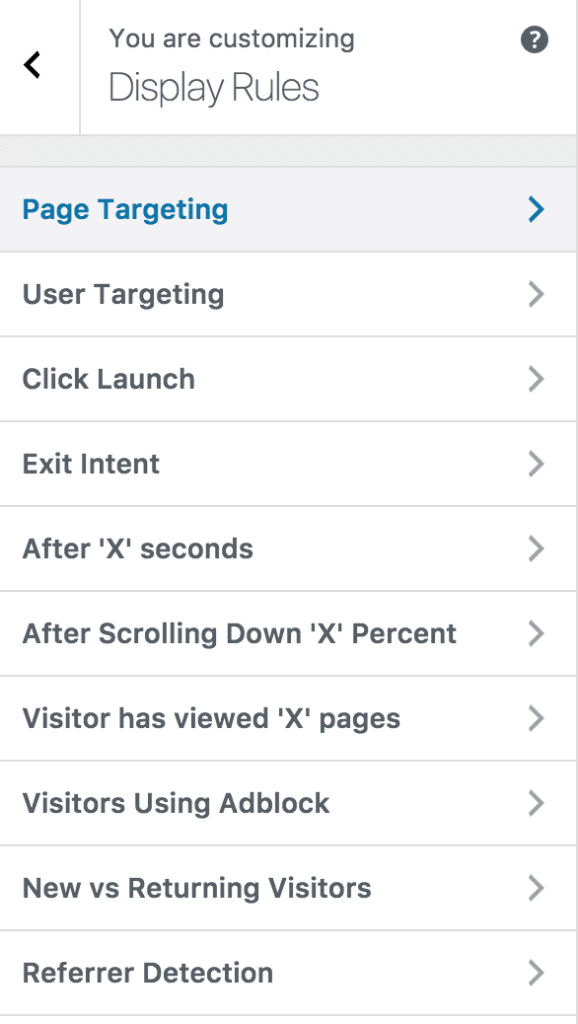
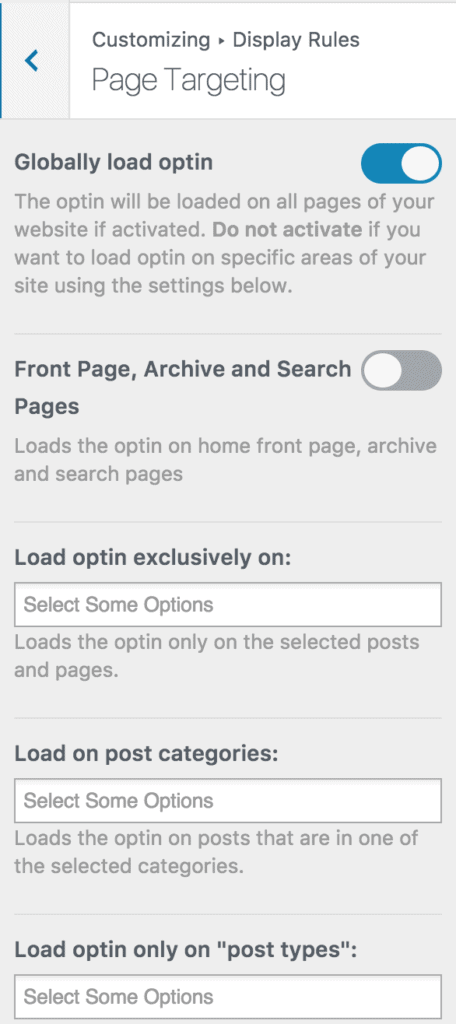
Navigate to the “Display Rules” panel.
If you want the optin form to be displayed everywhere (all pages) of your WordPress site, also check “Globally load optin” Otherwise, use the page-level targeting and triggers to determine how and where in your site the opt-in will be shown.
Finally, save the changes.
Preview your WordPress website, and you should see the optin form displayed. If it doesn’t show up, clear your website and browser cache.
Create Your WordPress Keap/Infusionsoft Optin Form Today
Integrating MailOptin with Keap (Infusionsoft) and creating optin forms on your WordPress website can significantly enhance your marketing efforts.
You can follow the guide below to learn how to create other popular email opt-in forms. And remember to select Keap (Infusionsoft) as the integration.
- How to Create a Notification Bar (Bottom/Top Bar) Optin
- How to Create a Slide-in Optin Campaign
- How to Create Before and After Post Optin Forms
- How to Create Sidebar Widget Optin Forms
Creating Keap (Infusionsoft) WordPress forms is an excellent way for businesses to capture more leads, improve their sales process, and increase sales. To enhance your business’s lead generation and sales process, consider creating Keap WordPress forms using MailOptin.