How to Connect WordPress With Keap / Infusionsoft
Do you want to learn how to connect WordPress with Keap (formerly Infusionsoft)?
Keap is an all-in-one CRM and marketing automation platform designed to help small businesses streamline sales, manage contacts, and automate follow-ups. With tools for email marketing, appointment scheduling, invoicing, and more, Keap helps entrepreneurs save time and grow faster.
MailOptin makes it easy to connect your WordPress site to Keap (Infusionsoft), allowing you to capture leads from your website and save them directly to your Keap account. This article will guide you through the setup process.
Connecting WordPress With Keap (Infusionsoft)
To connect WordPress with SendGrid, please install the MailOptin plugin on your WordPress site.
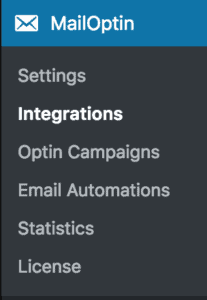
Begin by accessing the MailOptin integrations page, which is located at MailOptin > Integration.
At the Keap / Infusionsoft Connection section, click the “Authorize” button.
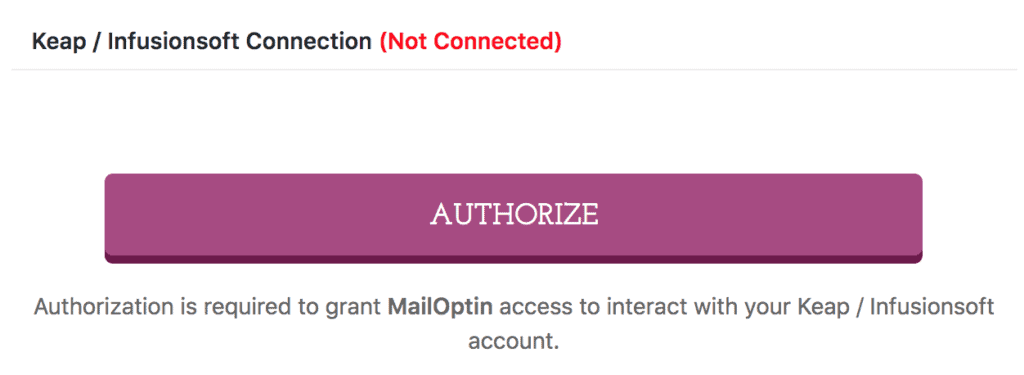
After clicking the Authorize button, you’ll be redirected to the Keap/Infusionsoft login page. Enter your account credentials (email and password) to proceed to the next step of the authorization process.
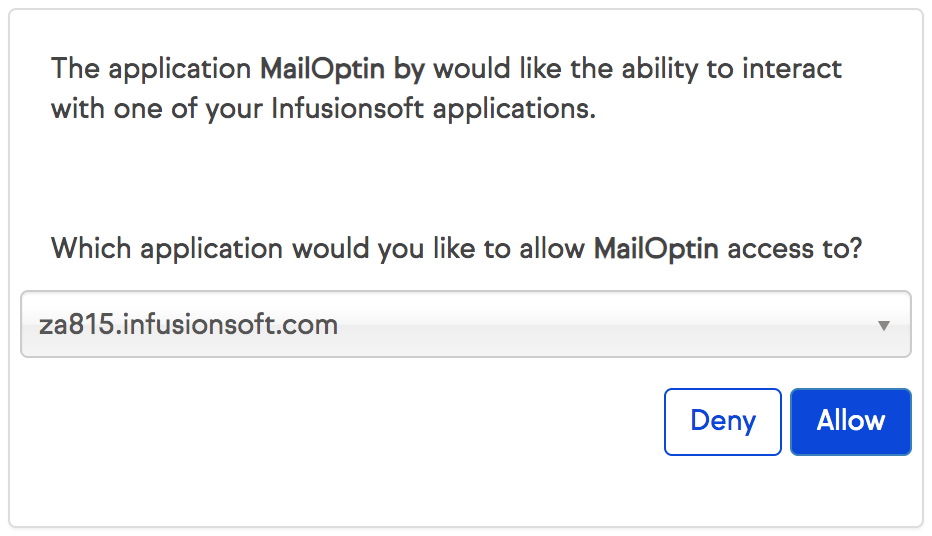
Once logged in, Keap/Infusionsoft will display a permission request screen. Click the “Allow” button to grant MailOptin access to your Keap account.
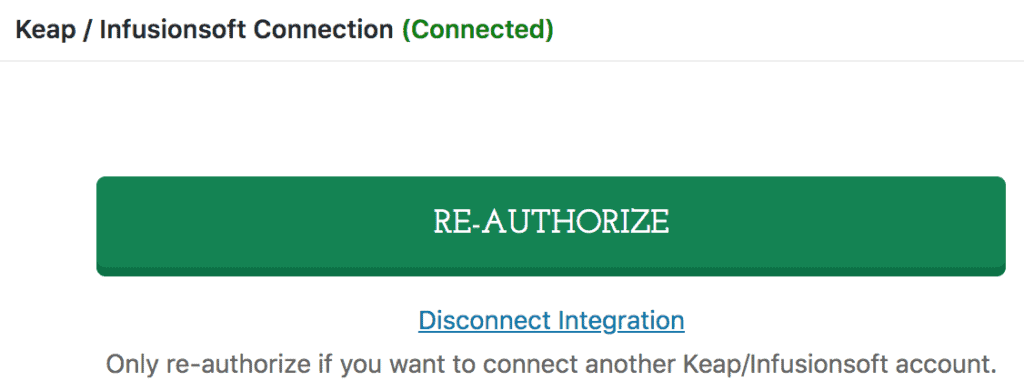
You will then be redirected back to the MailOptin connections page with the button color now green, indicating a successful connection between WordPress and Keap.
That’s how easy it is to connect WordPress with Keap (Infusionsoft) using the powerful MailOptin WordPress marketing plugin.
After connecting your WordPress site to your Keap account using MailOptin, you can begin creating email signup forms, including popups, slide-ins, notification bars, and in-post forms. You can also send your published WordPress posts as emails to your subscribers and contacts.