How to Create HubSpot CRM Optin Forms in WordPress
Are you looking to create a HubSpot optin form for your website?
HubSpot is a cloud-based CRM that comprises a suite of tools that helps businesses manage leads and customer interactions, align sales and marketing teams, boost ROI, and optimize inbound marketing efforts.
In this guide, we’ll walk you through the step-by-step process of integrating MailOptin with HubSpot. That way, you can start capturing and saving leads to your HubSpot account directly from your WordPress website.
Creating HubSpot Optin Forms for WordPress
Follow the guide below to create a WordPress form integrated with HubSpot CRM.
Step 1: Install and Activate MailOptin Plugin
Begin by purchasing a license for the MailOptin plugin.
After your purchase, log in to your WordPress admin dashboard and navigate to the Plugins page. Click on the “Add New” button and click “Upload Plugin. ” Upload the zip file, install, and activate the plugin on your WordPress site.

Step 2: Connect WordPress with HubSpot via MailOptin
Now that you have activated MailOptin on your WordPress website, the next step is to integrate your HubSpot CRM account with MailOptin.
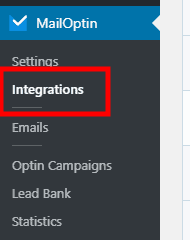
Go to the Integrations settings page by clicking the sidebar menu link or the top menu tabs.
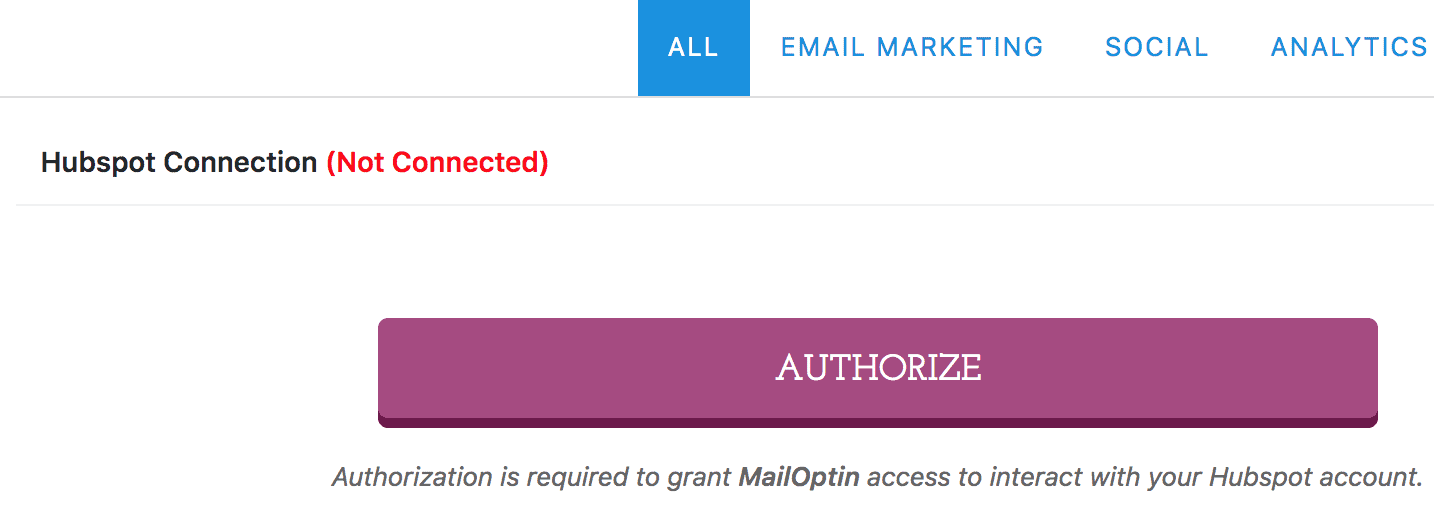
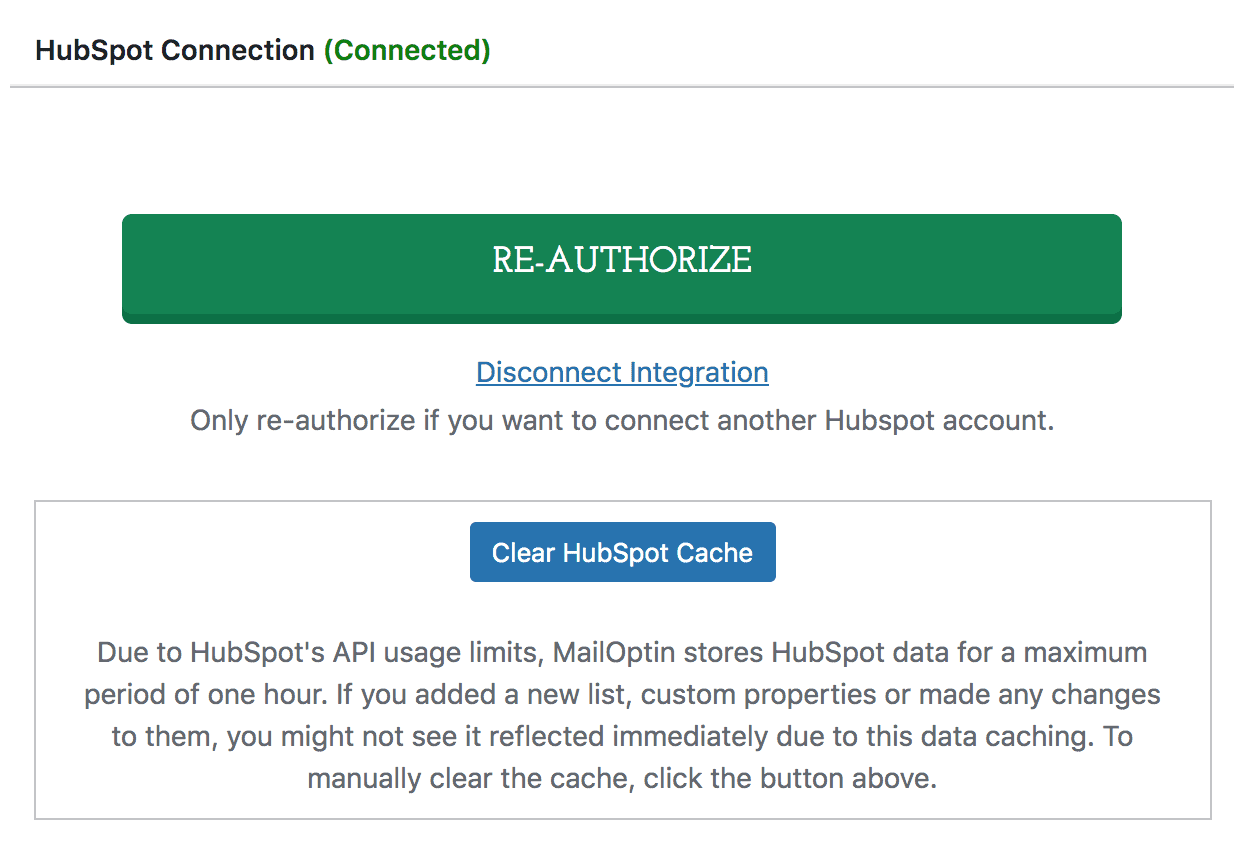
Next, select HubSpot to access its integration settings, and then click the large purple “Authorize” button to connect MailOptin to your HubSpot account.
You will be redirected to HubSpot’s website where you will be required to log in before granting MailOptin access to your account.
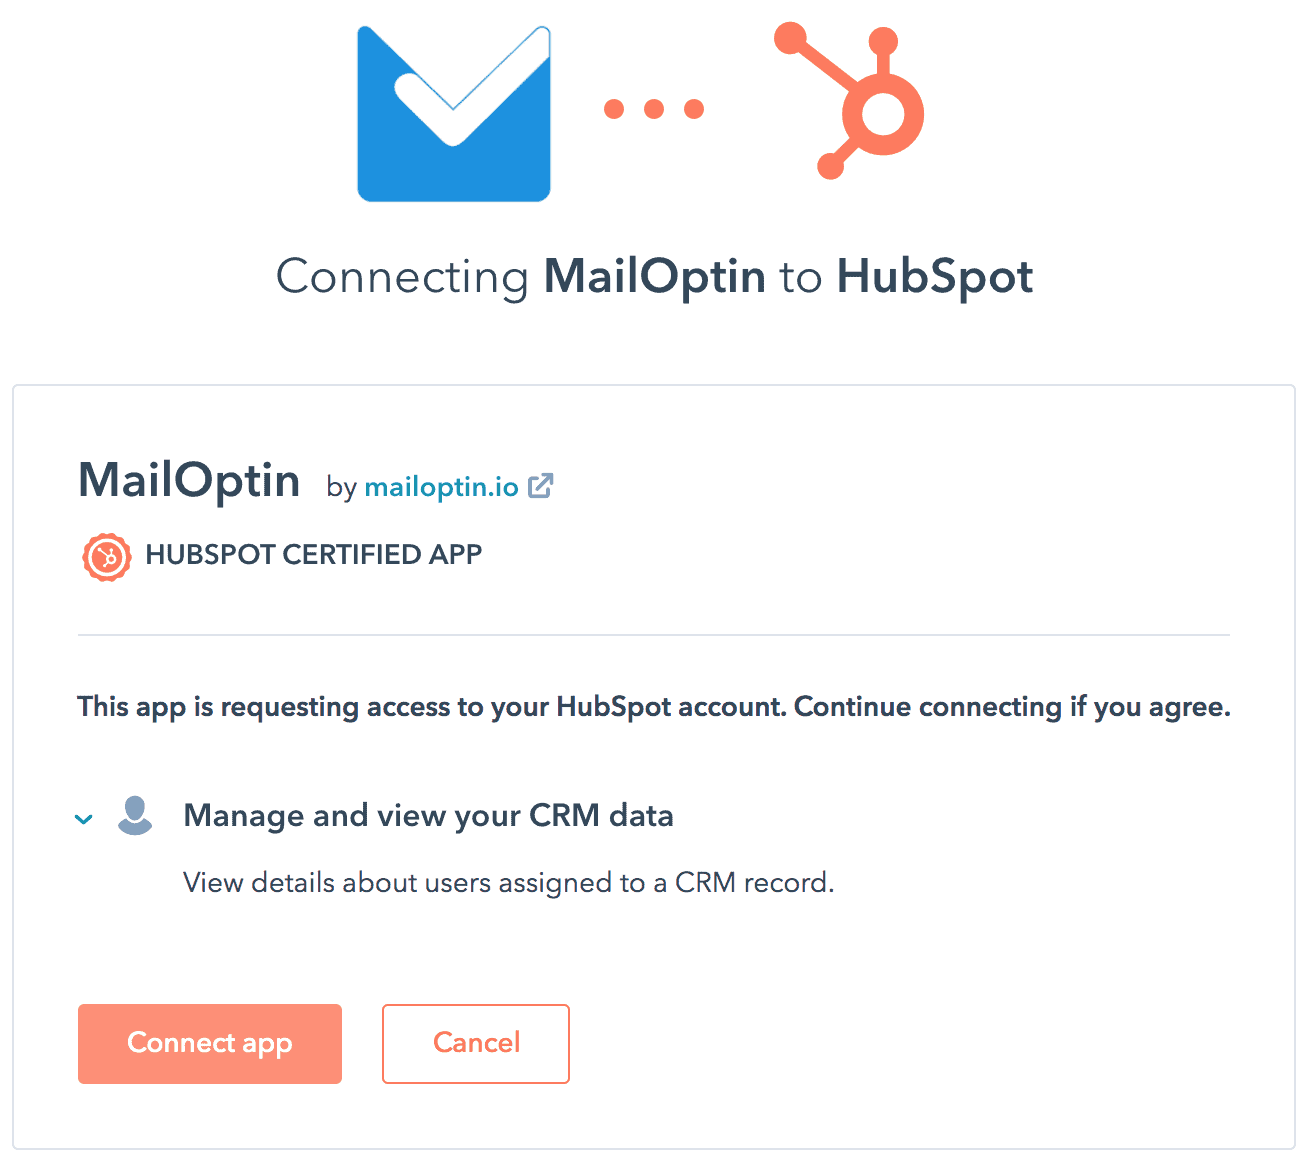
Enter your credentials to sign in to your HubSpot account. That’s it—MailOptin can now seamlessly communicate with your HubSpot account.
Step 3: Create the HubSpot WordPress Form
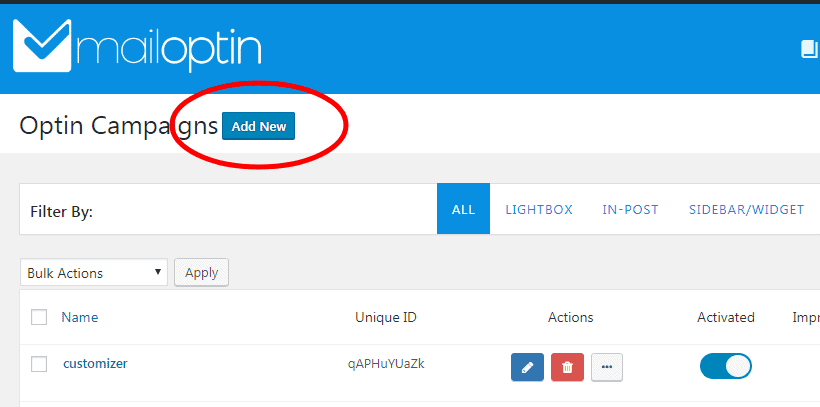
To create the HubSpot optin form for your WordPress website, go to the Optin Campaigns admin page and click the “Add New” button at the top of the page.
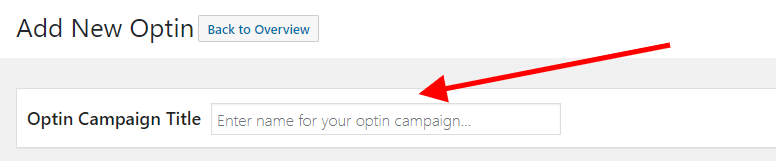
Give your new opt-in campaign a name…
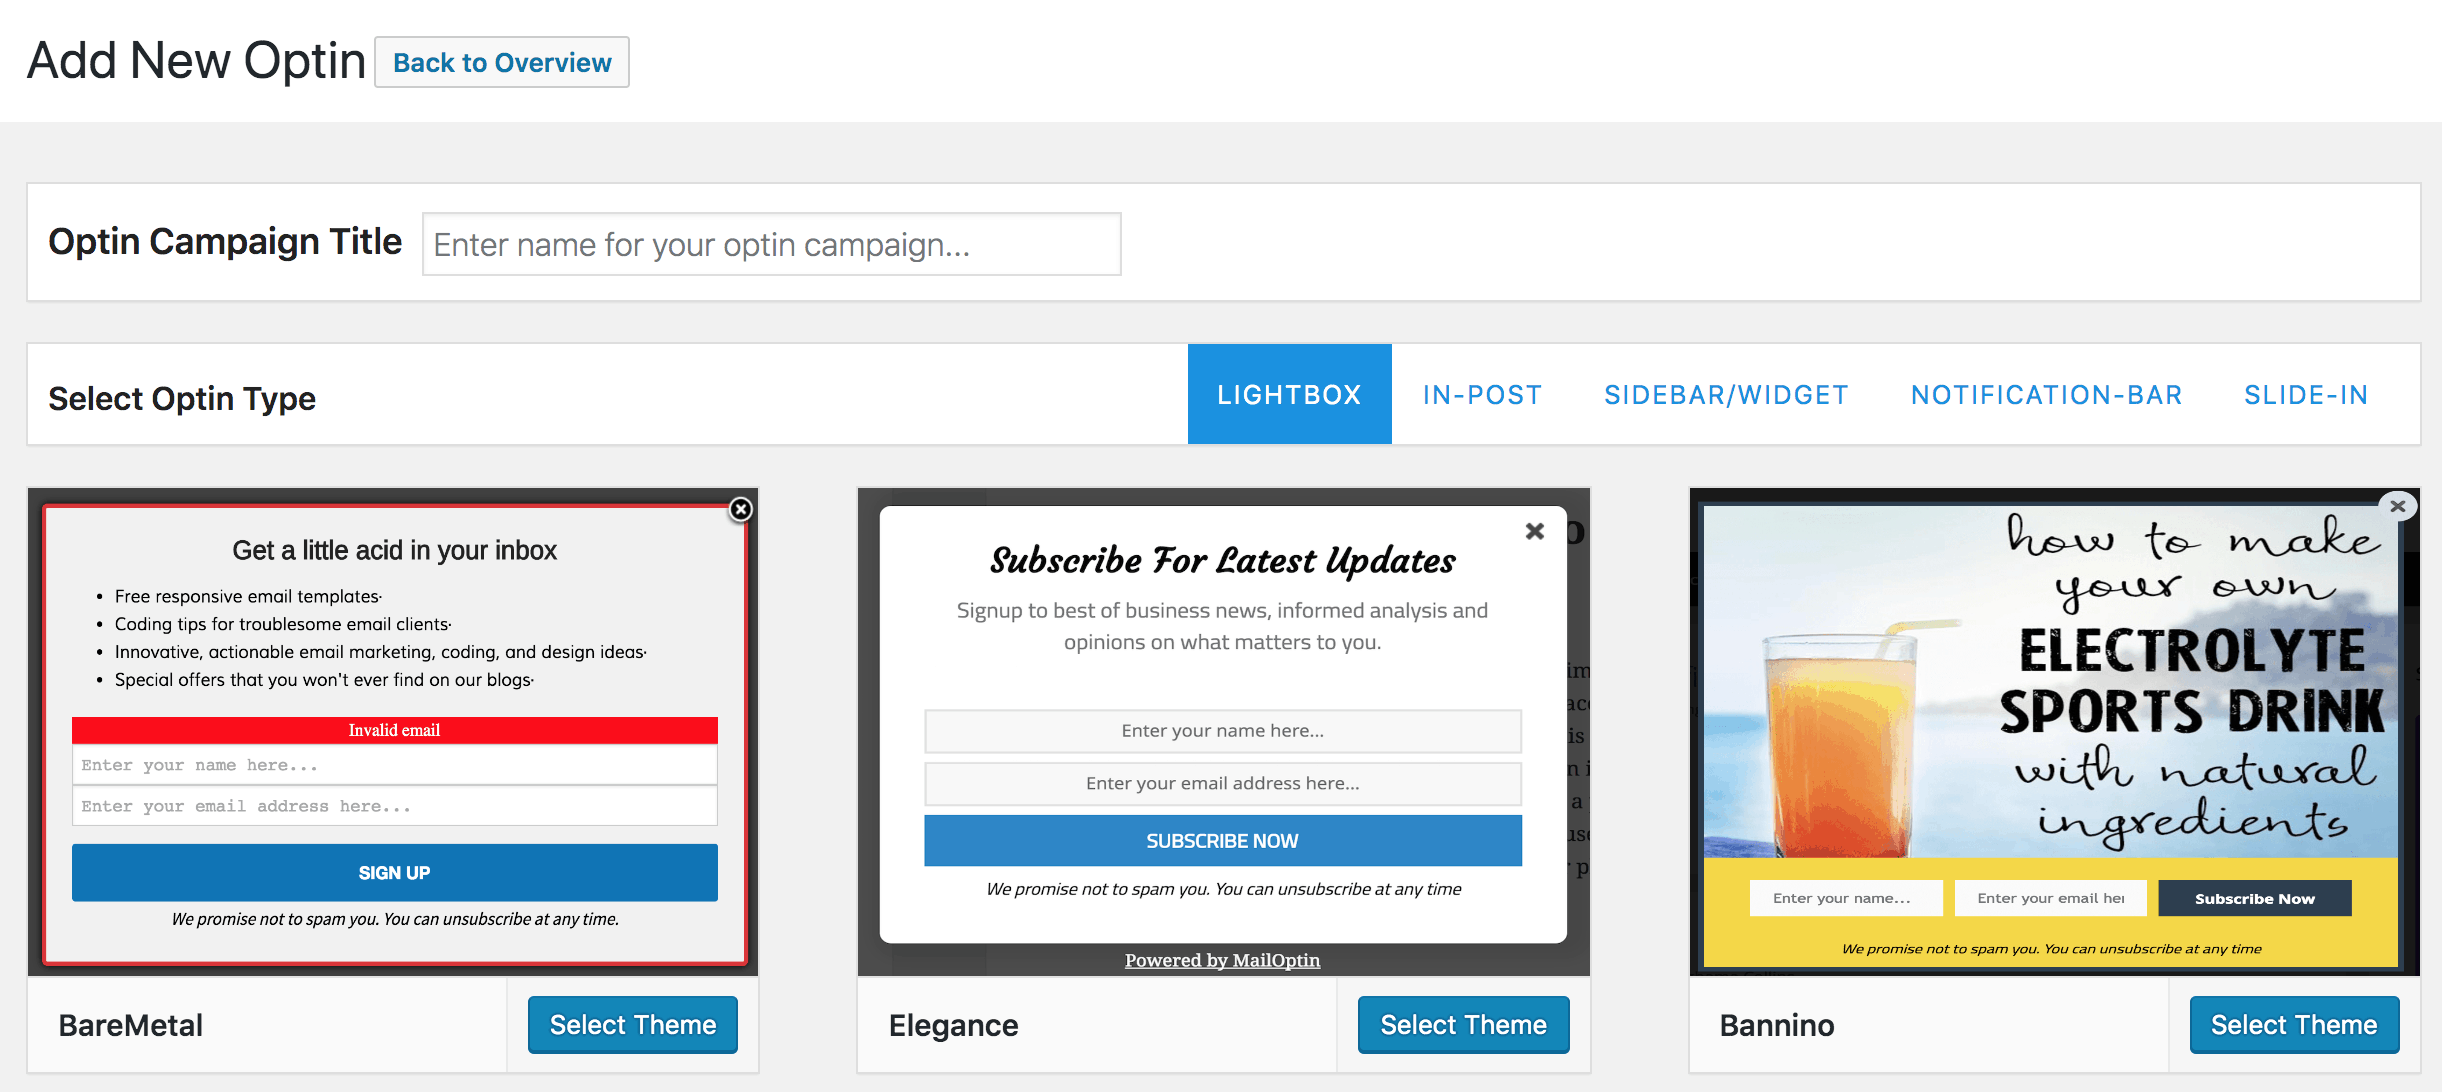
… then select a theme for the campaign you want to create.
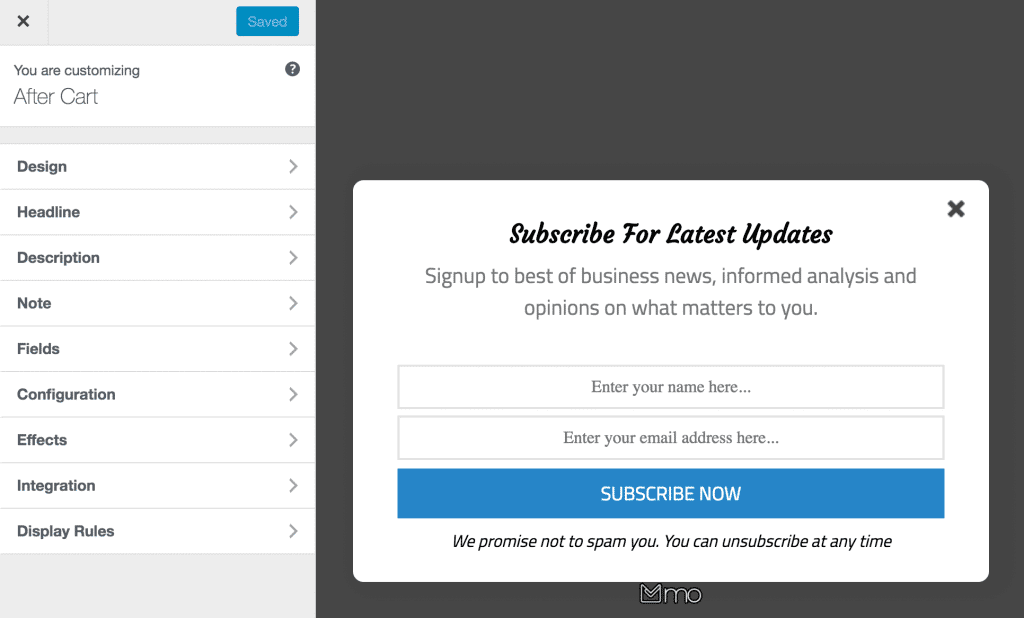
MailOptin will create your new optin campaign and then redirect you to the campaign customizer, where you have options and the flexibility to customize the opt-in form any way you like.
See: Adding Extra Fields to Your Optin Form
Integrating HubSpot to Optin Campaign
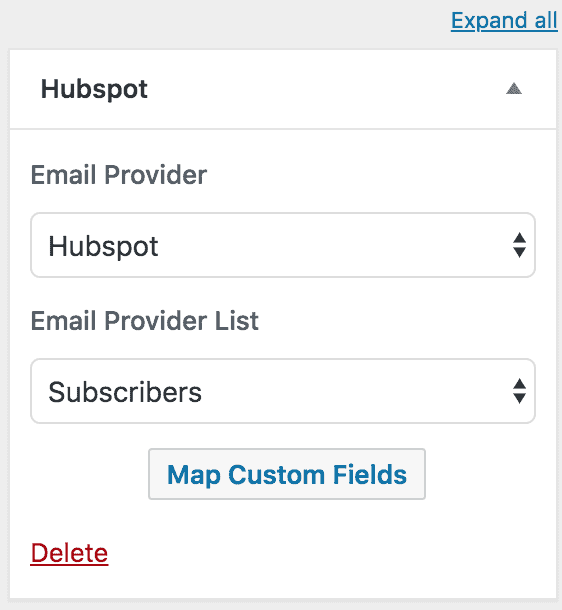
Having finished customizing the form, open the Integrations panel in the MailOptin form builder to configure HubSpot.
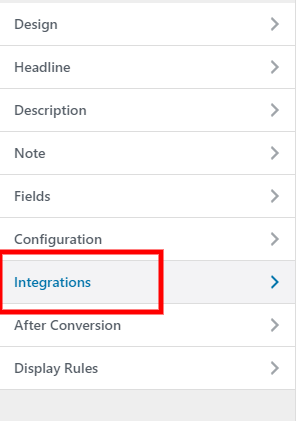
… then select HubSpot in the Email Provider dropdown and the list to subscribe users to. There are also the options to set lead status, lifecycle stage, and contact owner.
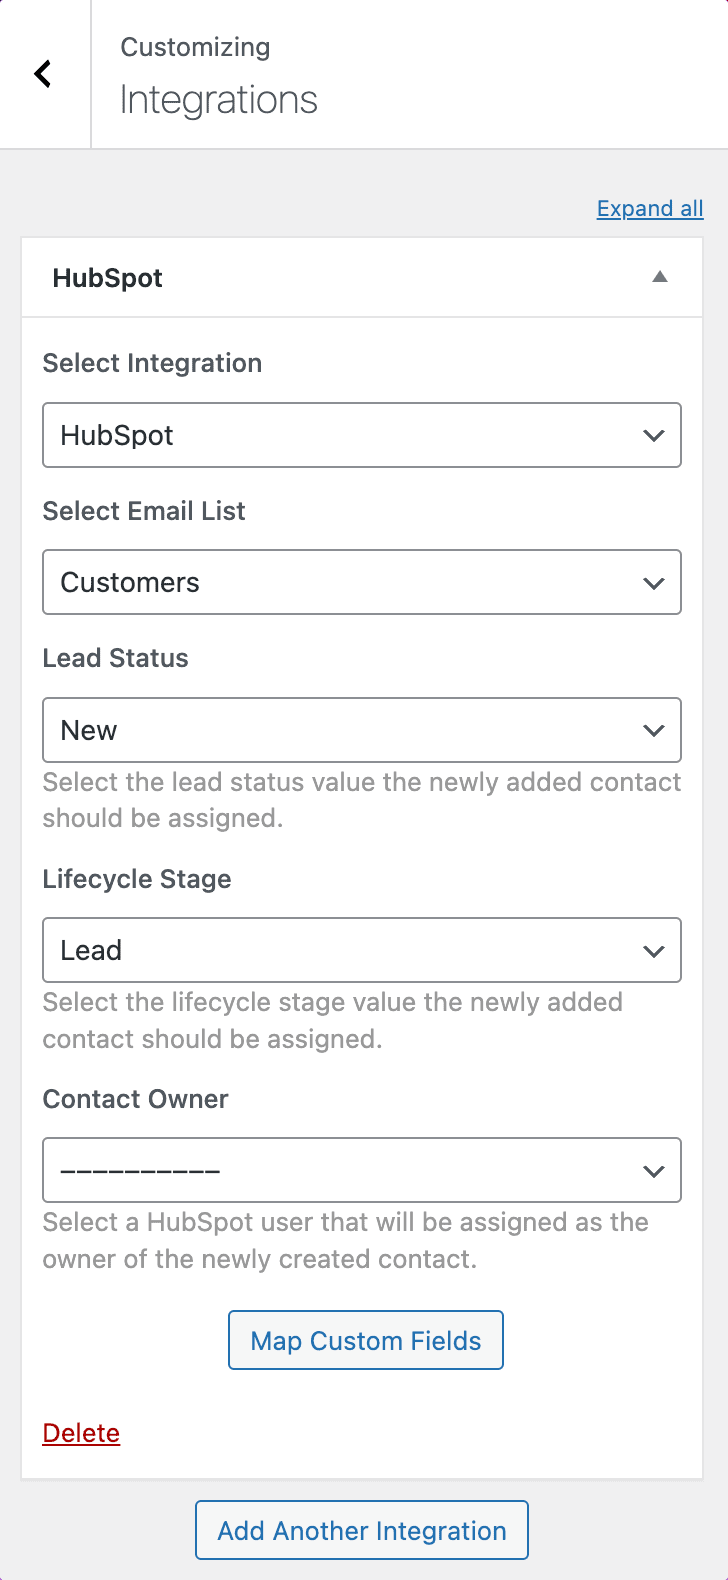
To get the opt-in to display on your site, toggle the activate switch at the top (close to the “Save Changes” button).
![]()
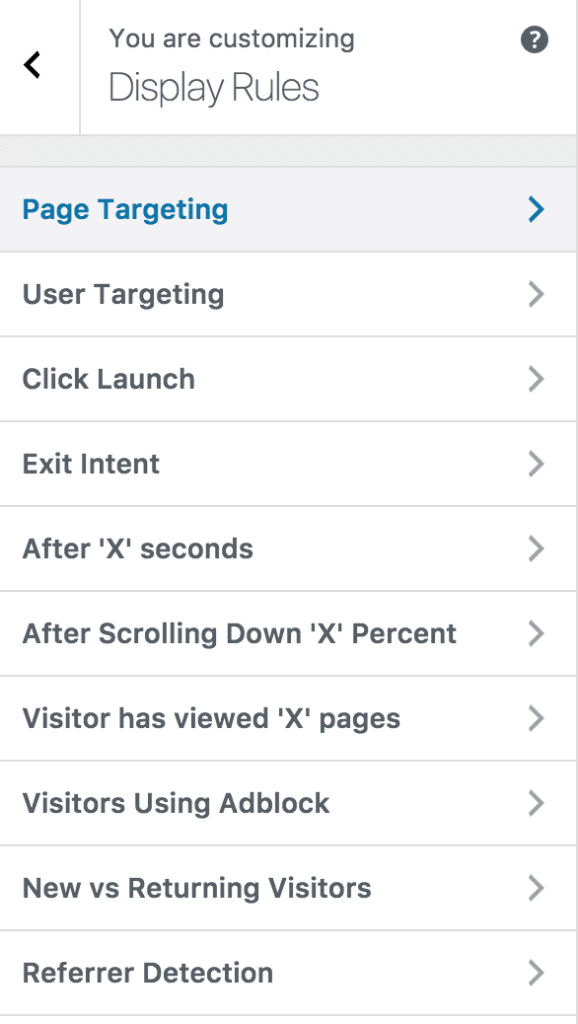
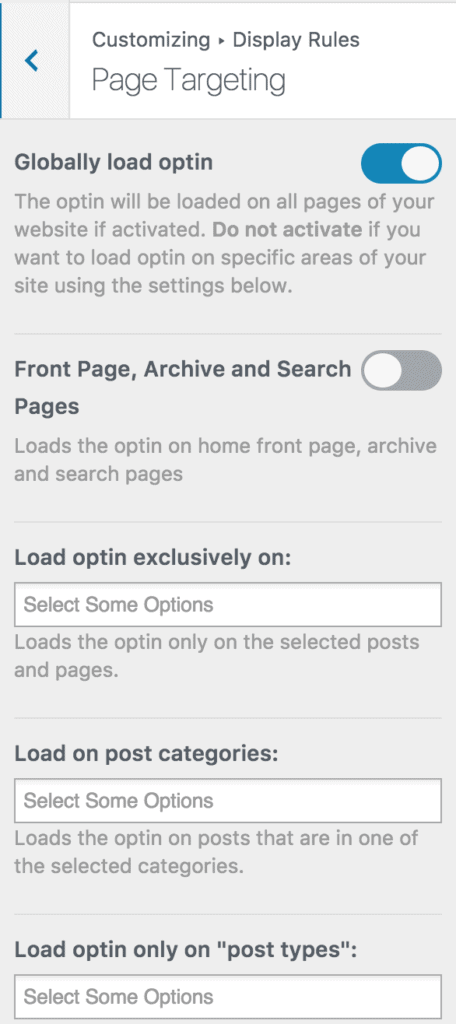
Navigate to the “Display Rules” panel.
If you want the opt-in form to be displayed everywhere (all pages) of your WordPress site, also check “Globally load optin”, otherwise use the page level targeting and triggers to determine how and where in your site the opt-in will be shown.
Finally, save the changes. Preview your website, and you should see the opt-in displayed. If it doesn’t show up, clear your website and browser cache.
Create a HubSpot Optin Forms for WordPress Today!
Don’t wait any longer to start capturing valuable leads and growing your email list. With the integration of MailOptin and HubSpot, creating optin forms for your WordPress website has never been easier.
We hope this tutorial helped you learn how to create HubSpot WordPress forms.
For more guidance, check out our other tutorials on creating popular email opt-in forms. Remember to select HubSpot in the Integration panel.