How to Create AWeber Optin Forms in WordPress
Are you looking to create AWeber optin forms for your WordPress website?
AWeber is a popular email service provider (ESP) for creating and managing email campaigns, sending automated emails, and managing email subscribers.
In this tutorial, we will learn how to integrate MailOptin with AWeber so you can start capturing and saving leads with email sign-up forms (also called subscribe forms or lead capture forms) to your AWeber email list.
Why Optin Forms?
Opt-in forms are crucial tools for online businesses. They enable you to gather email addresses and other information from your website visitors. This information is invaluable as it lets you stay in touch with potential customers, send them updates, and convert them into loyal clients.
Think of opt-in forms as the digital version of a guestbook, where visitors willingly share their contact details because they trust your site and find your content valuable.
Creating AWeber Optin Forms in WordPress
Follow these steps to create a WordPress AWeber optin form.
Step 1: Install and Activate MailOptin Plugin
MailOptin is a powerful lead generation and email automation plugin. It helps you create optin forms that sync your email subscribers to your AWeber account.
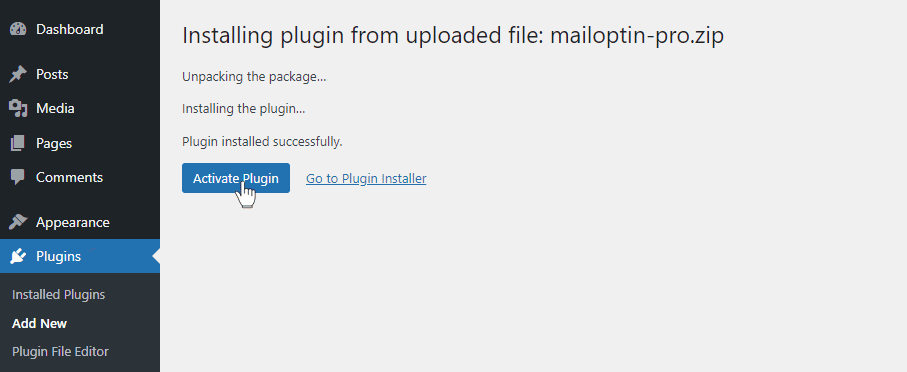
To get started, buy a MailOptin plan and download the plugin from the welcome email or your MailOptin account. Then, upload and install the plugin into your WordPress website.

Once installed, click “Activate” to activate the plugin.
Step 2: Connecting MailOptin to AWeber
Now, MailOptin is ready to use on your WordPress site. The next step is to connect MailOptin with your AWeber account.
Step 3: Create an AWeber Optin Form
To create an AWeber optin form that is displayed on your WordPress website, navigate to MailOptin > Optin Campaigns > Add New.
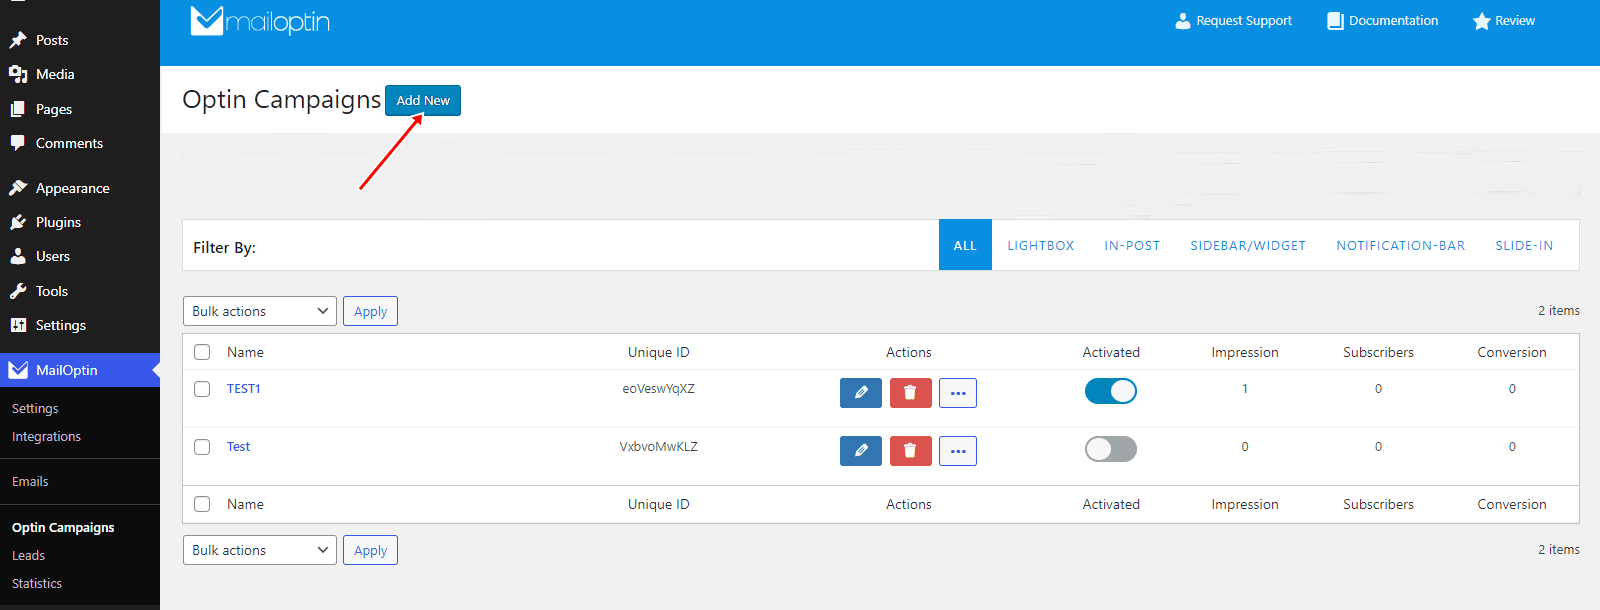
Enter a title for the campaign, select the optin type (for this tutorial, we’ll select Lightbox), and click the optin form design you want.
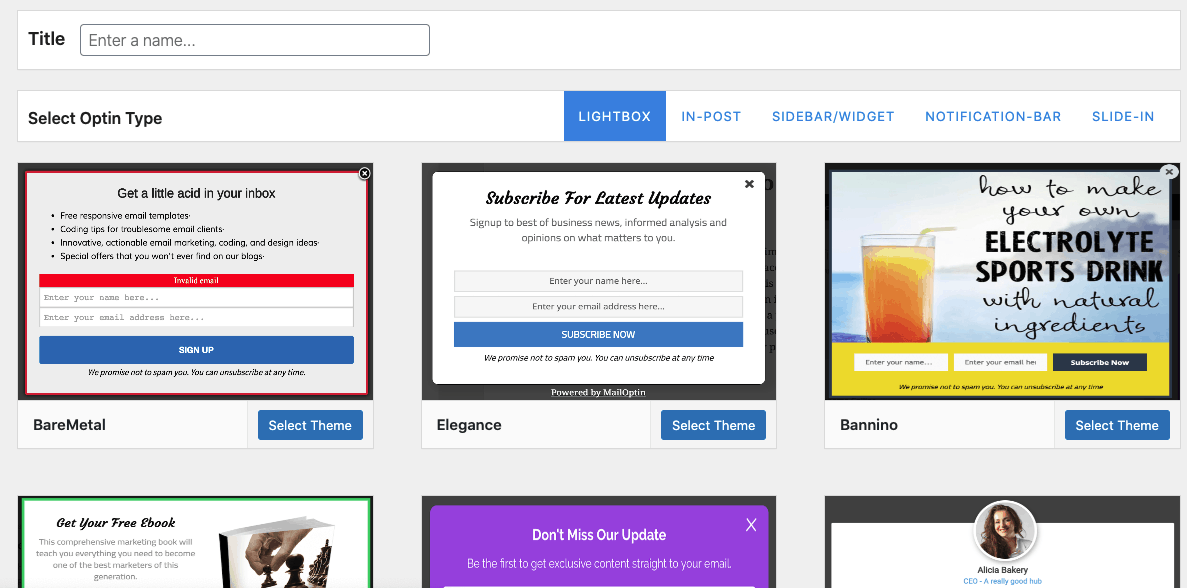
You will then be redirected to the form builder, which has options and the flexibility to customize the optin form to your heart’s content.
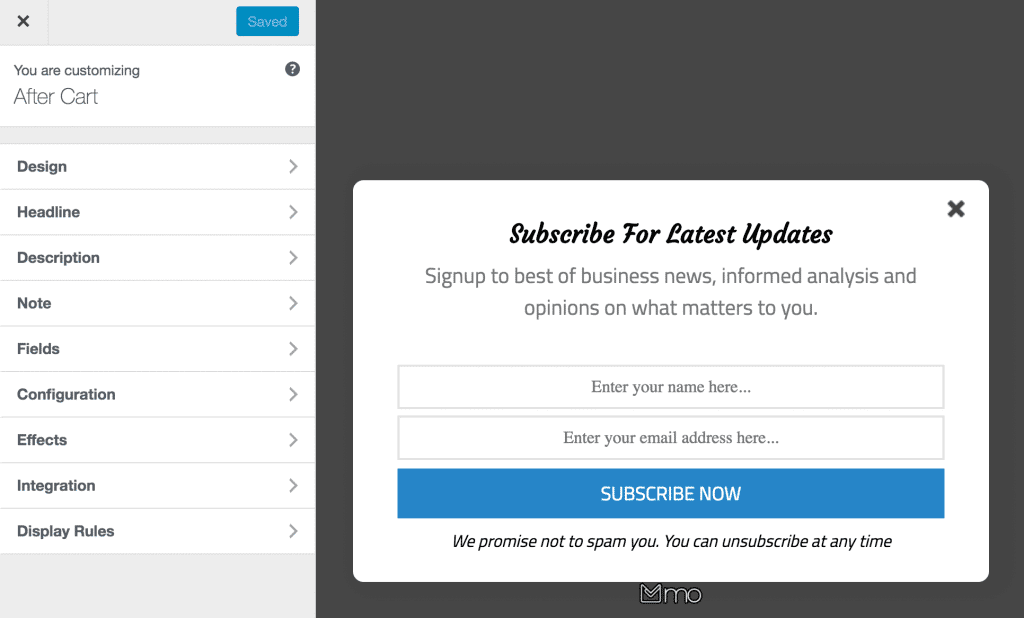
See: Adding Extra Fields to Your Optin Form
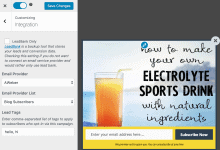
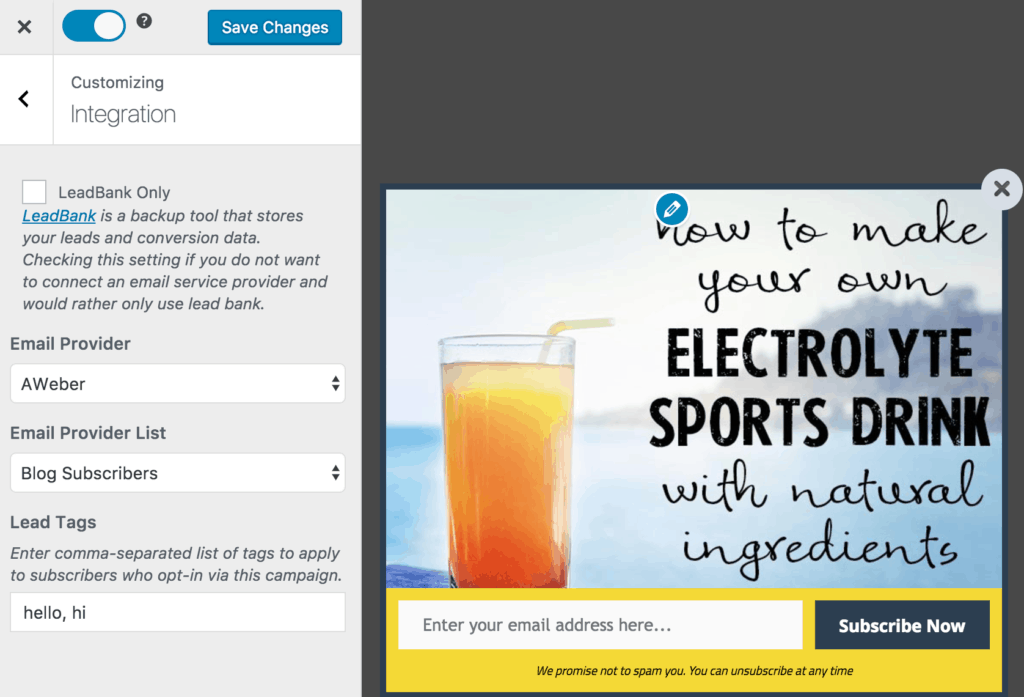
After customizing the form, open the Integration panel, select AWeber in the Email Provider dropdown, and the Email List leads will be added to it. You can also add a comma-separated list of tags to apply to leads/subscribers.
To get the opt-in to display on your site, toggle the activate switch ON at the top (close to the “Save Changes” button).
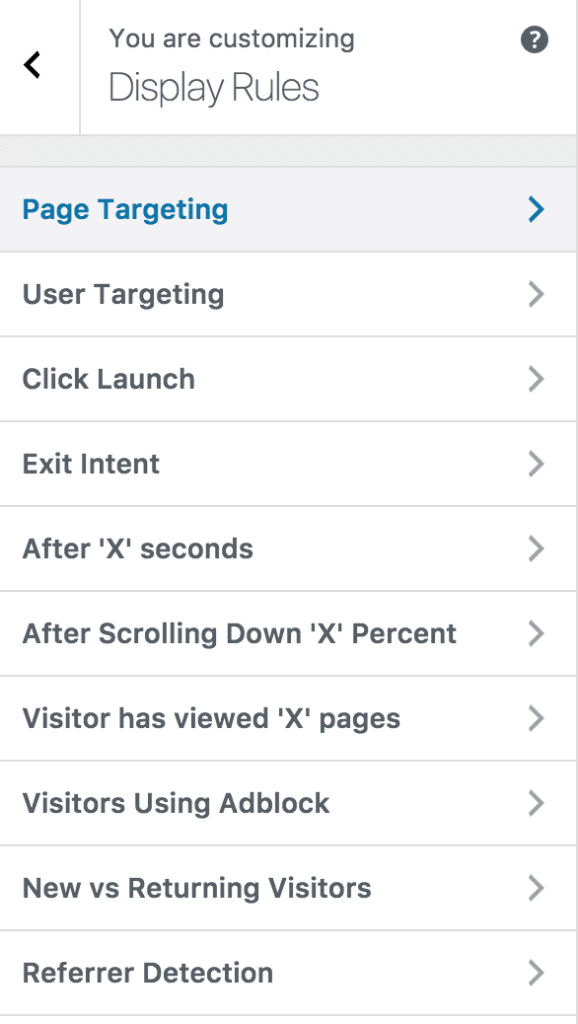
Navigate to the “Display Rules” panel.
If you want the opt-in form to be displayed everywhere (all pages) of your WordPress site, also check “Globally load optin.” Otherwise, use page-level targeting and triggers to determine how and where the AWeber optin form will be shown on your site.
Finally, save the changes. Preview your website, and you should see the opt-in form displayed. If it doesn’t, clear your website and browser cache.
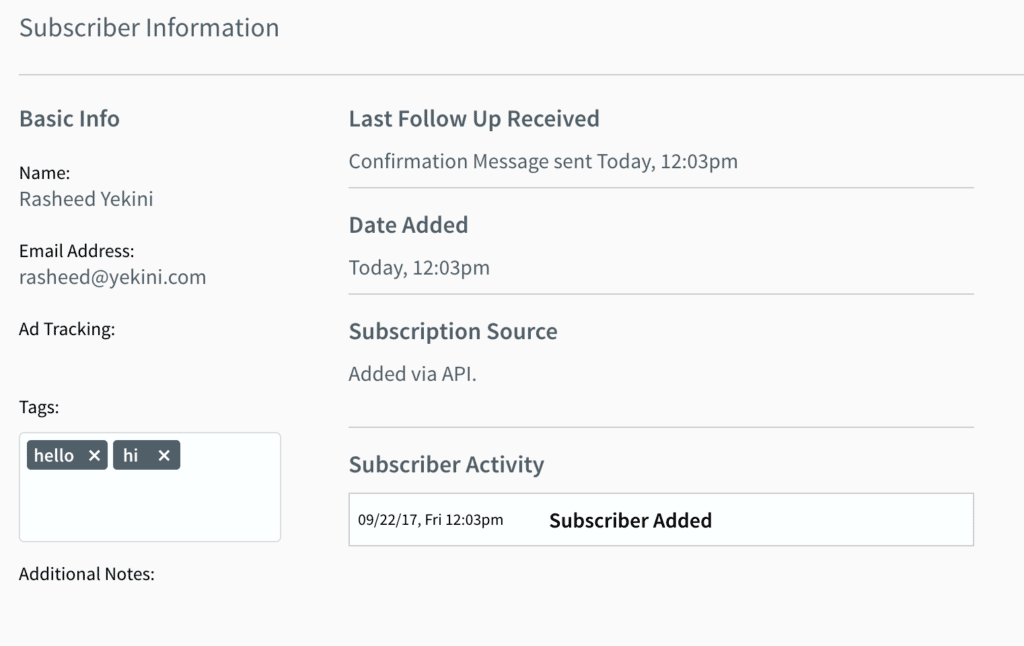
Below is a screenshot of a subscriber who opted in via a MailOptin-powered AWeber lead capture form.
AWeber Single Optin?
AWeber will set your list to double opt-in by default. However, if you want a single optin (i.e., subscribers won’t be sent an email to confirm their subscription), contact AWeber support to help you do it.
Conclusion
We hope this article helped you learn how to create an AWeber optin form for your WordPress website. Follow the guide below to learn how to create other popular optin types. And remember to select AWeber in the Integration panel.