How to Create Zoho CRM Email Signup Forms in WordPress
Do you want to create Zoho CRM WordPress forms?
Zoho CRM is a cloud-based customer relationship management (CRM) software designed to help businesses manage their sales, marketing, and customer support activities. It offers tools for lead and contact management, sales pipeline tracking, workflow automation, and analytics.
In this tutorial, we will learn how to integrate WordPress with Zoho CRM so you can create optin forms to capture and save leads and information to your account using our powerful Zoho CRM WordPress plugin.
Creating Zoho CRM WordPress Forms
Follow these steps to create a Zoho CRM email signup form for your WordPress website.
Step 1: Install and Activate MailOptin Plugin
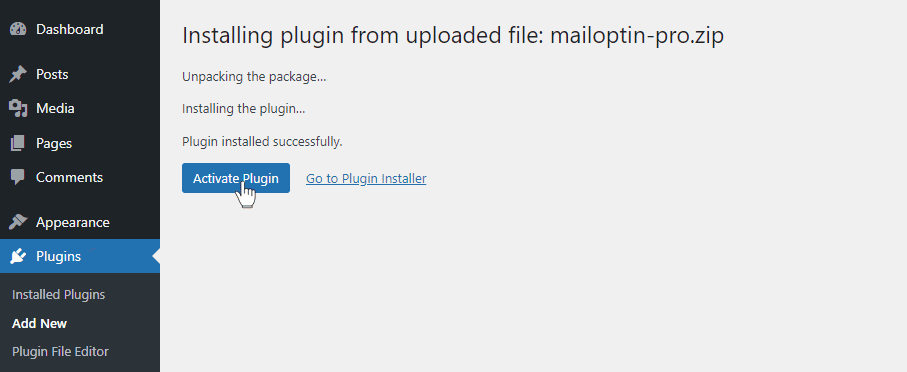
To get started, purchase a MailOptin plan and download the plugin. Then, upload and install the plugin into your WordPress website.

Once installed, click “Activate” to activate the plugin.
Step 2: Connecting WordPress to Zoho CRM
MailOptin is now ready to use on your WordPress site. The next step is to connect it with your Zoho CRM account.
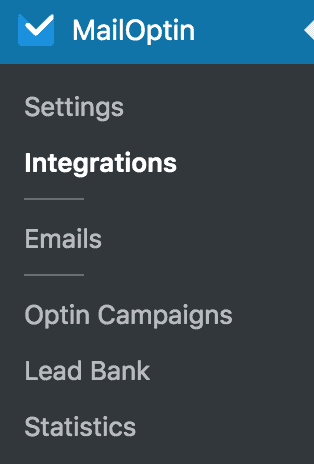
To do this, go to the Integrations settings page by clicking the sidebar menu link or the top menu tabs.
In the Zoho CRM Connection section, click on the “Authorize” button.
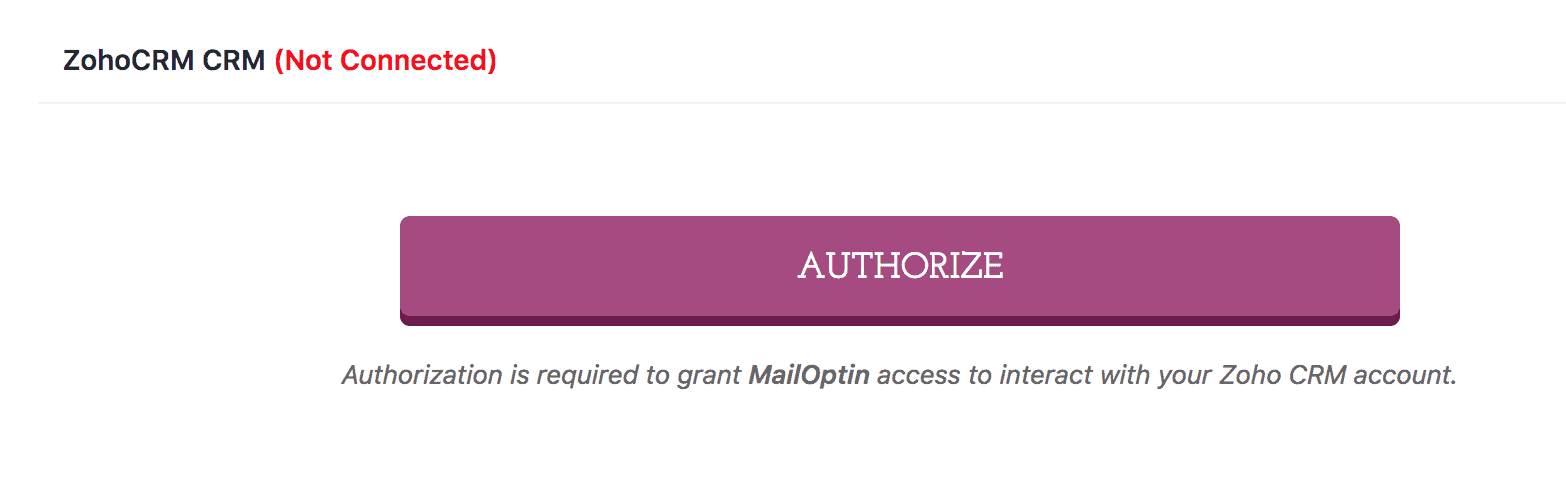
You will then be redirected to log in and allow MailOptin access to your Zoho CRM account.
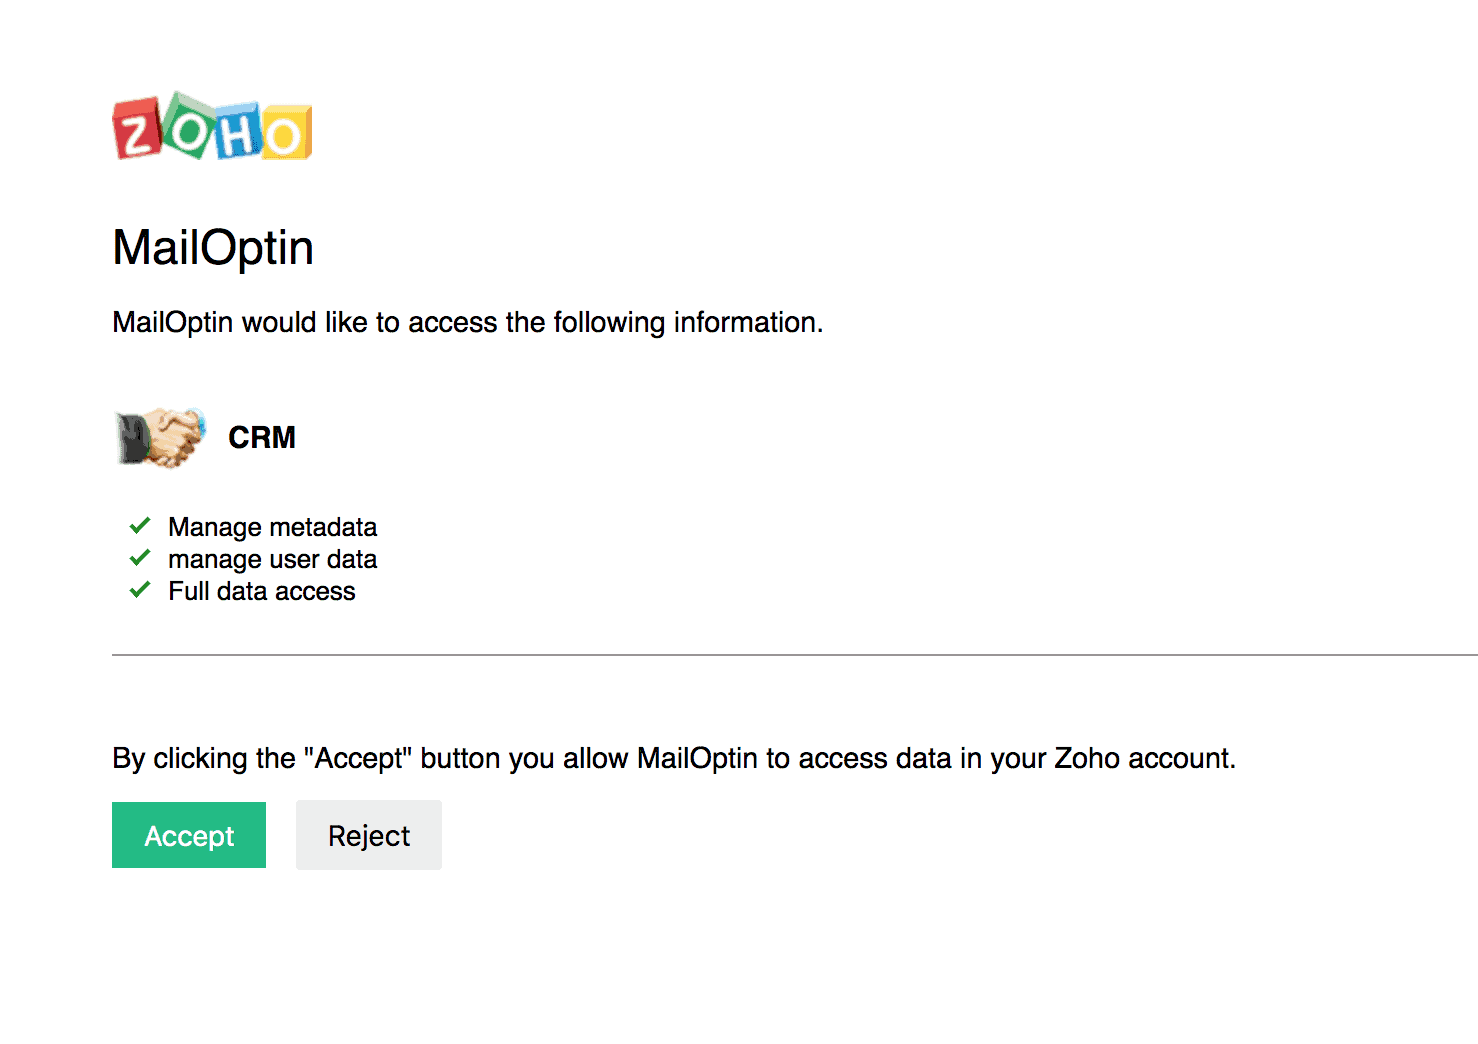
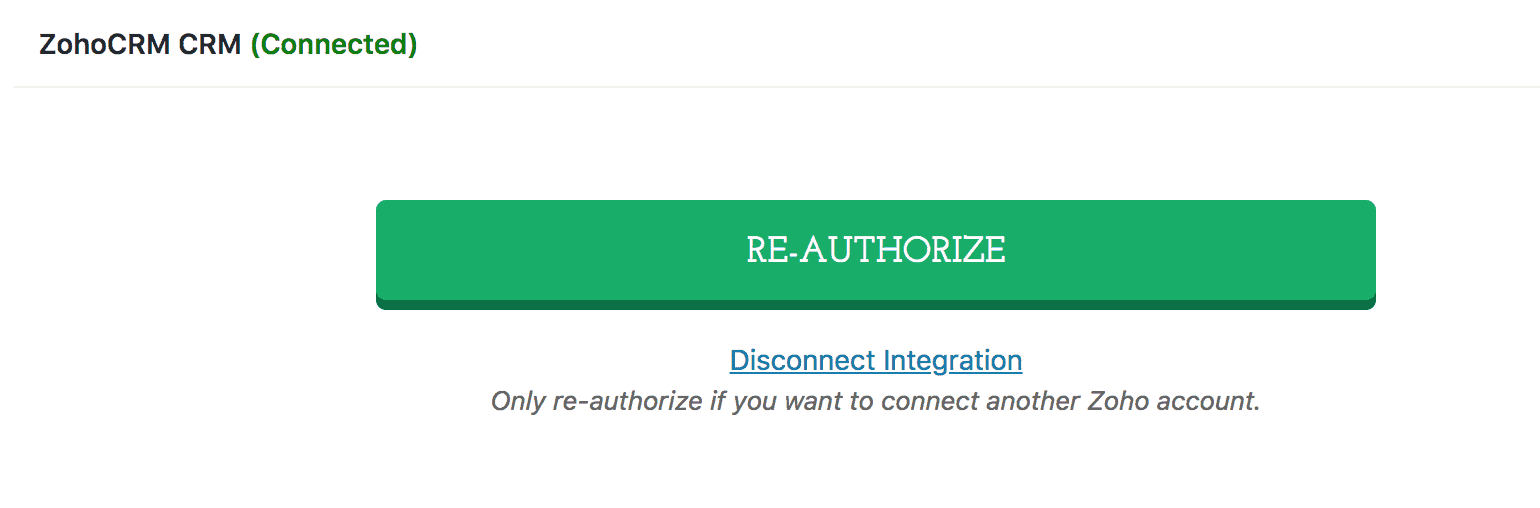
After clicking the “Accept” button, you will be redirected to the MailOptin connections page, where the button will turn green, indicating a successful connection.
Step 3: Creating Zoho CRM Optin Forms
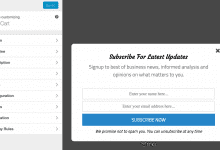
The next step is to create a Zoho CRM form that will be displayed on your WordPress website.
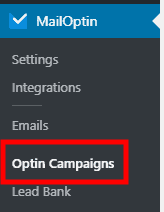
To do this, open your WordPress admin dashboard, then click on MailOptin > Optin Campaigns.
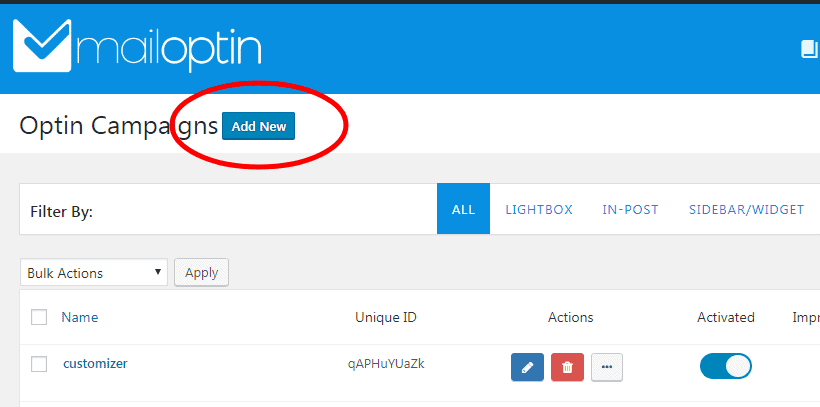
Next, click the Add New button at the top of the page to create a new opt-in form.
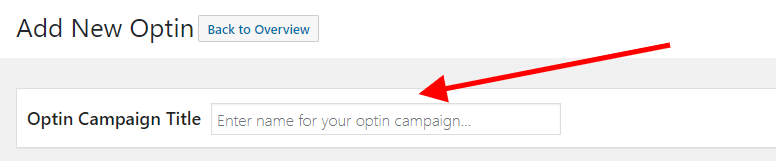
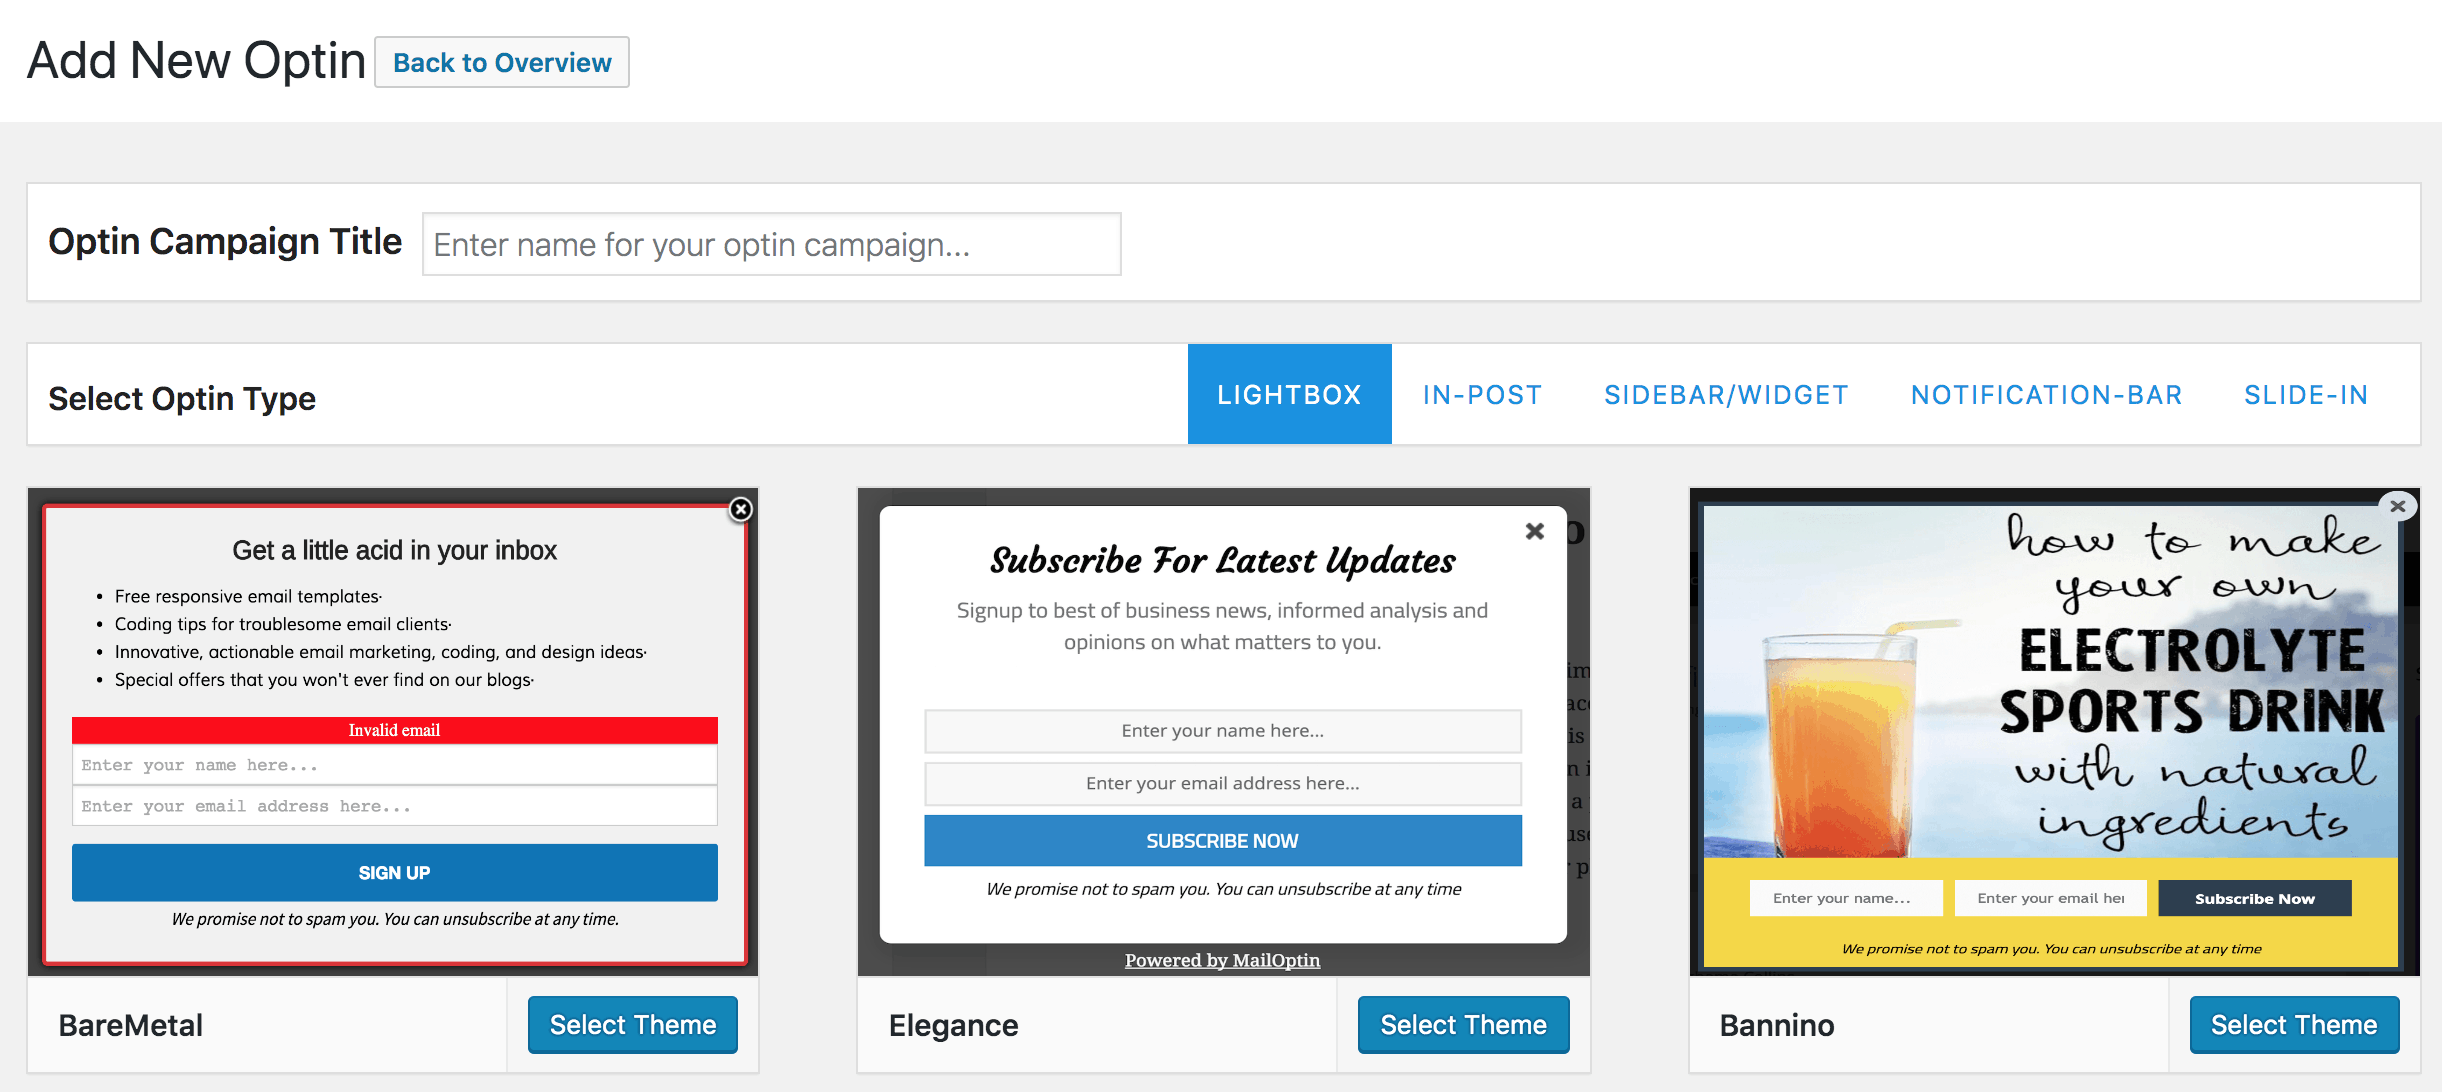
Give your new WordPress opt-in campaign a name.
Then, select a theme for the campaign you want to create.
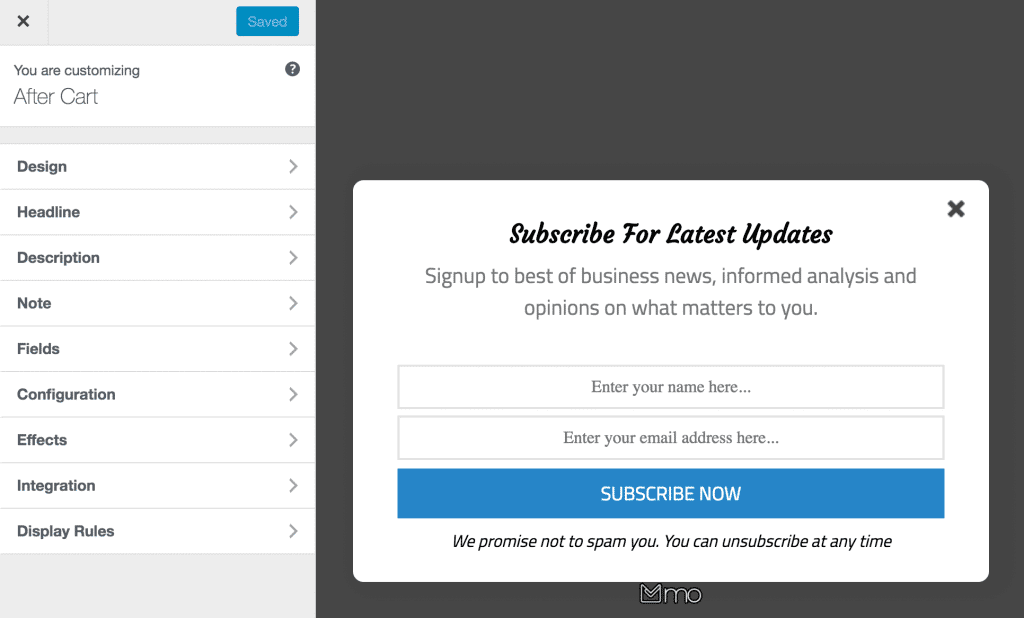
MailOptin will create your new optin campaign and then redirect you to the form builder, where you can customize the opt-in form any way you like.
See: Adding Extra Fields to Your Optin Form
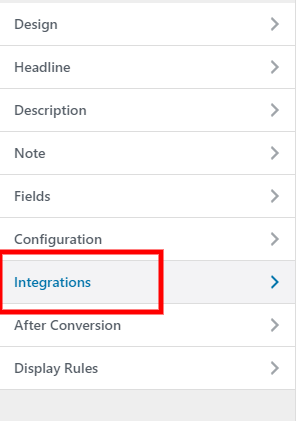
Having finished customizing the WordPress optin form, open the Integrations panel to configure Zoho CRM…
Next, choose Zoho CRM from the Email Provider dropdown and select the module (either Leads or Contacts) where the subscribers will be saved.
You also have the option to assign tags, select an owner and source, add a description of the subscriber, and, finally, specify the workflows to trigger.
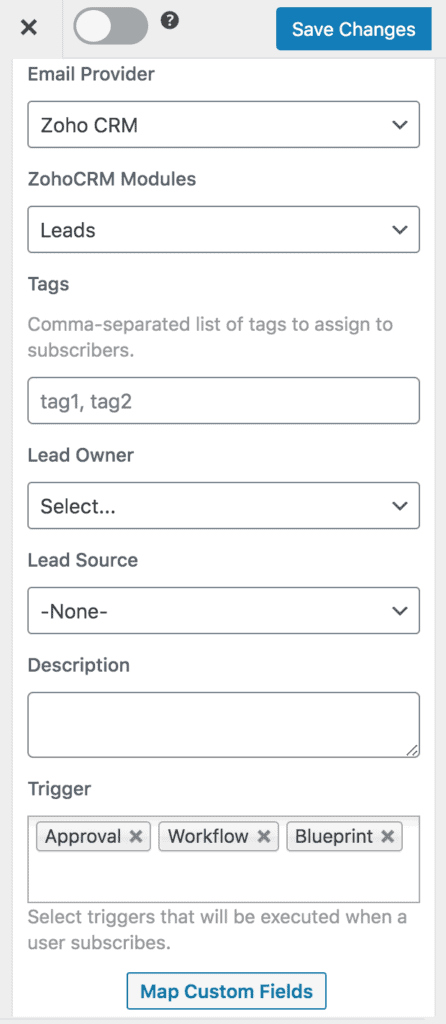
To get the Zoho CRM form to display on your WordPress site, toggle the activate switch ON at the top (close to the “Save Changes” button).
![]()
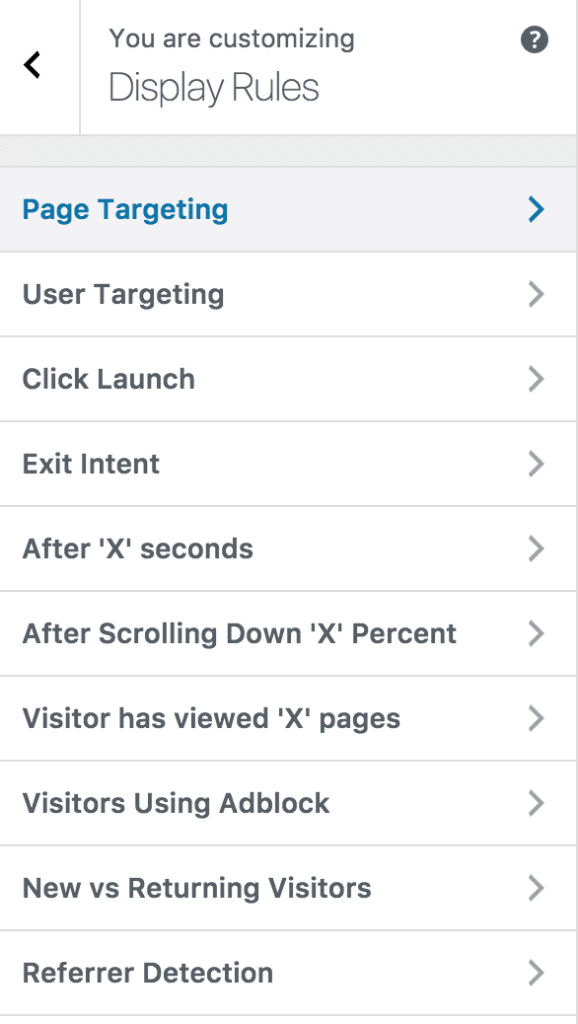
Navigate to the “Display Rules” panel.
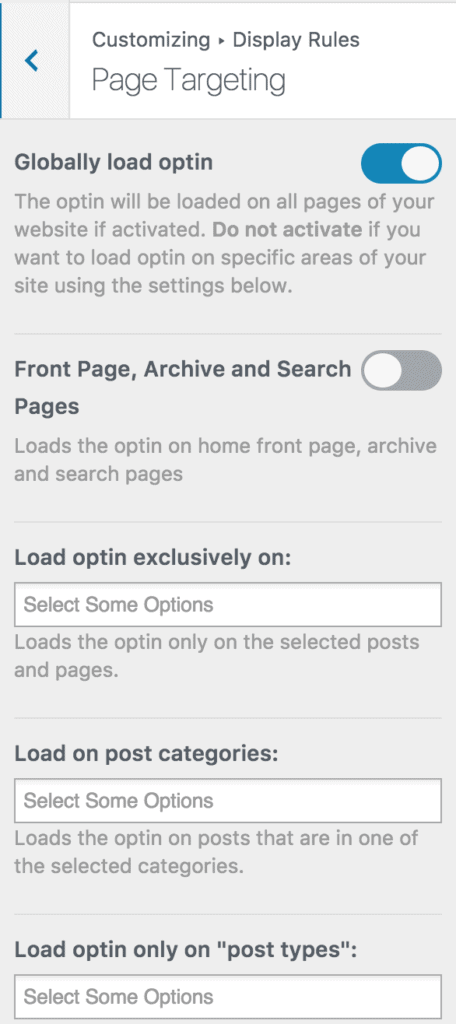
If you want the opt-in form to display everywhere (all pages) of your WordPress site, select ‘Globally load optin’. Otherwise, use page-level targeting and triggers to determine how and where the opt-in will appear on your site.
Finally, save the changes. Preview your WordPress website and see the Zoho CRM form displayed. If it doesn’t show up, clear your website and browser cache.
Create a Zoho CRM WordPress Form for Your Website
Creating a WordPress form integrated with Zoho CRM is an excellent way for businesses to capture more leads, improve their sales process, and increase sales.
Now that you’ve learned how to create a Zoho CRM WordPress form using MailOptin, it’s time to implement that knowledge.
To get started, follow the steps outlined in this article to set up your Zoho CRM forms in WordPress. Remember to customize your forms to fit your brand and meet your specific needs.
For further insights and tips, follow the guides below to learn how to create other popular email optin forms. And remember to select Zoho CRM as the integration.