How to Create a Zoho Campaigns WordPress Form
Do you want to create a Zoho Campaigns form for your WordPress website?
Zoho Campaigns is an email marketing platform designed to help businesses of all sizes create, send, and track email campaigns. From designing stunning emails to analyzing campaign performance, Zoho Campaigns offers everything you need to succeed in the competitive world of digital marketing.
In this tutorial, you will learn how to integrate MailOptin with Zoho Campaigns. That way, you can start capturing and saving leads to your Zoho Campaigns account directly from your WordPress website.
Benefits of Zoho Campaigns WordPress Form
Adding a Zoho Campaigns email signup form to your WordPress site offers many benefits.
With the Zoho Campaigns WordPress Form, leads captured through your website are automatically synced with your Zoho Campaigns account, eliminating manual data entry and saving you time and effort.
Additionally, you gain access to real-time insights into your optin campaign performance. And remember, Zoho Campaigns offers cost-effective pricing plans suitable for businesses of all sizes, allowing you to unlock the power of email marketing without breaking the bank.
Creating a Zoho Campaigns WordPress Optin Form
To create a Zoho campaigns WordPress form, you will need to follow these steps:
Step1: Install & Activate MailOptin
MailOptin is one of the best lead generation and email automation solutions. It will help you make great forms. It will also ensure that the subscriber details you collect are stored in your Zoho Campaigns account.
To start, you will need to buy a MailOptin license. Then, download the plugin from the welcome email or your MailOptin account.
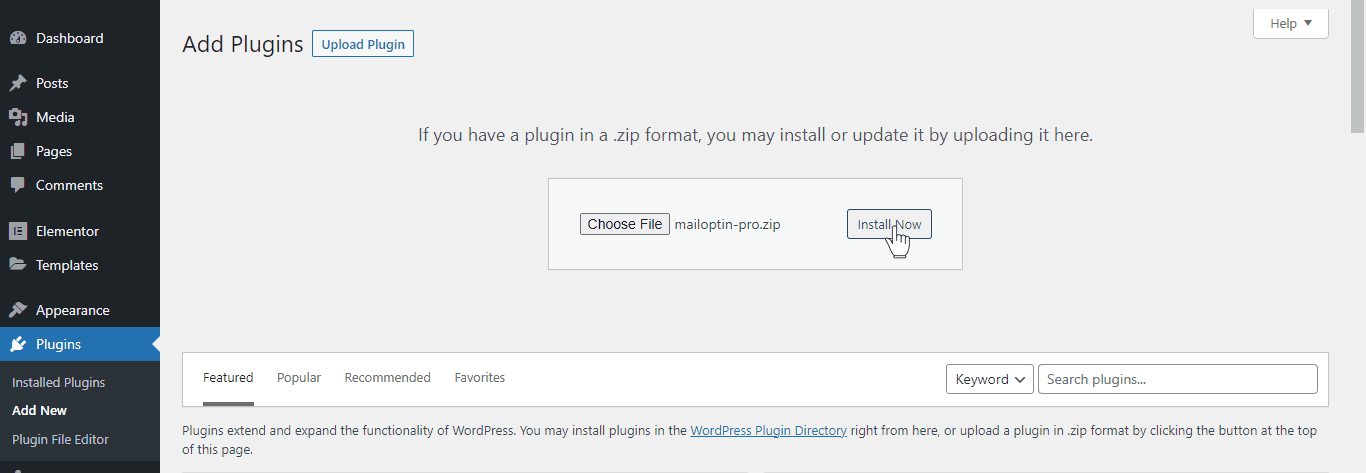
Next, log in to your WordPress admin dashboard. Go to the Plugins page. Click the Add New button and Upload Plugin.
Then click on Choose File to select the downloaded plugin zip file. Click Install Now.
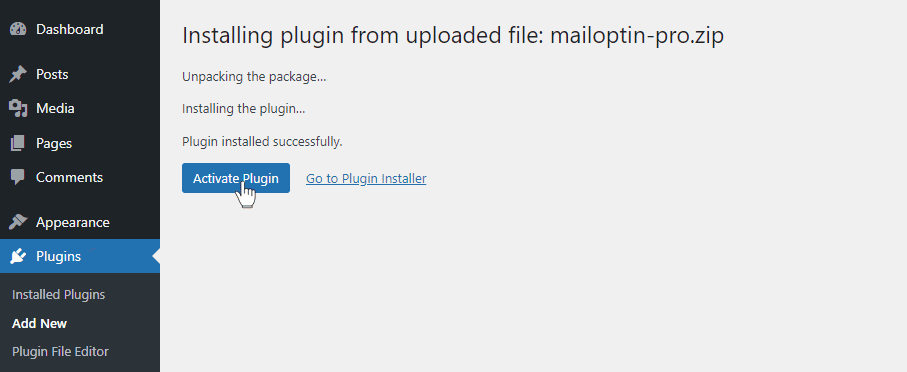
After installing the plugin, activate it by clicking ‘Activate Plugin’.
Step 2: Connect MailOptin Plugin With Your Zoho Campaigns Account
After setting up the MailOptin plugin, navigate to the plugin settings in your WordPress dashboard and click on Integrations.
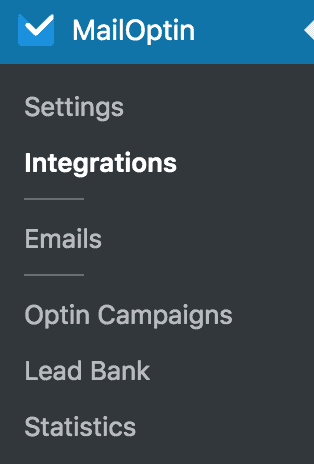
At the Zoho Campaigns Connection section, click the “Authorize” button.

You will then be redirected to log in to your account and to a screen to authorize MailOptin to access your account.
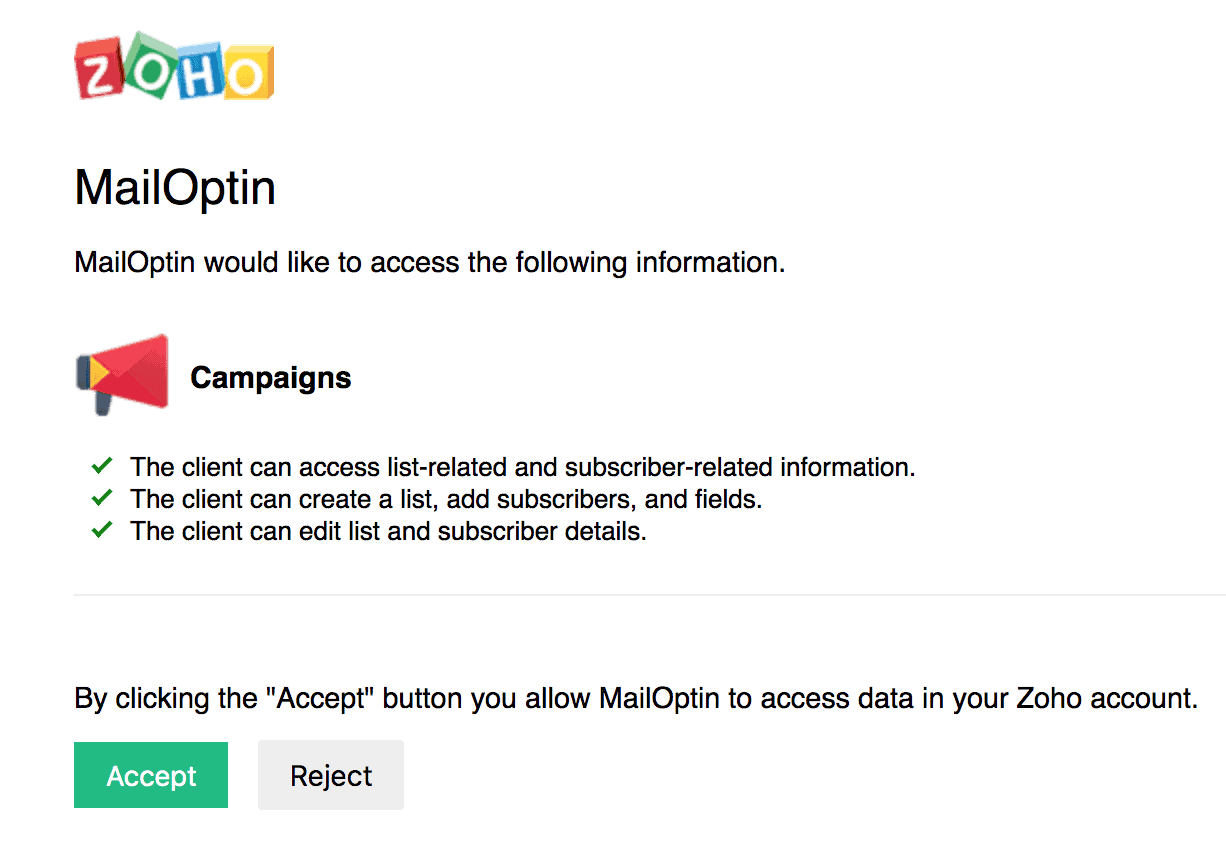
You will then be redirected back to the MailOptin connections page with the button color now green.

Step 3: Creating Opt-in forms
After successfully connecting your accounts, you can create a new form. To do this, click on MailOptin > Optin Campaigns on your WordPress admin dashboard.
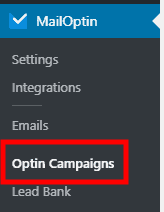
Next, click the Add New button at the top of the page to create a new opt-in form.

Give your new opt-in campaign a name.

Then, select a theme for the campaign you want to create.
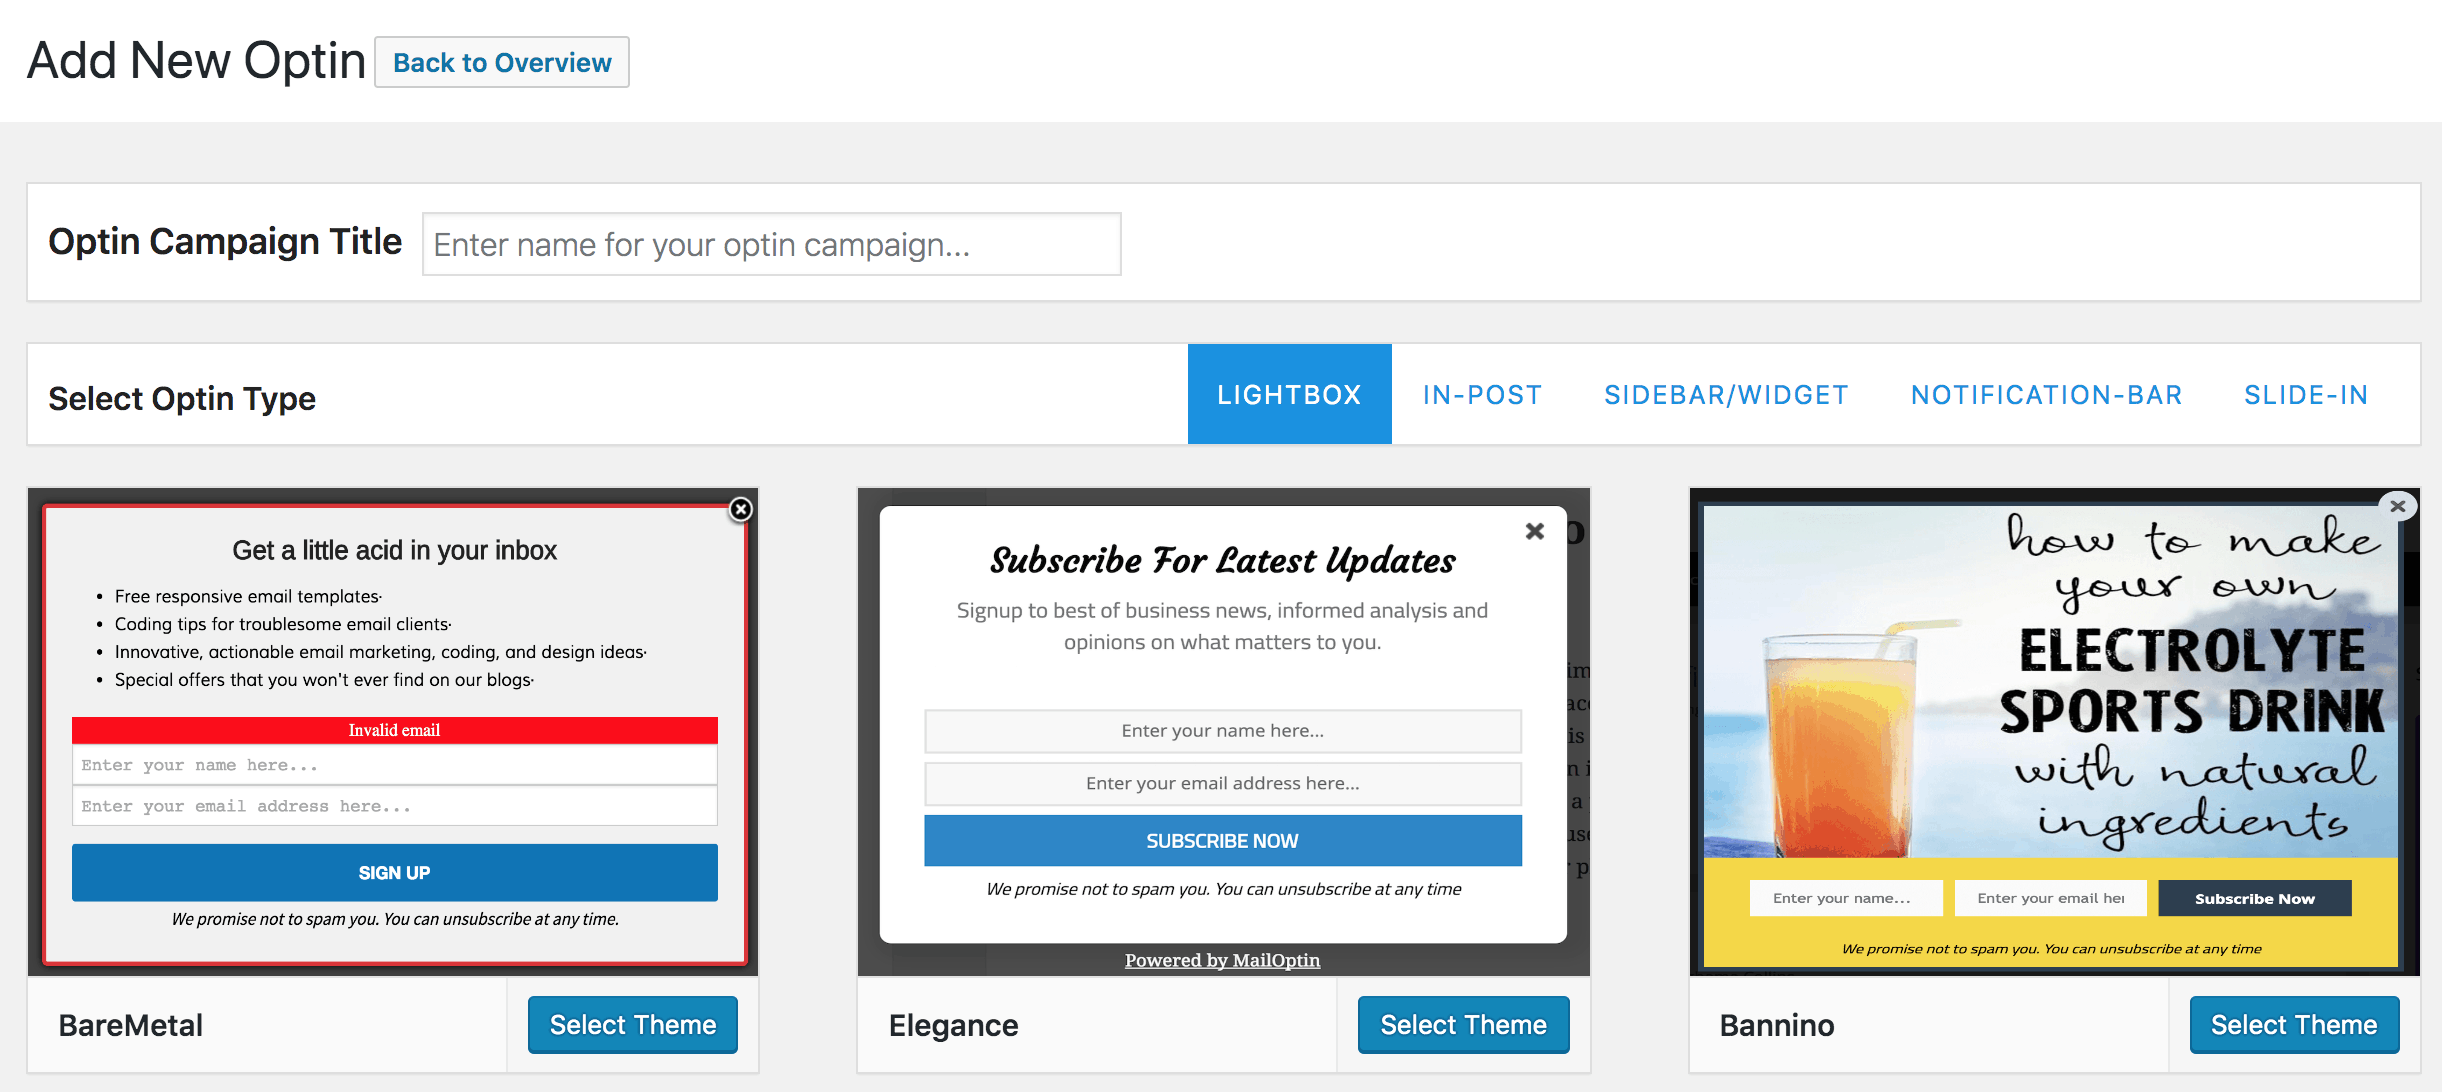
MailOptin will create your new campaign and then redirect you to the campaign customizer. Here, you will have options and the flexibility to customize the opt-in form in any way you like.
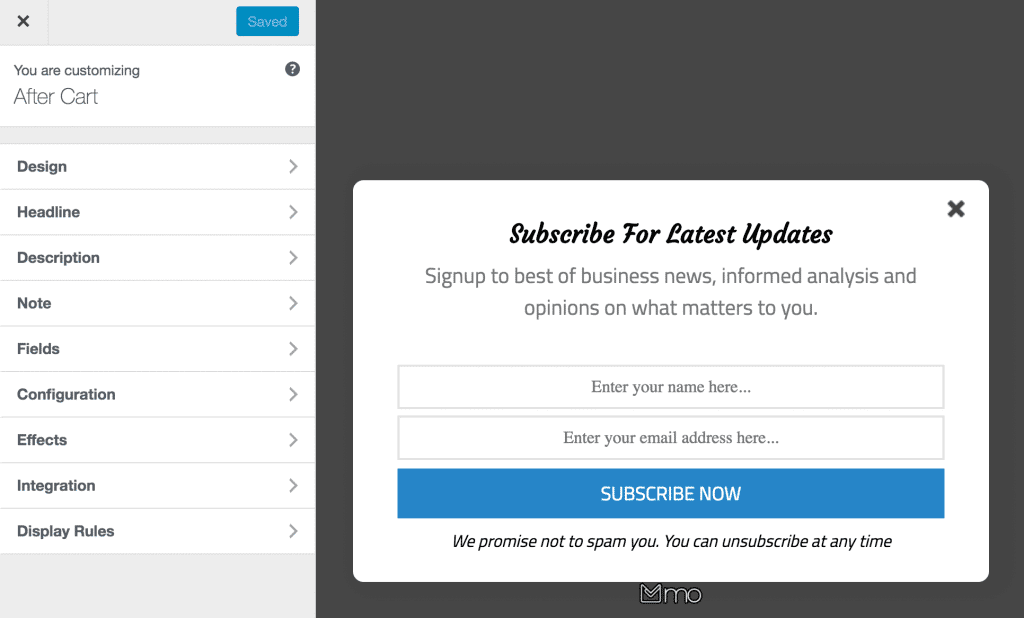
See: Adding Extra Fields to Your Optin Form
Step 4: Connecting Zoho Campaigns to an opt-in campaign
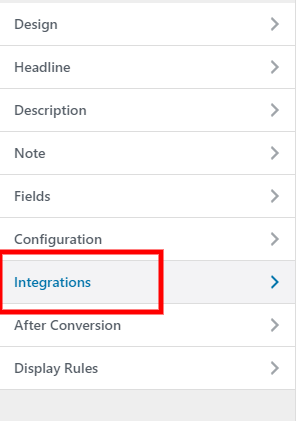
After customizing the form, open the Integrations panel to configure Zoho Campaigns…
… then select Zoho Campaigns in the Email Provider dropdown and the list to which you want to subscribe users. You can also select tags to assign to leads who subscribe via this form.
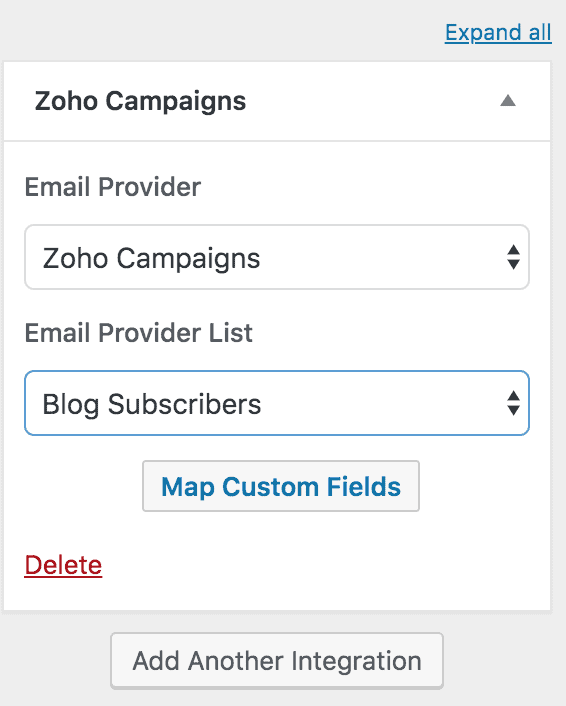
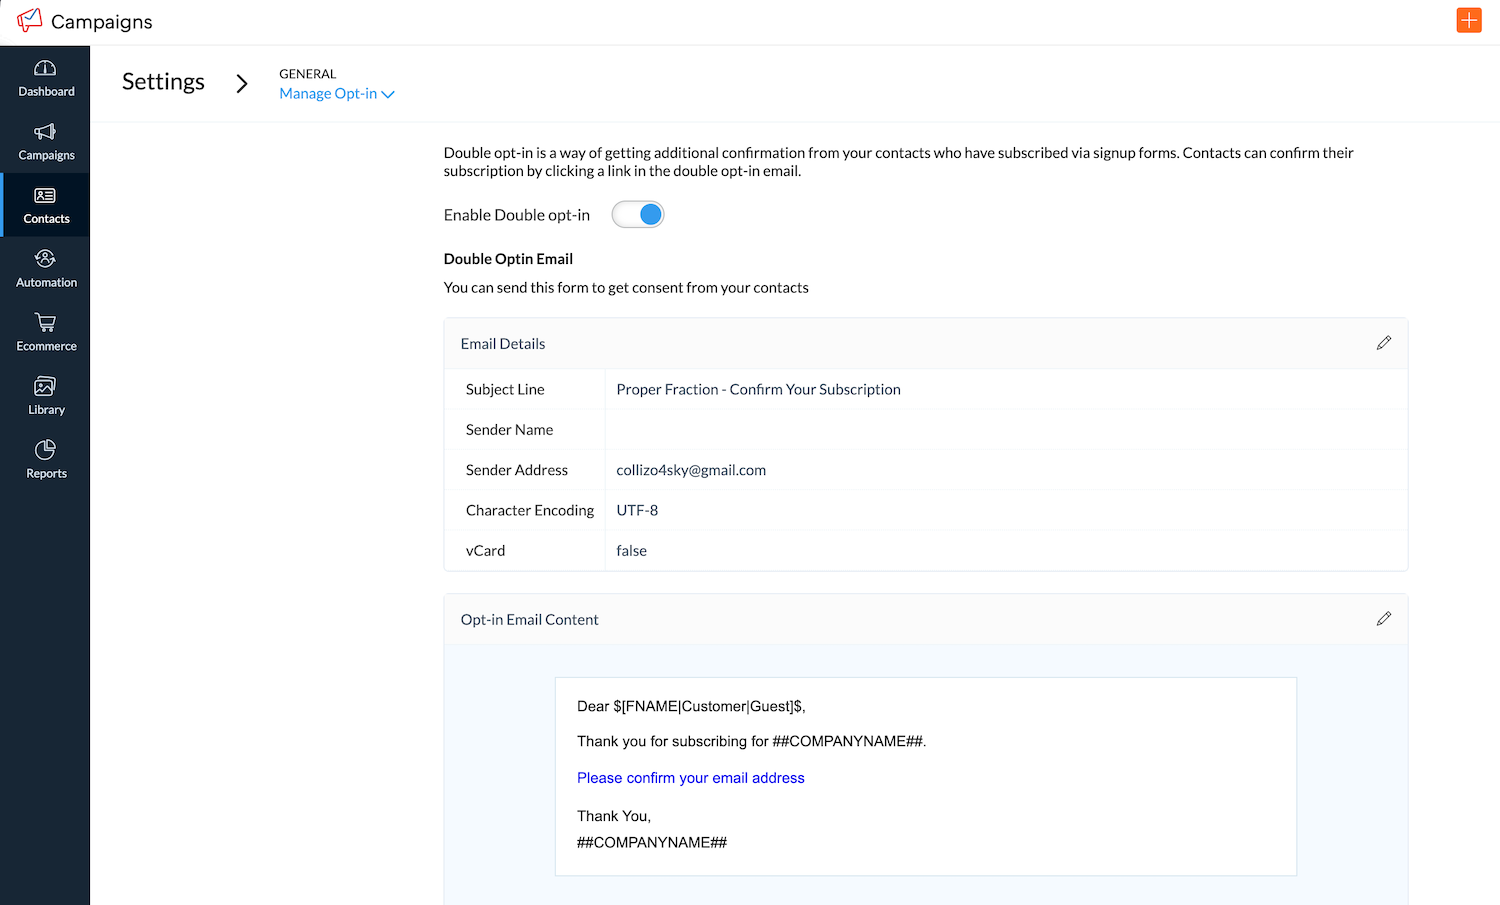
Do note that if double-optin is enabled in Zoho Campaigns, tags might not get applied because Zoho Campaigns does not apply tags to users that have not confirmed their subscription. You can disable Double Optin in your Zoho Campaigns account from Settings >> General >> Manage Opt-in.
To get the opt-in to display on your site, toggle the activate switch ON at the top (close to the “Save Changes” button).
![]()
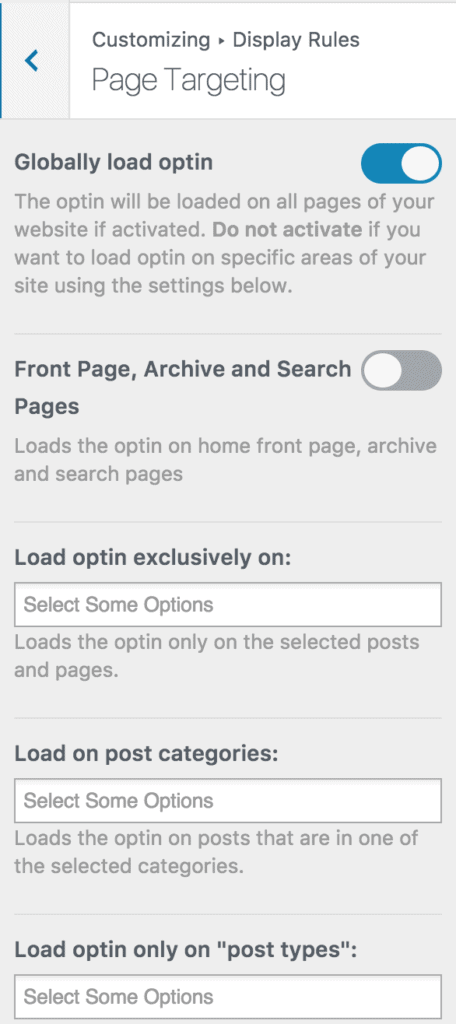
Navigate to the “Display Rules” panel.
If you want the opt-in form to be displayed everywhere (all pages) on your WordPress site, check “Globally load optin”; otherwise, use page-level targeting and triggers to determine how and where the opt-in will be shown on your site.
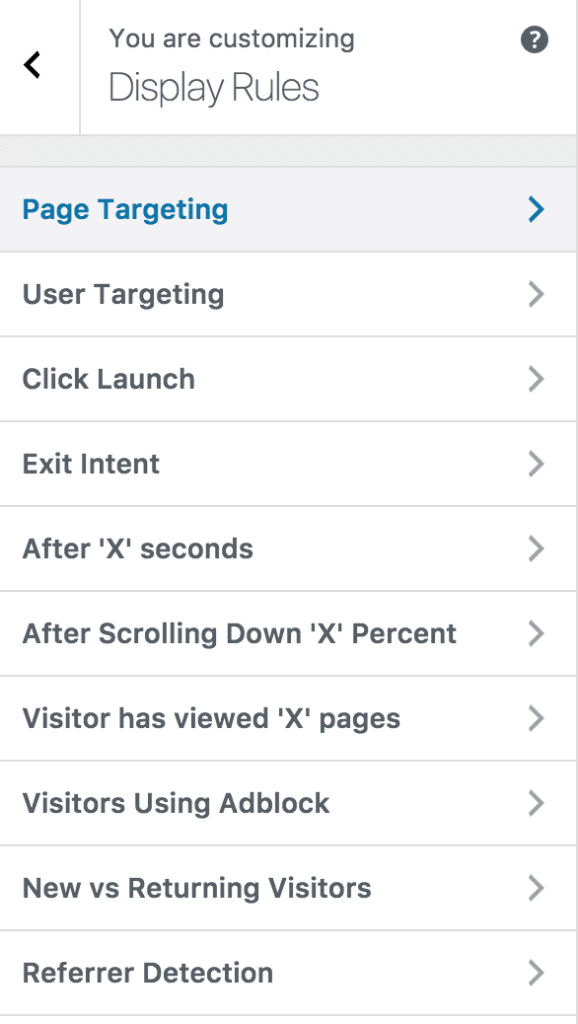
Finally, save the changes. Preview your website, and you should see the opt-in displayed. If it isn’t, clear your website and browser cache.
Create Your Zoho Campaigns WordPress Form Today!
In conclusion, creating an opt-in form for Mailster on your WordPress website is straightforward with MailOptin. Following the steps outlined in this tutorial, you can effectively capture leads and build your Zoho Campaigns marketing list.
Follow the guides below to learn how to create other popular email opt-in forms. And don’t forget to select Zoho Campaigns in the Integration panel.

