How to Create SendFox Email Signup Forms in WordPress
Are you looking to create SendFox optin forms for your WordPress website to capture leads?
SendFox is an email marketing platform for content creators, bloggers, and small businesses. It offers a simplified approach to email marketing with a focus on ease of use and affordability. The platform provides essential features such as email list management, automated campaigns, and basic analytics.
In this tutorial, we will learn how to integrate MailOptin with SendFox so you can start capturing and saving leads with an email sign-up form to your SendFox account.
Creating a SendFox Email Signup Form in WordPress
Here are the steps to create a SendFox email signup form to add your website visitors and users to your website as email subscribers.
Step 1: Install and Activate MailOptin Plugin
Begin by installing and activating the MailOptin plugin on your WordPress website. You can get a copy from the pricing page.
Next, connect MailOptin with your SendFox account.
Step 2: Create a WordPress Optin Form for SendFox
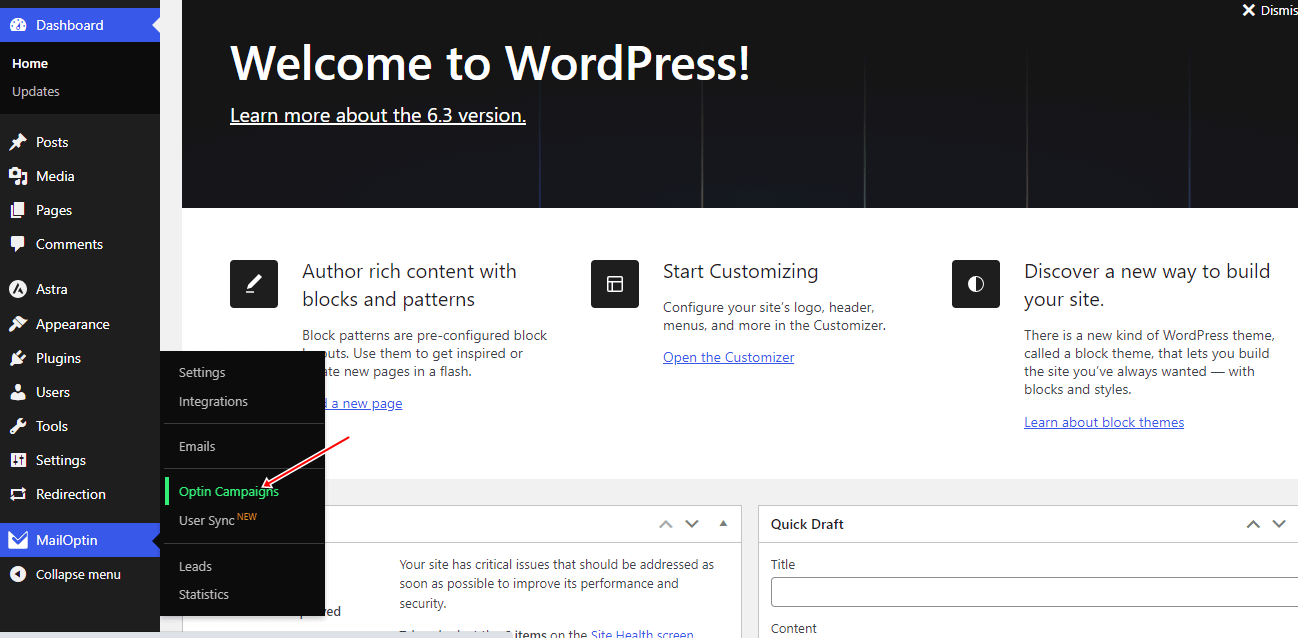
To get started creating a SendFox WordPress optin form, click on “Optin Campaigns” in the MailOptin menu,
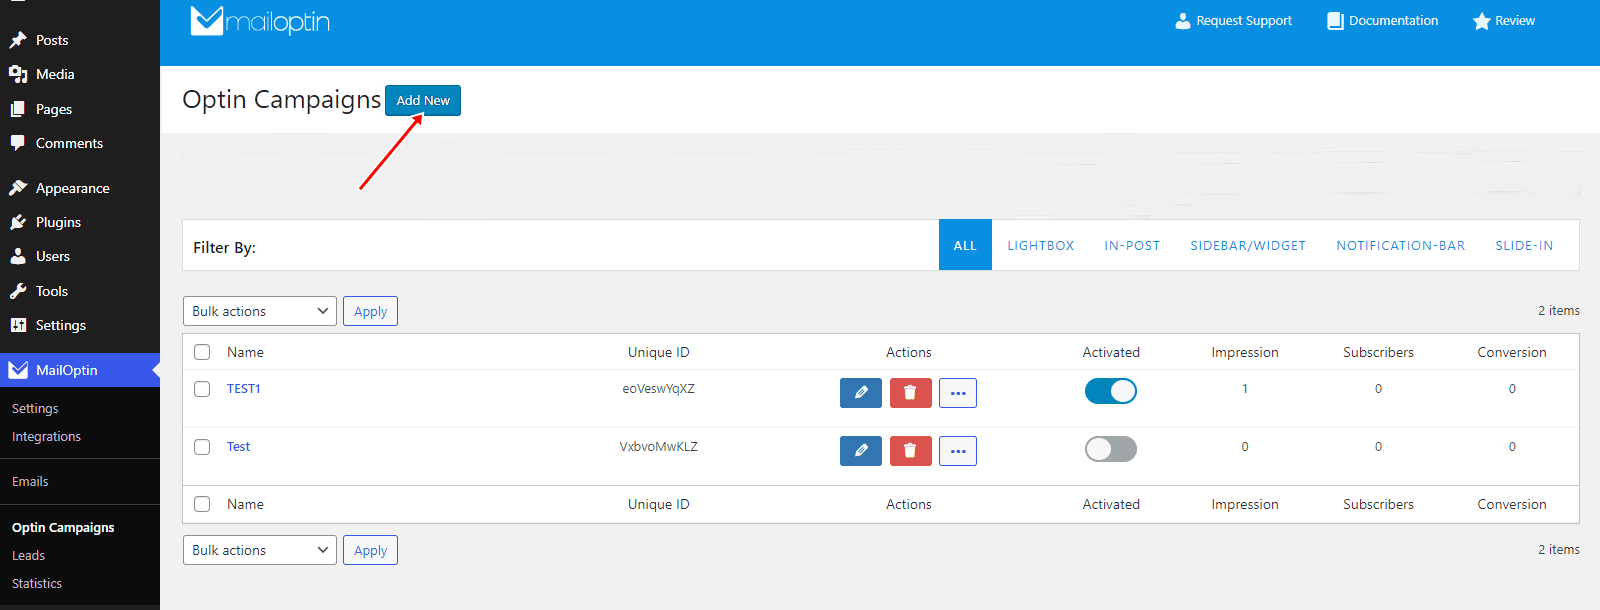
Next, click the “Add New” button at the top to create a new optin form in WordPress.
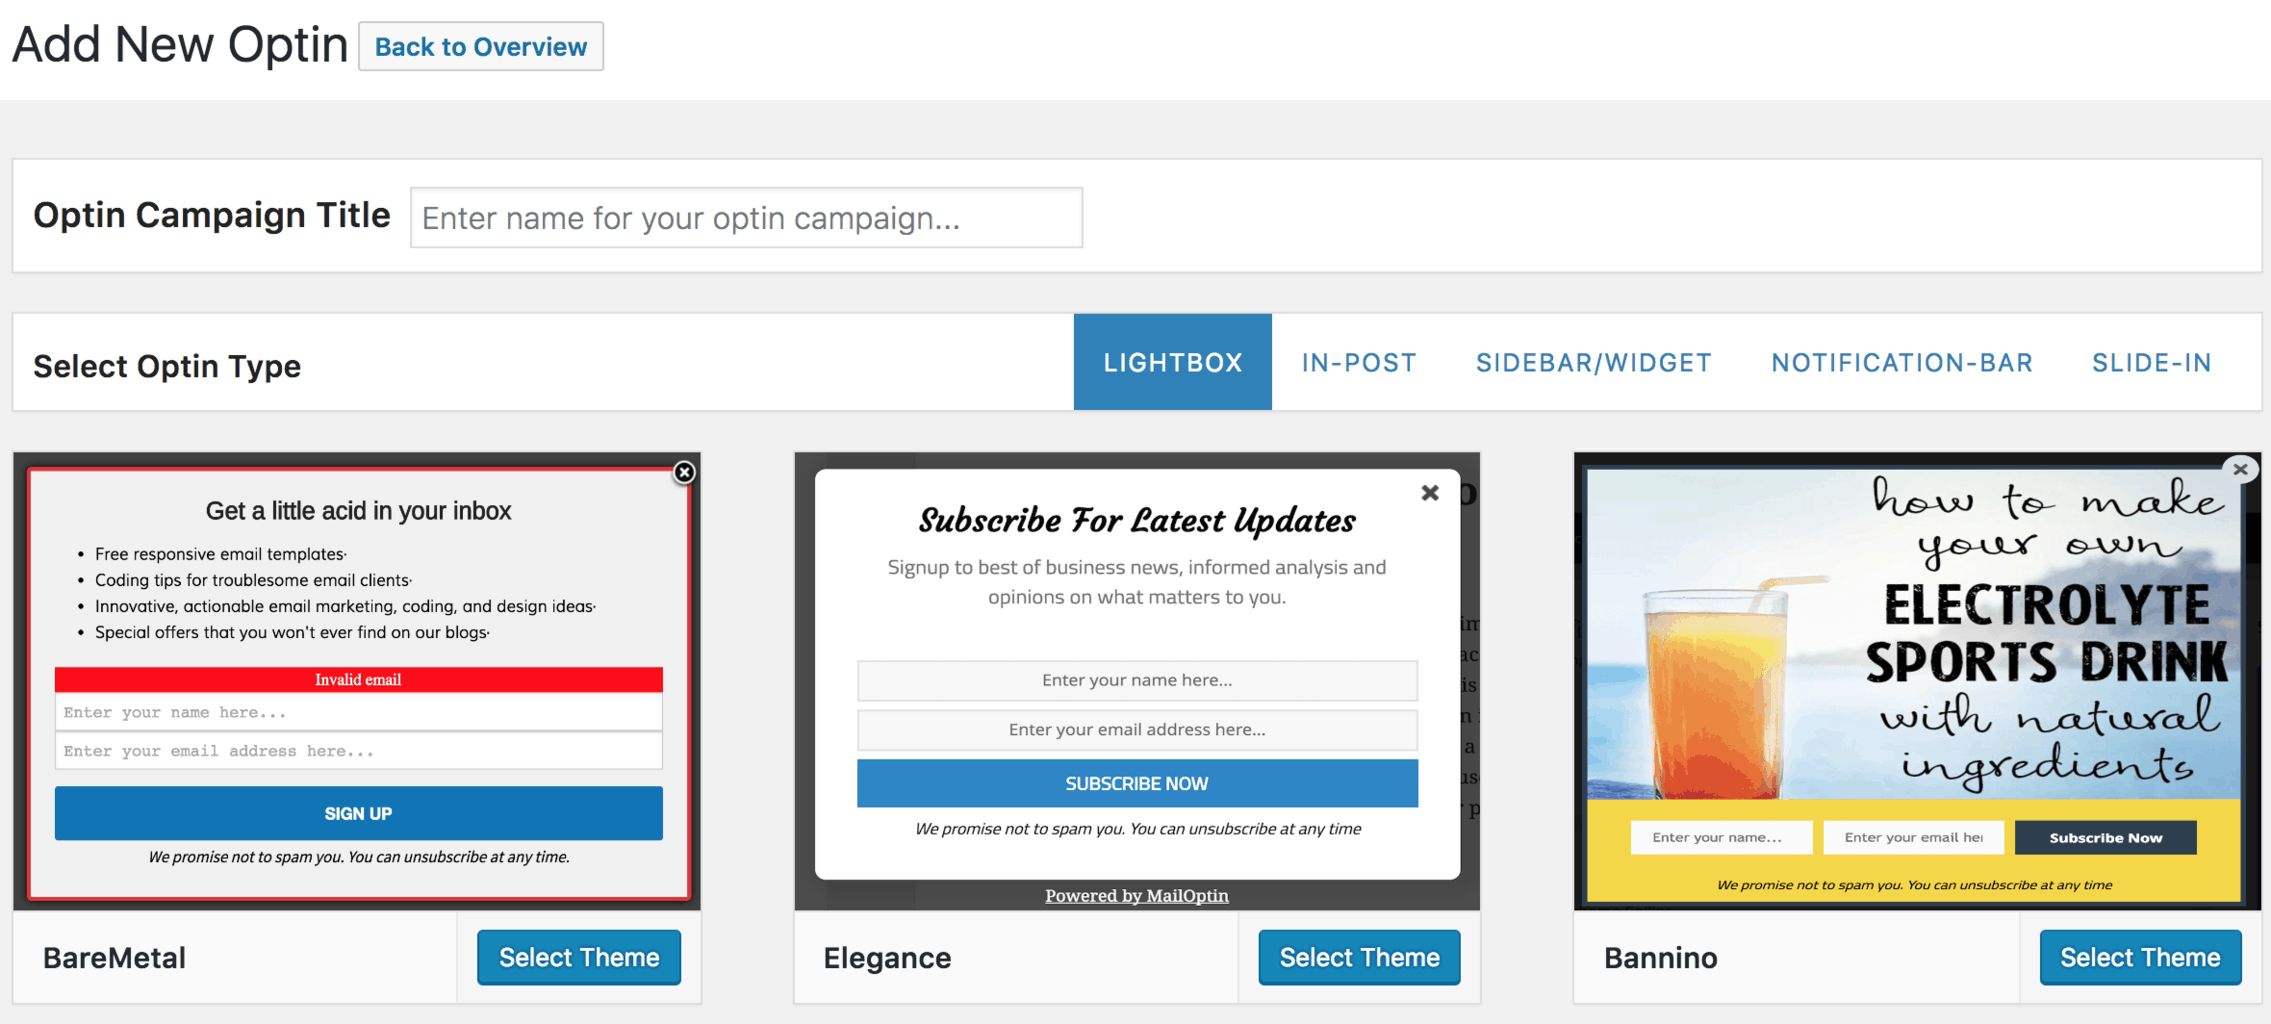
Enter a title for the optin campaign, select the optin type (for this tutorial, we’ll choose lightbox), and click the optin form design you want.
You will then be redirected to the form builder, where you have options and the flexibility to customize the optin form to your heart’s content.
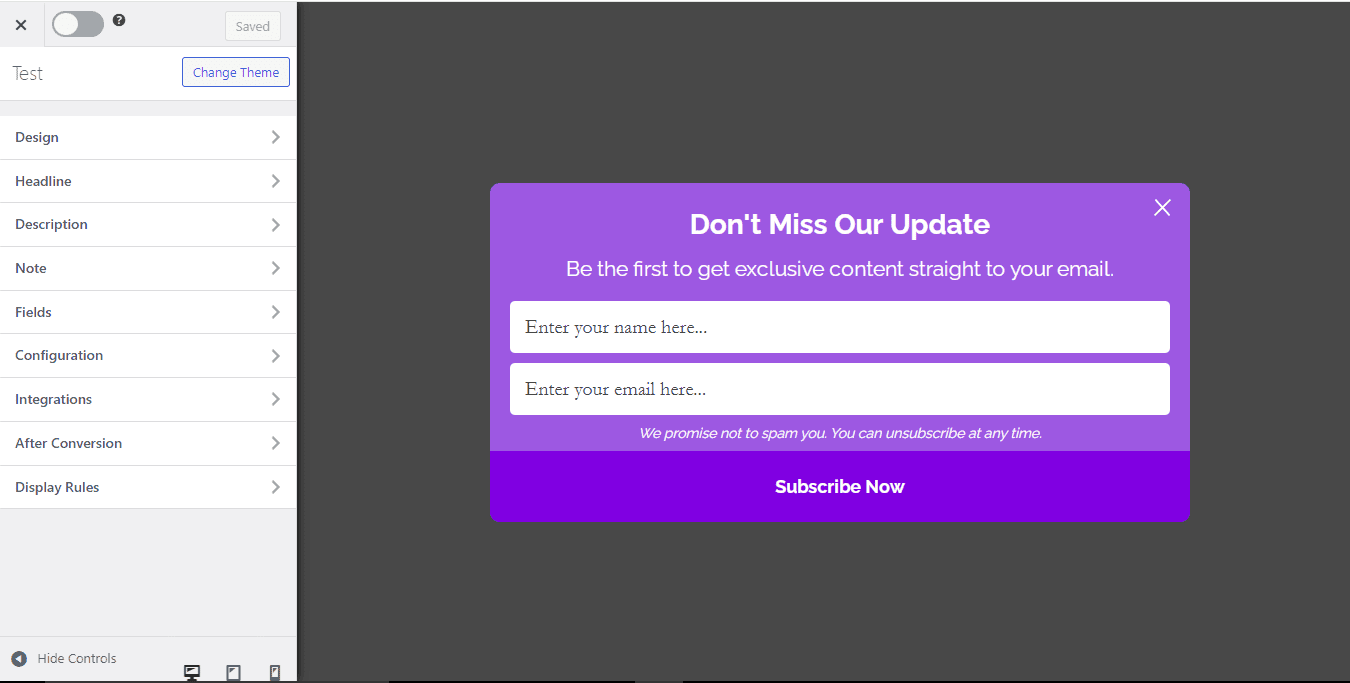
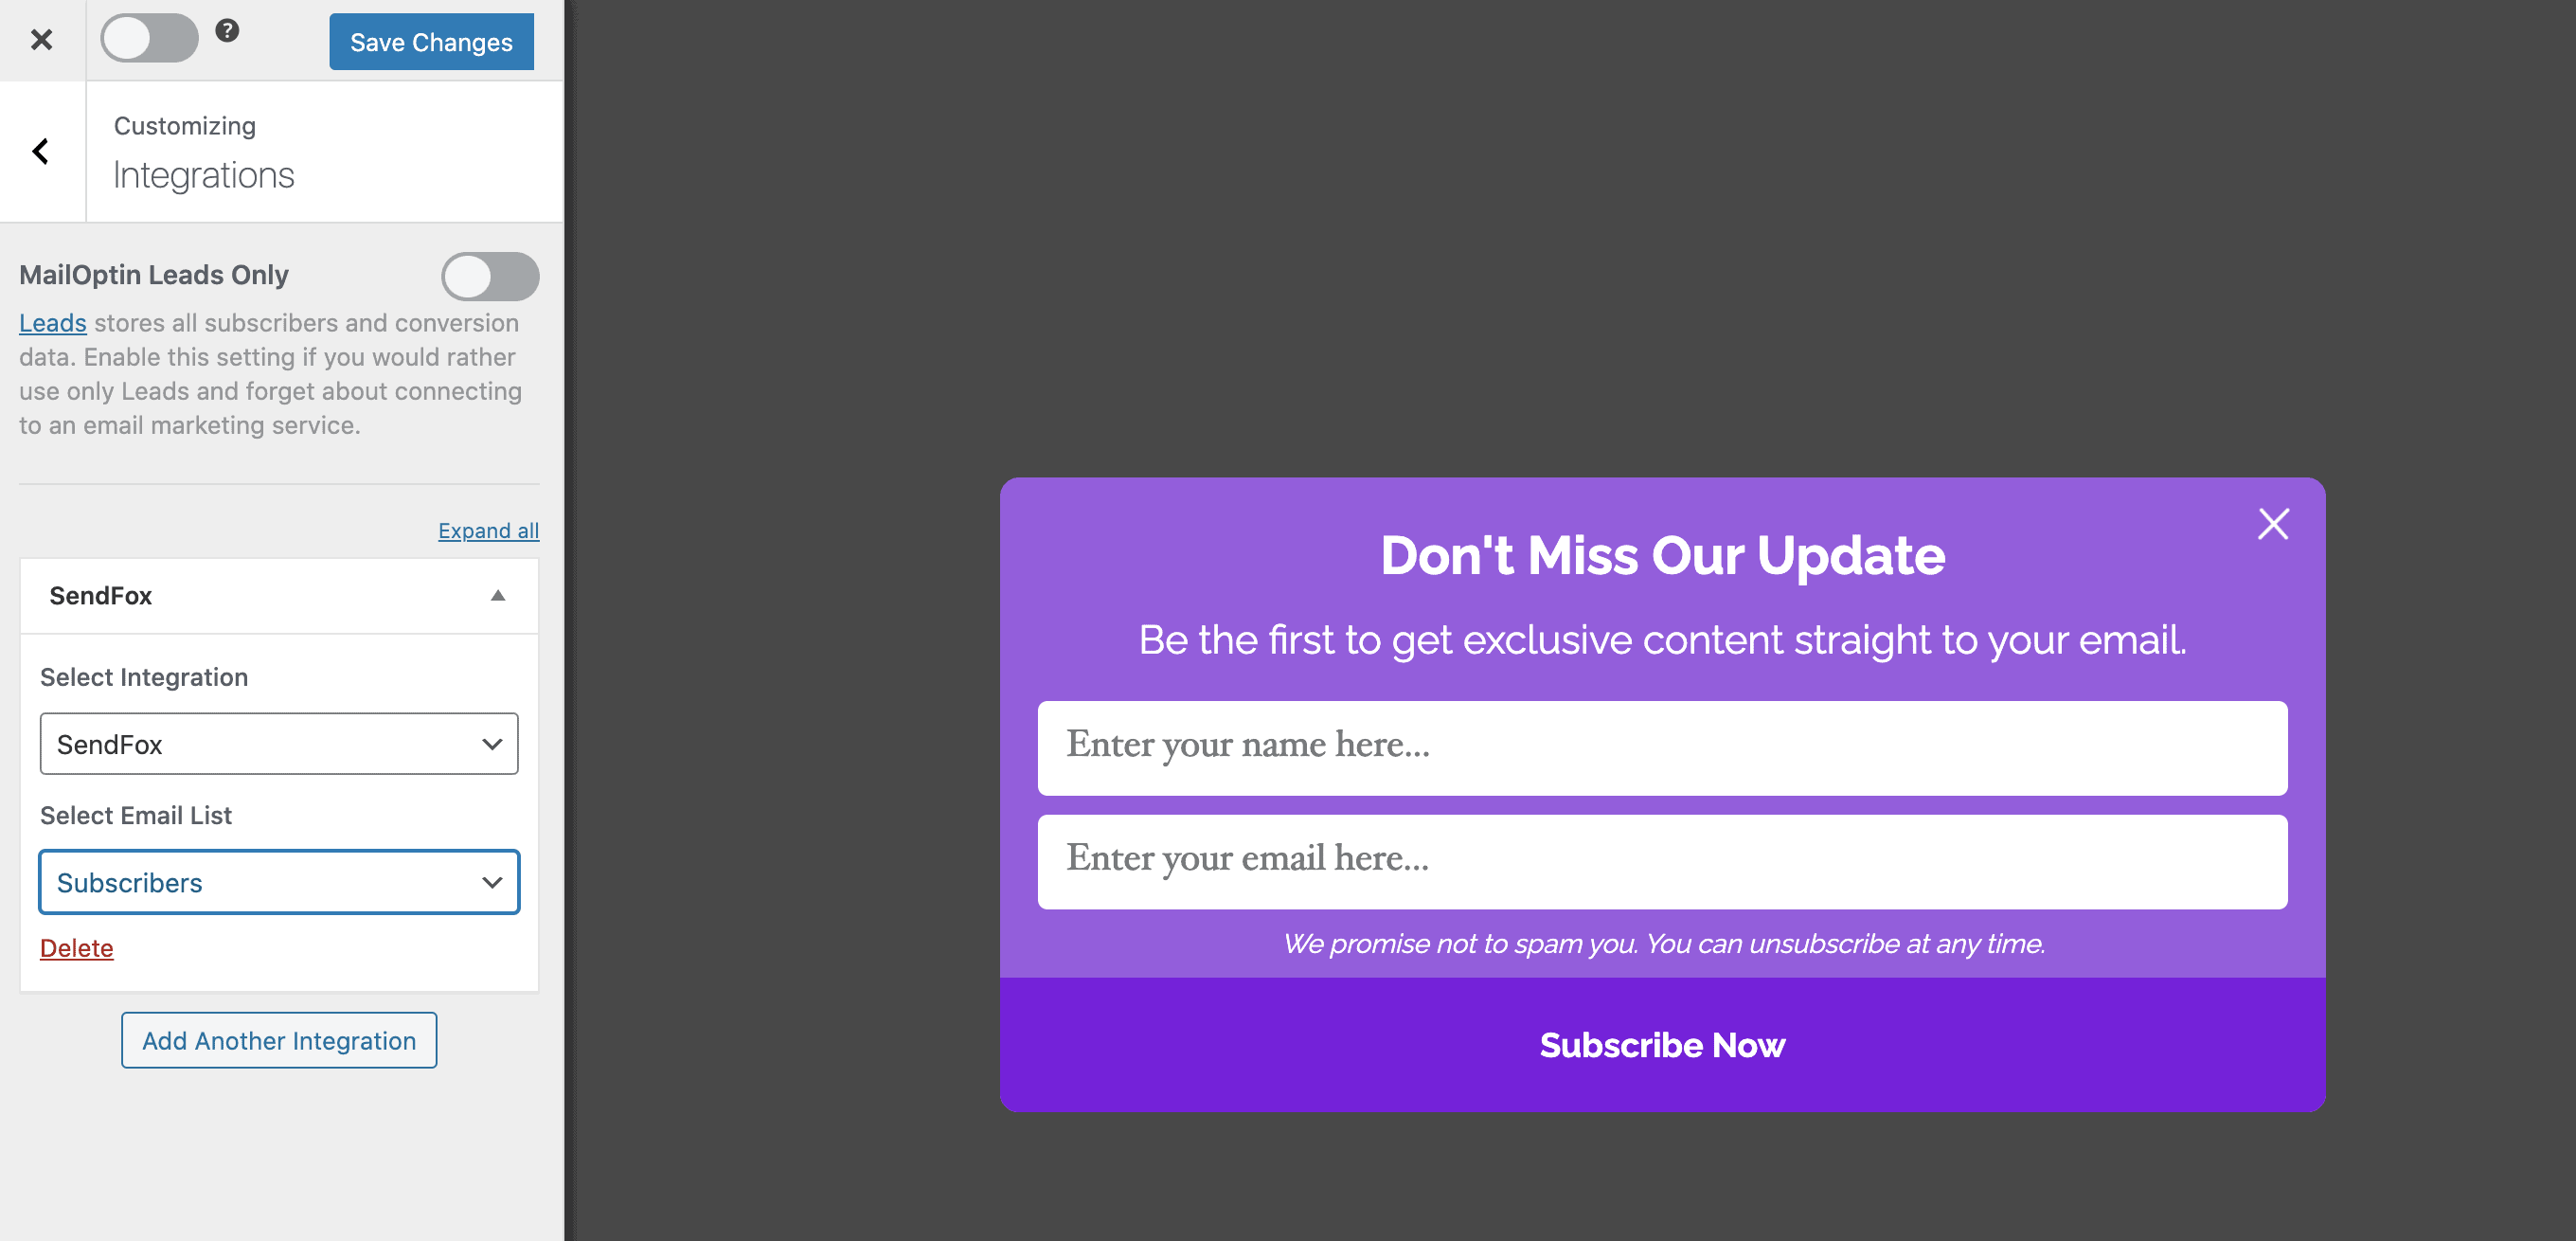
Having finished customizing the form, open the Integration panel, Select SendFox in the Email Provider dropdown, and the list to subscribe users to.
To get the SendFox opt-in to display on your WordPress site, toggle the activate switch ON at the top (close to the “Save Changes” button).

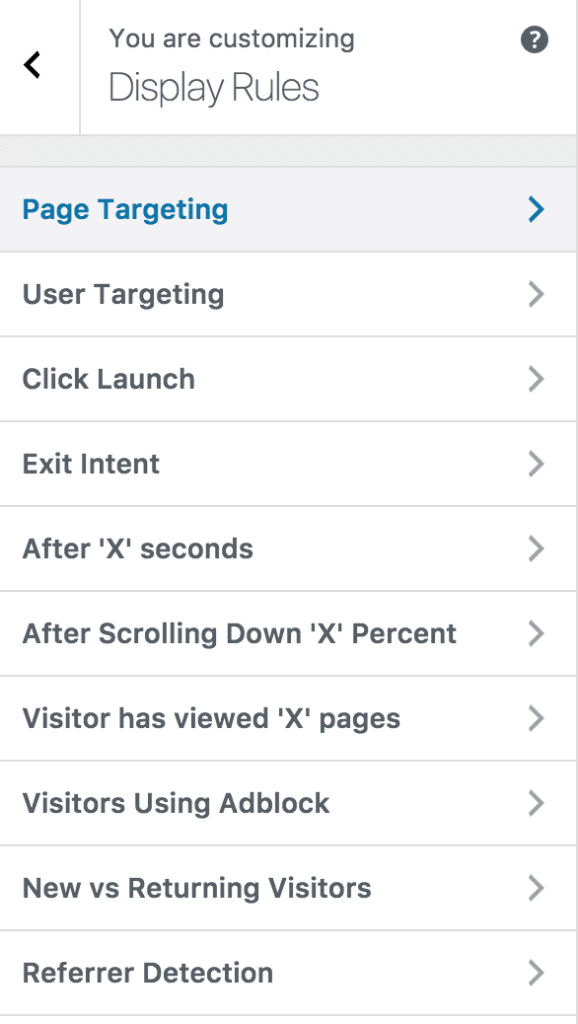
Navigate to the “Display Rules” panel.
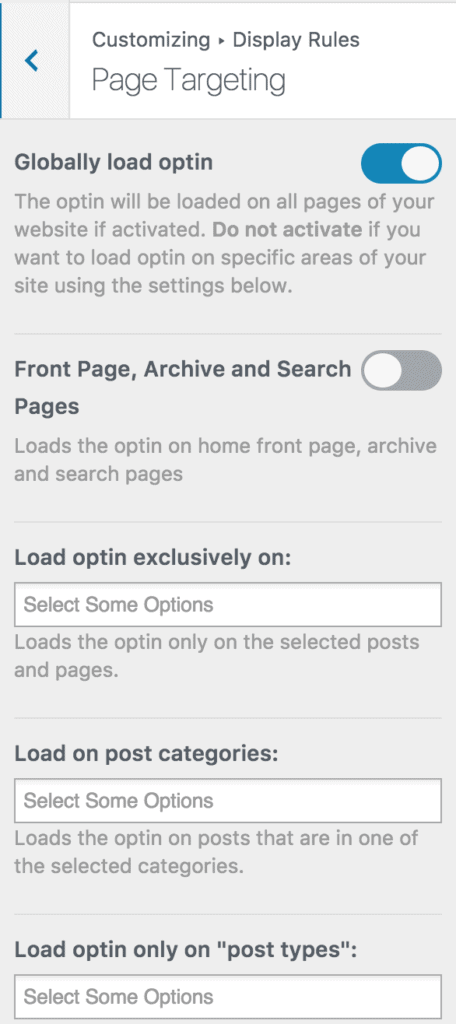
If you want the optin form to be displayed everywhere (all pages) of your WordPress site, also check “Globally load optin” Otherwise, use the page-level targeting and triggers to determine how and where in your site the opt-in will be shown.
Finally, save the changes. Preview your website, and you should see the optin displayed. If it doesn’t show up, clear your website and browser cache.
Grow your Email List with SendFox email signup forms
Combining SendFox with WordPress through MailOptin is a game-changer for anyone looking to boost their email marketing game.
Whether you’re a blogger, content creator, or running a small business, this setup lets you easily create eye-catching signup forms to help grow your email list without breaking a sweat.
The best part? You don’t need to be a tech wizard to make it happen – follow the steps we’ve laid out, and you’ll be up and running in no time.
We hope this article helped you learn how to create SendFox optin forms for your WordPress site.
Follow the guides below to learn how to create other popular email optin forms. And remember to select SendFox in the Integration panel.