How to Create Mailster Optin Forms in WordPress
Do you want to create a Mailster optin form on your WordPress website?
Mailster is a WordPress email marketing software or plugin popular among WordPress site owners and businesses.
In this tutorial, we will learn how to create a Mailster email signup form using MailOptin so you can start capturing and saving leads to your Mailster marketing list.
Creating a Mailster Optin Form
To start, purchase a MailOptin license and install the plugin on your WordPress website.
When done with the purchase, log in to your WordPress admin dashboard, next go to the Plugins page, click the Add New button, and Upload Plugin.
Then, click Choose File to select the downloaded plugin zip file. Click Install Now.

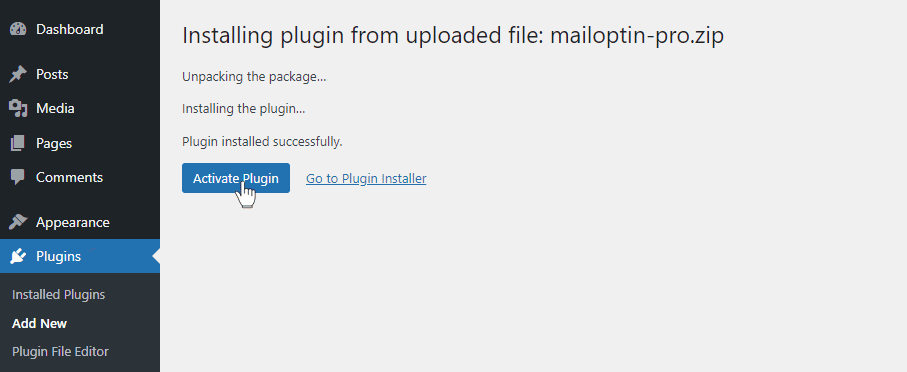
After installing the plugin, activate it by clicking ‘Activate Plugin’.
Connect MailOptin with Mailster
MailOptin offers seamless integration with Mailster.
Once you install and activate Mailster on your WordPress dashboard, the integration will automatically be live. No setup or additional settings are required.
Create a New Optin Form
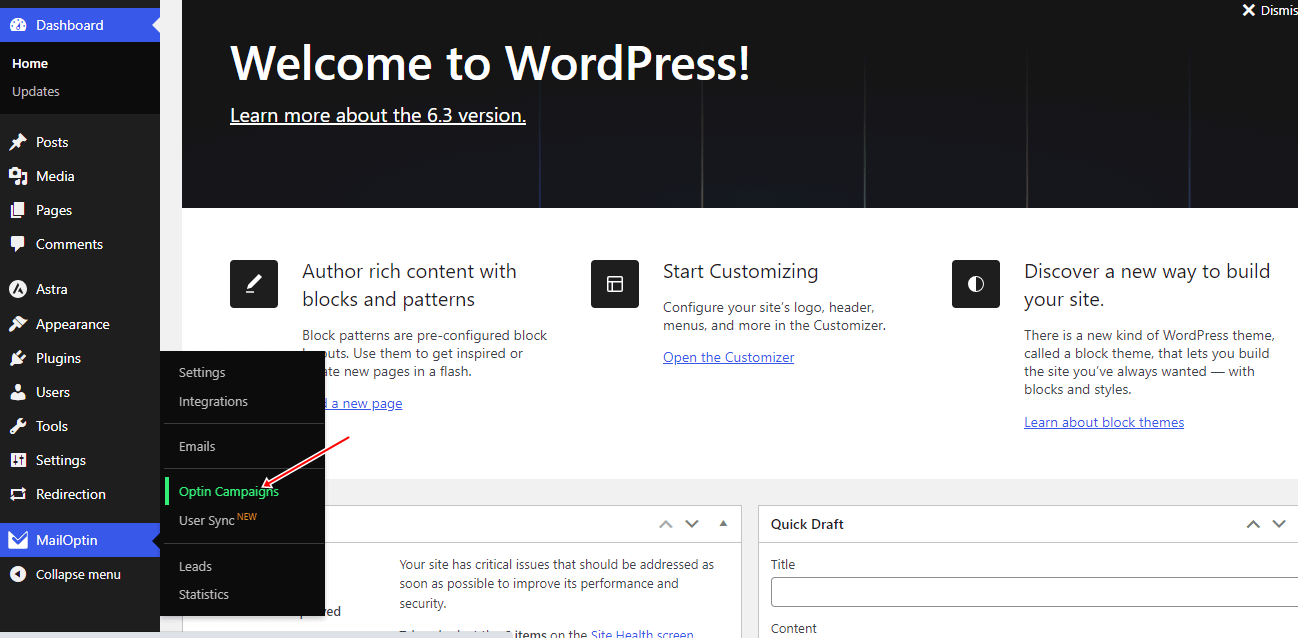
Go to MailOptin in your WordPress dashboard and navigate to the ‘Optin Campaigns’ section.
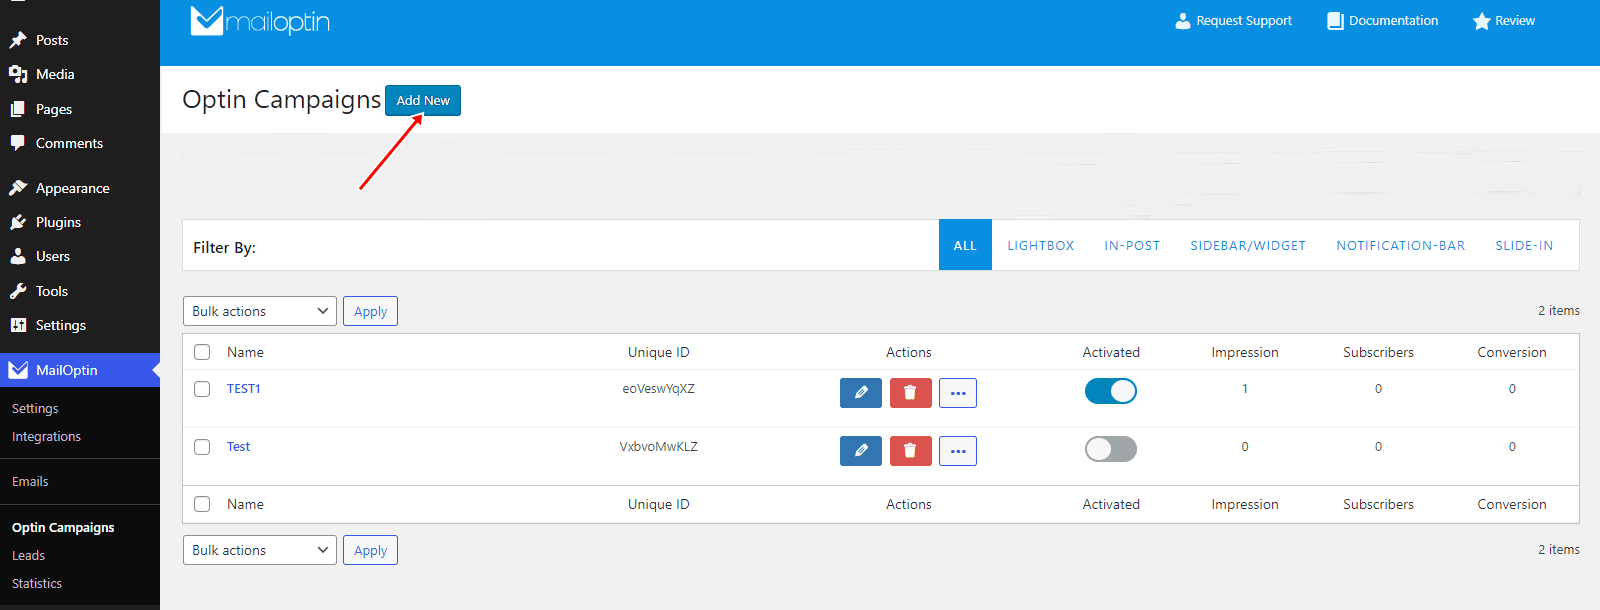
Then, click the ‘Add New’ button at the top of the page.
Enter a title for the campaign, select the optin type (for this tutorial, we’ll select lightbox) and click the optin form design you want.
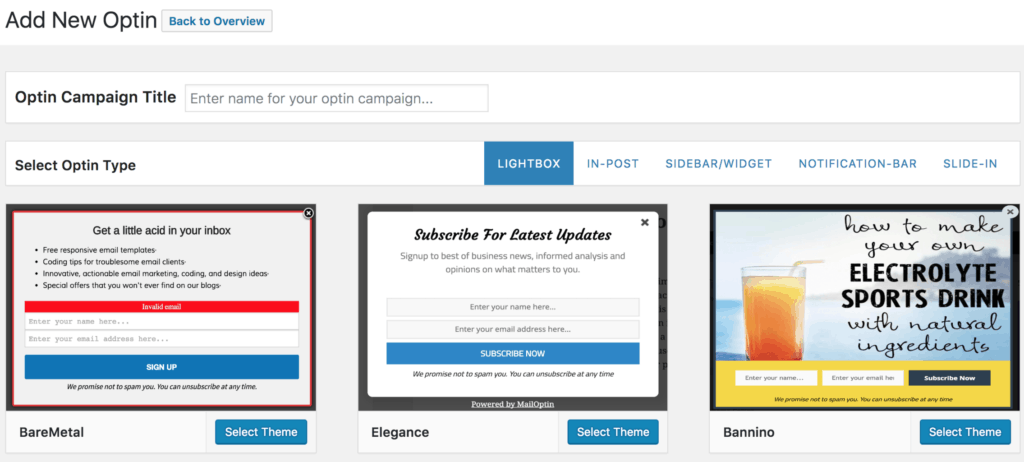
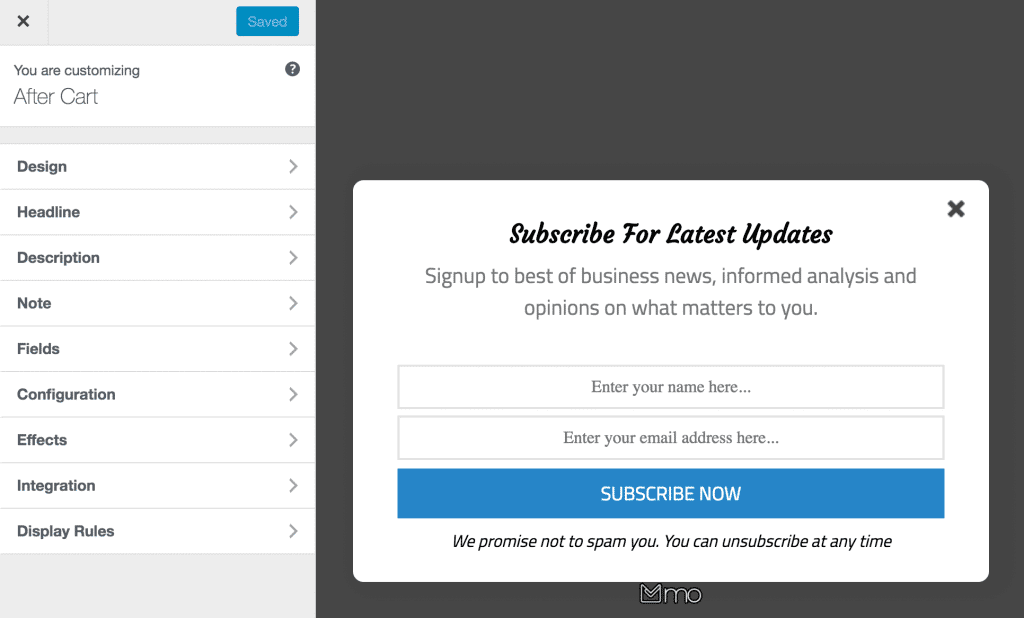
You will then be redirected to the form builder where you have options and the flexibility to customize the optin form to your heart content.
See: Adding Extra Fields to Your Optin Form
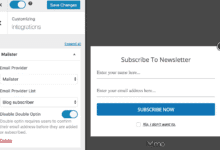
Having finished customizing the form, open the Integration panel, Select Mailster in the Email Provider dropdown, and the Mailster list to subscribe users to. You can also toggle the double opt-in option.
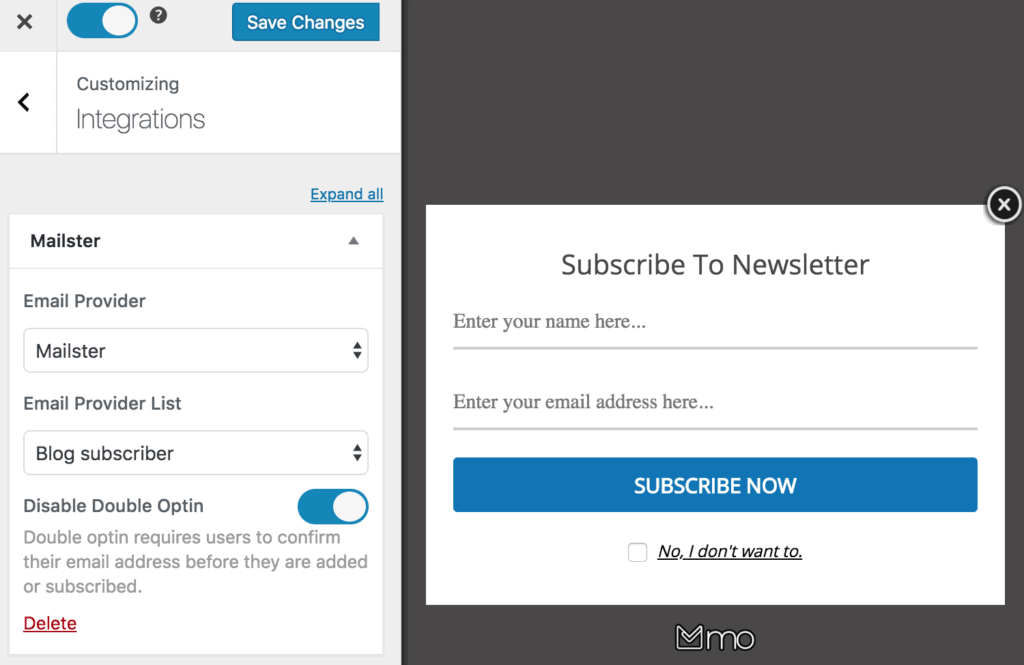
To actually get the opt-in to display on your site, toggle the activate switch ON at the top (close to the “Save Changes” button).
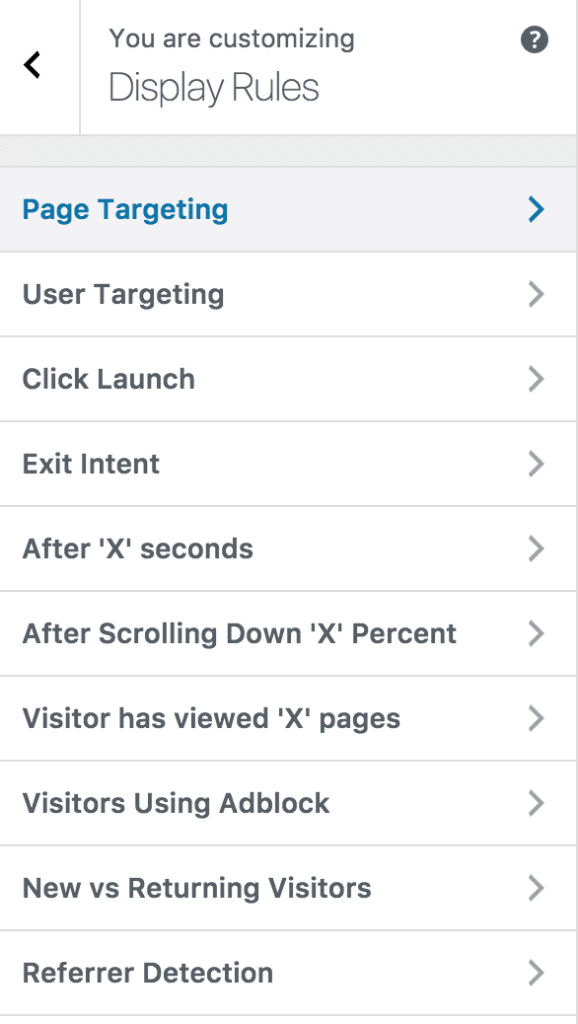
Navigate to the “Display Rules” panel and use the page-level targeting and triggers to determine how and where on your site the opt-in will be shown.
Finally, save the changes. Preview your website and you should see the optin displayed. If it doesn’t show up, be sure to clear your website and browser cache.
Create a Mailster Optin Form on Your WordPress Site
In conclusion, creating an opt-in form for Mailster on your WordPress website is a straightforward process with MailOptin. By following the steps outlined in this tutorial, you can effectively capture leads and build your Mailster marketing list.
With MailOptin’s seamless integration with Mailster, you can save time while also enhancing the effectiveness of your email marketing campaigns.
But why stop there? Follow the guide below to learn how to create other popular types of email opt-in forms. And remember to select Mailster in the Integration panel.