How to Set up WooCommerce Product Recommendations
Are you looking for a way to increase sales across your online store? You might want to start by displaying product recommendations better.
Other than bringing in new sales, displaying products based on the customer’s buying journey can also be a simple yet effective way to increase the average order value on your online store. This is because you’re essentially giving customers more relevant options based on the product(s) they’ve already expressed interest in.
In this article, we’ll show you how to set up WooCommerce product recommendations on your online store.
The Default WooCommerce Product Recommendations Functionality
By default, WooCommerce lets you display related products on your single product pages. However, it’s not the most effective way to promote your products.
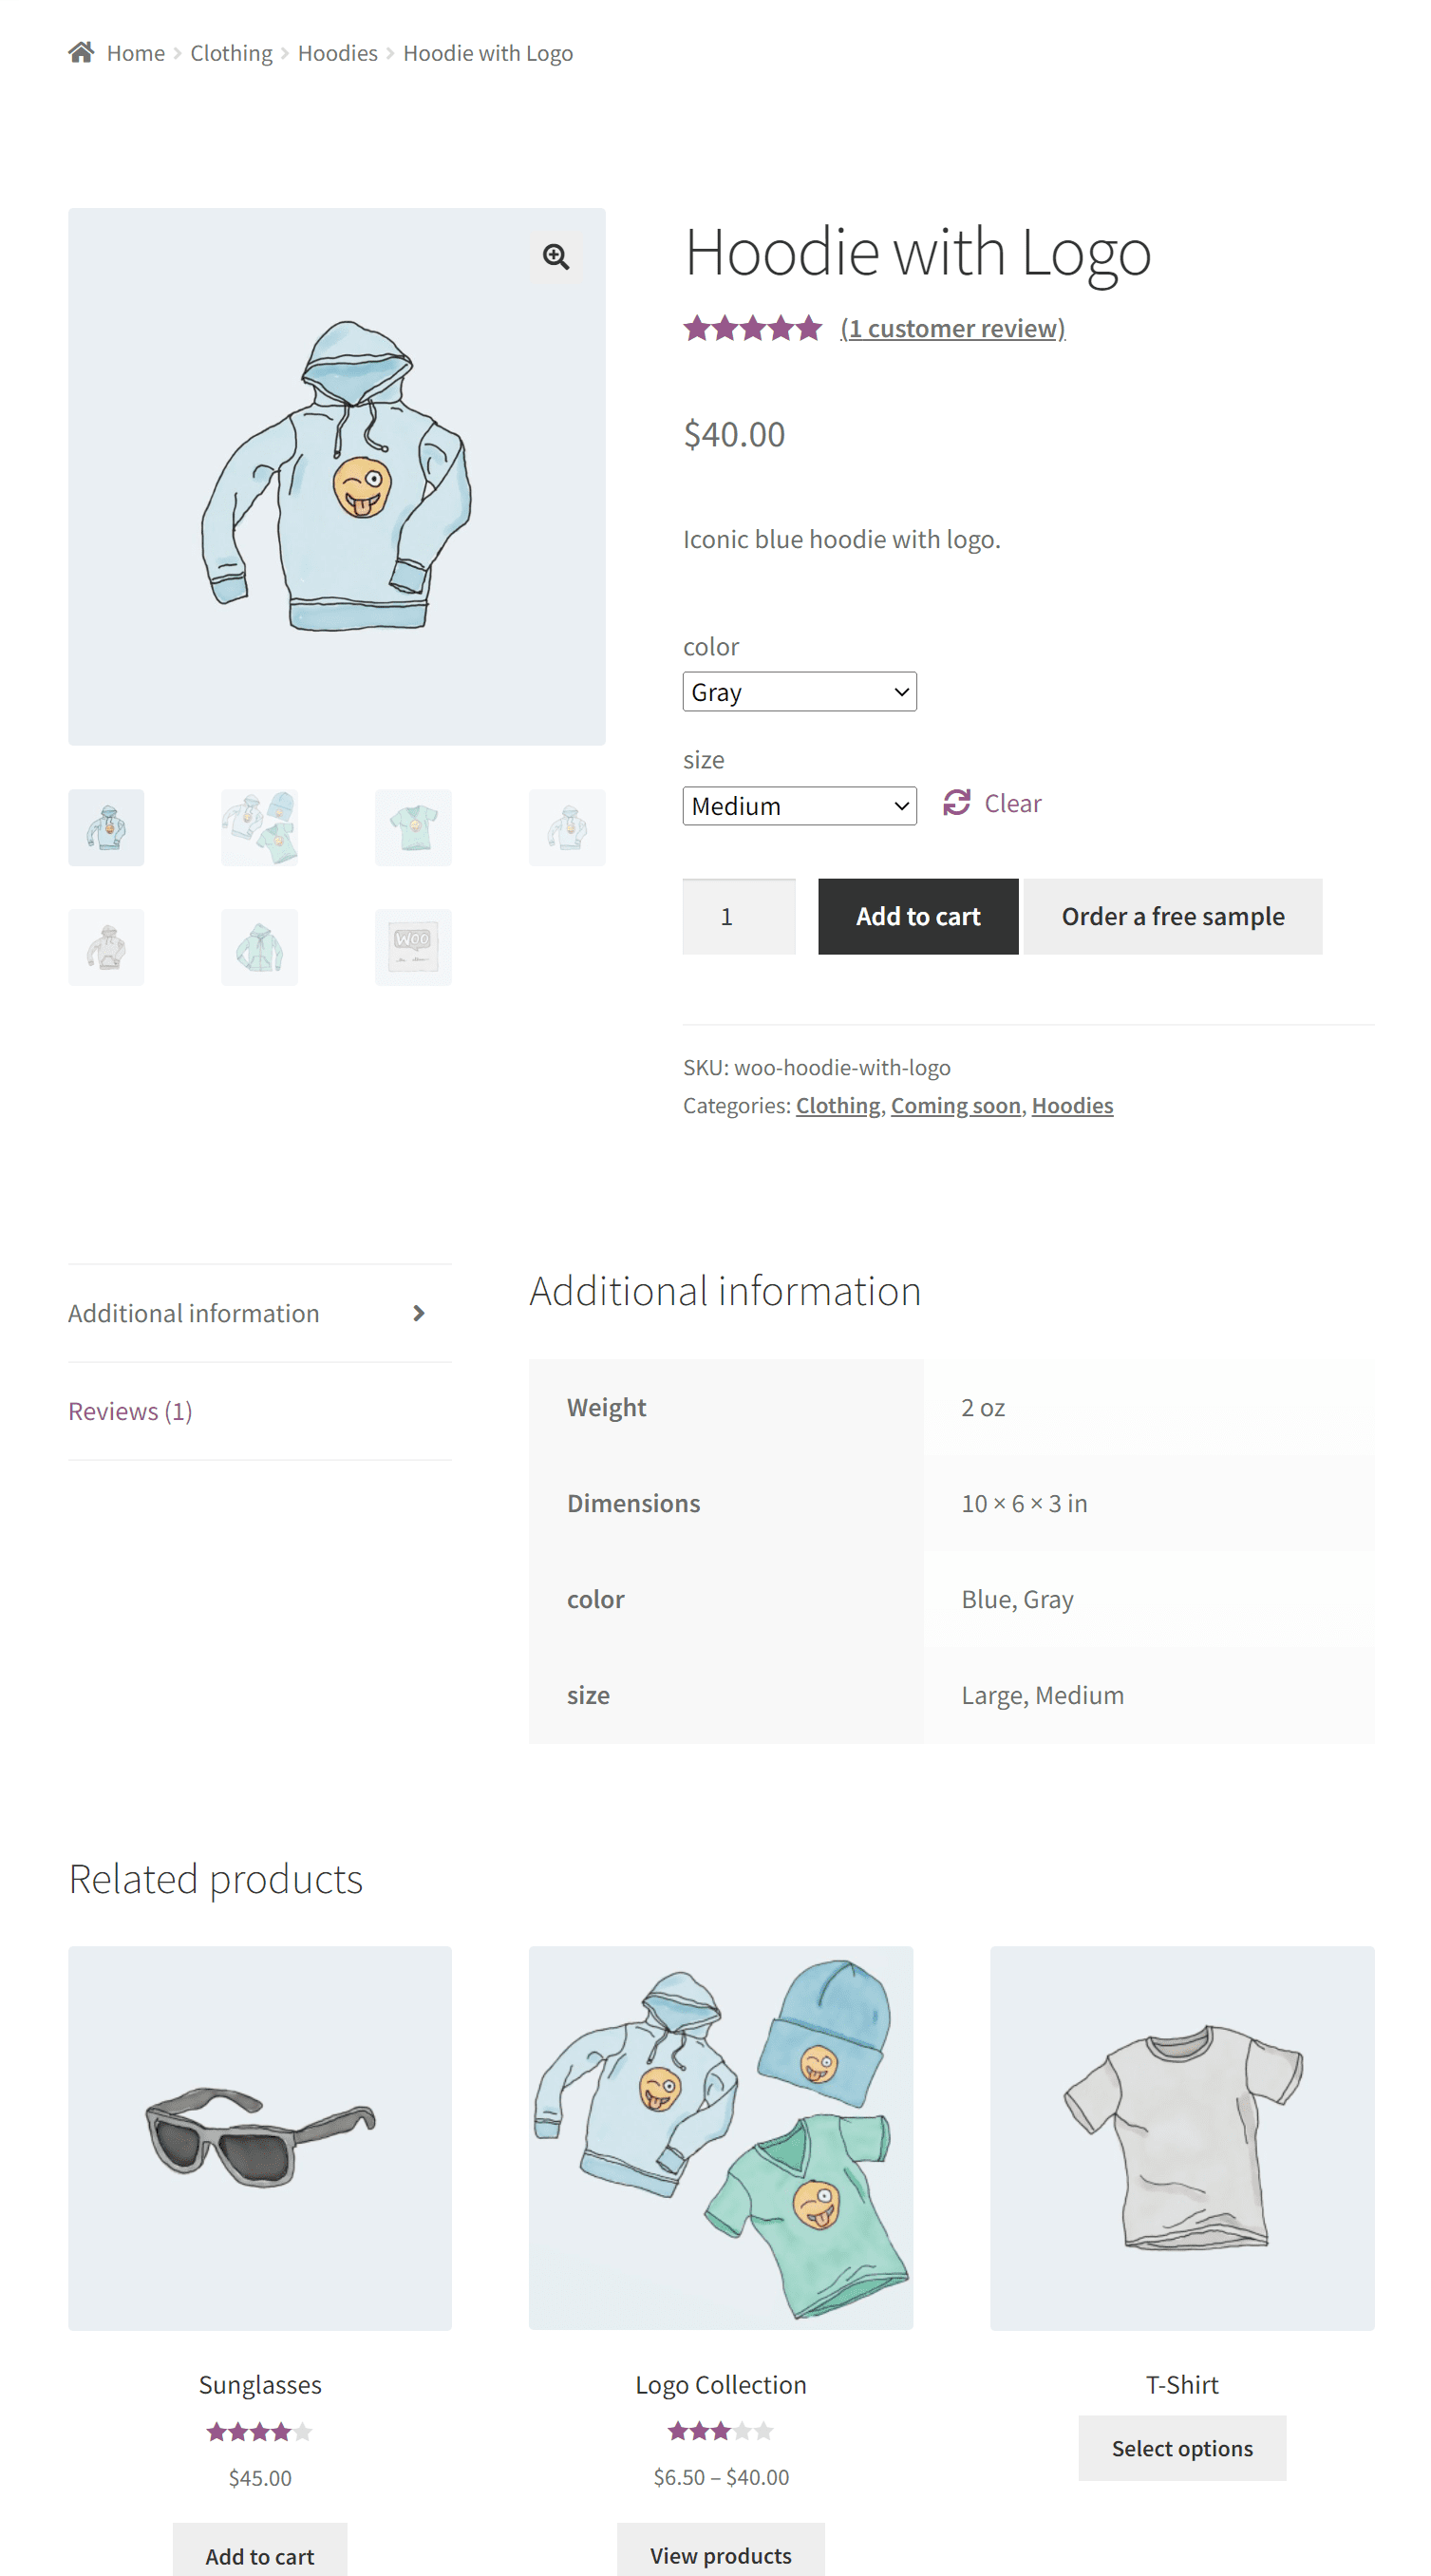
While it does tell customers about related products that they can purchase from your online store, it isn’t ideal for displaying product recommendations.
You only have limited options for displaying product upsells, cross-sells, or displaying other products on your product pages that customers might be interested in buying – even if the products aren’t related.
Put simply, with default WooCommerce, you cannot display specific products to specific site visitors only or display products based on the customer’s selection of products in their shopping cart.
However, being able to do this might just be a game-changer for your business, especially for encouraging more sales. It also helps you increase product visibility of items that customers are more likely to buy from you.
For example, let’s say you sell a variety of coffee grounds, filters, and mugs. If a customer has already added coffee grounds to their shopping cart, you might want to show them coffee filters or mugs instead of more coffee grounds.
This is why it’s best to use a robust product recommendations plugin such as MailOptin. You can showcase your products better, increase the average order value, and grow your bottom line.
Using MailOptin for WooCommerce product recommendations
MailOptin is an all-in-one solution for converting site visitors into subscribers.
You have access to advanced tools that let you generate more leads for your business, create email automation campaigns, and display attractive newsletters and popups on your site. The best part about MailOptin is that it’s very simple to use, even if you’re not very tech-savvy.
Using MailOptin’s powerful display setting, you can set up different product recommendations based on the customer’s behavior.
It lets you display a custom product recommendation only if the customer has added a specific product to their cart. This helps store owners offer a more engaging shopping experience and makes product recommendations more relevant to customers.
How to Set up Product Recommendations on Your Online Store
Here, we’ll talk about how you can set up product recommendations on your WooCommerce site using the MailOptin plugin.
For this, you will need a WordPress site with the WooCommerce plugin installed as well as some products added to your site. You will also need the MailOptin plugin to display product recommendations better on your online store.
Step #1: Install and activate the MailOptin plugin
Get the MailOptin plugin and install it on your WordPress site.
Navigate to Plugins → Add New from the WordPress admin panel and click on the Add New button. Upload the zip file and install and activate the plugin on your WordPress site.
Step #2: Recommend products on the cart or checkout page
With the MailOptin plugin installed on your site, you will see a new MailOptin menu on your WordPress admin panel.
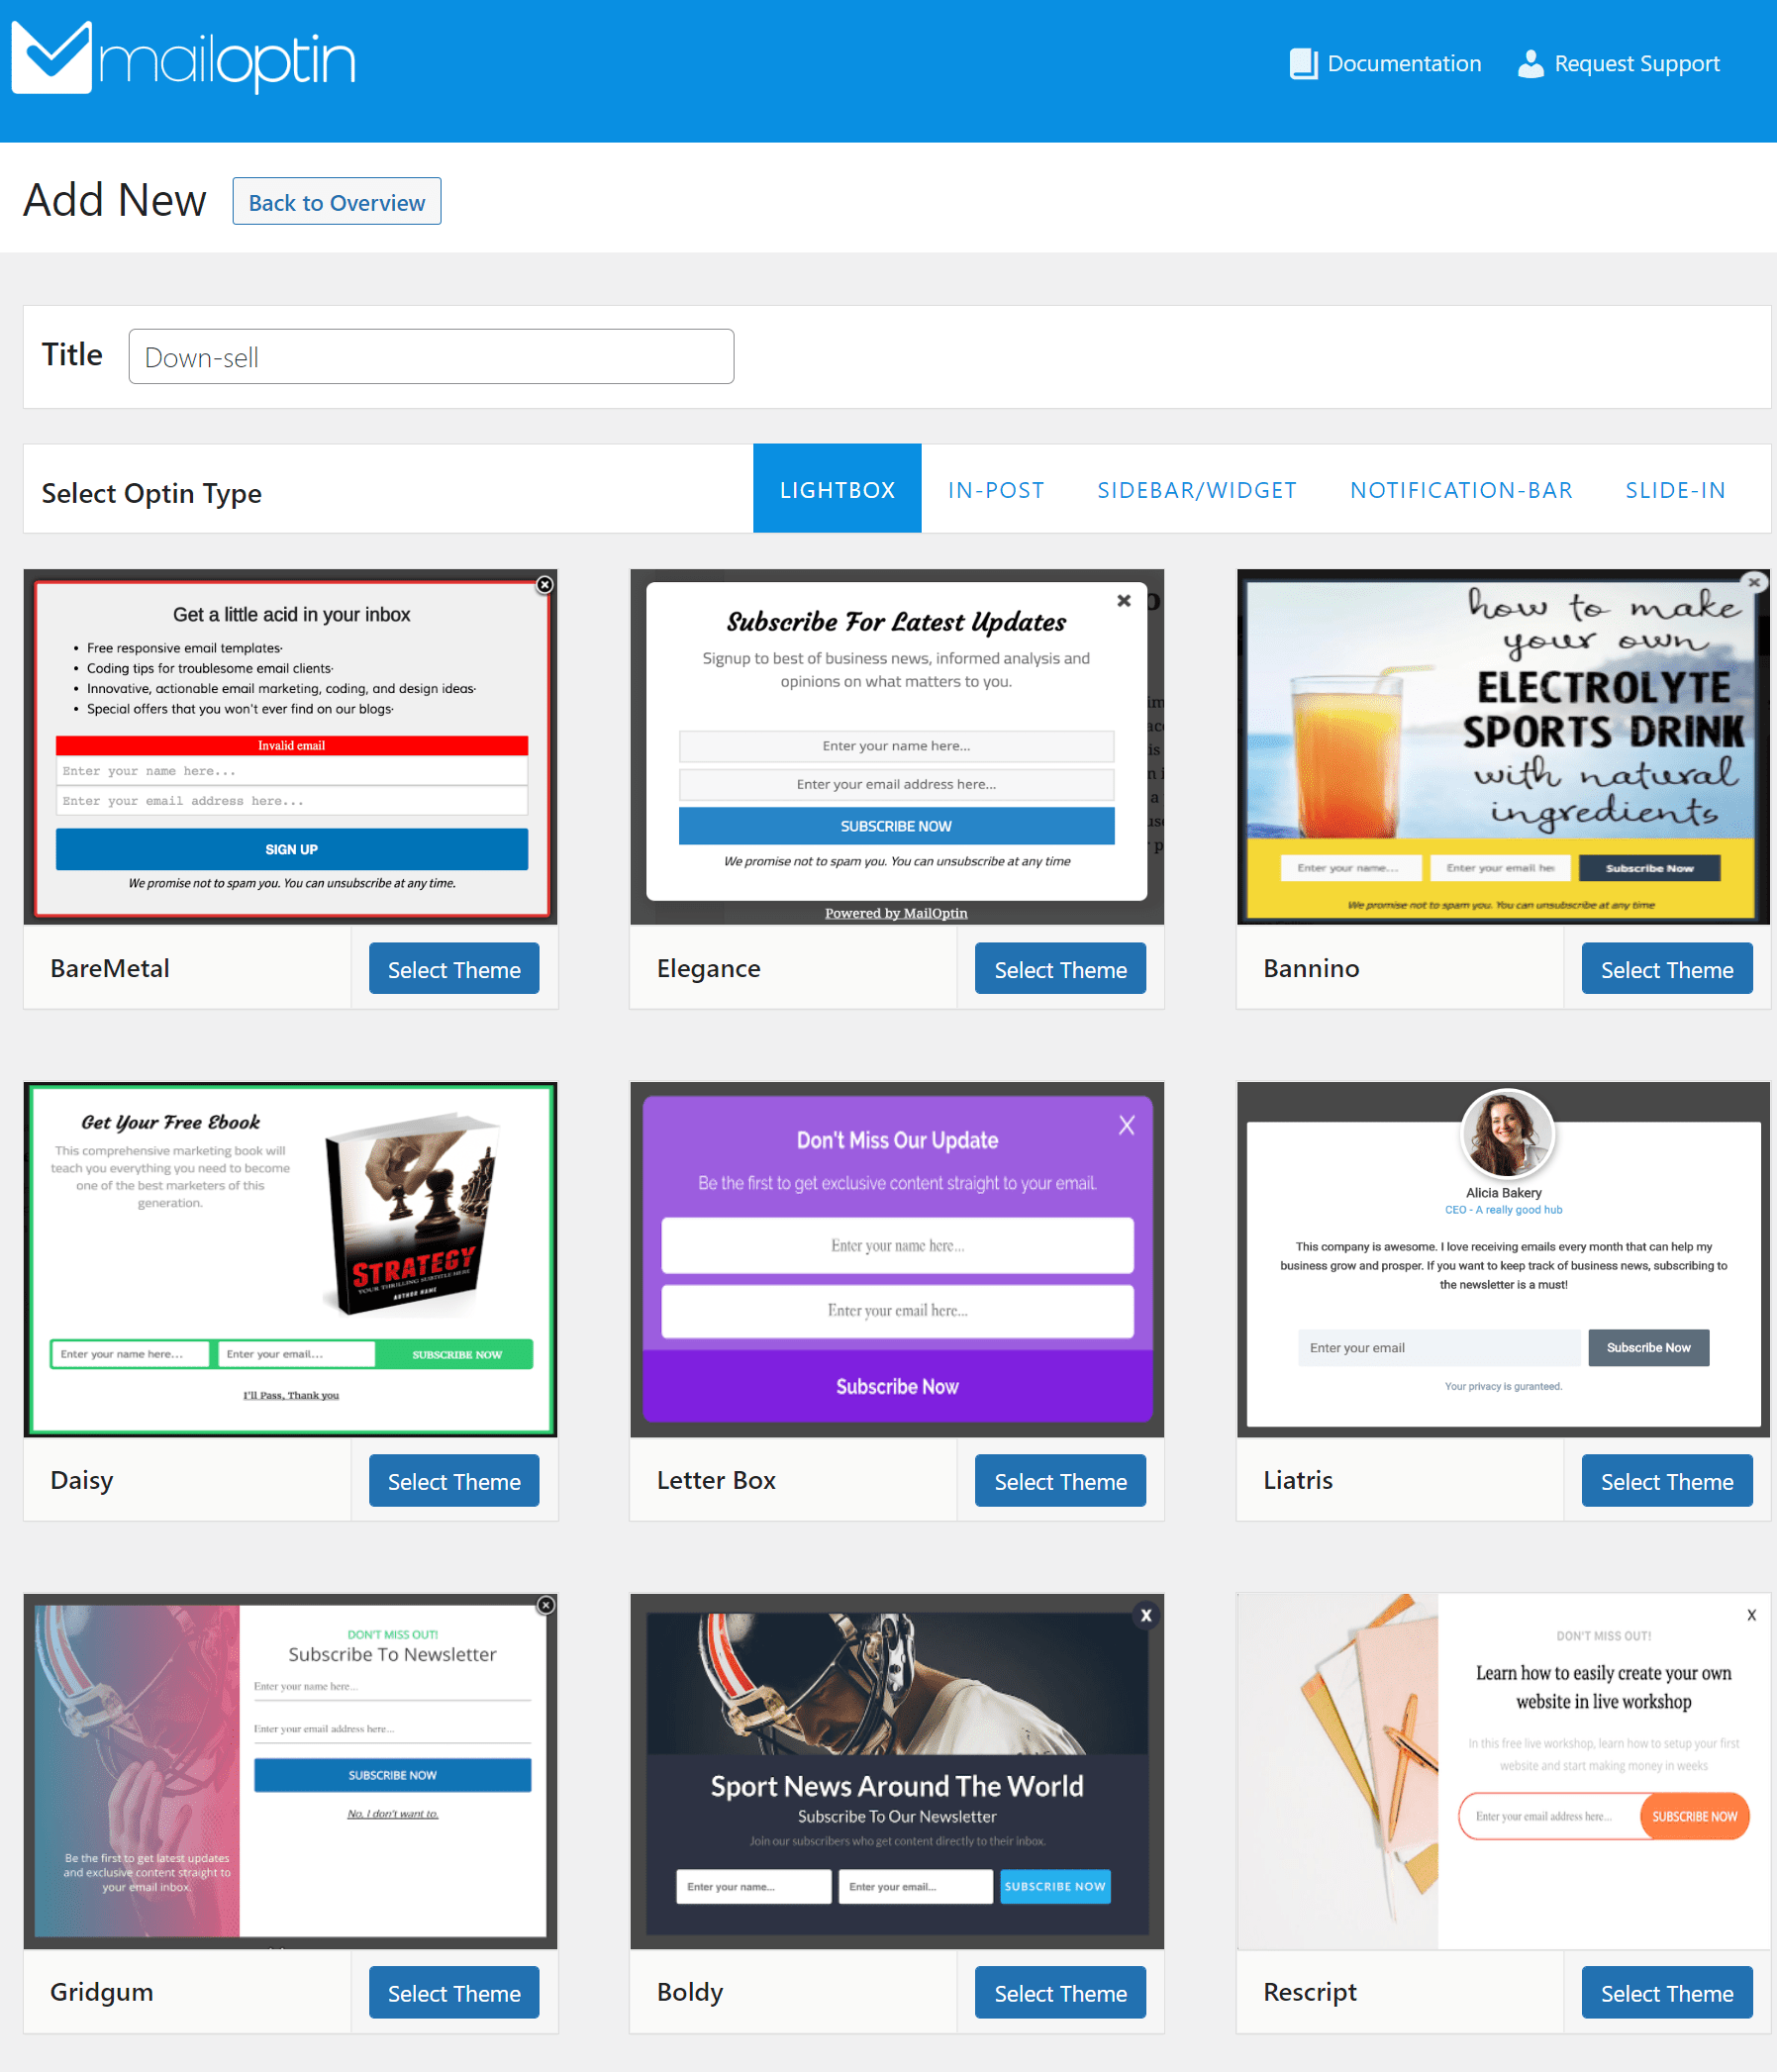
Navigate to MailOptin → Optin Campaigns and click on the Add New button to create a new product recommendations pop-up for your online store.
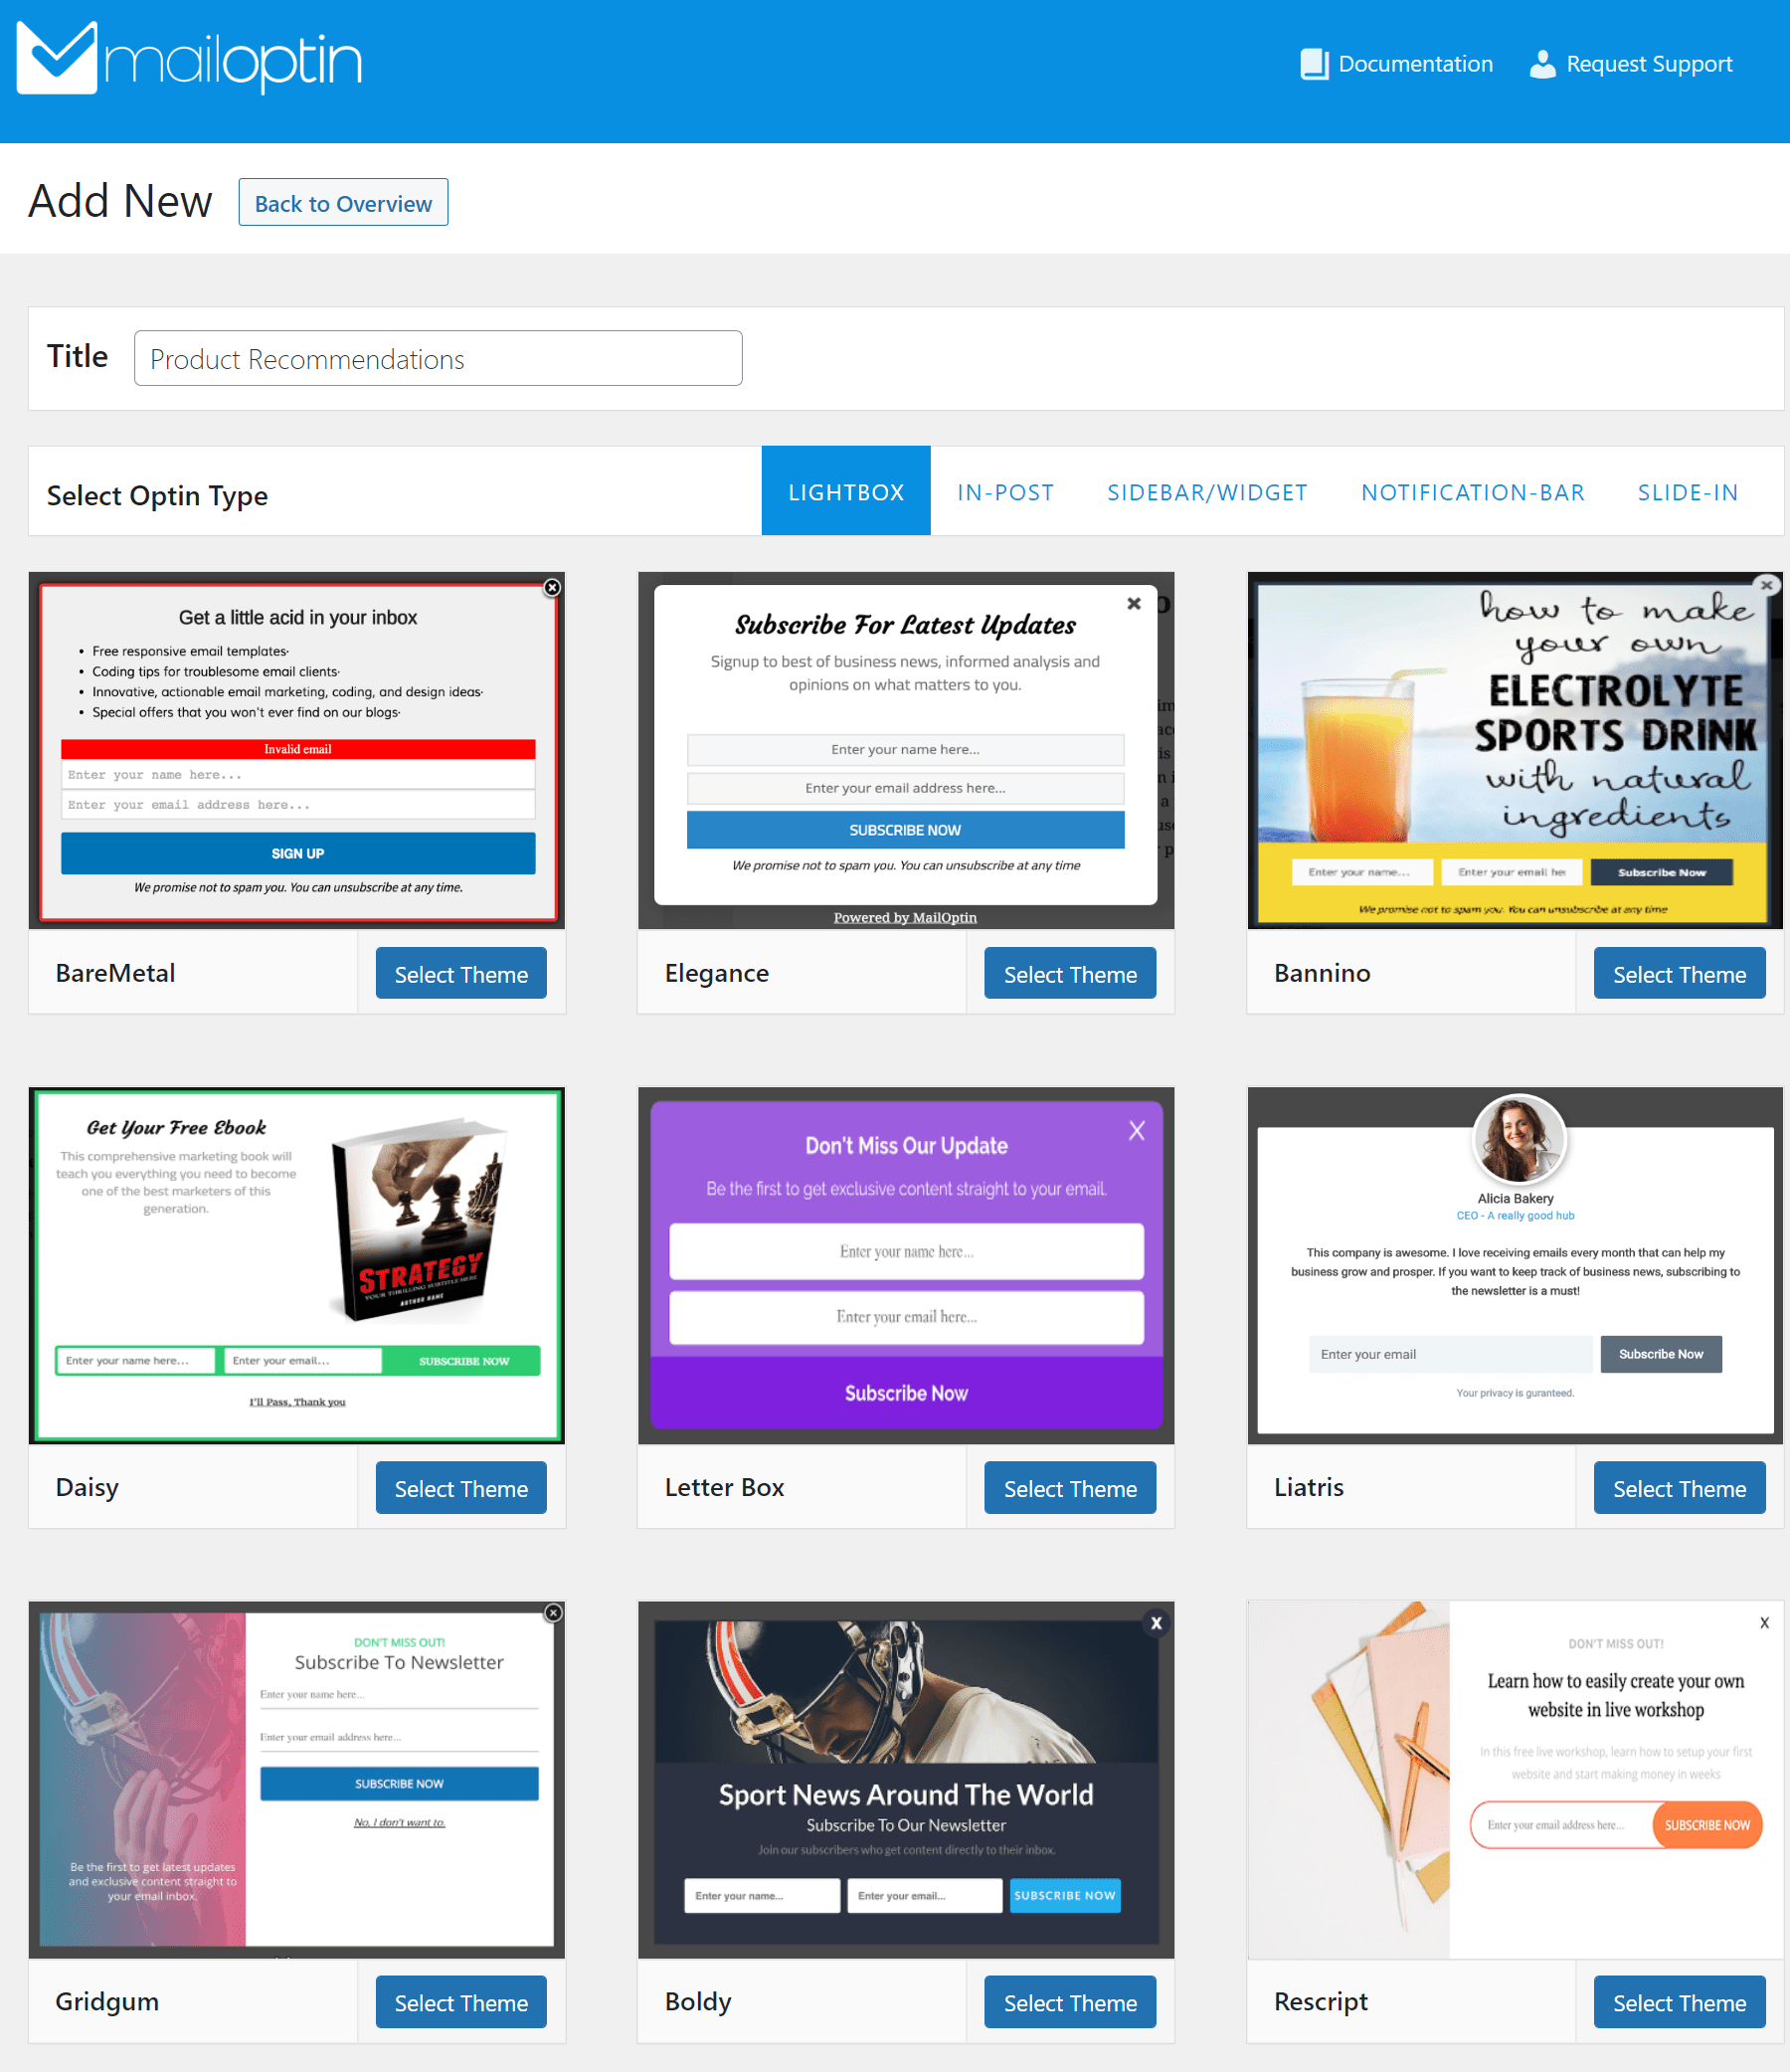
Enter a Title for your campaign and select Lightbox from the Select Optin Type menu. Now, using the pre-designed templates, select the one that looks the best to you. We’ve selected the Daisy theme for the demonstration.
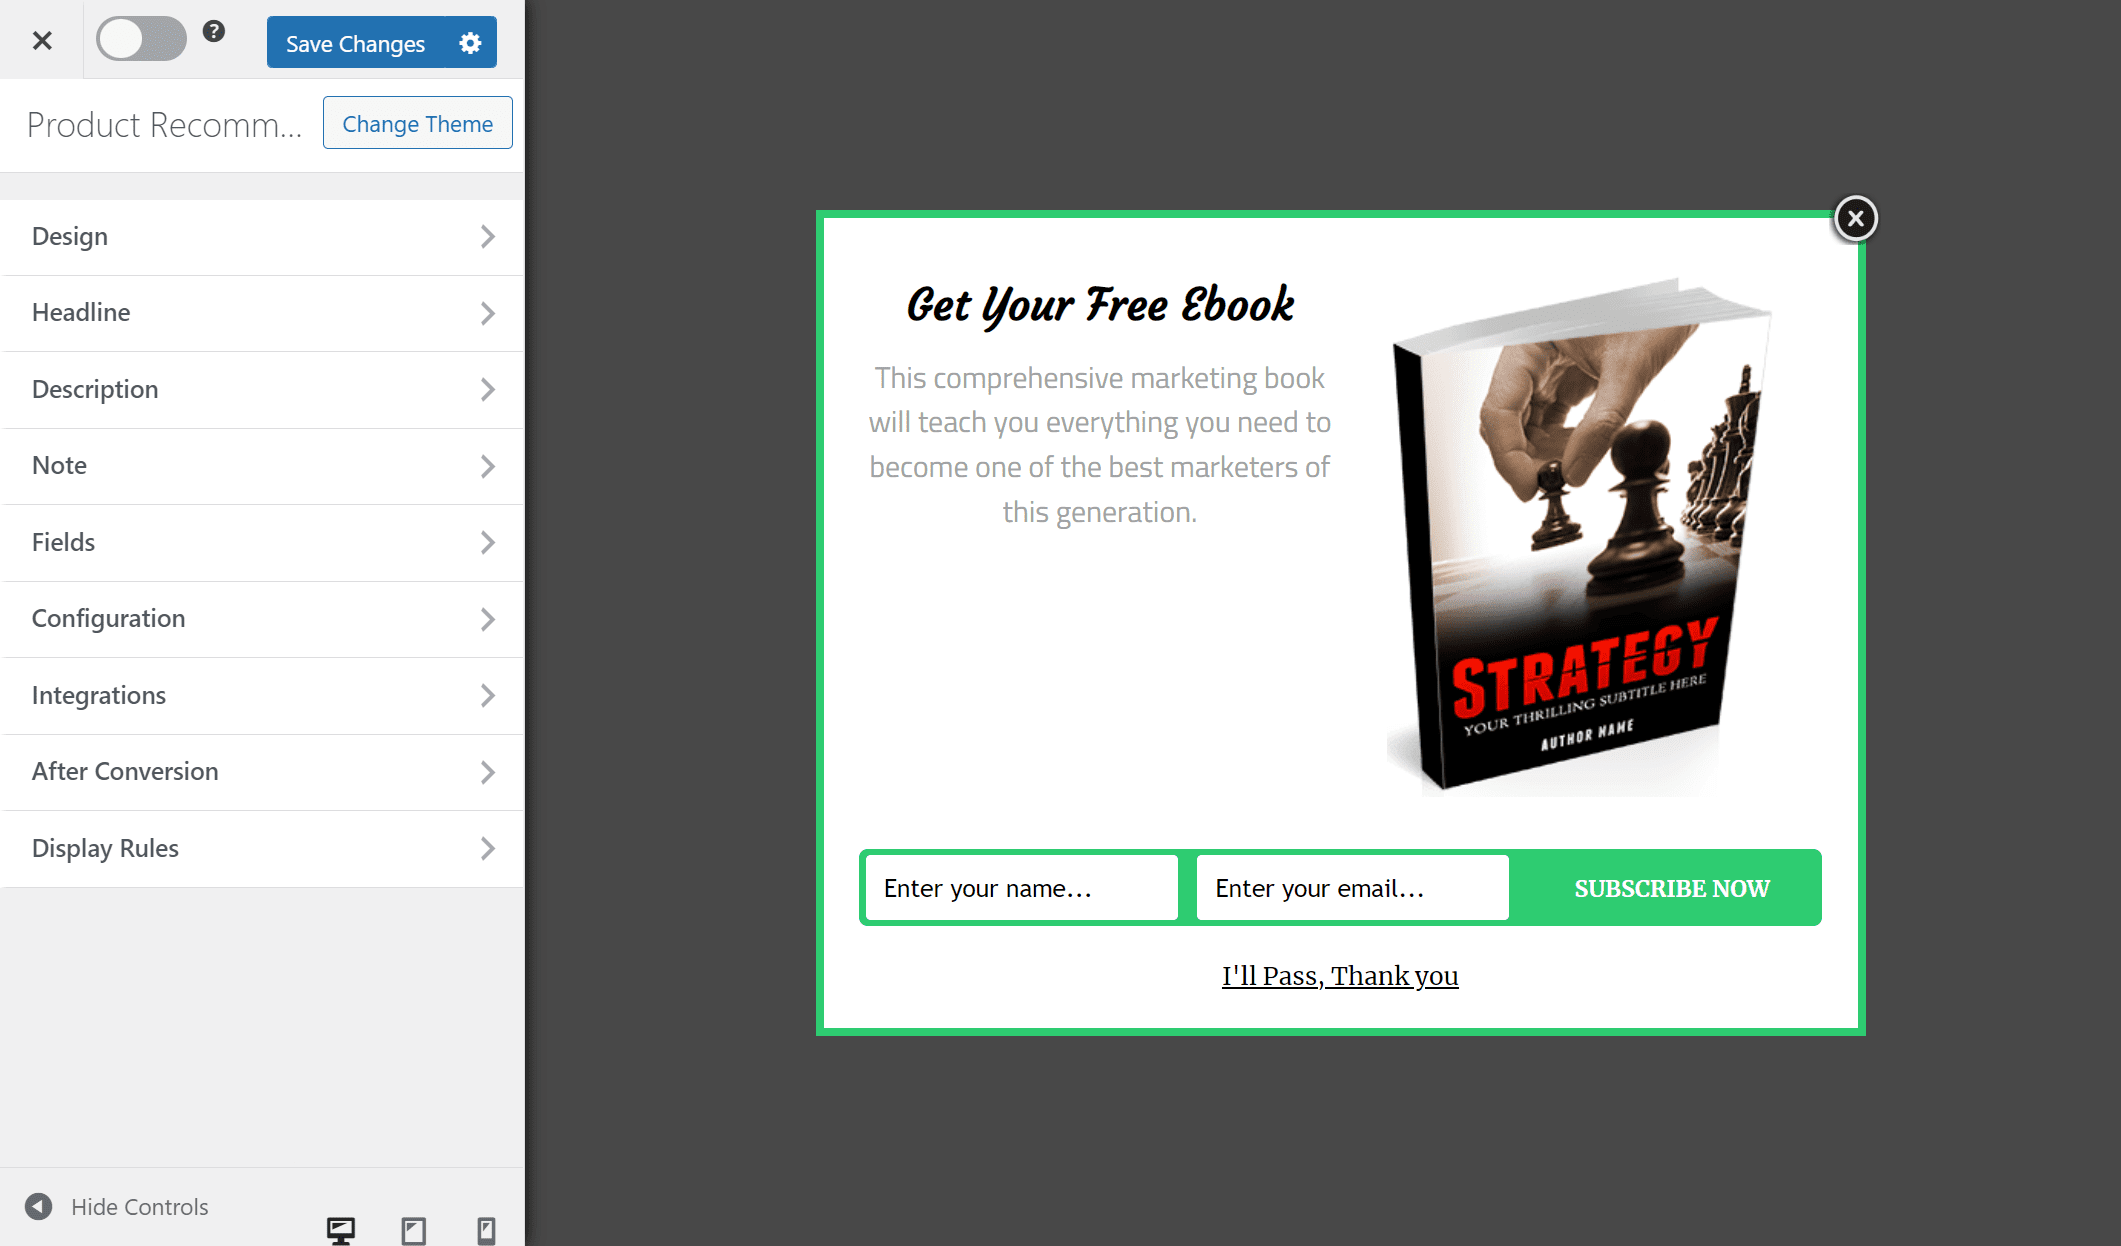
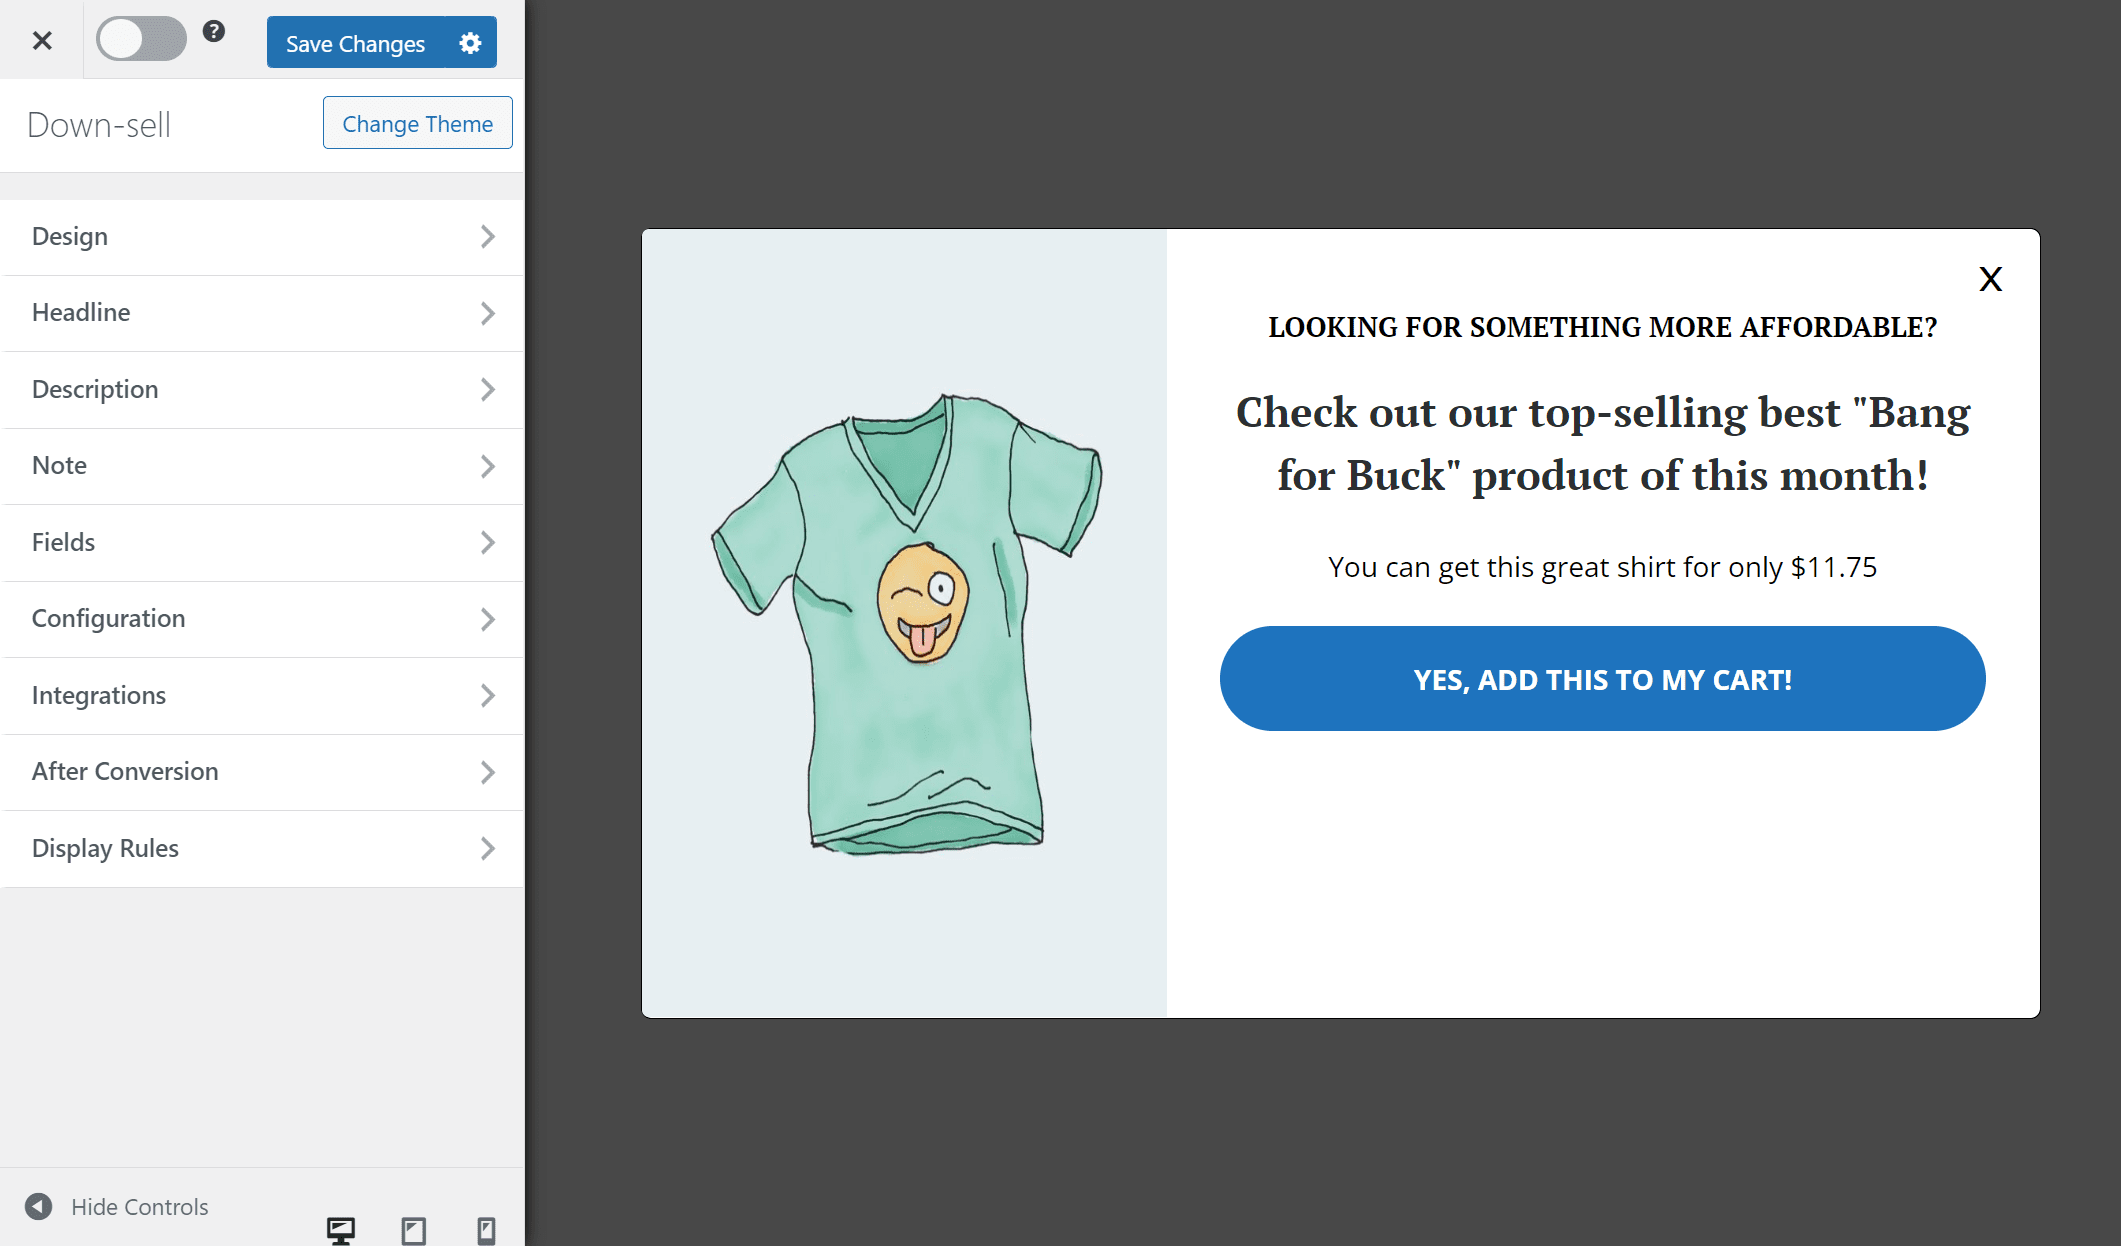
Once you click on the Select theme button, you will automatically be taken to the customizer screen. Here, you can set which products to display and give your customers the option to add them directly from the cart or checkout page of your online store.
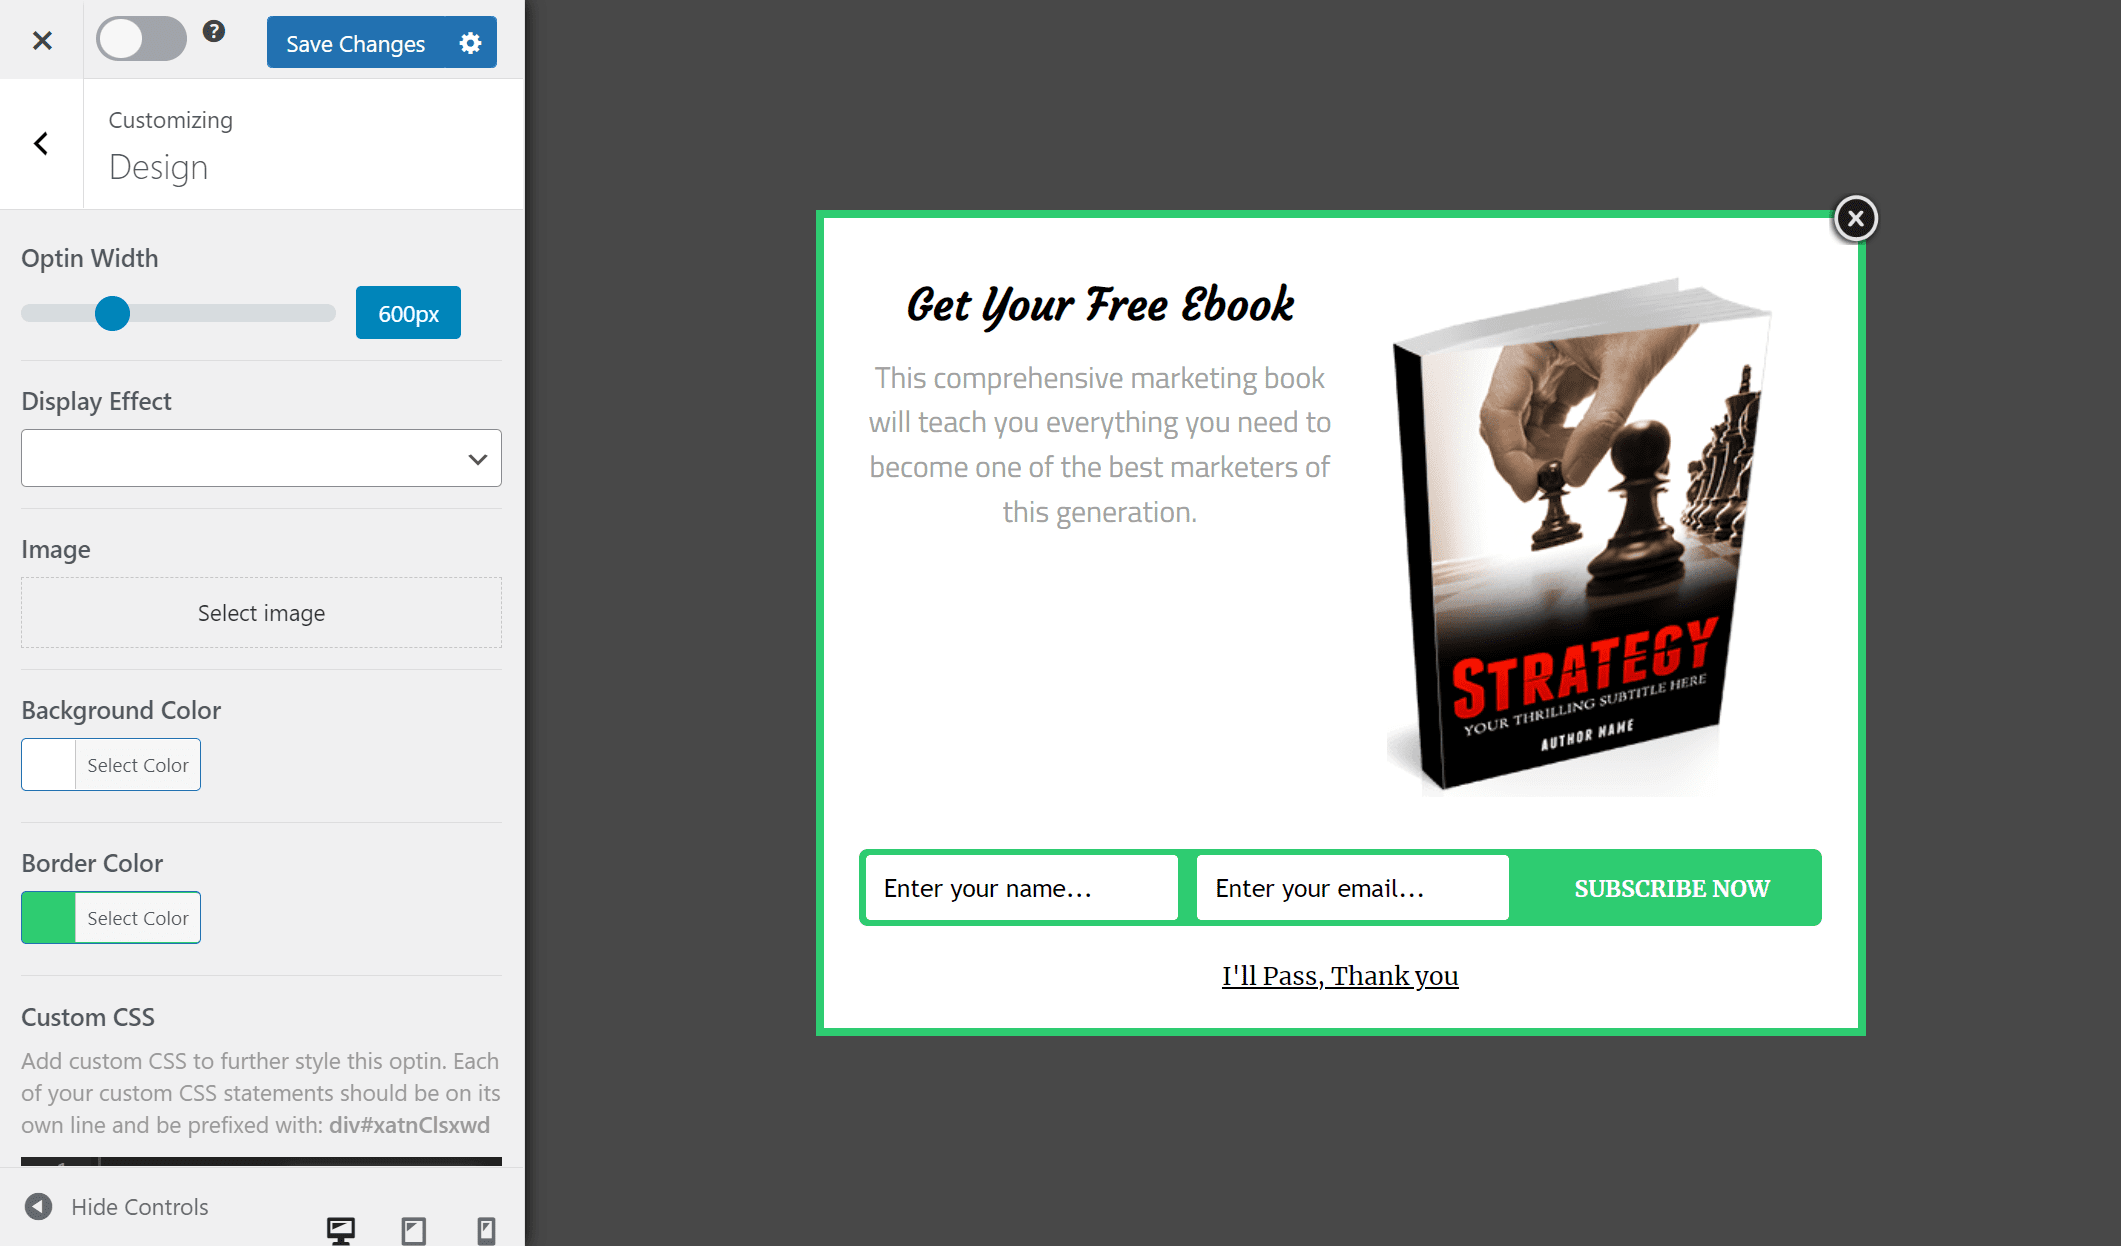
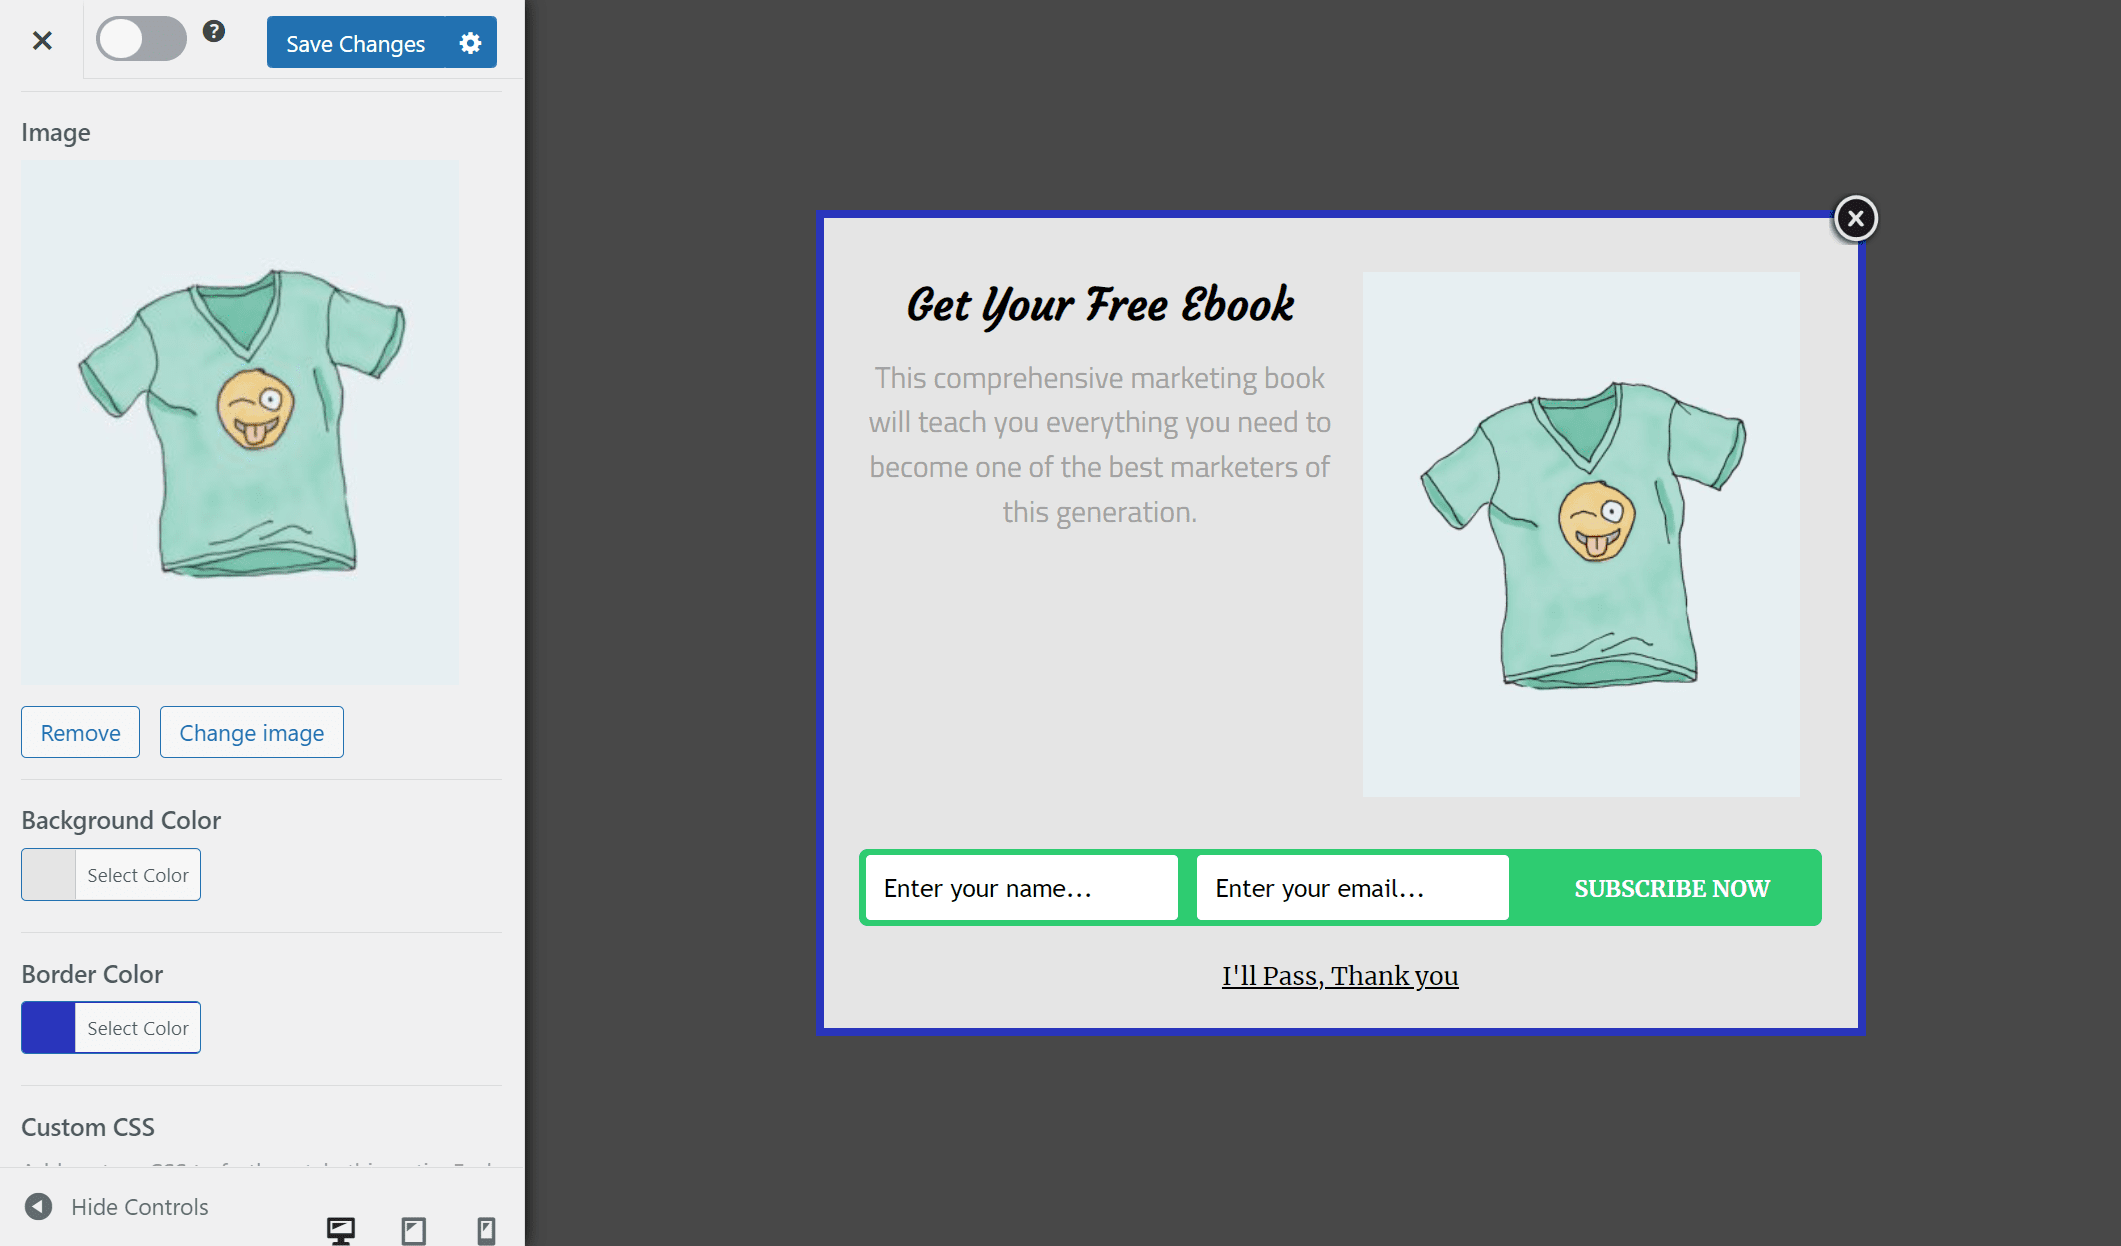
Start off by customizing the design of your product recommendations lightbox. Click on the Select image button and add your product image. You can also customize the Border Color and Background Color fields to change the way your opt-in form looks on the front end.
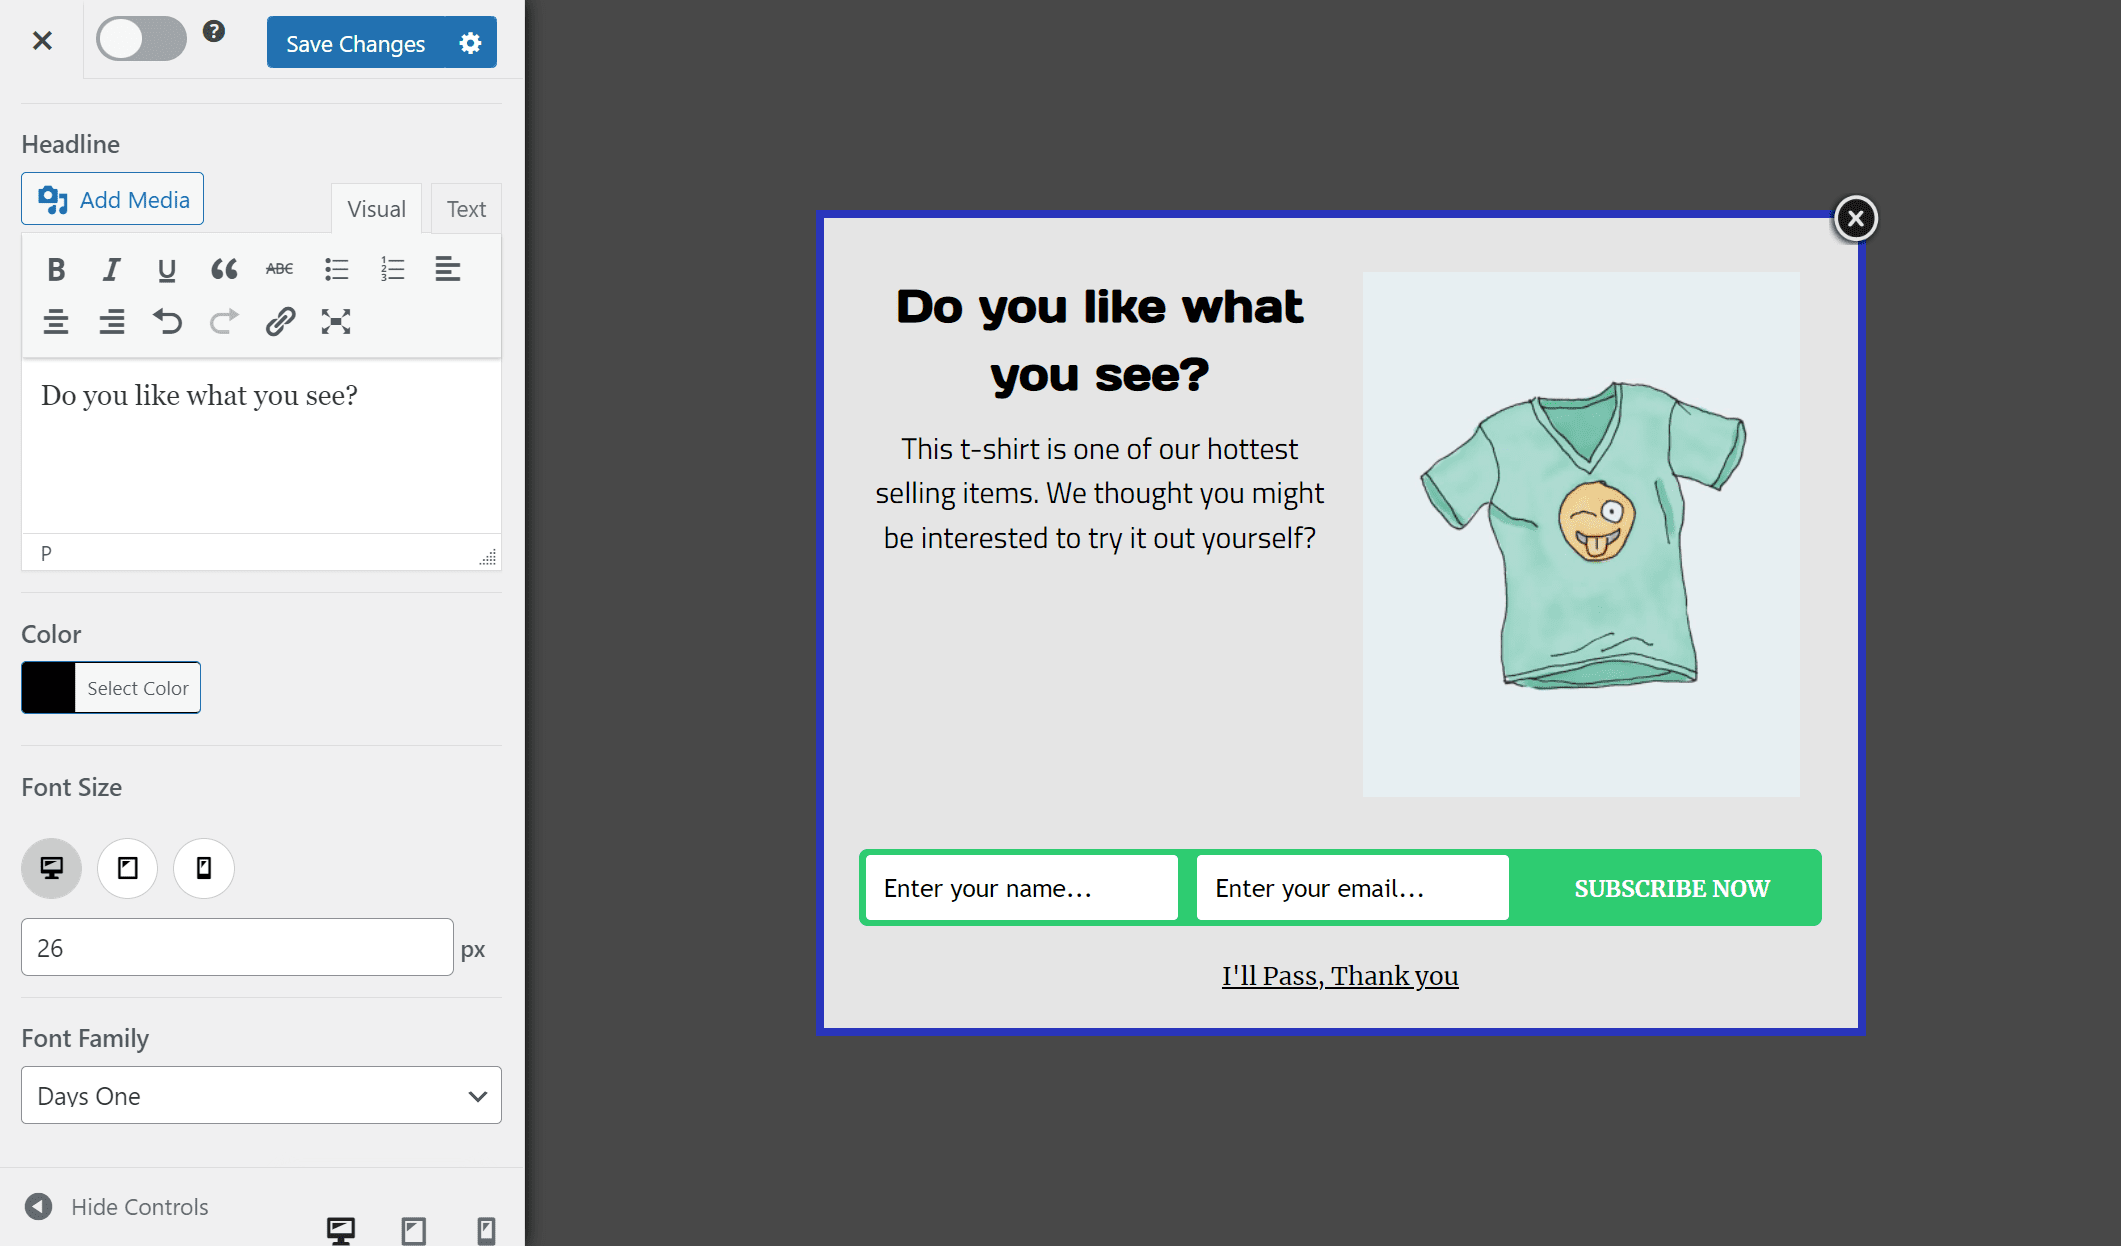
Now, we’ll need to change the typography on the opt-in form to make it more relevant to what you’re offering. To do this, you can use the Headline and Description tabs to customize text color and set your own custom text promoting the product.
Since we don’t need customers to fill in the opt-in form, we can get rid of the form fields and display only a CTA button. To do this, click on the Fields tab and select the Display Only CTA Button checkbox.
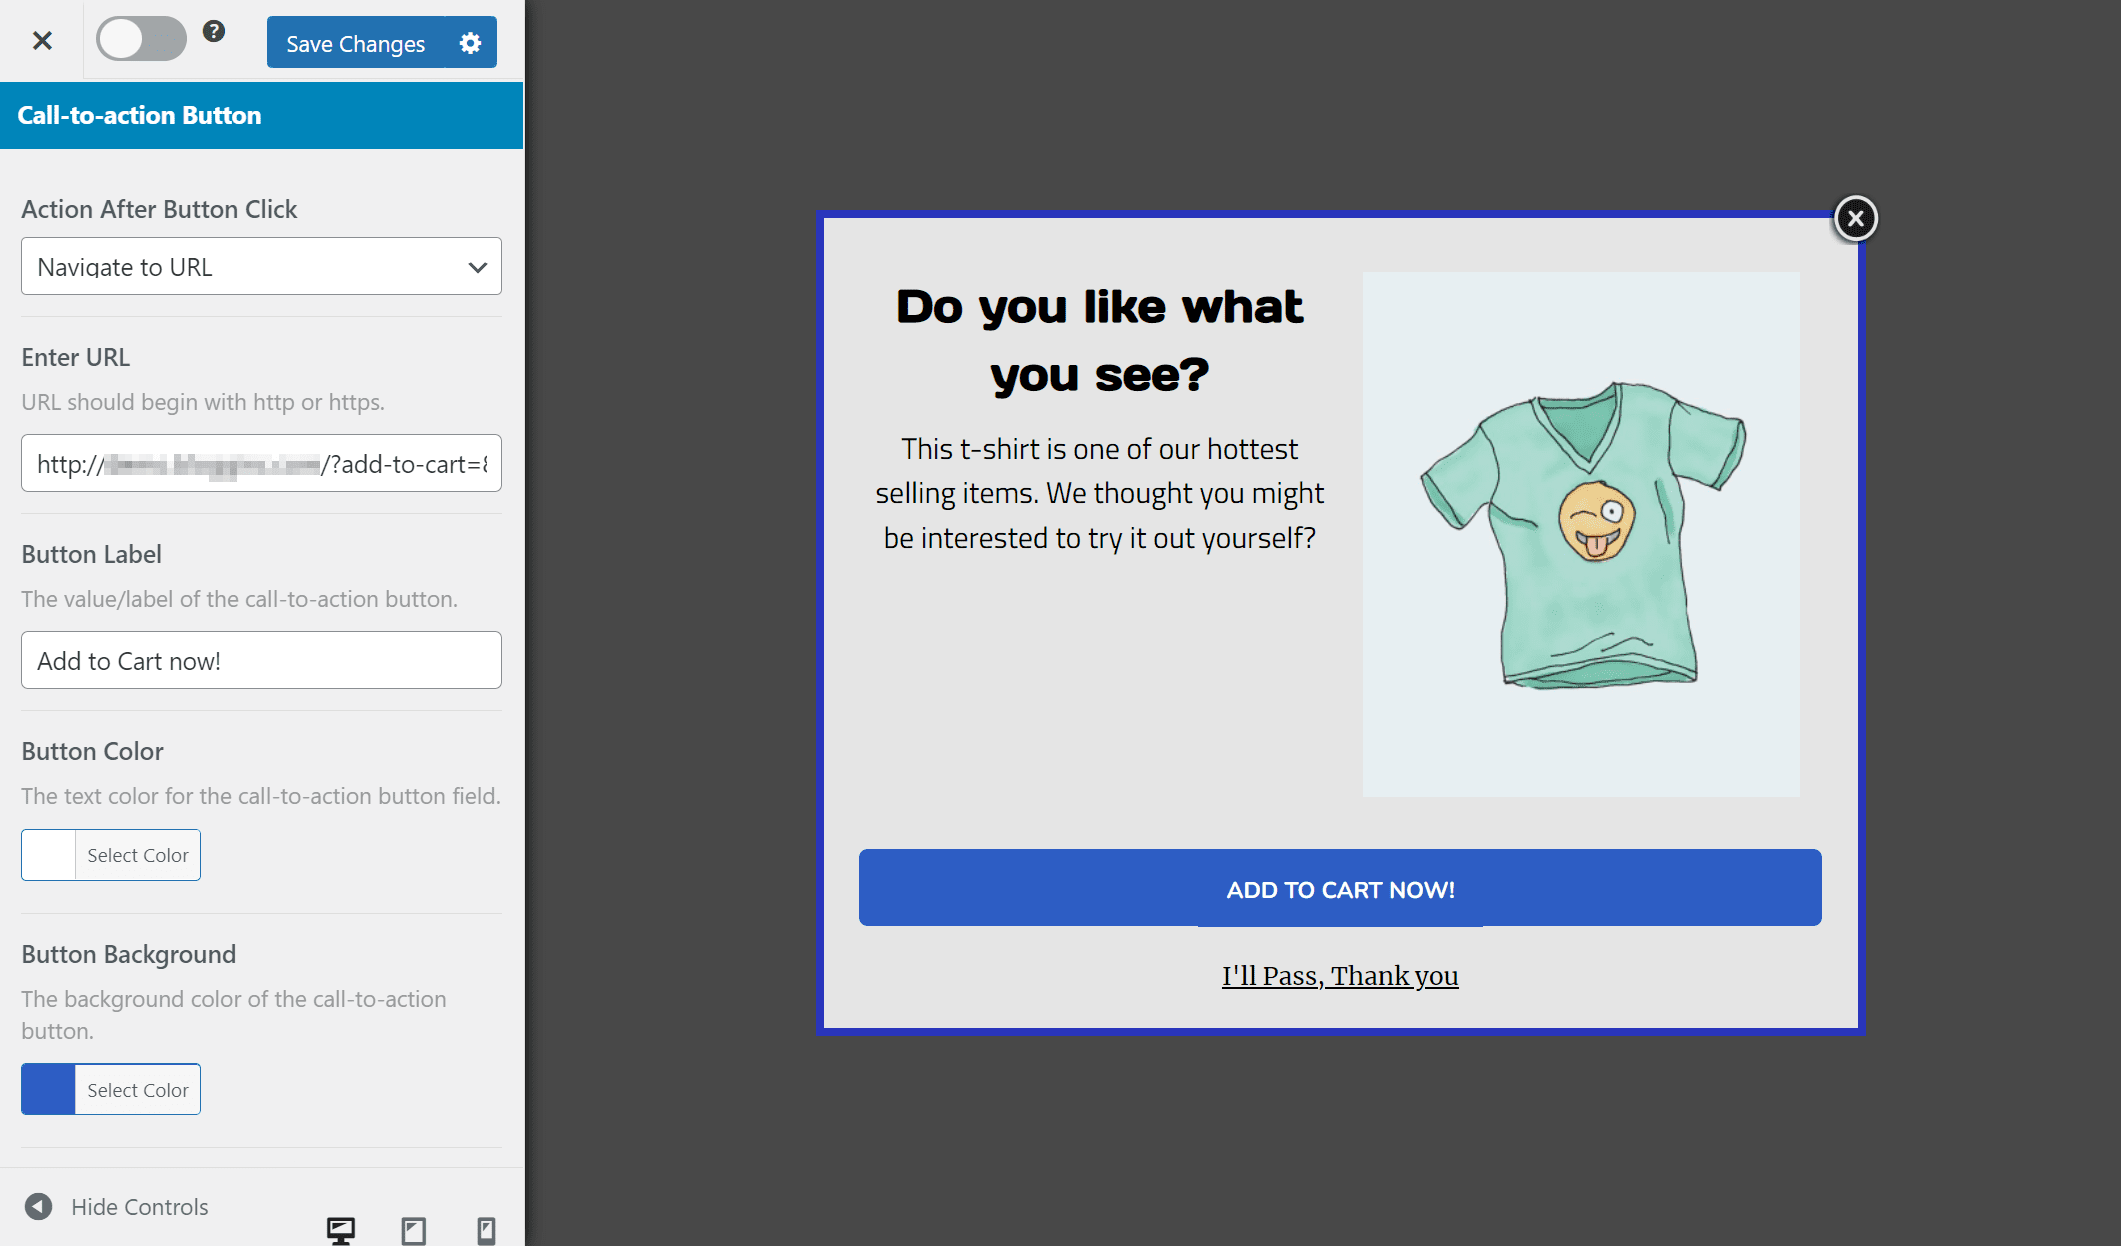
Now, scroll down to the Call-to-action Button section and select Navigate to URL using the Action After Button Click the dropdown menu. To create a direct add to cart URL, you can use the following URL and customize it according to your online store: https://yourwebsite.com/?add-to-cart=123
The “yourwebsite” part should be replaced with your domain name and the “123” should be replaced with your product’s ID. Once that’s done, you can also customize the Button Label and set button colors.
With everything in place, navigate to Display Rules → WooCommerce Page Targeting to only display this product recommendation on the cart and checkout page of your online store.
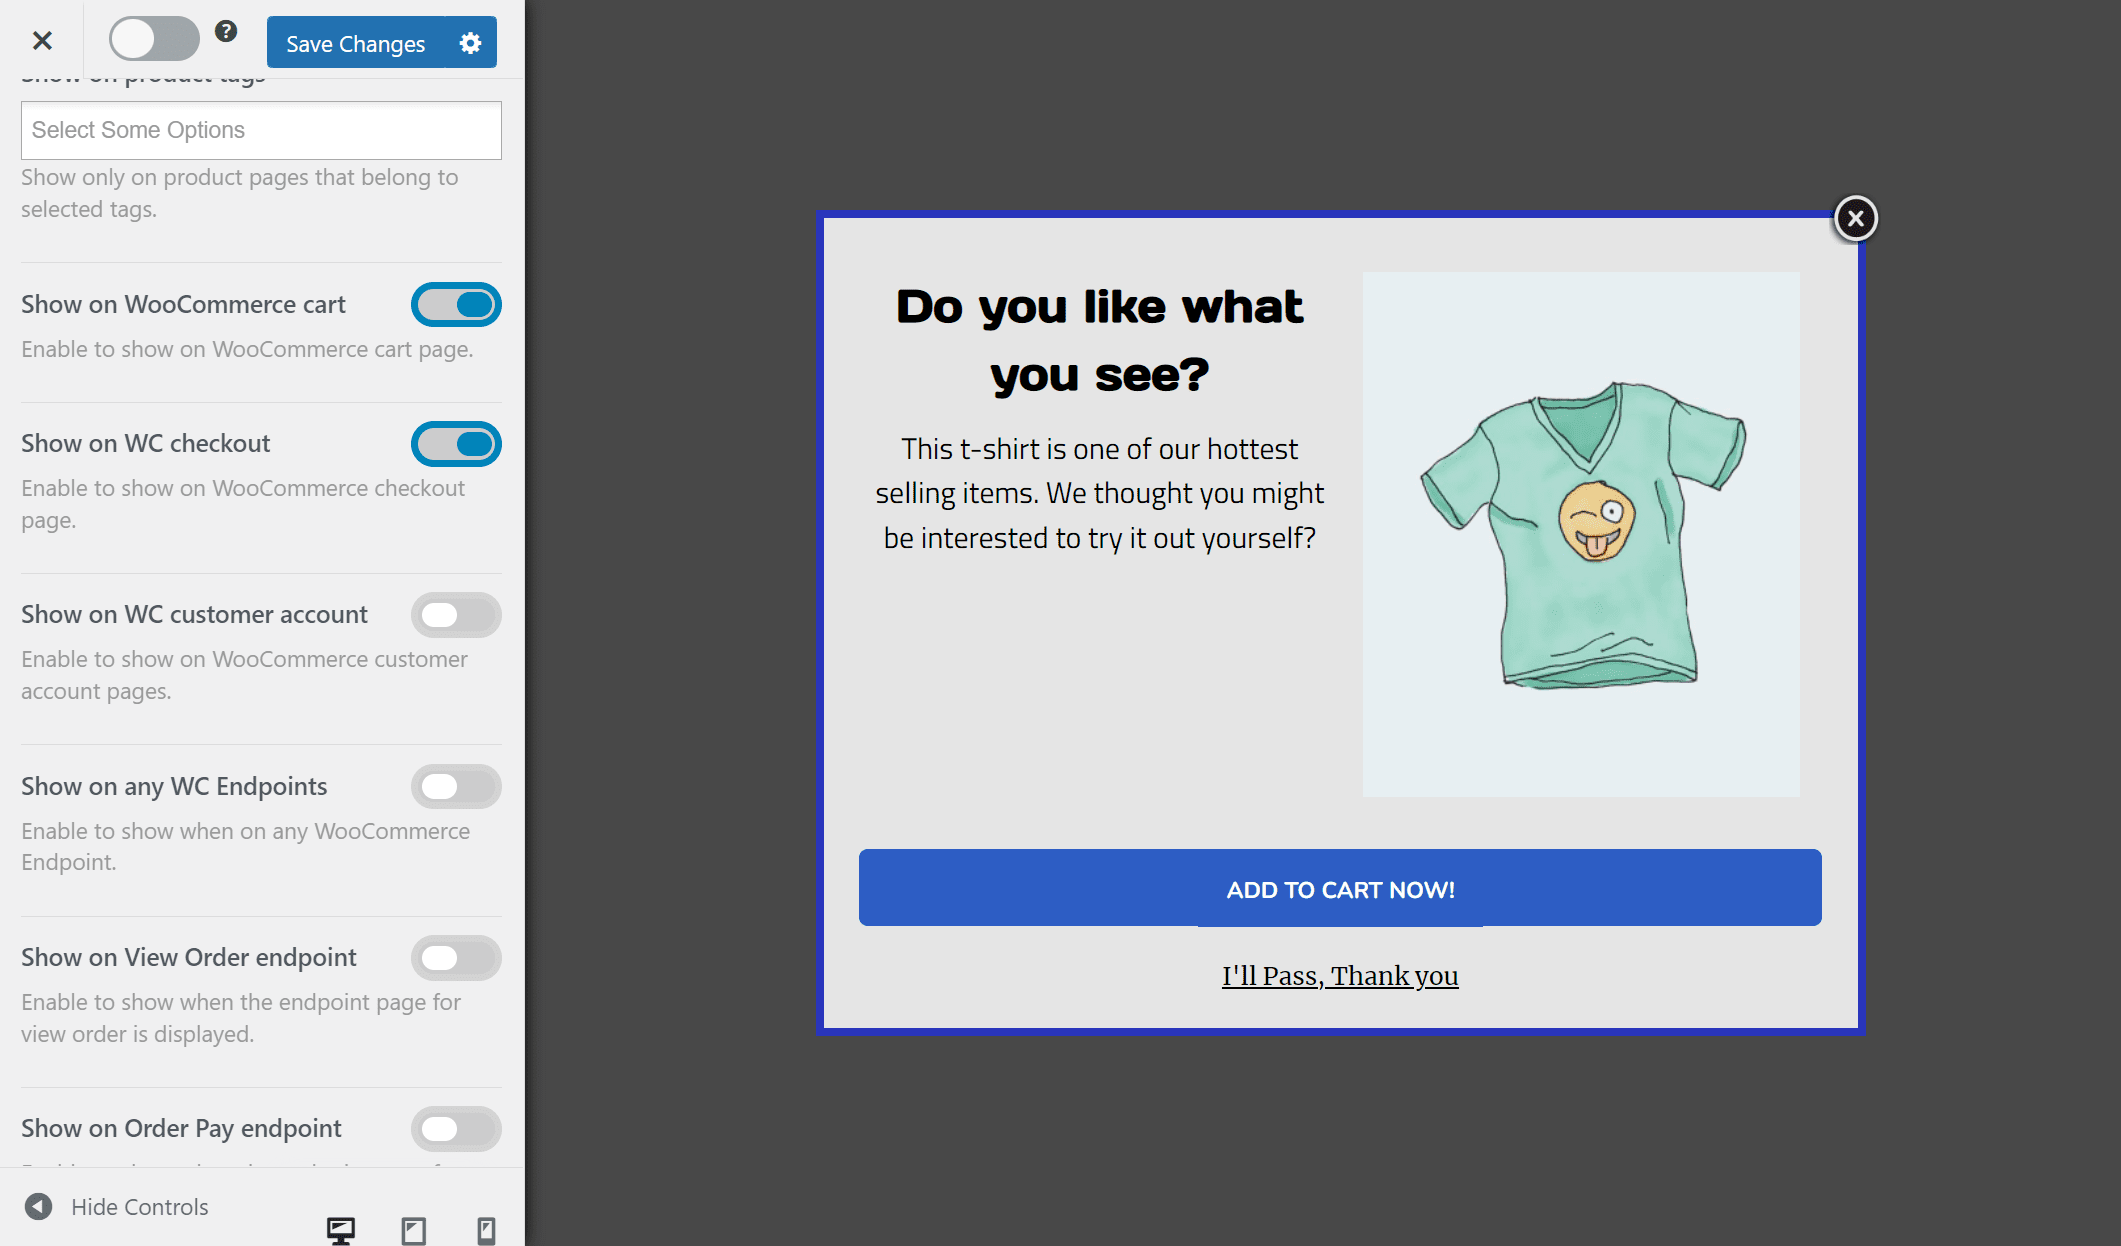
Now scroll down and select both Show on WooCommerce cart and Show on WC checkout checkboxes.
Once you’re done, click on the Save Changes button and make sure to activate the lightbox using the checkbox next to the button.

Once customers reach the cart or checkout page of your online store, they will see the product recommendation in an attractive lightbox pop-up.
Step #3: Display a pop-up for a more affordable product based on what’s in the cart
Using MailOptin, you can also display a product recommendation pop-up for a product that’s more affordable based on what’s in the customer’s cart. Similar to the steps mentioned above, create a new opt-in campaign and select a theme.
For this example, we’ve decided to go with the Rescript theme.
Once you’re done customizing your pop-up to display a more affordable option for customers when they add specific products to their cart, navigate to Display Rules → WooCommerce Added to Cart.
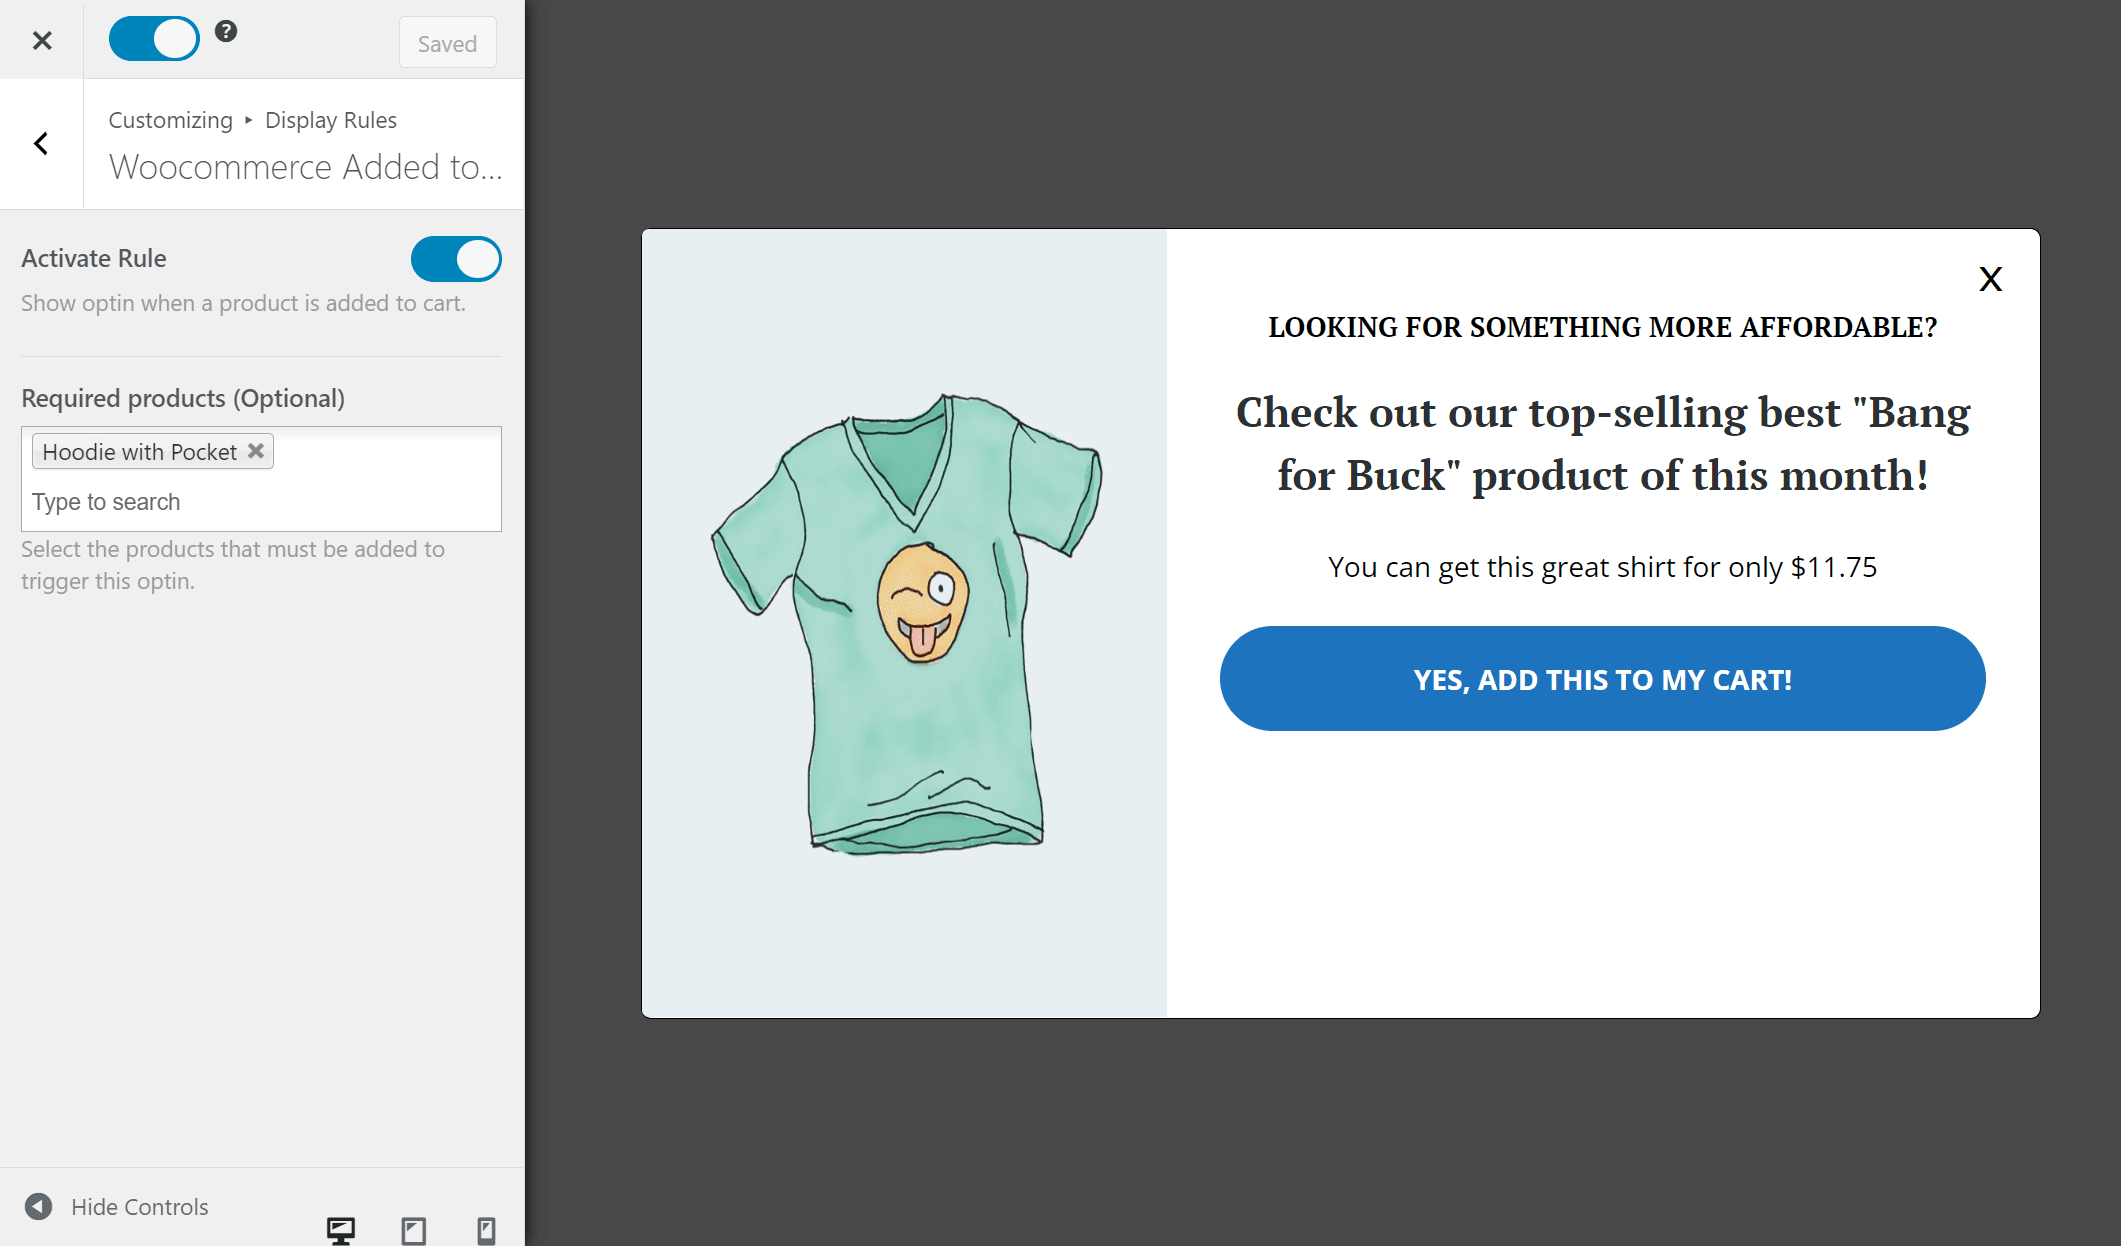
Now add products that should be in the customer’s cart using the Required Products (Optional) text field and make sure to select the Activate Rule checkbox.
Once you’re ready, click on the Save changes button and activate the pop-up on your website.
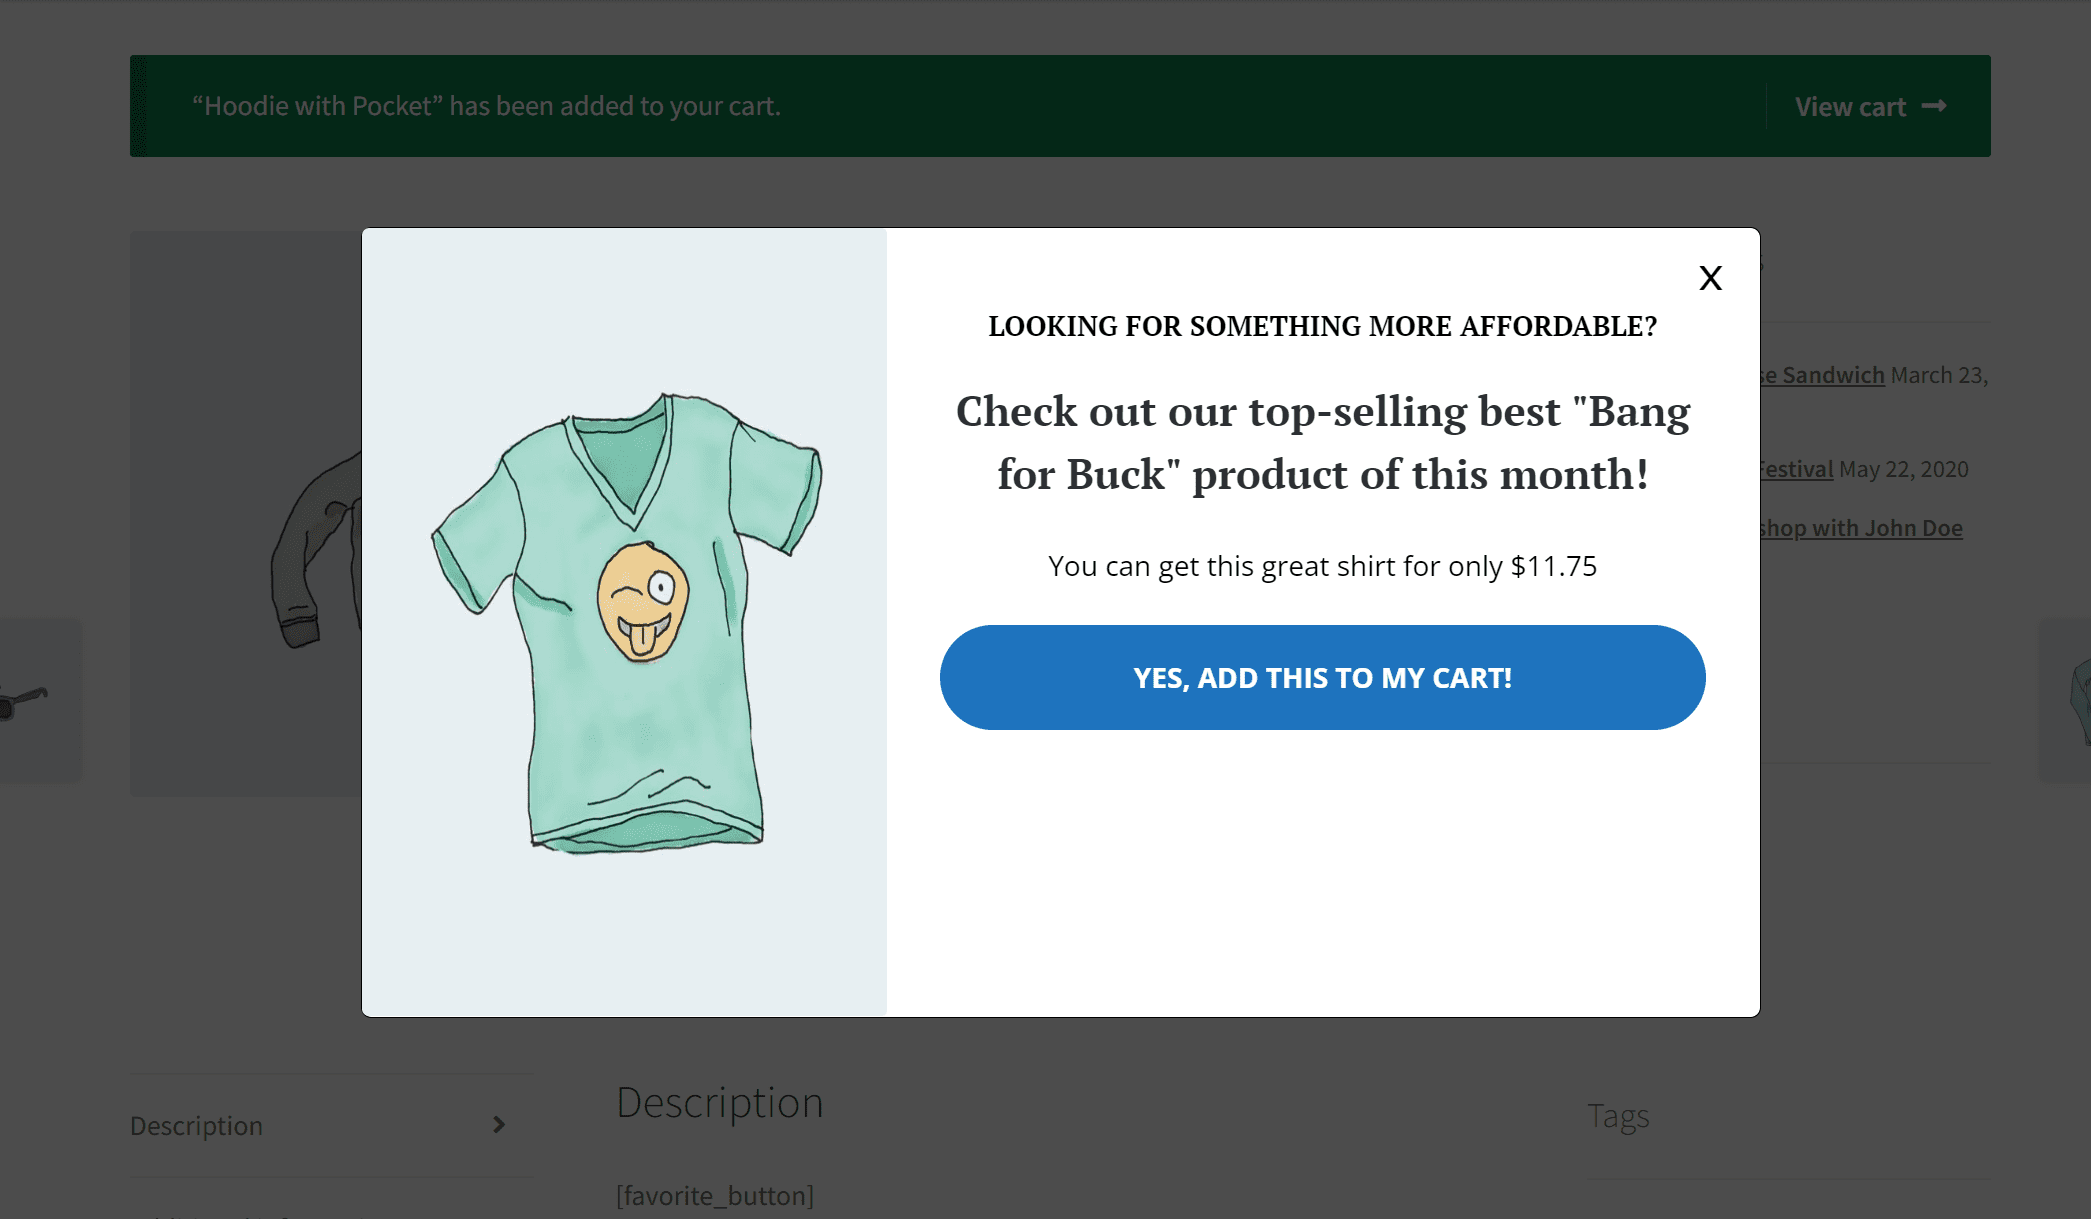
Once customers add the Hoodie with Pocket product to their cart, they will be presented with the option to purchase a product that’s more affordable, directly from the pop-up.
Step #4: Cross-sell products on single product pages using a slide-in lightbox
MailOptin also lets you display slide-in lightboxes on single product pages for cross-selling products. This way, you can cross-sell a product on a specific product page or specific category page on your online store.
To do this in WooCommerce, navigate to MailOptin → Optin Campaigns and click on the Add New button. After giving your opt-in campaign a new name, select Slide-In from the Select Optin Type menu.
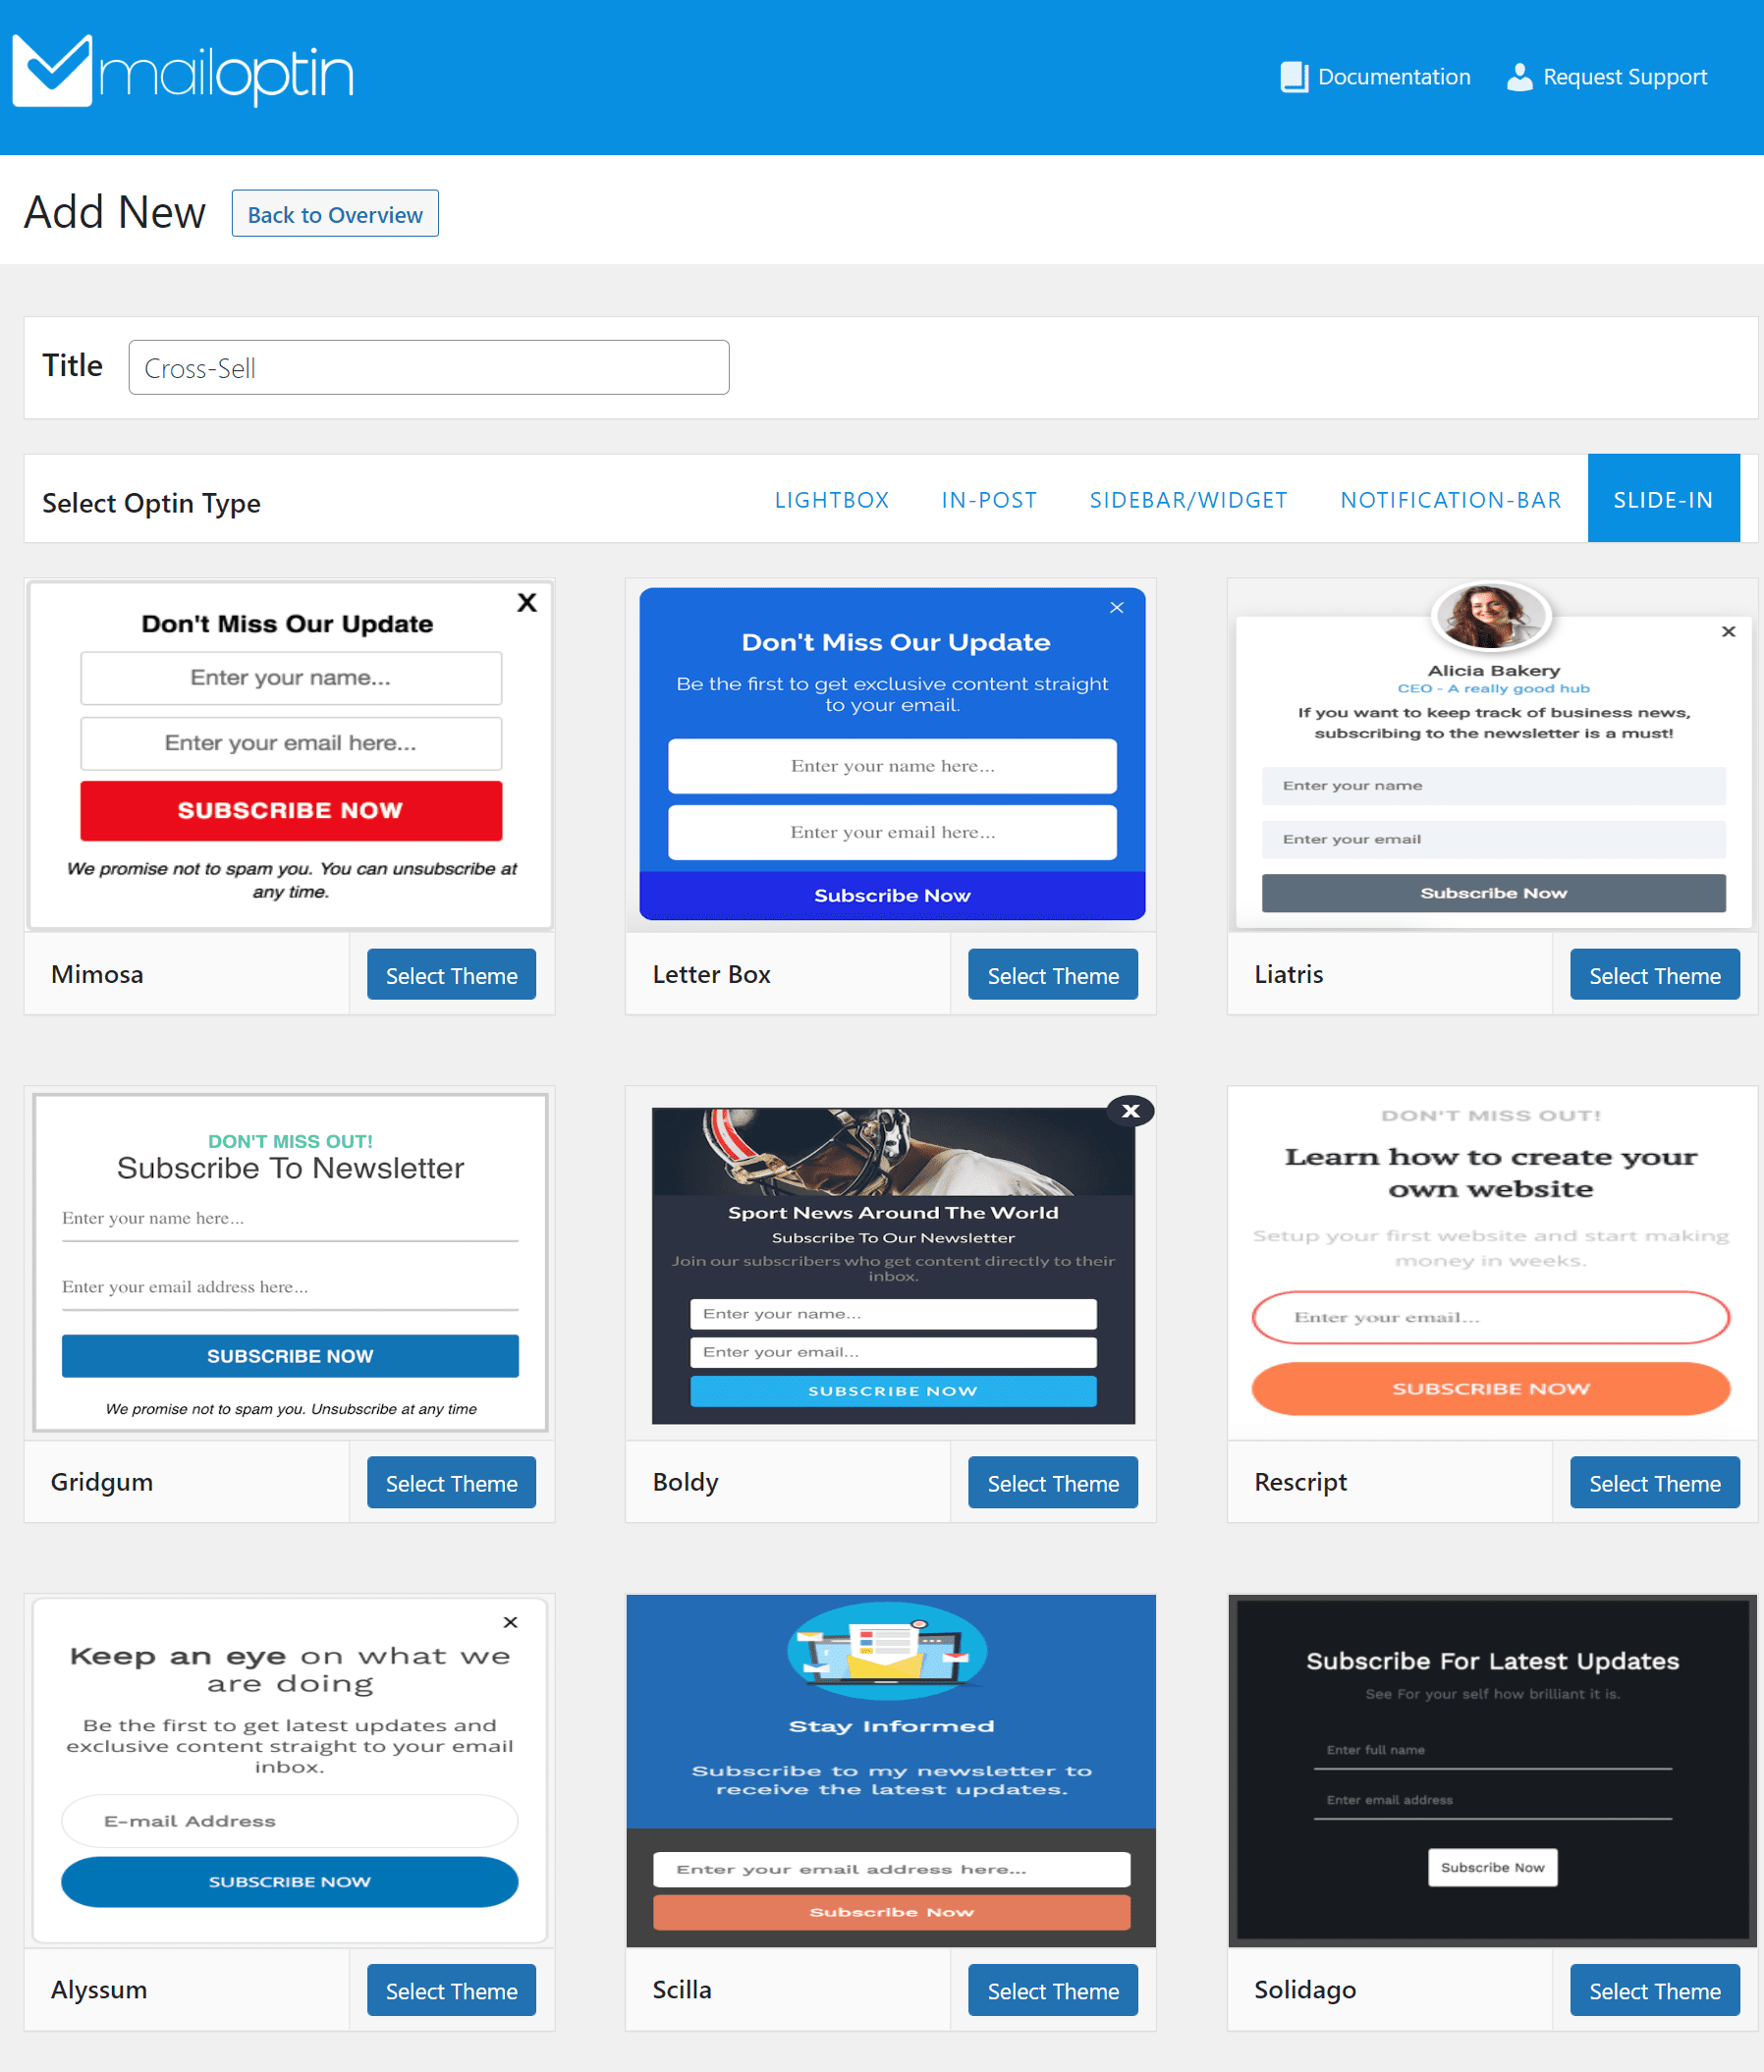
Select a theme to begin customizing according to the product you want to showcase. For this example, we’ve selected the Scilla theme.
Now add your product offering (as explained in the steps above) to make your slide-in lightbox more relevant to what you’re trying to do. With everything in place, you can start customizing how the slide-in animation will work on the front-end.
Click on the Design tab and select your preferred style using the Display Effect dropdown menu.
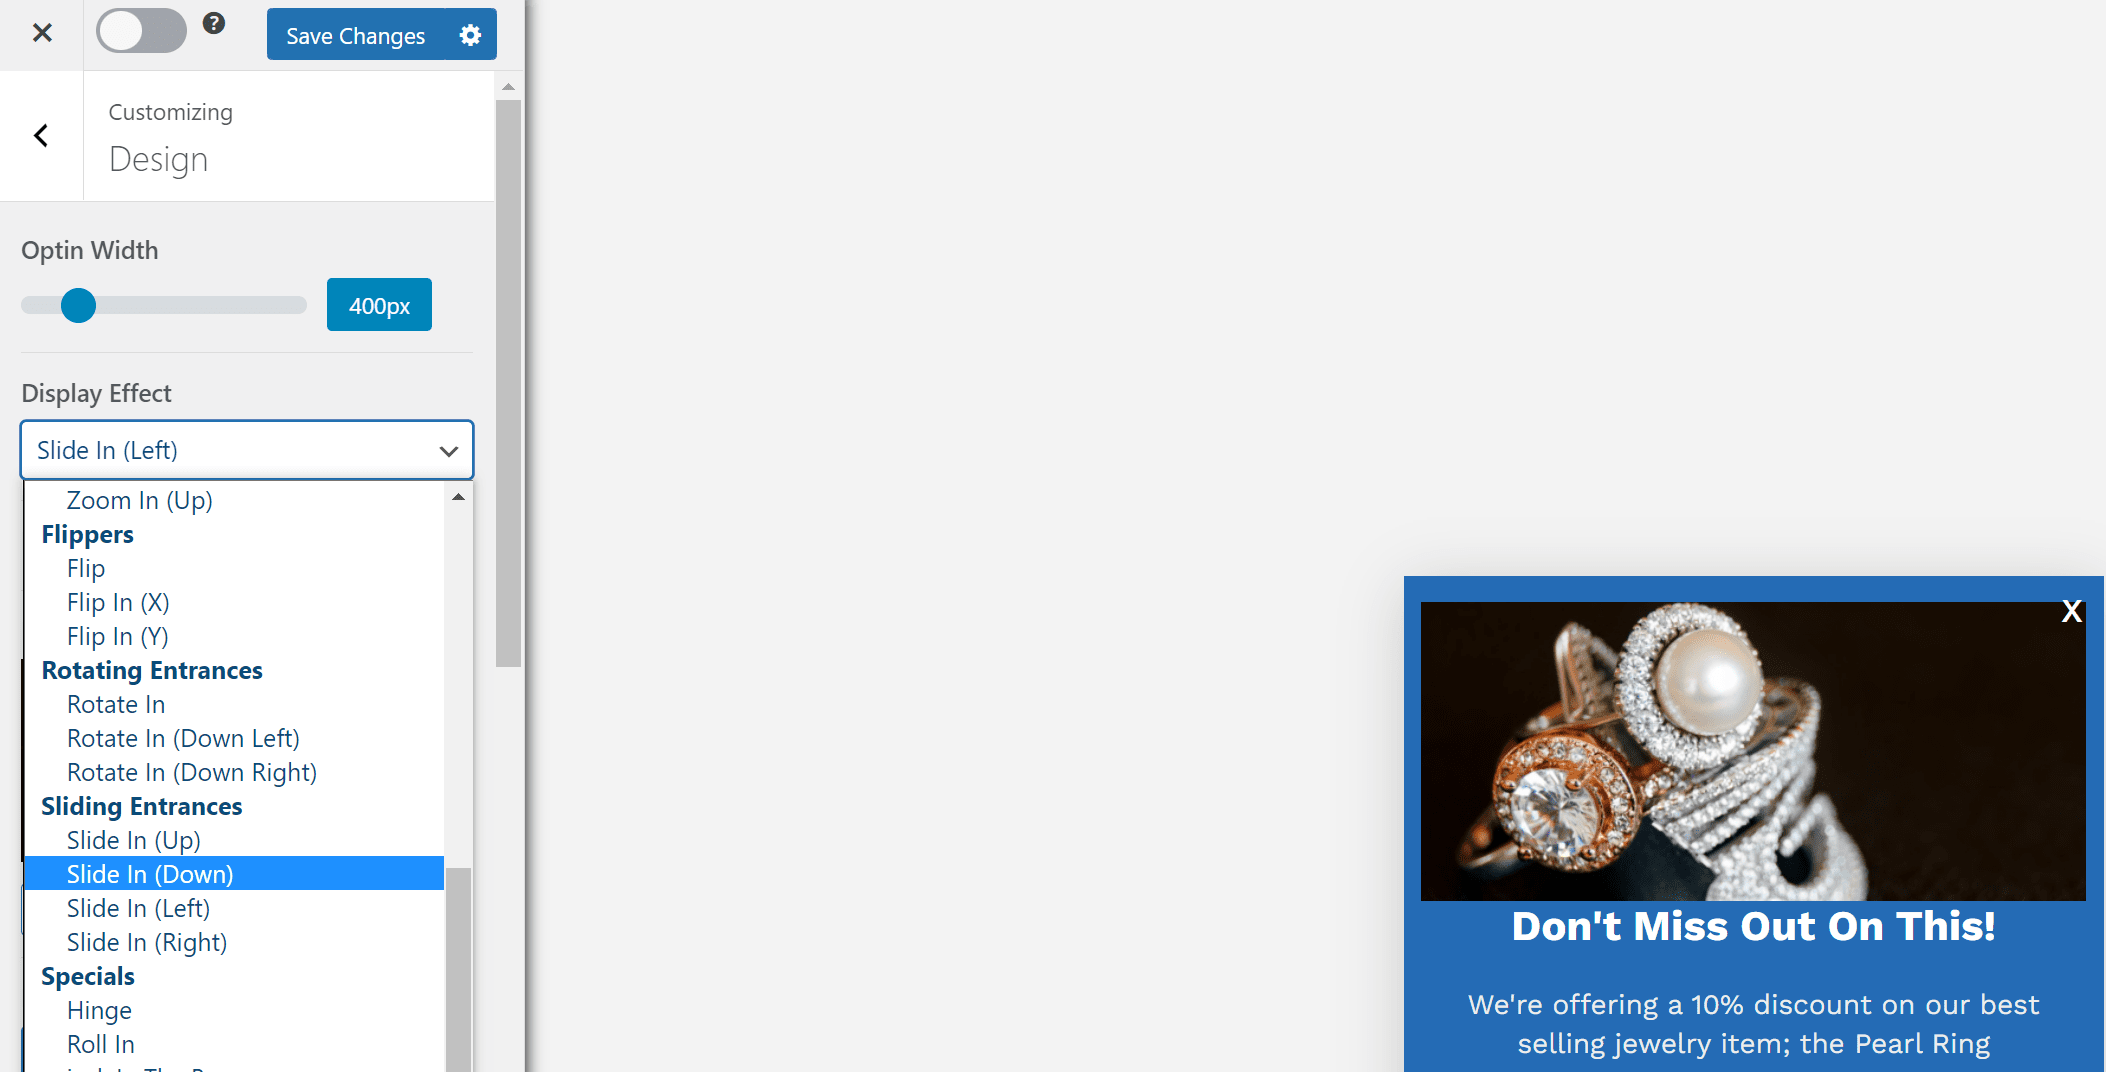
Under the Sliding Entrances section, you have the option to pick from four different styles. Once you’re done, it’s time to set display rules so that the slide-in pop-up is only displayed on the relevant single product page.
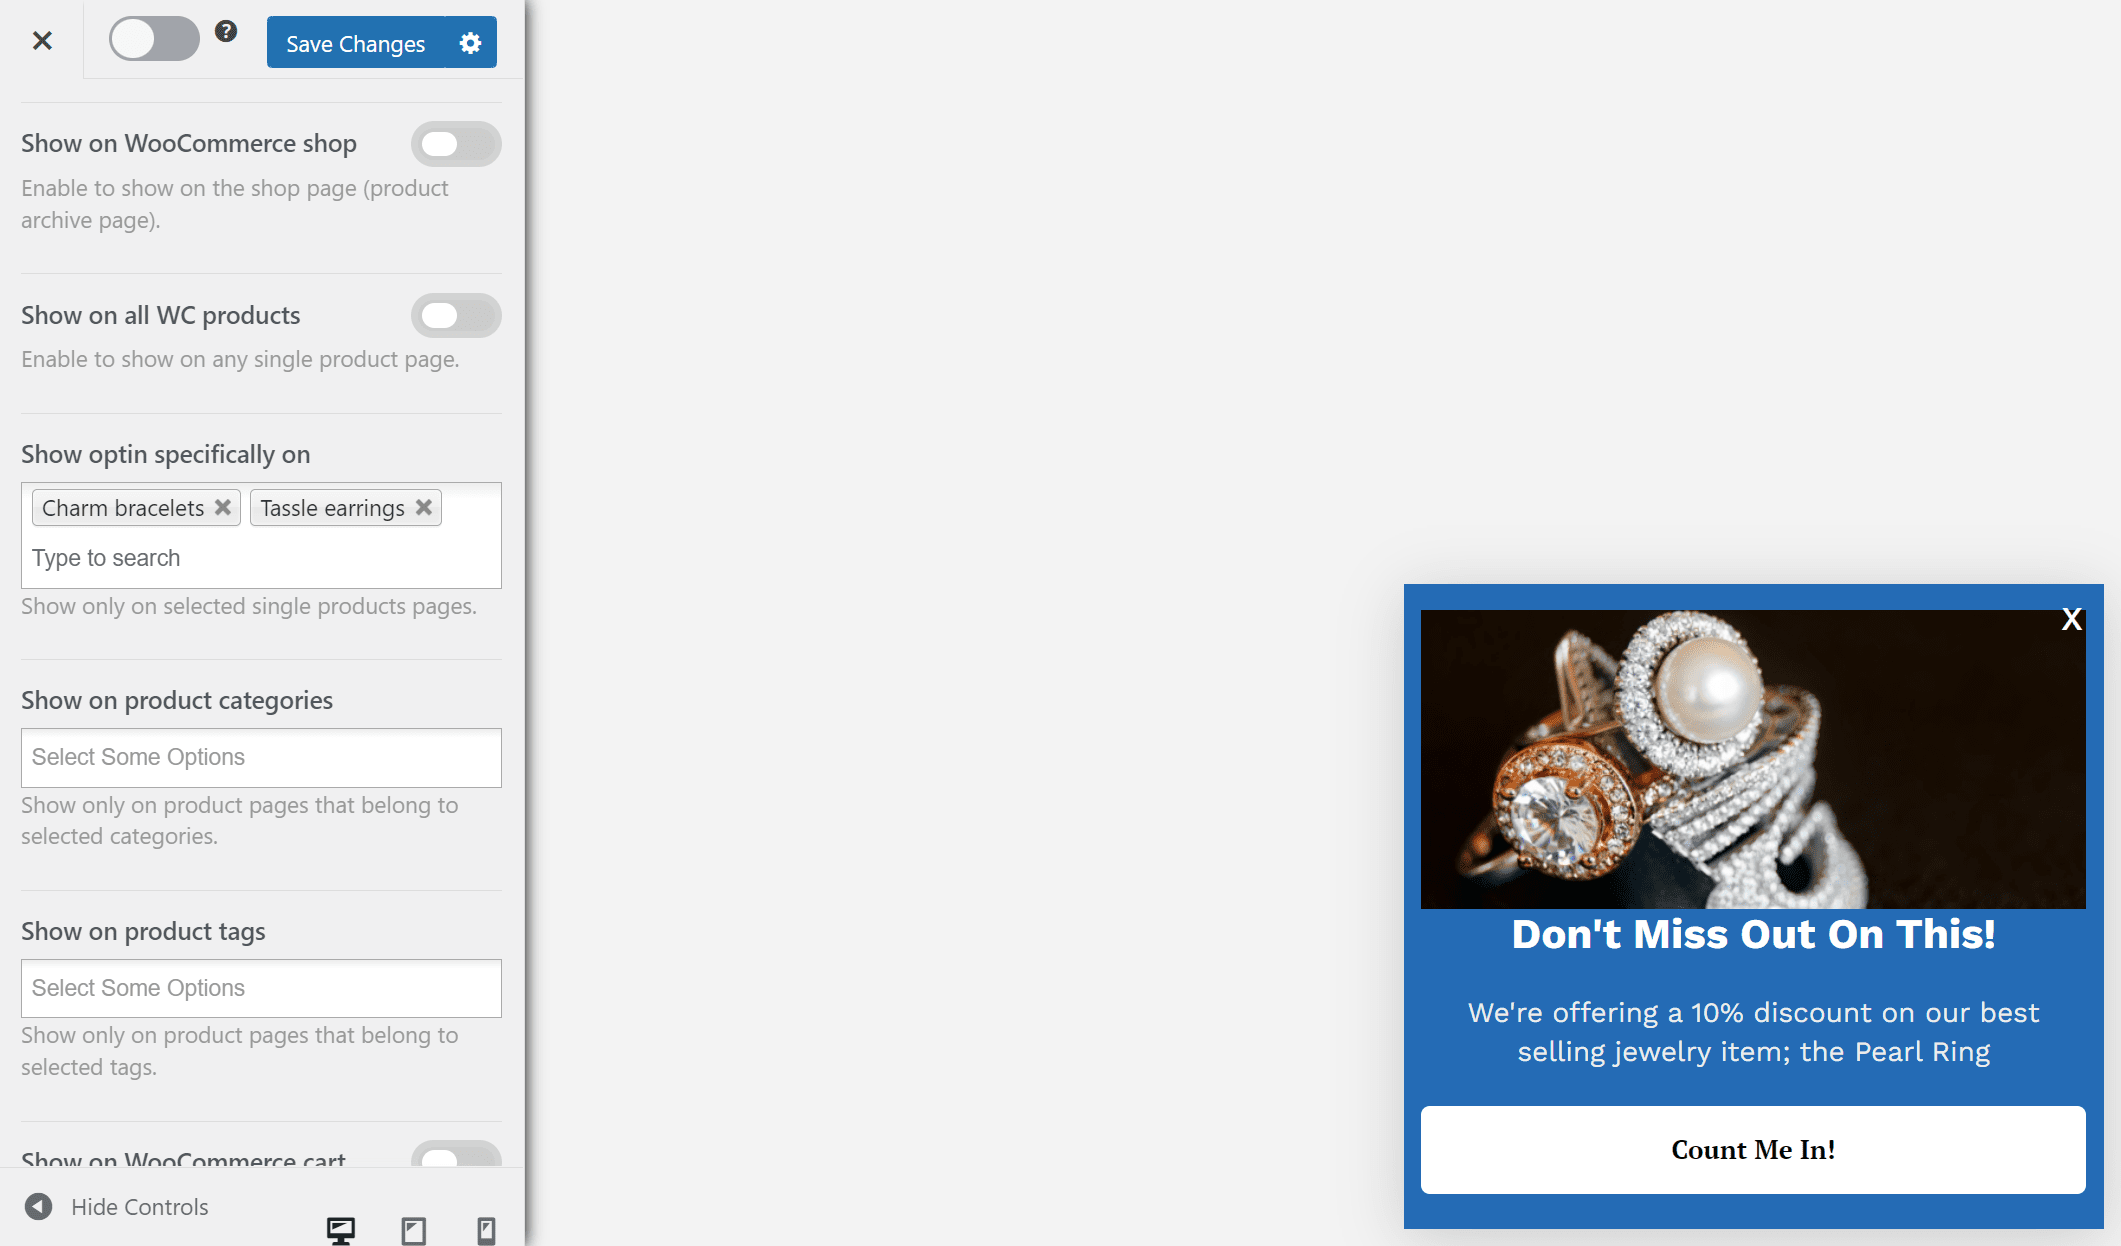
To do this, navigate to Display Rules → WooCommerce Page Targeting and scroll down to the Show optin specifically on text field and enter the products you want to display in the slide-in lightbox. Once you’re ready, click on the Save changes button and make sure to activate the opt-in on your online store.
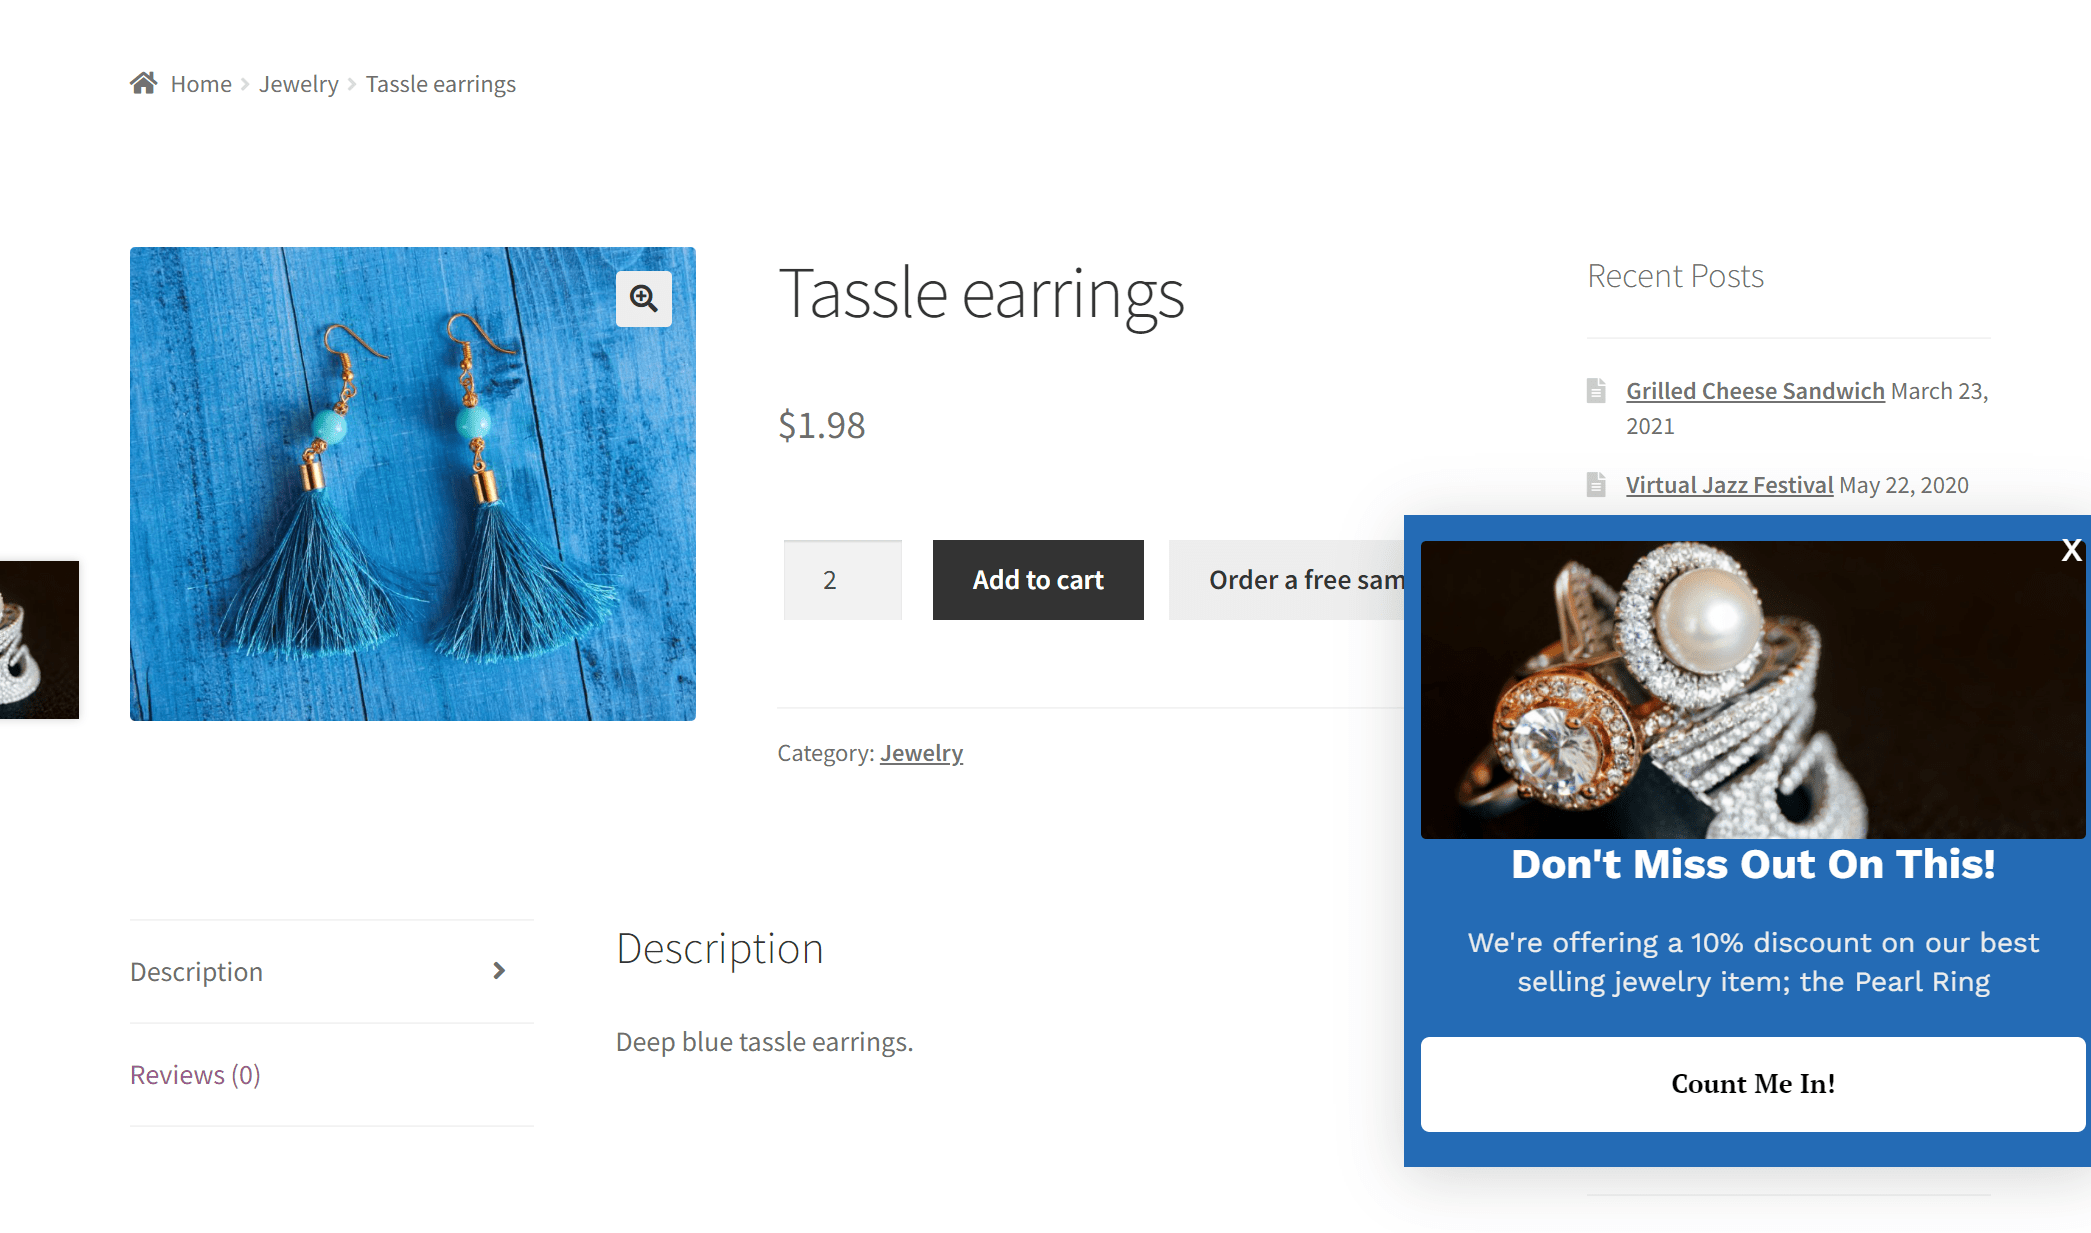
When customers visit the specific product pages, they see the slide-in lightbox that lets them quickly purchase the lower-priced cross-sell offer.
Conclusion
While the related products feature in WooCommerce isn’t robust enough for encouraging more sales, you can create unique product recommendation offers on your online store using a plugin such as MailOptin.
It offers an intuitive way of showcasing cross-sells, upsells, and down-sells on your online store as well as giving you full control over who gets to see the product recommendations. This helps you deliver a more enhanced shopping experience and can potentially help you increase sales.
Ready to start setting up WooCommerce product recommendations on your online store? Get MailOptin today!