How to Create a Cross-Sell WooCommerce Popup
Cross-selling can help you generate more revenue for your business. It is an effective way to remind your customers of related items they might need as they shop through your eCommerce store.
A strategic cross-sell popup placement can increase customer spending on your eCommerce store. This article covers an easy step by step process on how to create a WooCommerce popup for cross-selling.
What is Cross-Selling?
Cross-selling is where a seller displays or promotes related products of a particular product, which a buyer is in the process of purchasing.
This is done to incite the customer to purchase related products that might be an accessory of the main product they are about to purchase.
Cross-selling does not seek to get the customers to buy a more expensive product, Rather it focuses on getting the customer to buy more and add to his main product.
For instance, if a customer was on a page displaying smartphones, you might have a popup displaying smartphone accessories like phone cases and headsets.
Setting up A WooCommerce Cross-Sell?
Generating an ‘Add to Cart’ URL
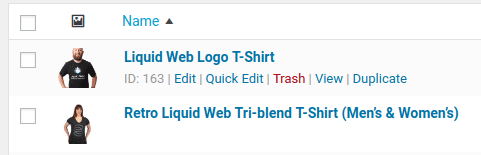
To do this you need the product ID of the item you need an Add to Cart link created for. You can find the ID for your products from the Products page of your WooCommerce web store. You can see the product ID listed here when you hover your mouse on the products row.
You’ll then need to create a URL like the following: https://yourwebsite.com/?add-to-cart=123 where 123 is your product ID, keep in mind you’ll also need to replace your yourwebsite.com with your domain name.
The most important part of this functionality is that you’re adding the following query parameter to the URL:?add-to-cart=123
Creating the Cross-Sell Popup
Firstly, ensure you have the MailOptin plugin installed and activated on your WordPress site.
Create a lightbox popup. You can also create a cross-sell as a notification bar or slide-in box.
Select a template that you like. We will be using the Daisy template.
You will then be redirected to the form builder where you can customize it to your heart content.
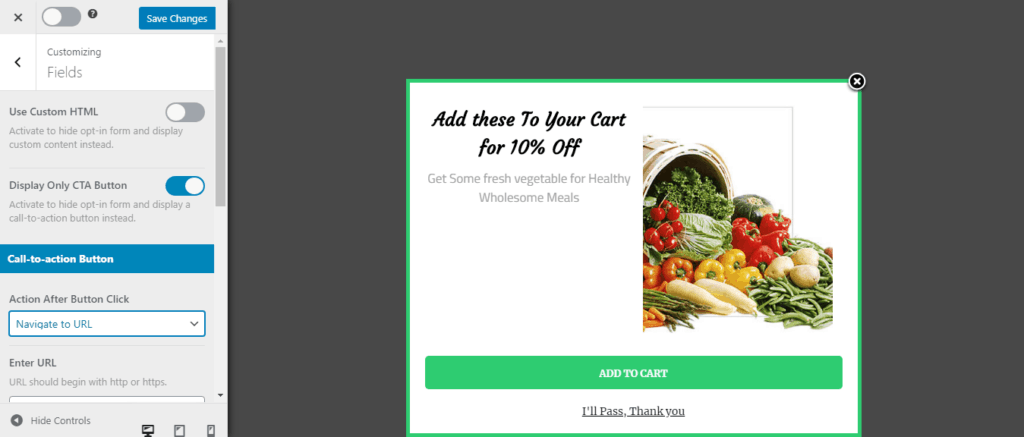
Enable CTA button and set the URL to the cross-sell product “add to cart” link.
While doing this, you should have decided what product or category of products that you are designing this popup for.
Targeting your WooCommerce Cross-Sell Popup
Open Display rules >> WooCommerce targeting panel.
You can choose to display the cross-sell popup on a specific product page or a product category. For instance, you can show it specifically on your iPhone product page or all product pages under the smartphone category.
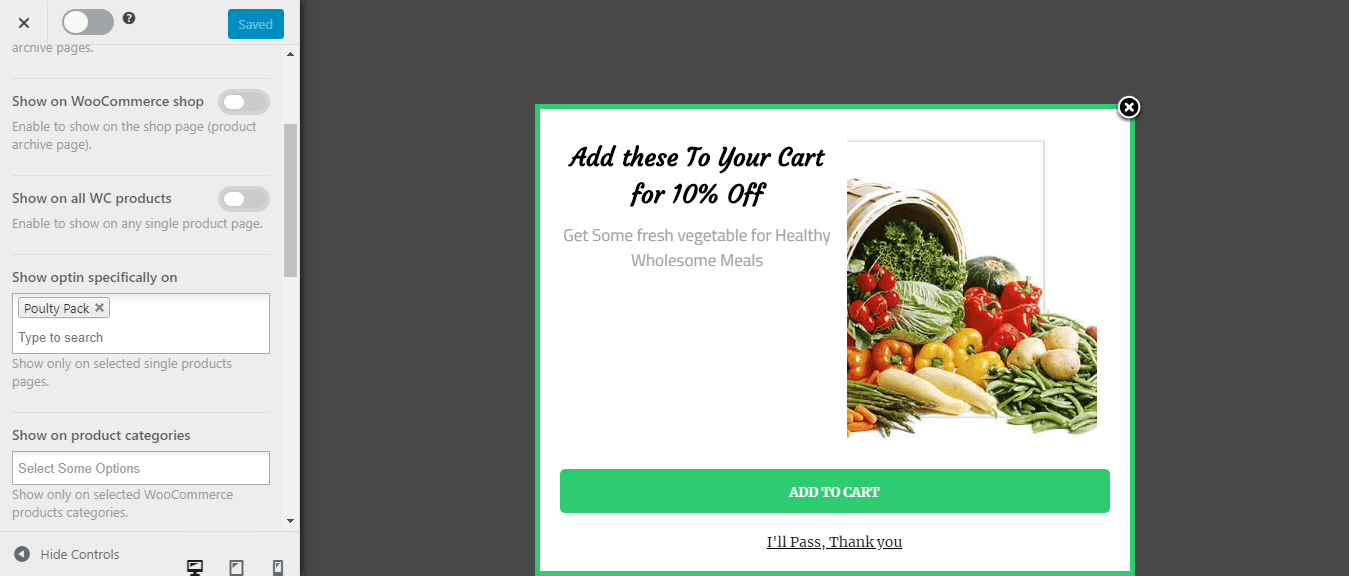
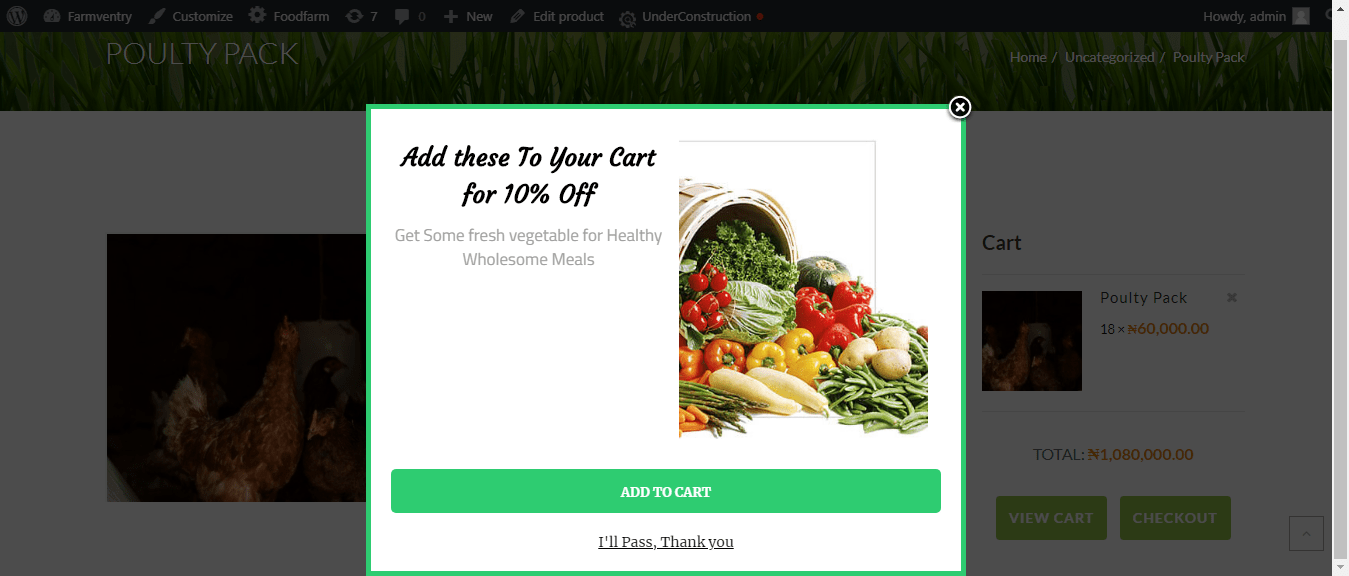
In our sample popup, we set up the popup to display on the poultry page and the cart page when a customer adds a product to the cart.
See also:
- Displaying Optin When WooCommerce Product is Added to Cart
- Using WooCommerce Conditions to Create Optin Campaigns
Conclusion
MailOptin makes it easy to create WooCommerce cross-sell popups thanks to its powerful WooCommerce targeting display rules.
Keep in mind that you can create multiple cross-sell popups for as many products as possible.
Go now and set up a cross-sell popup and see how your store’s conversions will skyrocket.