How to Create WordPress Campaign Monitor Optin Forms

Do you want to create a Campaign Monitor Optin form on your WordPress website?
Campaign Monitor is a top-tier email marketing tool that allows you to launch email campaigns, send automated emails, and manage subscribers.
In this tutorial, we’ll show you a step-by-step guide on how to integrate MailOptin with Campaign Monitor, enabling you to capture and save leads directly to your Campaign Monitor account.
Step 1: Install and Activate MailOptin
To create a Campaign Monitor optin form, you need to purchase a MailOptin license and then install the plugin. Visit the MailOptin website to purchase a suitable license plan.
After purchasing your copy of the MailOptin Plugin, you will get a confirmation email with a link to download the plugin zip file and your license key. You can also download the plugin from your account page on the MailOptin website.
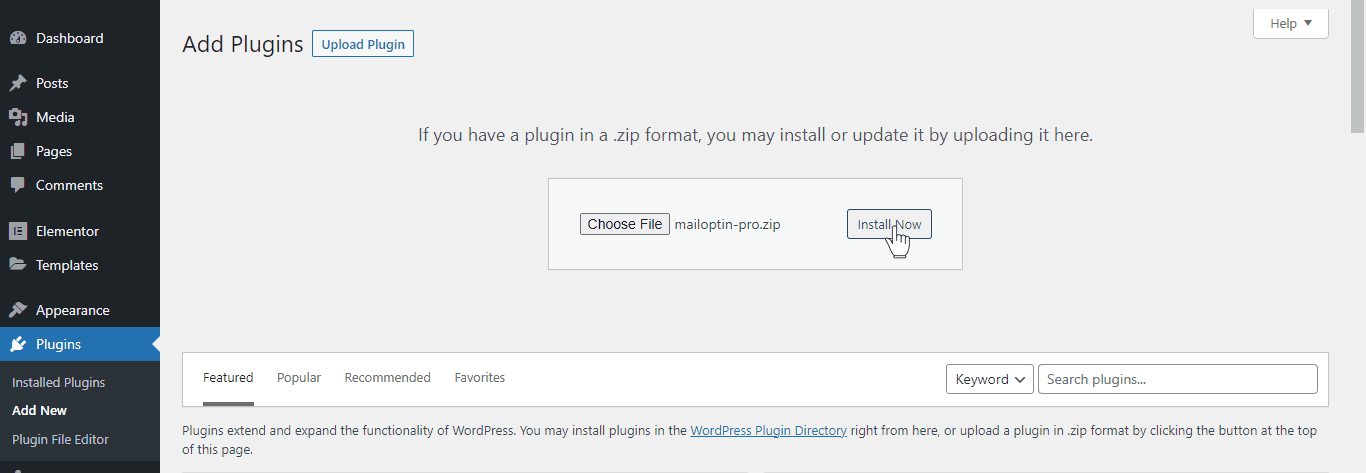
Once you have downloaded the plugin, log in to your WordPress admin dashboard and navigate to the Plugins page. Click on the “Add New” button and click “Upload Plugin. ” Upload the zip file and install and activate the plugin on your WordPress site.
Step 2: Connect MailOptin to Campaign Monitor
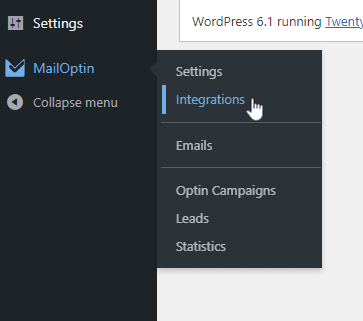
Next, connect your Campaign Monitor account to MailOptin. To do this, Navigate to MailOptin >> Integrations.
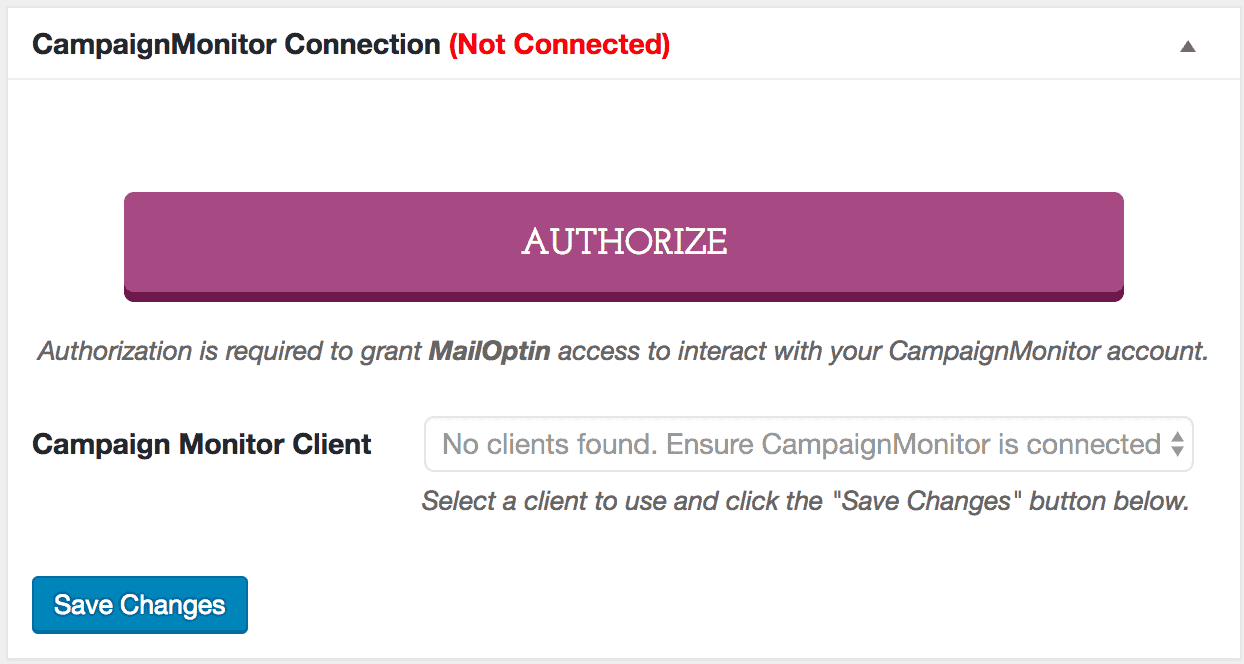
At the CampaignMonitor Connection section, click the “Authorize” button.
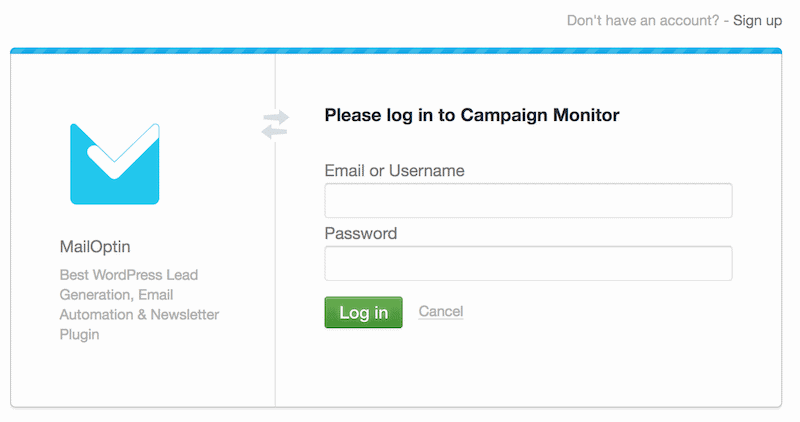
You will then be redirected to log in to your Campaign Monitor account.
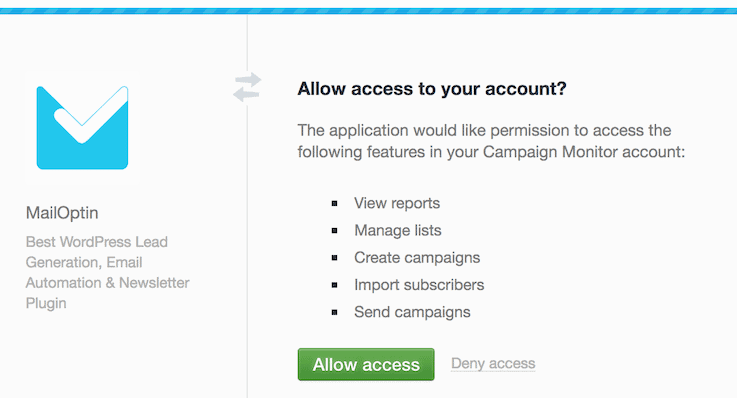
Authorize MailOptin to access your account by clicking the ‘Allow Access’ button.
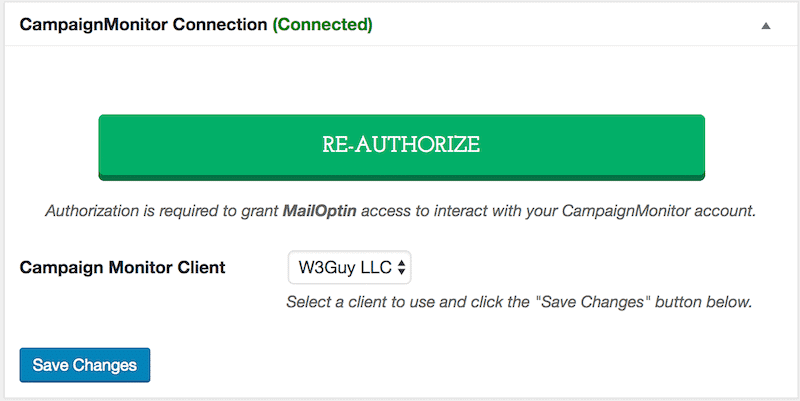
You will be redirected back to the MailOptin connections page, where the button will now appear green. Select your Campaign Monitor Client and click the “Save Changes” button.
Step 3: Create a Campaign Monitor Optin Form
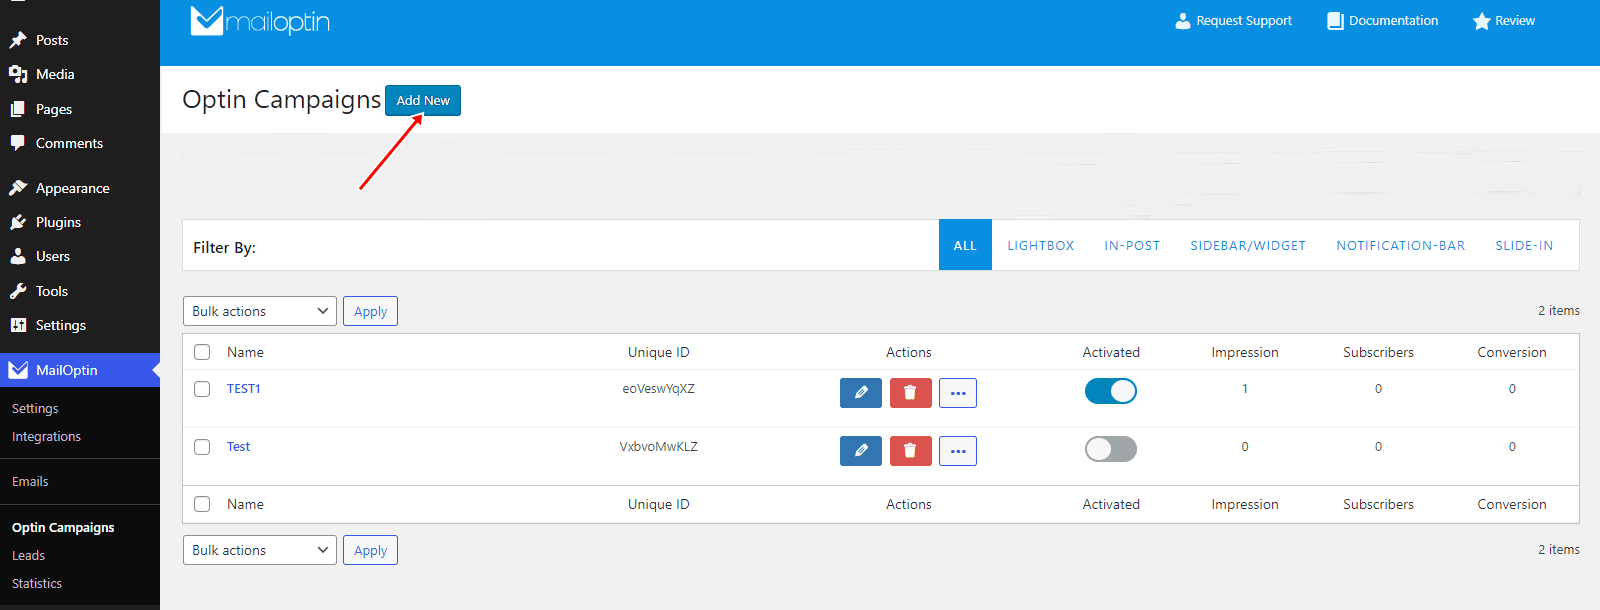
Navigate to the Optin Campaign page and click the Add New button at the top to create the campaign monitor optin form for your WordPress website.
Enter a title for the optin campaign, select the optin type (for this tutorial, we’ll select lightbox), and click the optin form design you want. 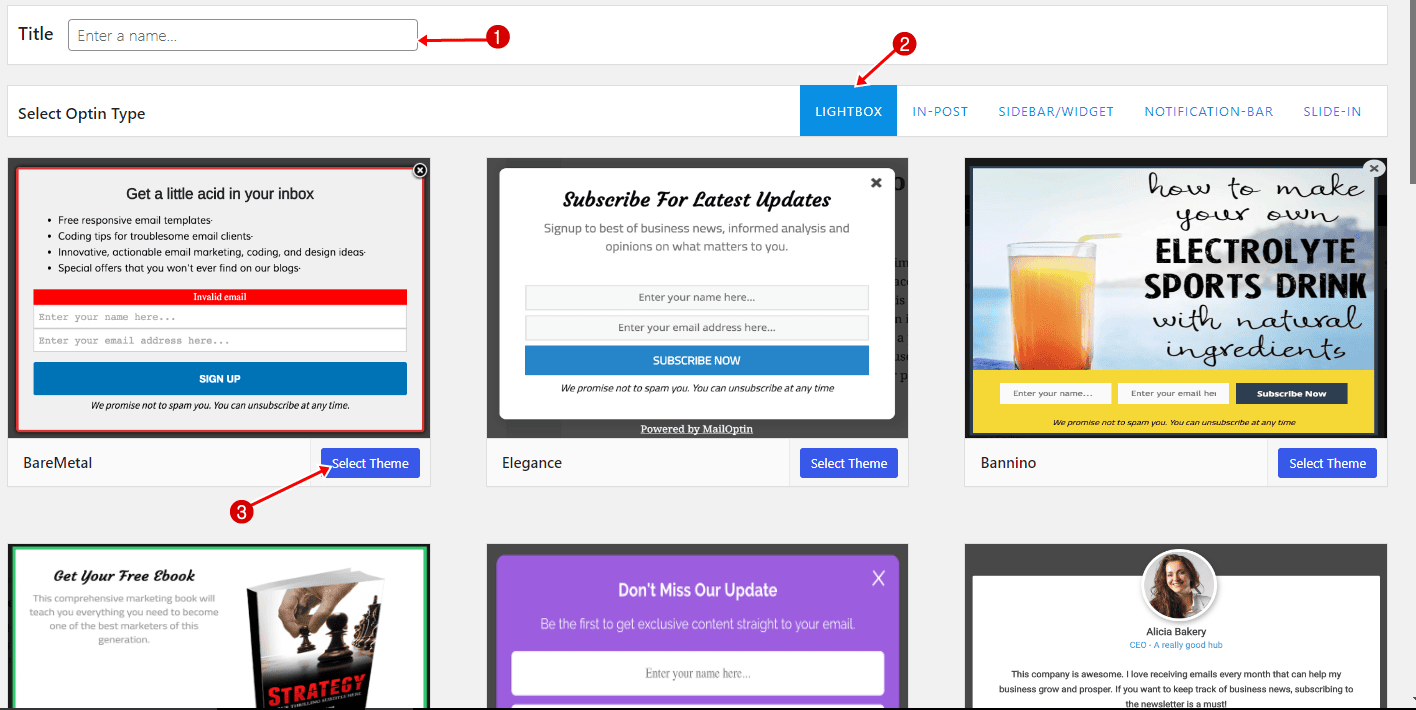
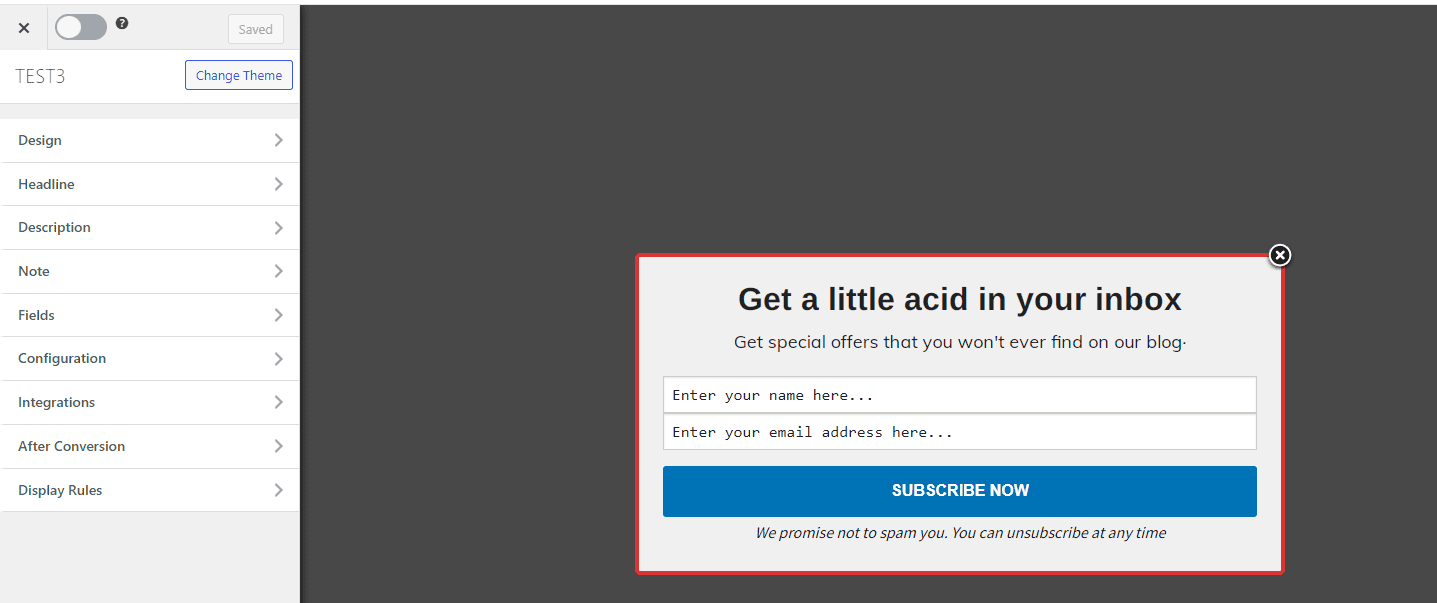
You will then be redirected to the form builder where you have options and the flexibility to customize the optin form to your heart’s content.
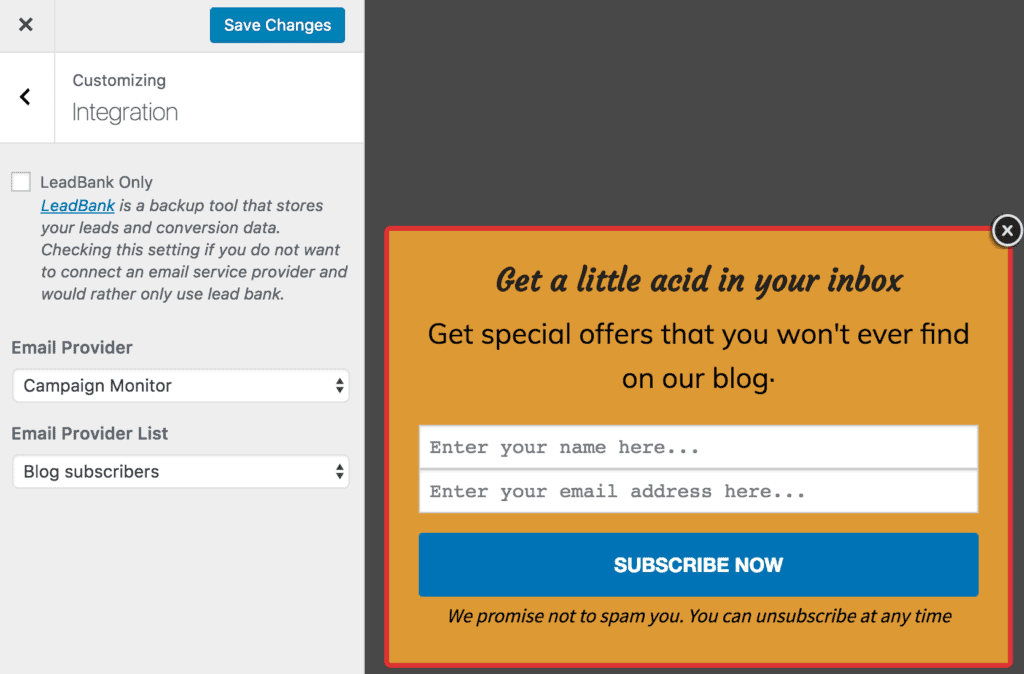
After customizing the Campaign Monitor form, open the Integration panel, Select Campaign Monitor in the Email Provider dropdown, and select the email list to which you want to subscribe captured leads.
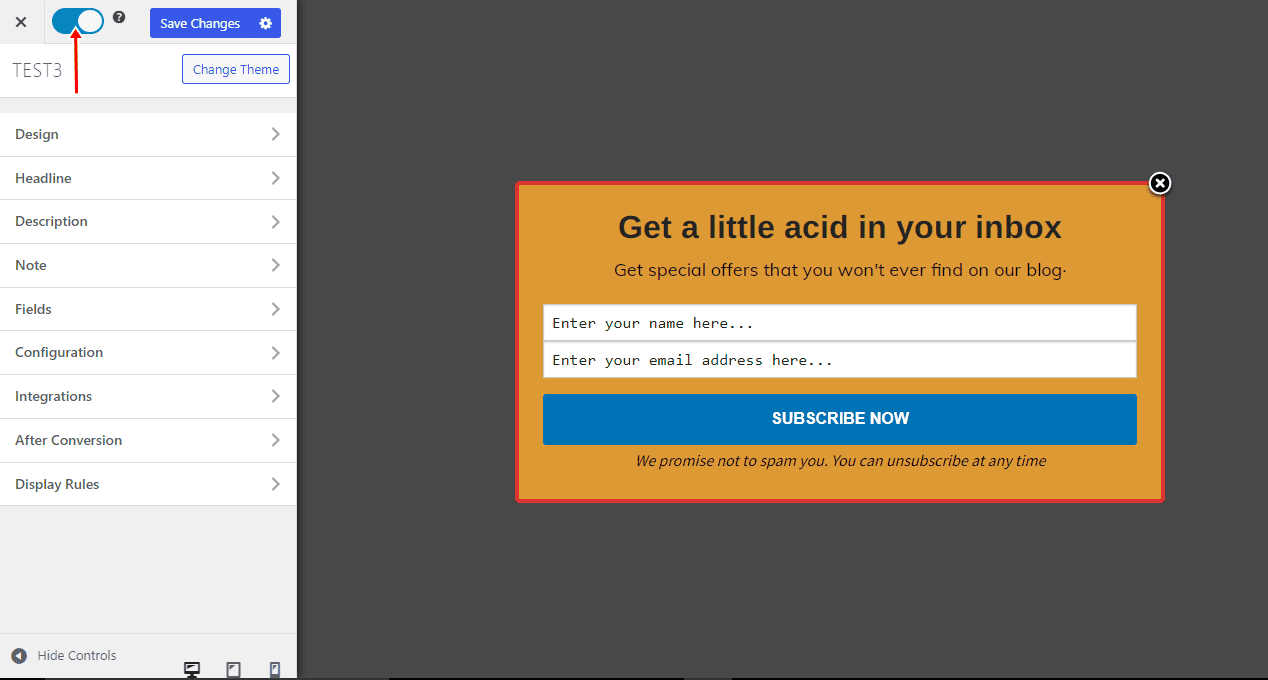
To actually get the Campaign Monitor optin to display on your WordPress website, toggle the activate switch ON at the top (close to the “Save Changes” button).
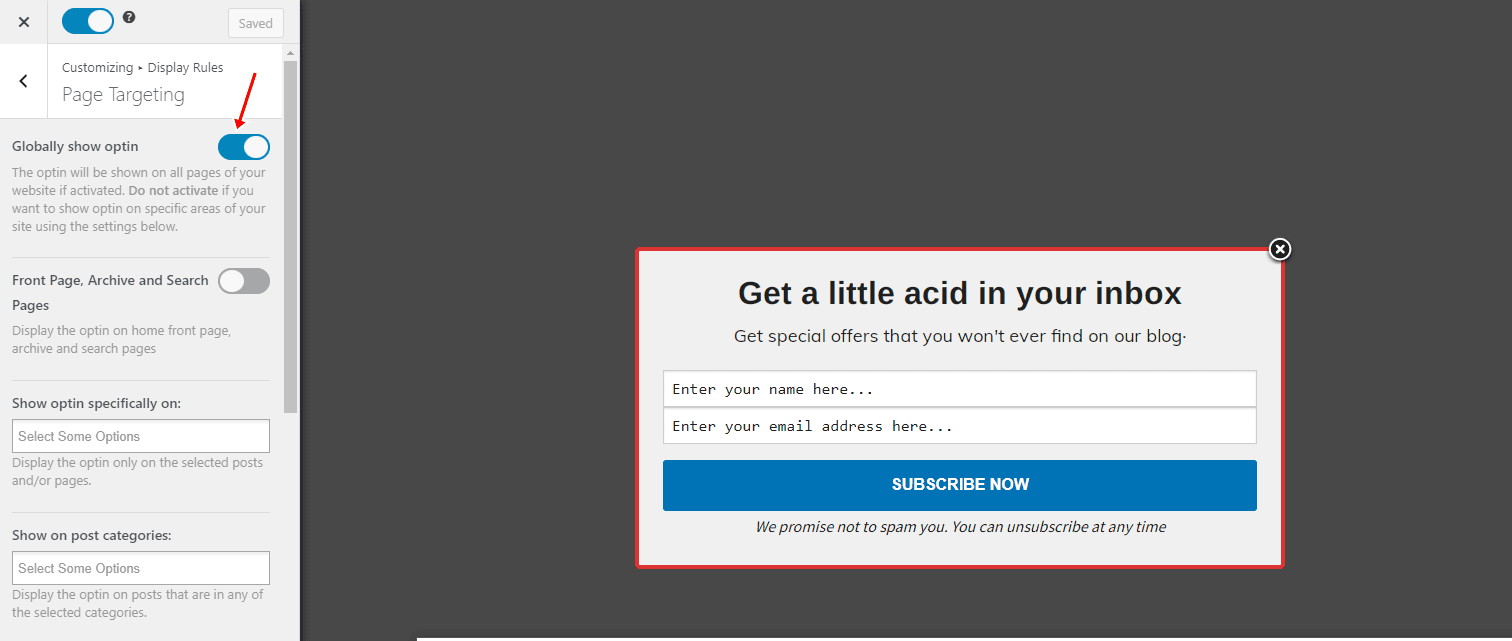
Navigate to the “Display Rules” section and click on ‘Page Targeting’
If you want the Campaign Monitor optin form displayed everywhere (all pages) of your WordPress site, also check “Globally load optin”. Otherwise, use the page-level targeting and triggers to determine how and where on your site to show the optin.
Finally, save the changes. Preview your website and you should see the optin displayed. If it doesn’t show up, be sure to clear your website and browser cache.
That’s how to create WordPress Campaign Monitor optin forms
Creating Campaign Monitor opt-in forms in WordPress using MailOptin is straightforward. With MailOptin’s powerful features and seamless integration with Campaign Monitor, you can easily design, customize, and deploy high-converting opt-in forms to capture and nurture leads effectively.
To recap, here’s how you can do it in just three steps:
- Install and activate MailOptin.
- Connect MailOptin to Campaign Monitor.
- Create a new opt-in form connected to your Campaign Monitor account.
We hope this article helped you learn how to create Campaign Monitor optin forms for your WordPress site.
For more information on creating other popular types of email opt-in forms, follow the guides below. Don’t forget to select Campaign Monitor in the Integration panel:
