How to Connect WordPress to Facebook Custom Audience

MailOptin offers a seamless integration with Facebook Custom Audience so you can save leads and subscribers captured on your WordPress site to your Ad account for retargeting later. Follow the step by step guide below to learn on how to connect MailOptin with your Facebook Ad account.
Registering your Facebook Application
1. Ensure you are logged in to your Facebook account and visit Facebook for Developers portal at https://developers.facebook.com/apps/.
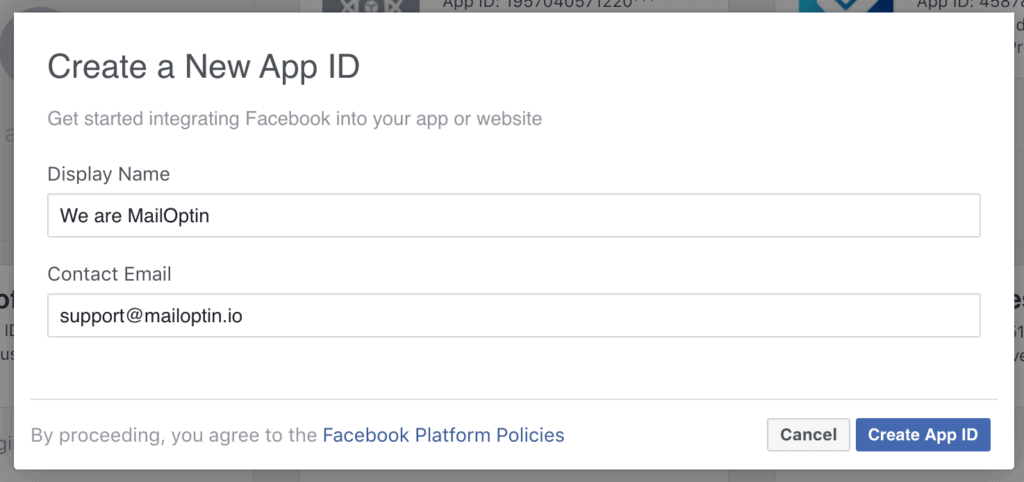
2. Click on “Add a New App” and enter a name and contact email for the app.
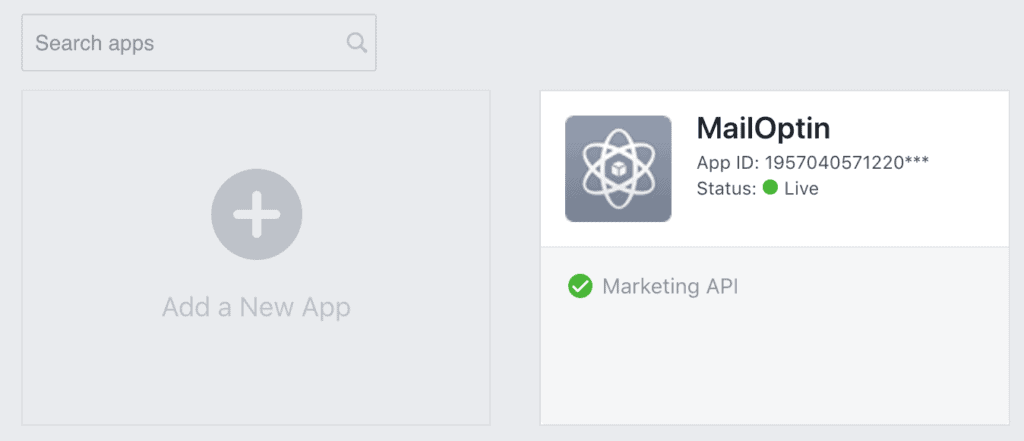
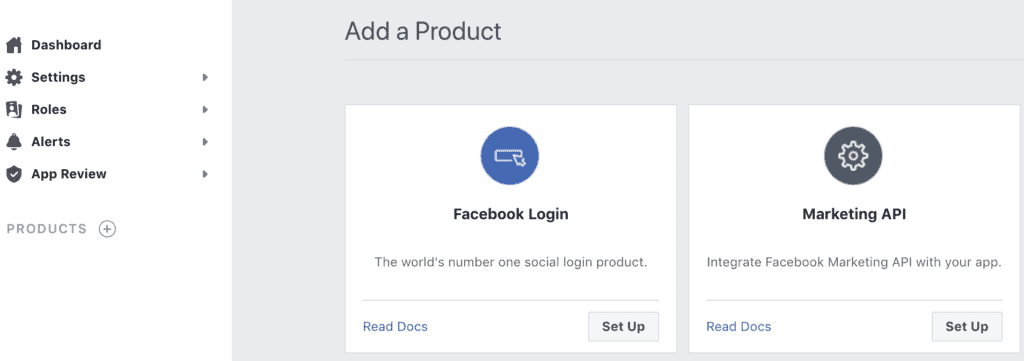
3. Submit the form to be redirected to a page where you are required to add a product. If you aren’t redirected, click the plus icon beside PRODUCTS sidebar menu. Then click “Set Up” button under “Marketing API” product.
4. Go to Settings in Marketing API and select a business manager.

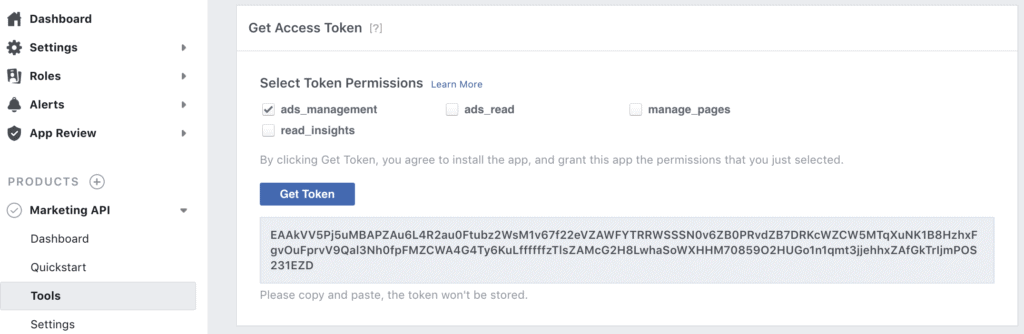
Generating Access Token
Click on “Tools” menu, select ads_management and click the “Get Token” button.
Getting your App ID and Secret
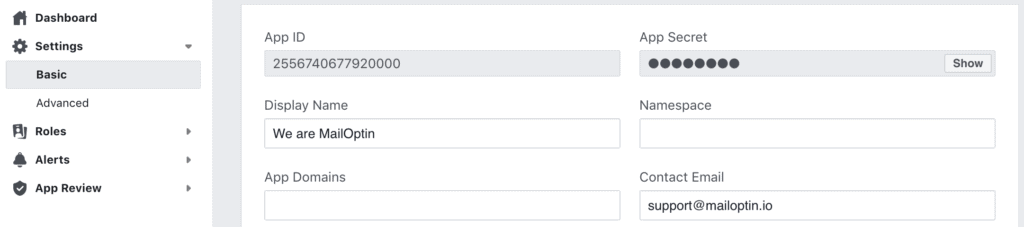
Go to Settings >> Basic to get your application’s ID and secret. You will have to click the “show” button to get the secret shown to you.
Getting your Ad Account ID
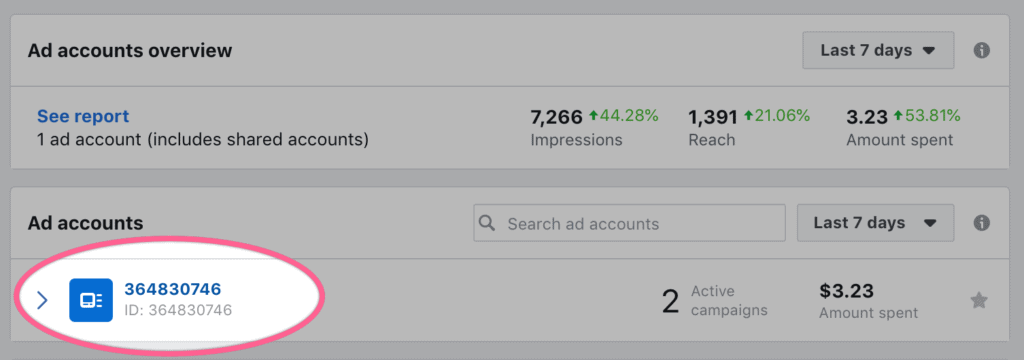
Go to Business Manager account via https://business.facebook.com. You should see your Ad account ID as shown in the screenshot below
Connecting MailOptin to the Facebook Application
1. Go to the Integrations settings page by either clicking the sidebar menu link or top menu tabs.
2. Open the Facebook Custom Audience integration section to enter your Facebook application’s App ID, App Secret, Access Token and Ad Account ID gotten above and save.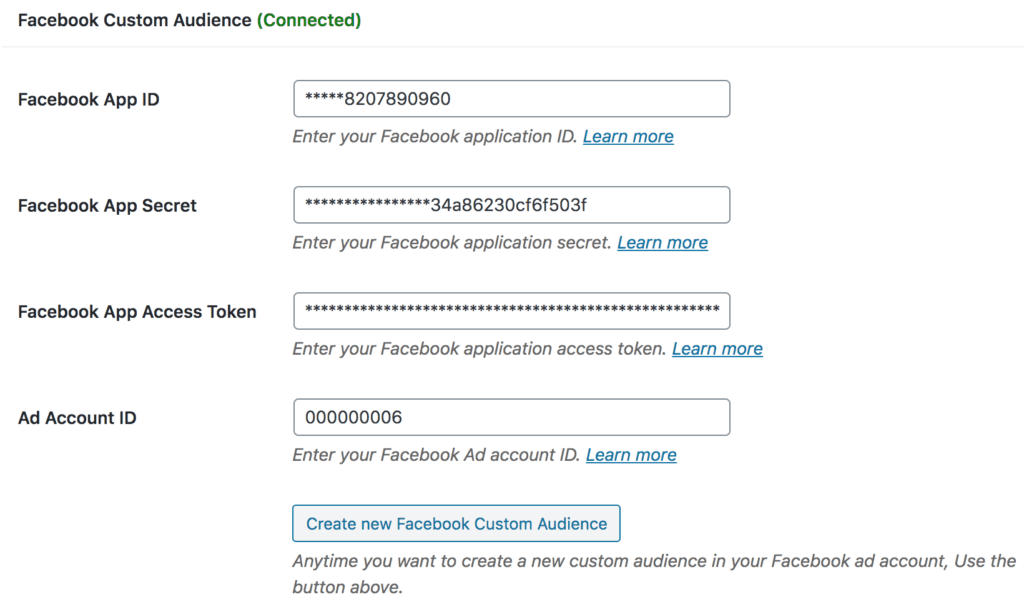
To create a new and empty custom audience anytime, click the “Create new Facebook Custom Audience” button which will reveal a modal form for you to fill and submit.
The end.