How to Display Announcements in WordPress
Would you like to display announcements on your WordPress website?
Displaying announcements within your WordPress site can significantly enhance user engagement and communication with your audience. In the ever-evolving digital landscape, finding innovative ways to capture and retain your readers’ attention is crucial.
Whether you’re a blogger, an online entrepreneur, or a business owner, keeping your audience informed and engaged is paramount.
This article will guide you excellently in showcasing your announcements using the MailOptin plugin, ensuring they captivate your audience’s attention and foster meaningful engagement. From eye-catching notification bars that captivate attention to lightbox pop-ups that deliver important messages, we will explore how to integrate announcements into your site effectively.
Best Practices for Effective Announcements
Before I demonstrate the process of displaying announcements on your WordPress website, let’s delve into some best practices for creating and delivering effective announcements on your WordPress:
- Clear and Concise Messaging: Keep your announcements short. Use clear language that quickly communicates the purpose of the announcement. Avoid unnecessary jargon or complex wording that might confuse your readers.
- Highlight the Benefits: Clearly outline the benefits or value the announcement brings your readers. Whether it’s a new feature, a limited-time offer, or important news, ensure your audience understands why they should pay attention.
- Attention-grabbing Headlines: Craft attention-grabbing headlines that entice readers to learn more. A compelling headline can make all the difference in whether your announcement gets noticed or ignored.
- Visual Appeal: Use visual elements such as images, graphics, or even videos to enhance the visual appeal of your announcement. Visuals can help convey your message more effectively and make it more memorable.
- Placement Matters: Choose the right location to display your announcement. The placement should be strategic, whether it’s a banner at the top of your site, a pop-up, or a sidebar widget.
- Targeted Audience: Tailor your announcements to specific audience segments whenever you can. Use segmentation tools to deliver announcements relevant to particular demographics or user behaviors.
- Call to Action (CTA): Every effective announcement should have a clear and compelling call to action. Whether it’s to click a link, sign up for a newsletter, or make a purchase, guide your readers on the next steps you want them to take.
By incorporating these best practices into your announcement strategy, you can effectively capture your audience’s attention, drive engagement, and achieve your desired outcomes.
Introducing MailOptin Popup and Notification Bar Plugin
MailOptin is a great WordPress plugin designed to help you grow your email list and engage your audience effectively. With its array of optin types, including popups, slide-ins, and notification bars, MailOptin empowers you to display announcements prominently and efficiently.
Key Features
- Different types of opt-in forms, such as popups, notification bars, inline/embedded, scroll boxes, slide-ins, and sidebar forms.
- Set up event-triggered emails such as new blog post email notifications, email digests, and welcome messages.
- Many professionally designed, mobile responsive, and conversion-optimized opt-in forms and email templates exist.
- Page-level targeting and optin trigger to build hyper-segmented email lists such as exit-intents, scroll triggers, time on site, page views, Adblock and referral detection, and device targeting.
- Analytics with actionable reporting and insights to improve your lead-generation strategy and make data-driven decisions that will increase your revenue.
Now that you know which plugin to use, let’s start by installing and activating MailOptin. We will also share two methods to display announcements on your WordPress site.
How to Install and Activate MailOptin Plugin
To begin, you will need to purchase a MailOptin license and install the plugin on your WordPress website. To do that, head to the MailOptin website to purchase a suitable license plan.
Upon purchasing, you will receive an email containing your plugin download link and license key. Also, you can get the plugin by accessing your account page on the MailOptin website.
Now that you have the MailOptin plugin downloaded to your computer, the next step is to install it onto your WordPress website.
Login to your WordPress admin dashboard and navigate to the Plugins page; click the Add New button and Upload Plugin.
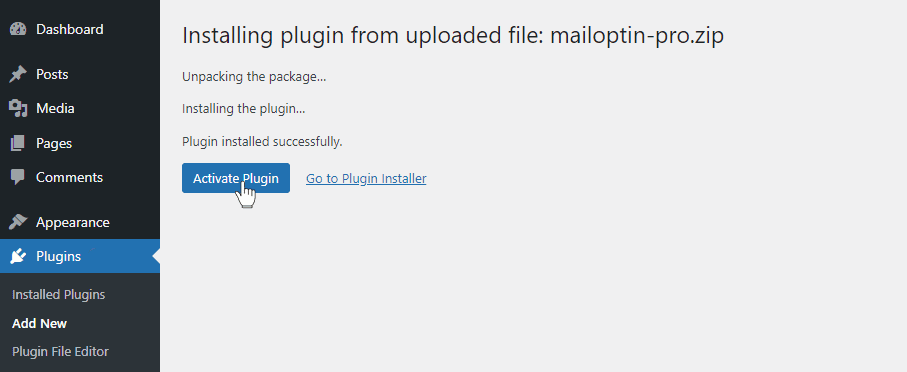
Next, click Choose File to select the previously downloaded plugin zip file. Click Install Now.

Wait a few seconds for the installation to complete. Once the plugin is installed, click ‘Activate Plugin’ to enable it on your site.
With the completion of this task, we have installed and activated the MailOptin plugin on our WordPress site.
How to Display WordPress Announcements
In this section, we’ll show you two methods for showing announcements on WordPress using MailOptin. Firstly, we will utilize the Notification Bar feature, followed by a demonstration of the Lightbox feature.
Using Notification Bar to Display Announcements
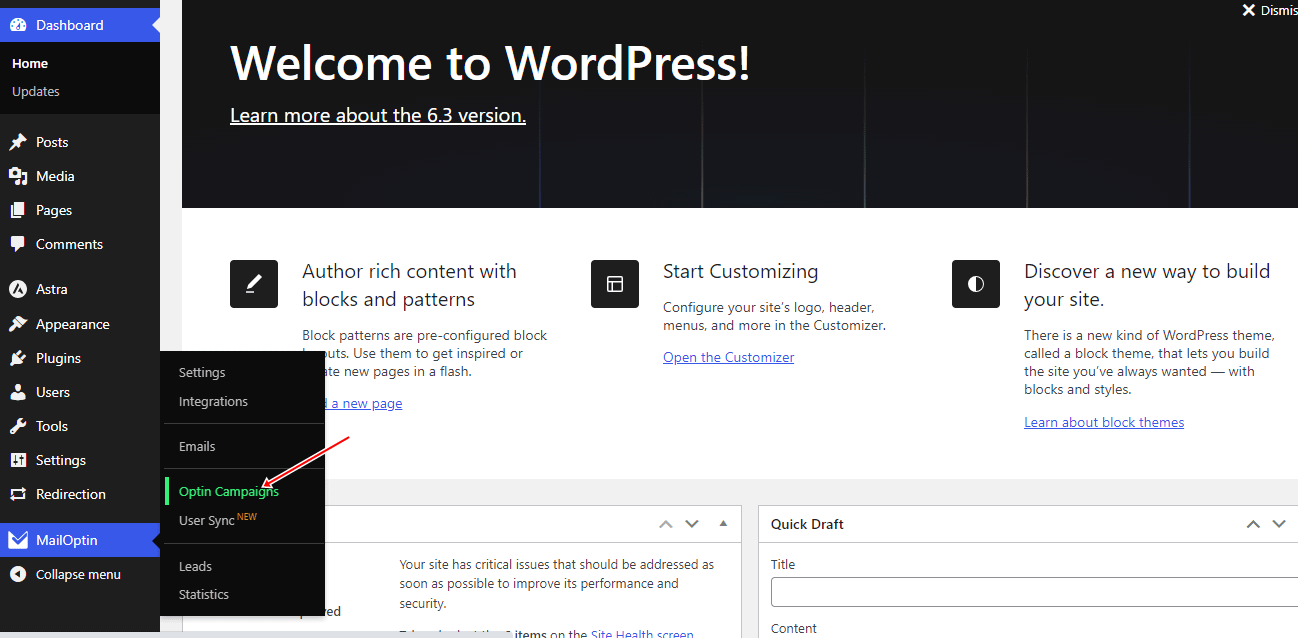
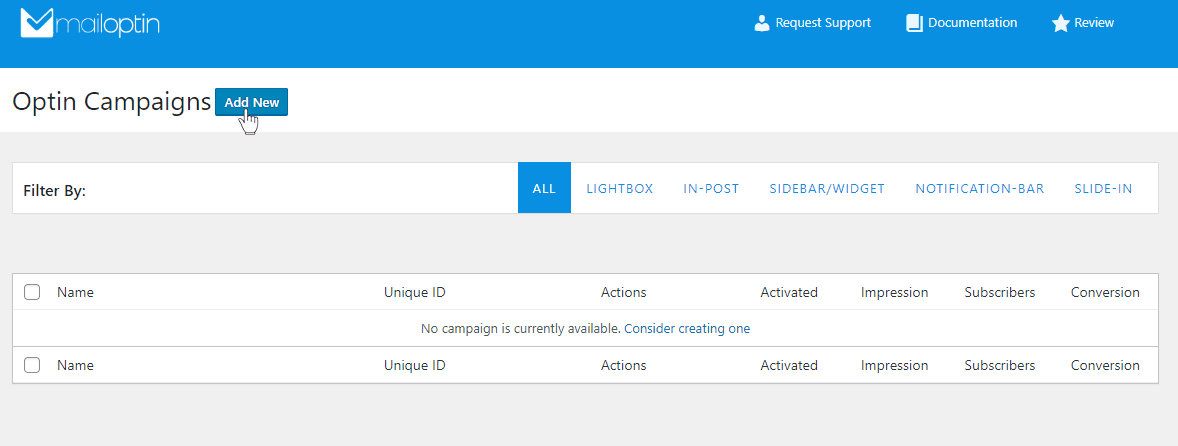
To use MailOptin notification bar features, go to MailOptin in your WordPress dashboard and navigate to the ‘Optin Campaigns’ section.
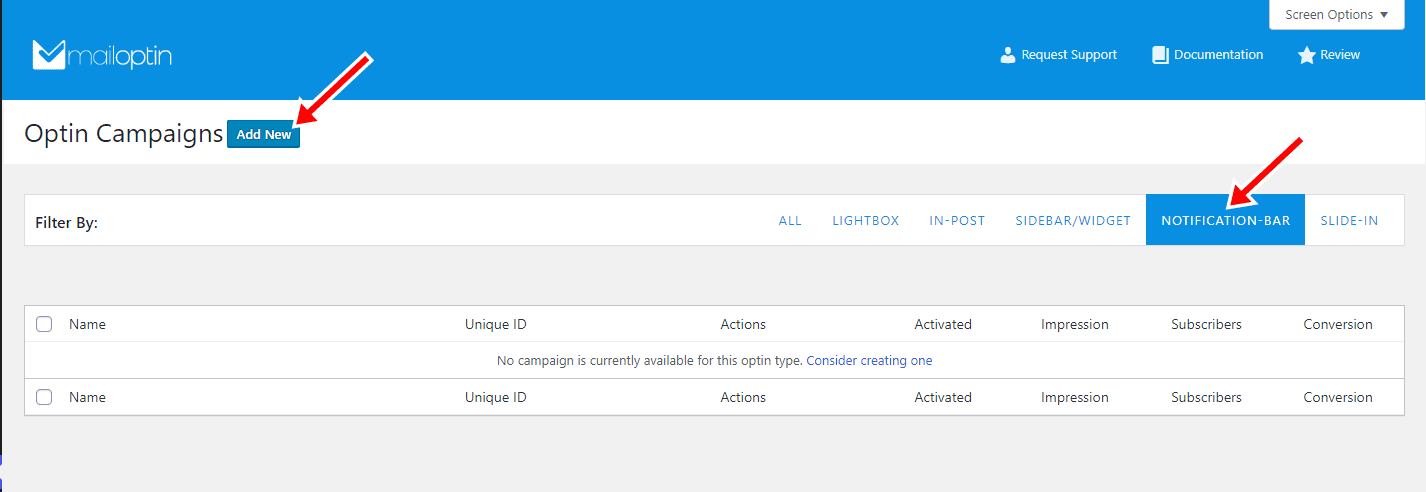
Then, click the notification bar tab. Next, click the ‘Add New’ button at the top of the page.
Following that, you will be presented with a field where you can input a name for your notification bar. This can be a name you choose, such as ‘Announcement’ or any other name. Then, select the theme you want to use.
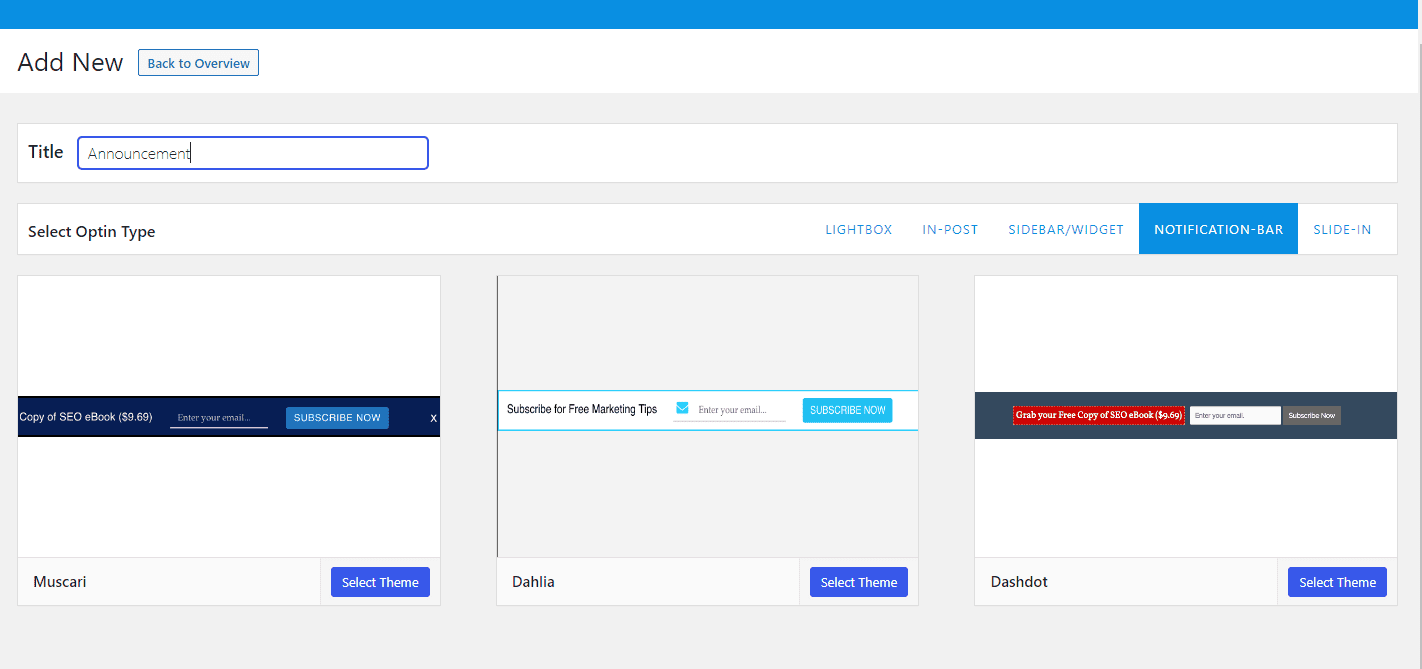
For this guide, we’ll use the Muscari theme, so click on the ‘Muscari Theme’, and you will be redirected to the builder page.
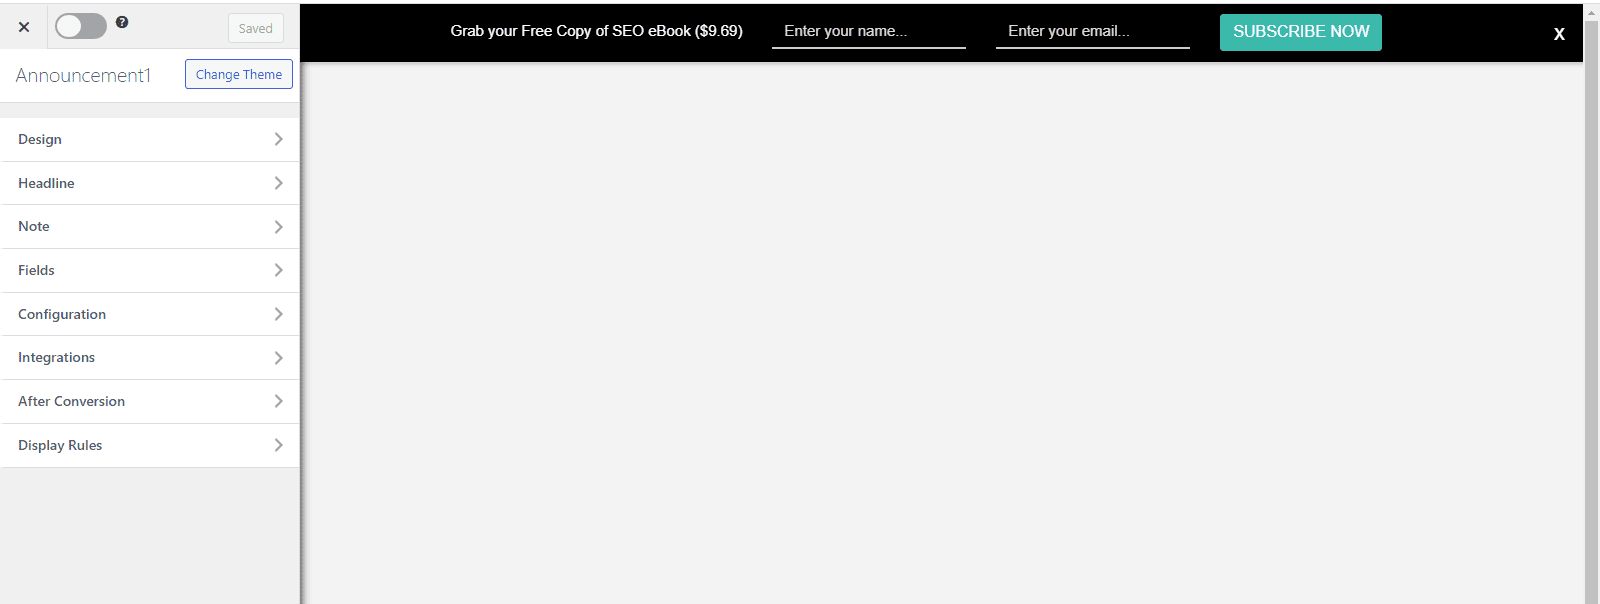
In this guide, we will edit the content of the notification bar and configure it to display at the top of your site’s Front Page, Archive, and Search Pages, along with a call-to-action (CTA) button.
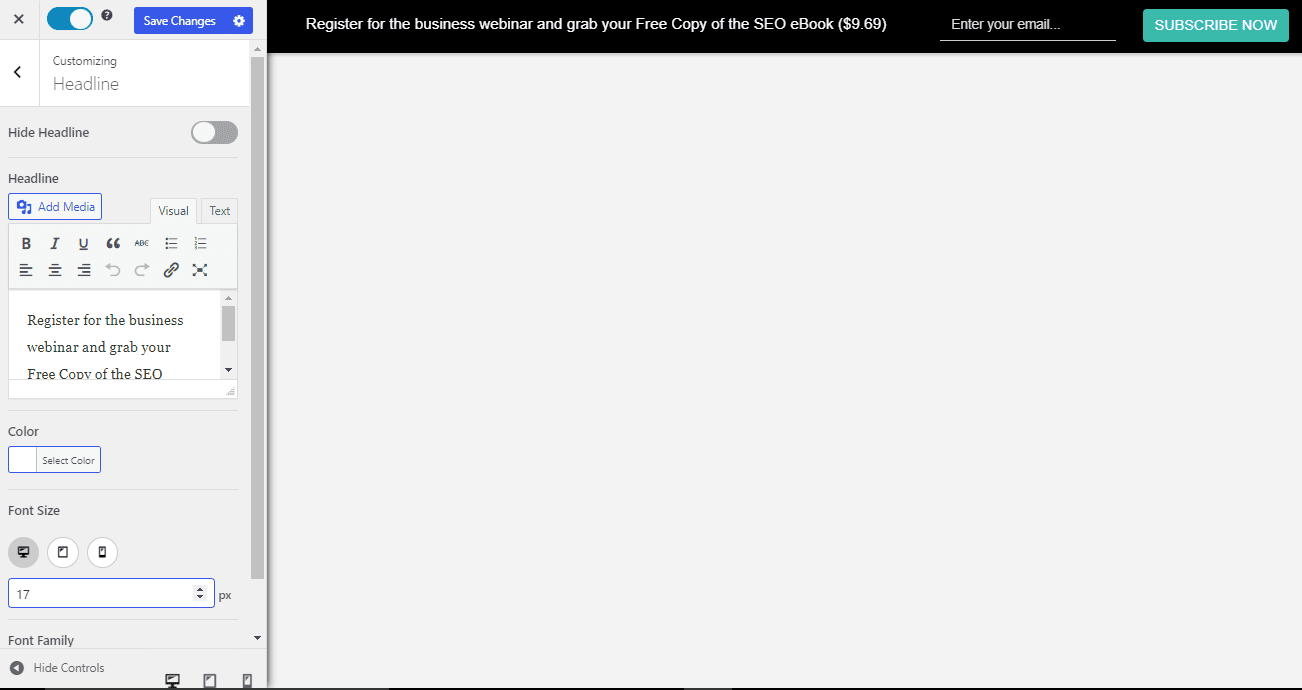
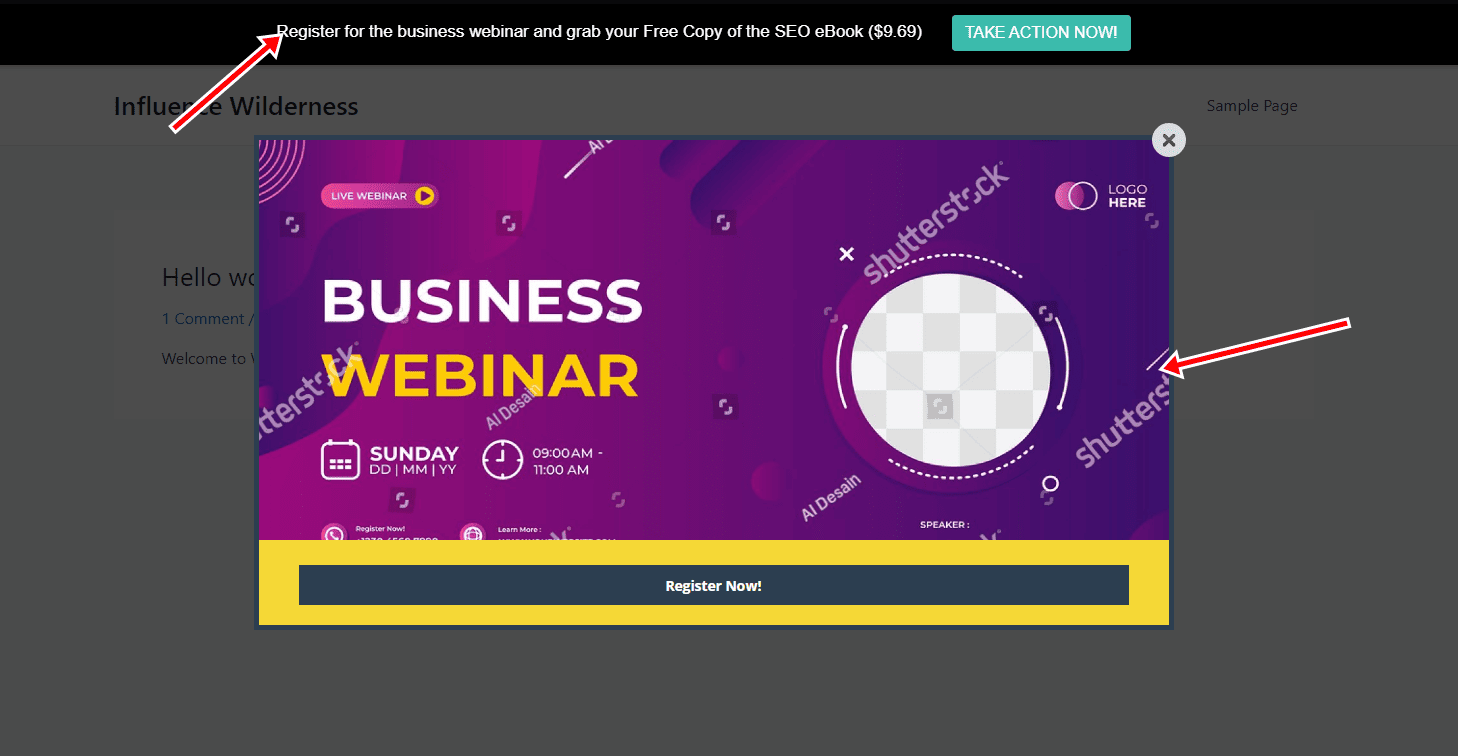
To edit the content, navigate to the headline section of the builder and insert the text: ‘Register for the business webinar and grab your Free Copy of the SEO eBook ($9.69)’.
Set the color to white and the font size to 17px.
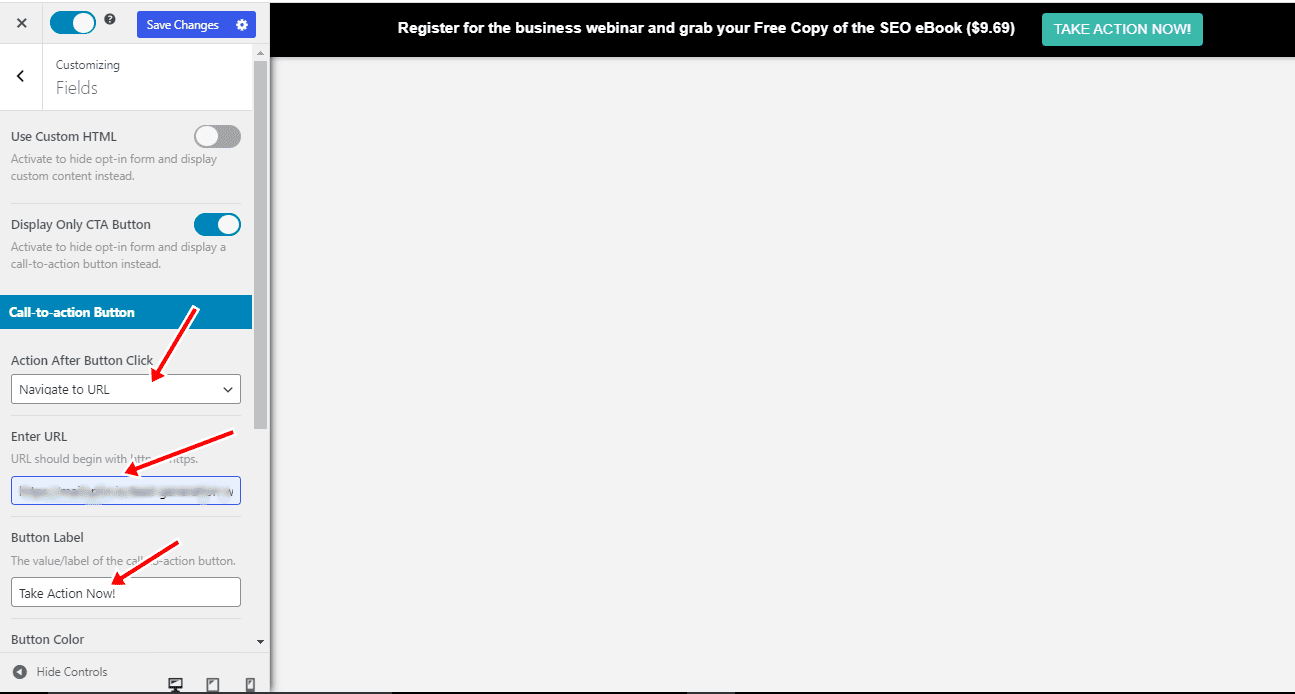
Next, click ‘Fields’ and enable ‘Display Only CTA Button,’ which reveals several controls, such as button actions and options to customize the button to your heart’s content.
Actions are available when the call-to-action button is clicked. They are ‘Navigate to URL,’ ‘Reveal Optin Form,’ ‘Close Optin,’ and ‘Close Optin and Reload Page.

For this example, we will use the ‘Navigate to URL’ option to direct visitors, readers, or users to another web page. This is where they can register for the business seminar and receive the free ebook.
To accomplish this, you can just choose the ‘Navigate to URL’ option and enter the URL in the displayed tab.
Next, name the button. For this example, we are naming the button ‘Take Action Now!’
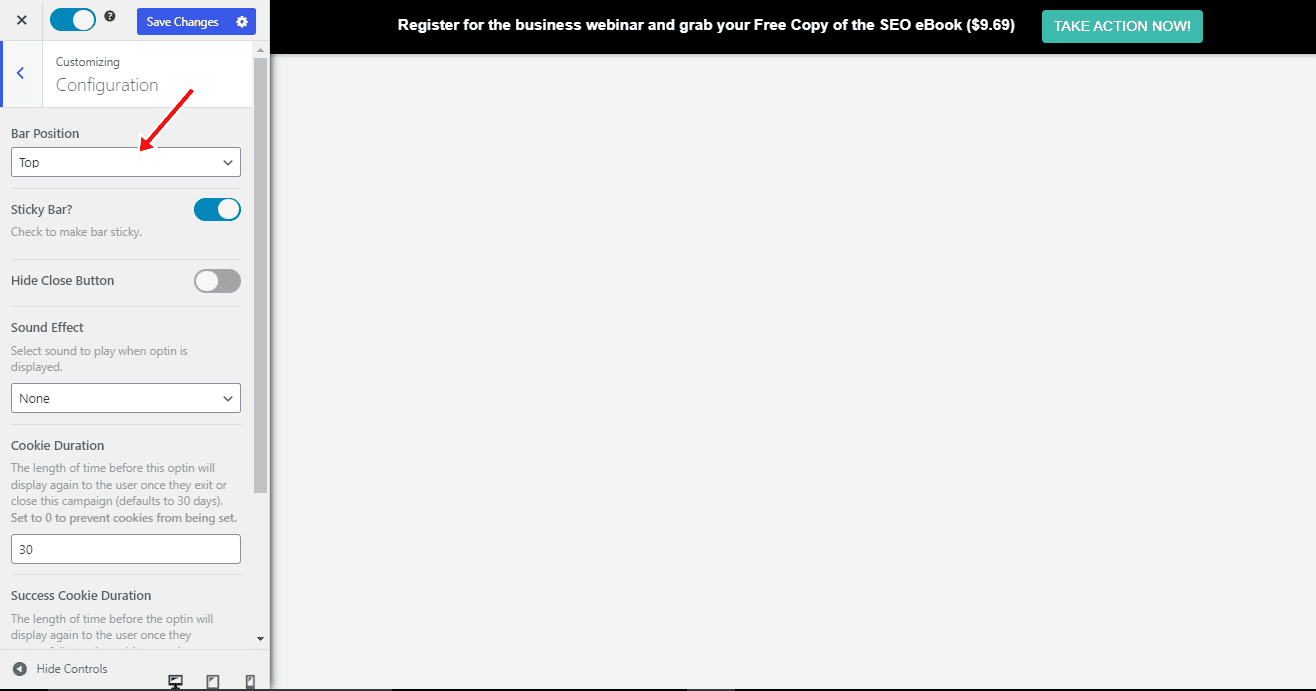
Next, navigate to the configuration section and set the bar position to ‘top.’ Additionally, explore other customization options in this section, such as sound effects, cookie duration, etc.
The next step is to move to the display rule section and select ‘page targeting.’ Then, enable the rule that allows the notification bar to be displayed on the Front Page, Archive, and Search Pages.
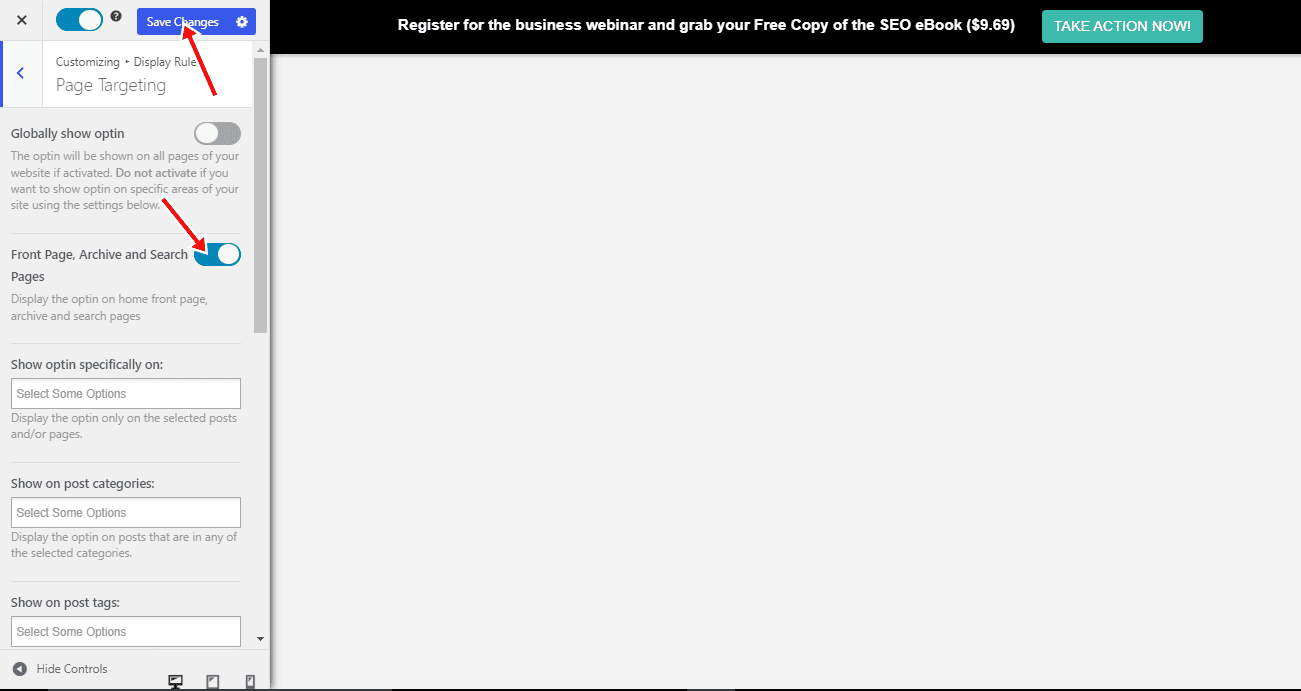
Save the changes, and there you have it: This announcement will be displayed at the top of your WordPress site’s Front Page, Archive, and Search Pages.
Using LightBox to Display Announcements
If you wish for your announcement to pop up on any page of your website, you can achieve that by using Mailoptin Lightbox. To use MailOptin Lightbox features, go to ‘MailOptin’ in your WordPress dashboard and navigate to the ‘Optin Campaigns’ section.
Then, click the Add New button at the top of the page.
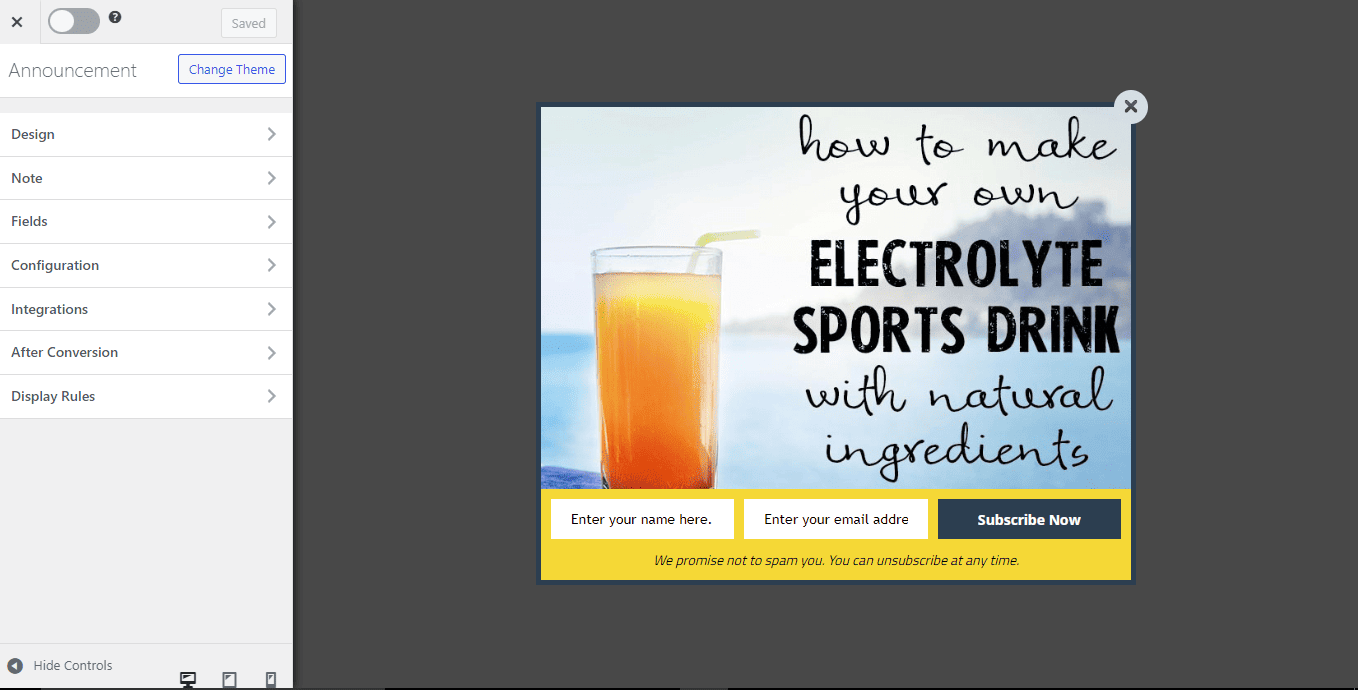
Following that, you will be presented with a field where you can input a name for your Lightbox. This can be a name of your choice, such as “Announcement” or any other name that aligns with the purpose or message of the form. Then select the Lightbox optin type.
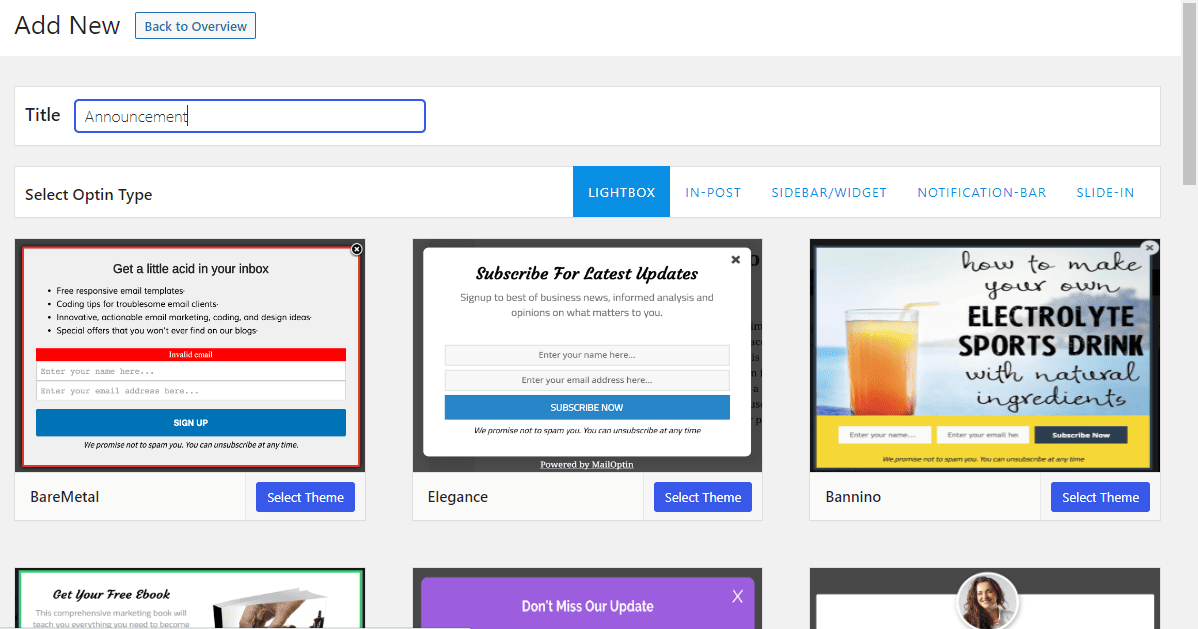
MailOptin has various pre-designed lightbox themes you can browse through and choose from. These themes are professionally designed to look nice and enhance the user experience, effectively capturing the attention of your website visitors.
Click on the lightbox theme you desire to use, and you will be redirected to the form builder.
For this guide, we’ll use the Bannino theme, so click on the Bannino theme.
In this section, we will create an announcement about a webinar that will appear on every page of your website 10 seconds after the page loads. It will include a call to action button (CTA) that encourages your website visitors and users to take immediate action.
First, we will go to the design section and insert the e-card for the webinar. In the design section, click on ‘Select Image.

After inserting the image, you can adjust the option width, display effect, and other features within the design section.
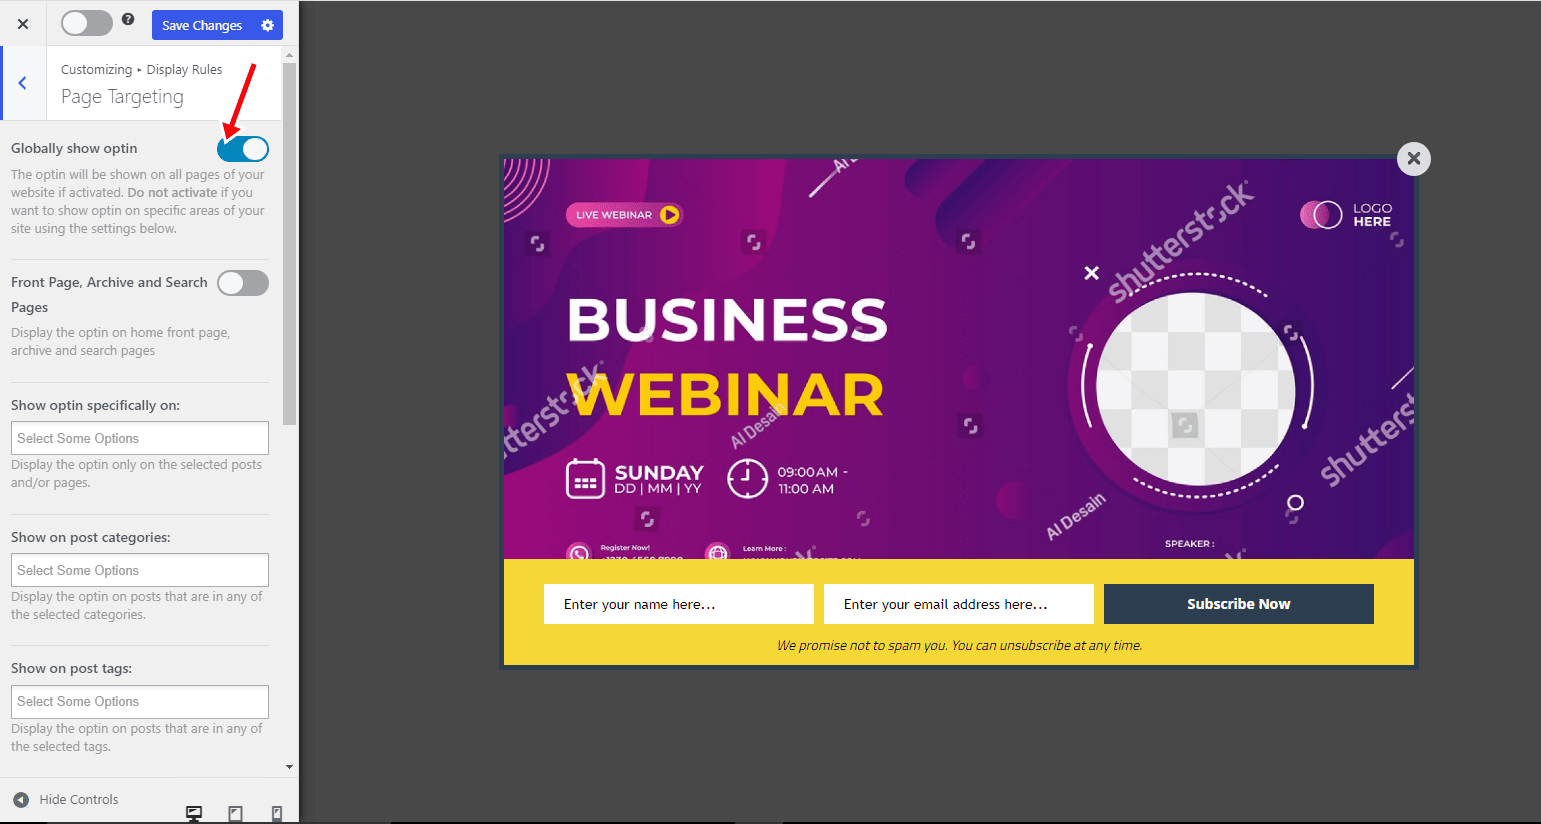
The next step is to enable ‘Globally show Optin,’ which will allow the announcement to be displayed on all pages of your website.
To do this, navigate to the display rule section, click on page targeting, and activate the ‘Globally show Optin’ option.
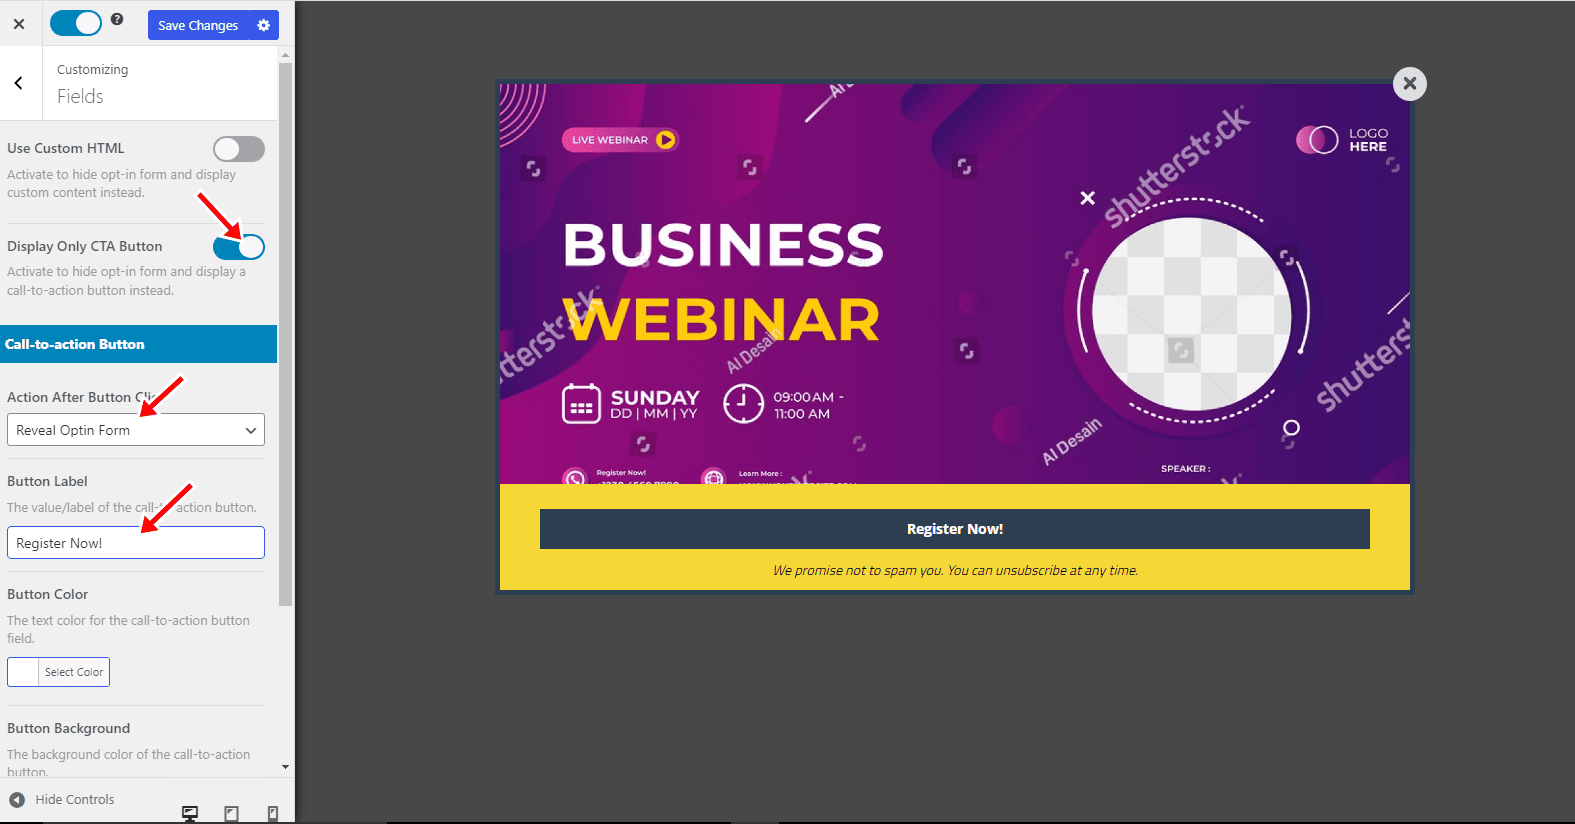
Next, we need to set up our call-to-action button. To do this, navigate to the Fields section and enable the ‘Display Only CTA Button.’
Actions become available when the call-to-action button is clicked. These actions include ‘Navigate to URL,’ ‘Reveal Optin Form,’ ‘Close Optin,’ and ‘Close Optin and Reload Page.’
For this guide, we will use the ‘Reveal Optin Form’ option.
After that, name the button. In this example, we are naming the button ‘Register Now!’.
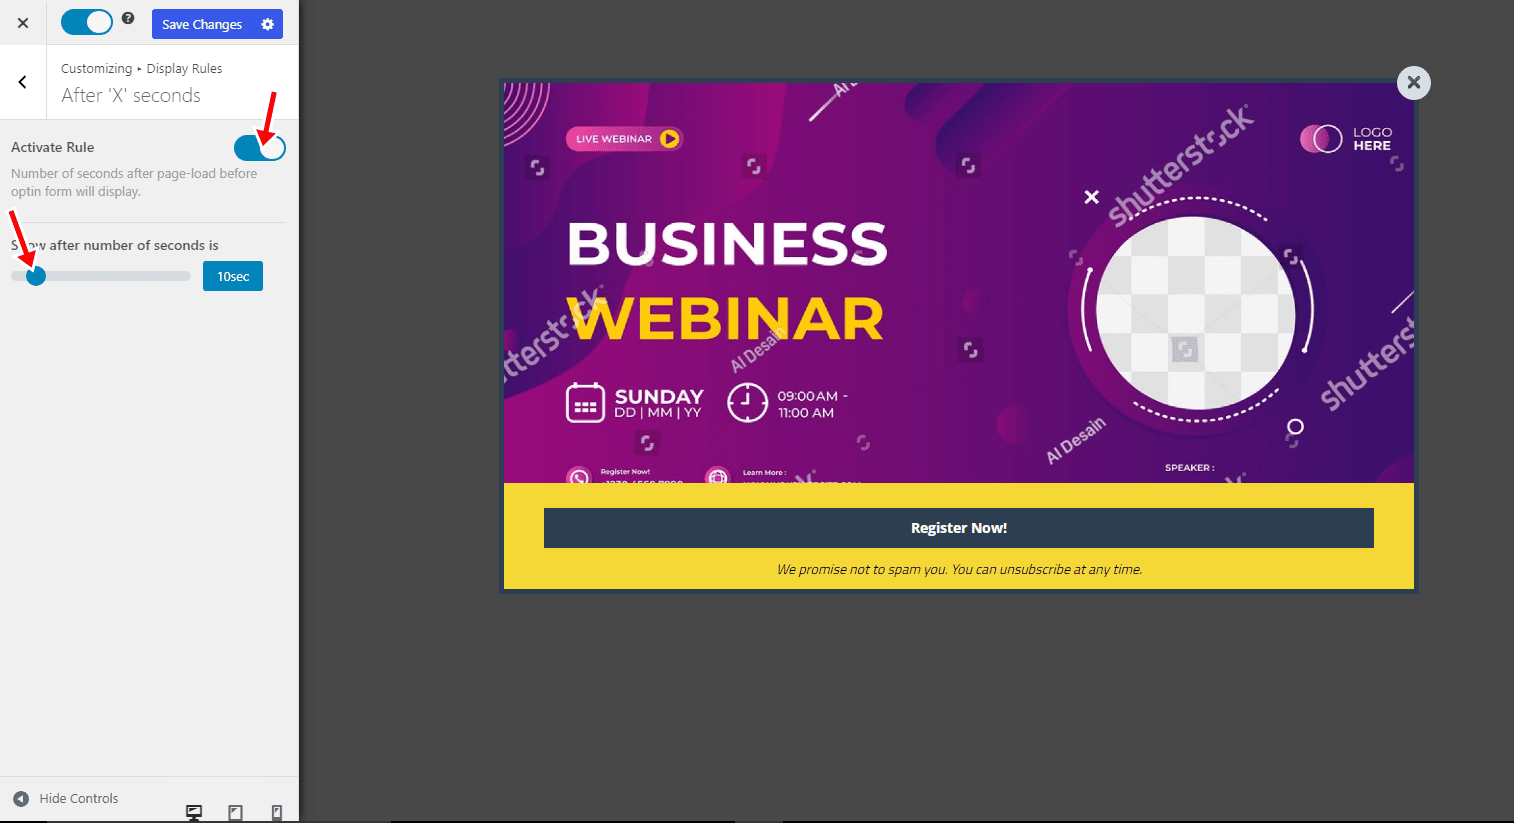
Lastly, we need to activate the rule that will cause our announcement to be displayed 10 seconds after any page loads.
To do this, navigate to the display rule section and click the “After ‘X’ seconds” option. When the new tab opens up, turn on the rule first, then set the time to 10 seconds.
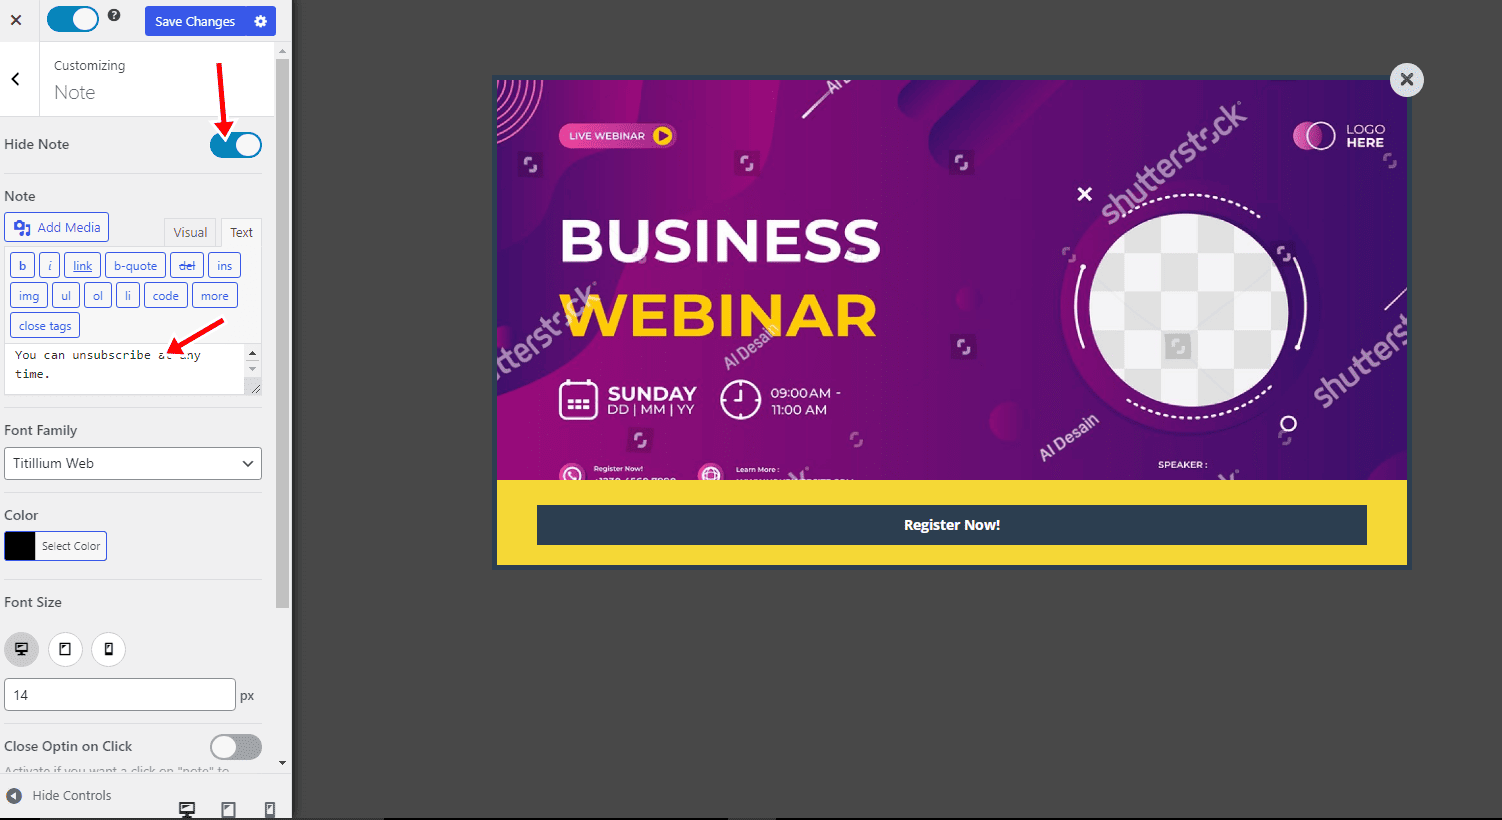
In case you’d like to edit the note below the announcement that says, ‘We promise not to spam you. You can unsubscribe at any time.’ or remove it.
Navigate to the note section and hide the note or edit its contents.
Save the changes, and there you have it. This will display the announcement on all your website pages 10 seconds after a visitor loads any page.
Below is a sample of how the notification bar and the Lightbox announcement will look on your WordPress website.
Conclusion
Effectively conveying important information to your audience is crucial for the success of your WordPress website, and MailOptin offers a powerful solution for achieving just that. Following the step-by-step guide outlined in this article, you can effectively display announcements that captivate your visitors’ attention and drive engagement.
The key lies in balancing visibility and user experience, whether through eye-catching Lightbox displays or notification bars. Remember to keep your audience’s preferences in mind, regularly update your announcements to keep them relevant, and use the wide range of features and customization options MailOptin offers.
With these strategies, you can captivate your visitors, drive conversions, and create a vibrant and informed online community through your WordPress website announcements.
Embrace the potential of MailOptin. Get it now!