How to Create a Coupon Popup in WordPress
Do you want to create a Coupon popup in WordPress? If yes, you are in the right place.
A coupon popup is a great way to advertise your deals and discounts to your website visitors and convert them into paying customers.
Everyone loves a good deal, and according to statistics, 94% of people use coupons, and 38% buy more than they intended because they have a coupon. Among frequent coupon shoppers, 83% had coupons affect their purchasing behavior.
As a business owner that wants more sales, offering coupons is a great way to convert abandoning visitors into customers. Many times, your customers are sitting on the fence, thinking if they could get a better deal somewhere else, but you can help them make up their minds by offering them a discount coupon. This will encourage them to purchase because it makes the purchase more enticing and a value for their money.
Most eCommerce platforms or software like WooCommerce and ProfilePress allow you to create coupon codes, but they do not usually provide a way to share these coupon codes with your customers, and that is where we will need some help.
This article will look at how to intelligently share coupons with your site visitors using popups and exit intent technology.
How to Create a Coupon Popup in WordPress
One of the best ways to create a coupon popup on your WordPress site is MailOptin. MailOptin is the best WordPress popup and lead generation plugin for WordPress. It enables you to create, customize, and showcase professional opt-in boxes on your WordPress site. It is straightforward to use and comes loaded with many useful features.
With MailOptin, you can design beautiful and responsive popups with ease. It has a user-friendly interface, and many customizable templates will make your popups easy to build and elegant.
The sections below cover a step-by-step process for creating a WordPress coupon popup that popups across your website and on exit intent.
1. How to Install and activate the MailOptin plugin
The first step in this process is to install the MailOptin plugin, which can be done from your WordPress dashboard.
You will need to purchase a MailOptin License and install the MailOptin plugin. To do that, head to the pricing page to purchase a suitable license plan.
After purchasing your copy of the MailOptin, you will receive a confirmation email with a link to download the plugin zip file and your license key. You can also download the plugin from your account page on the MailOptin website.
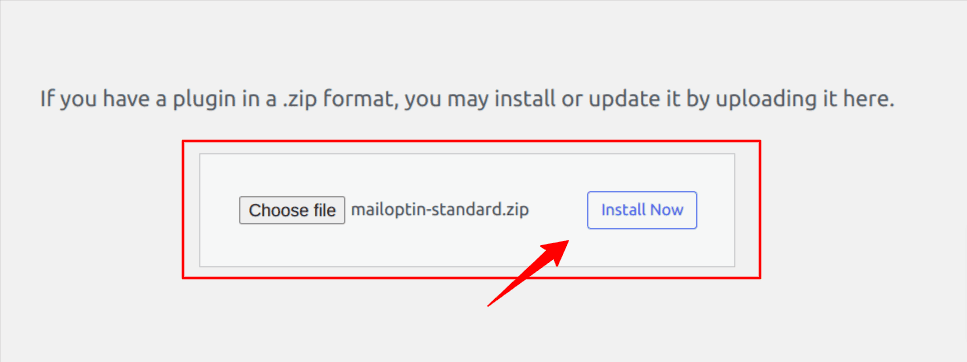
Once you have downloaded the plugin, login to your WordPress admin dashboard, and navigate to the Plugins page; click on the “Add New” button and click “Upload Plugin“. Upload the zip file and install and activate the plugin on your WordPress site.
Next, you can activate the plugin by providing the license key previously sent to your email.
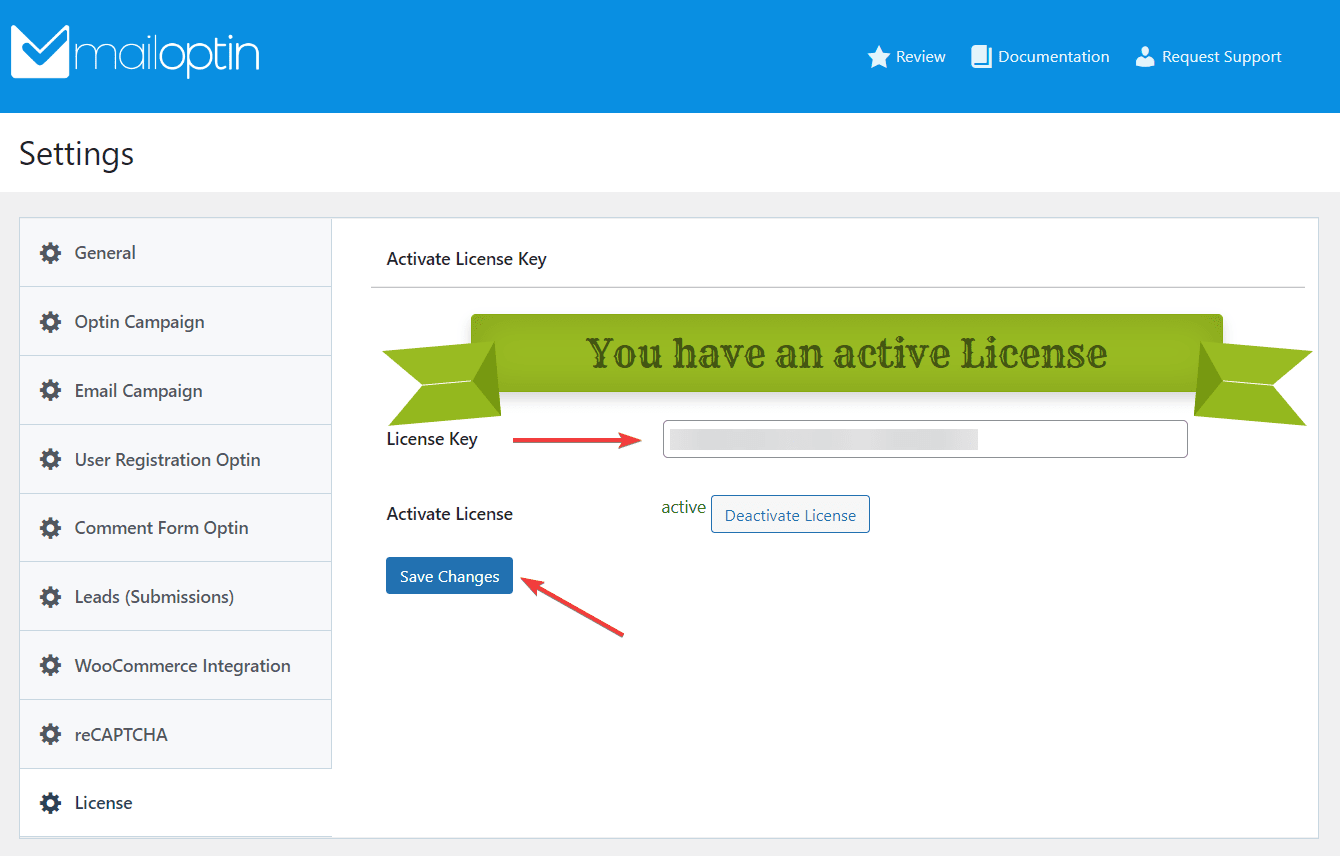
Once the plugin is activated, we can create coupon popups.
2. Create a Coupon Popup Campaign
To create our coupon popup, we will use the lightbox popups in MailOptin. Lightbox Popups are one of the popular subscription forms that grab your website visitors’ complete attention and convert them into subscribers.
Instead of displaying a subscription form on our lightbox, we will show our site visitors a coupon code so they can complete their purchase and take advantage of the discount.
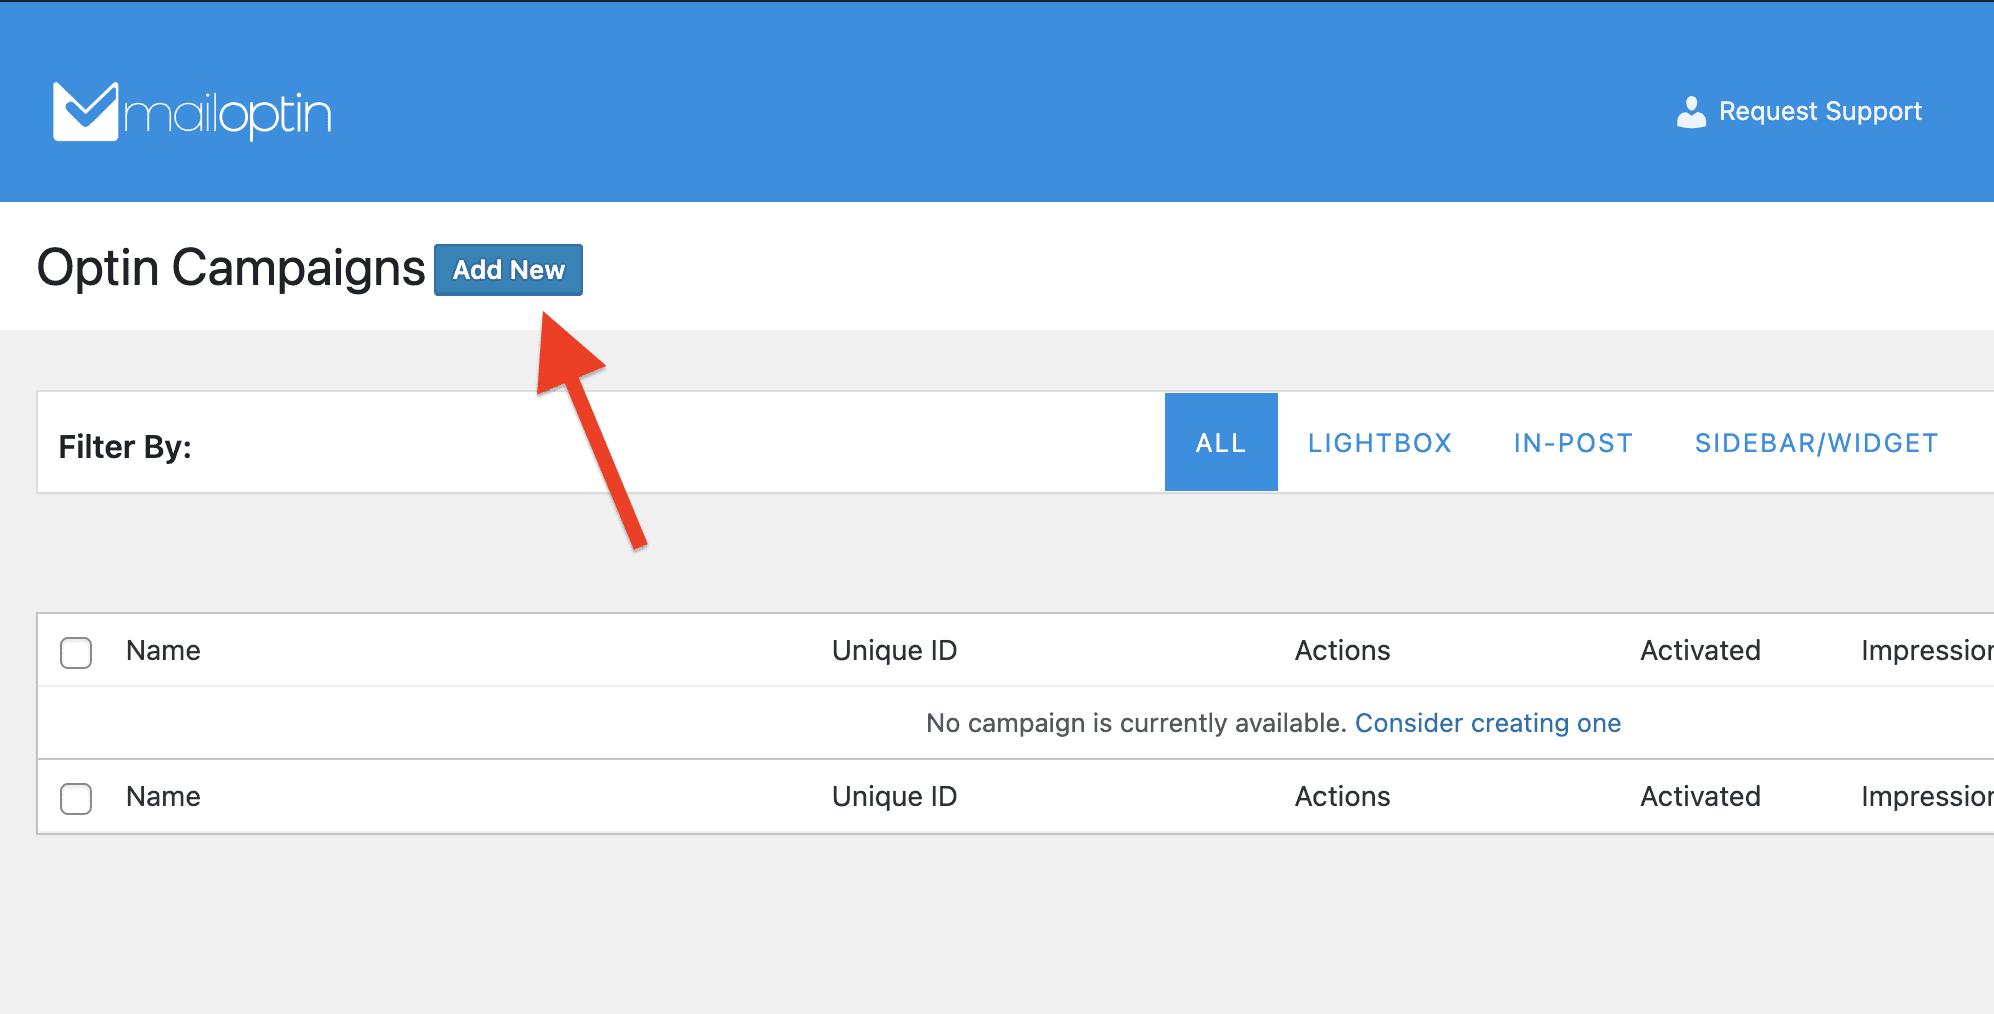
To add a coupon popup, go to MailOptin > Optin Campaigns from your WordPress dashboard and click the “Add New” button.
On the next screen, enter a name for the campaign. Next, select Lightbox as the campaign type.

Next, you will be required to choose a template. I recommend that you scroll down until you find a template named “Promo” and select it. The “Promo” template is perfect for creating a coupon popup, but you can choose any other templates since they can all be easily modified.
Once you select a desired template, you will be taken to the form builder page, where you can customize the lightbox popup.
3. Designing Your Coupon Popup
Designing your coupon popup is very easy when using MailOptin. You can easily modify every element on the popup from the side panel on the popup form builder page.

We’ll go through each option in the sidebar step by step.
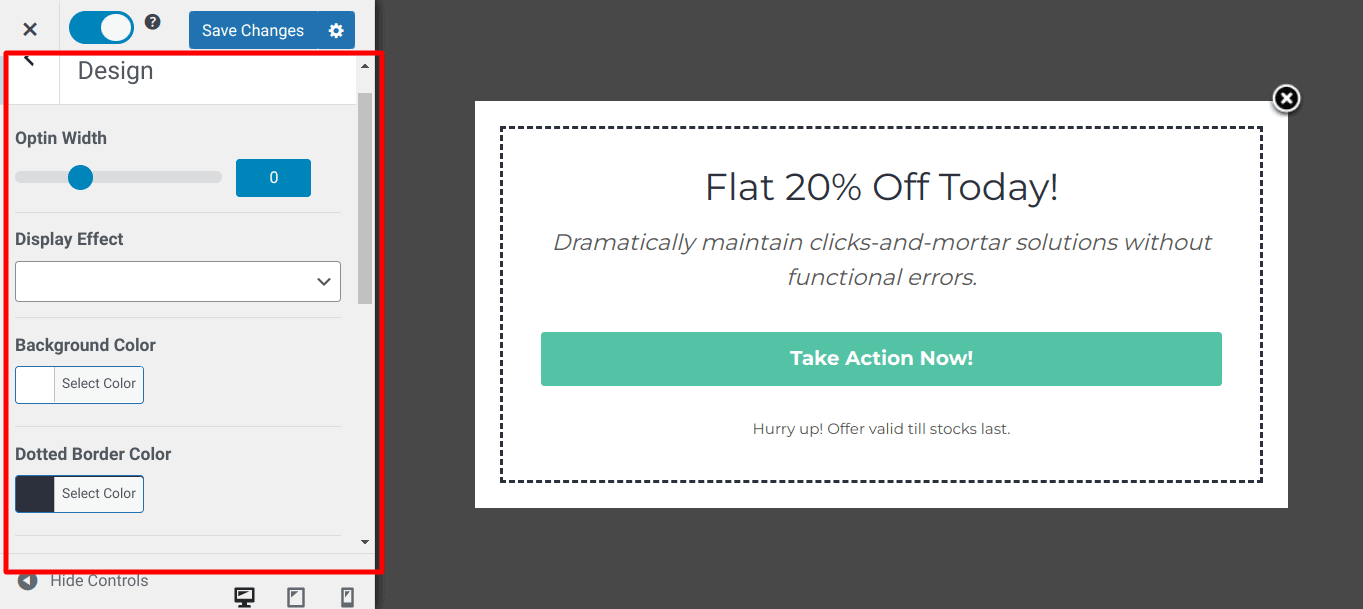
Design
The design section allows you to change the background and the general look and feel of the form, and you can also animations and custom CSS as shown in the image below:
Headline
The headline section allows you to change and customize the headline as you see fit.
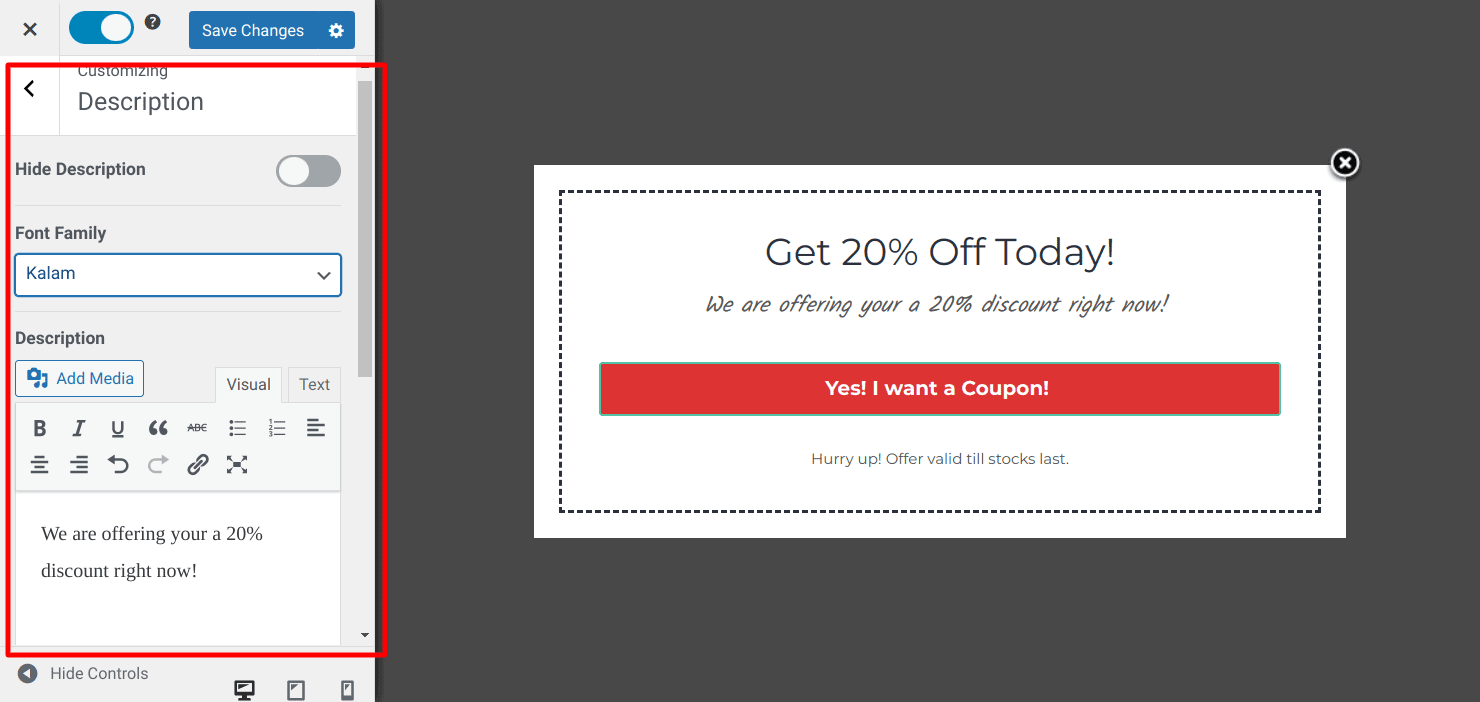
Description and Note
Like the headline section, the description and note section allows you to customize them— change the text, color, font family, and font size of the Note and description. You can even hide them if you don’t want them to show up.

Fields
By default, the form template comes with the name and email address. You can remove or add more fields by clicking on the form or the “Fields” option at the left sidebar.
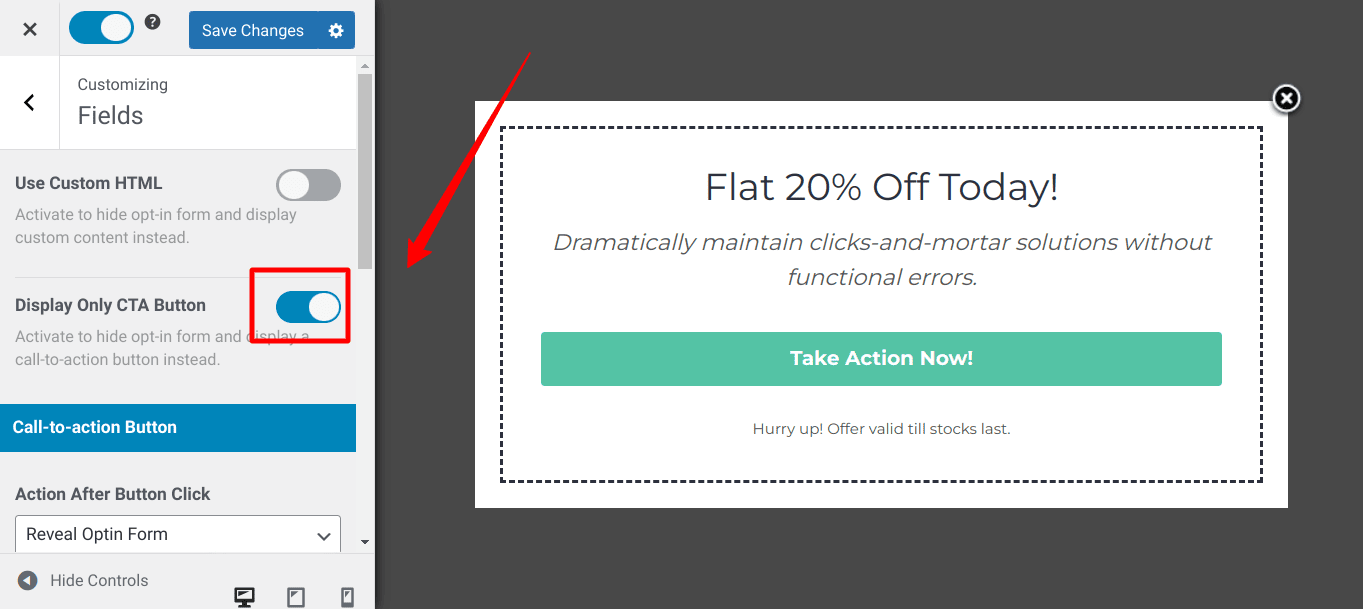
You can change everything about the form when you click the Fields option. From disabling any form fields, changing the background color of your call-to-action, or even using your own Custom HTML.
For example, to show a CTA button, you can toggle the Display only CTA button, as shown below:
Configuration
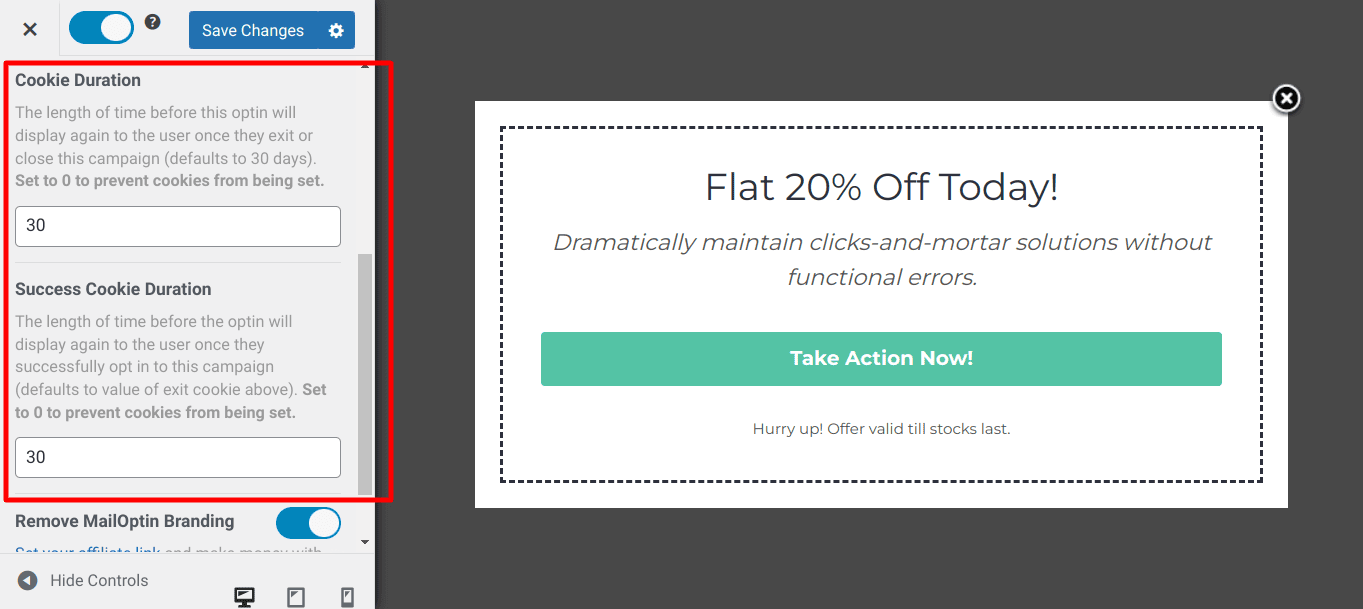
In the configuration section, you can define various standard configurations. For instance, you can set a specific sound that will play when the popup is displayed if you’d like.

You can specify when the popup reappears after the user leaves the page or subscribes to the newsletter. And finally, you get also to set what happens when users click the overlay. These settings offer flexibility and control over the popup’s behavior.
You can also click on any element of the design to edit it. Once you click on any element, the customization options will appear on the side panel.
If you look at the design below, you will discover that it differs from the previous designs in this article. This is because I have customized it to my liking. You can do the same by clicking on each element on the popup design.
Once you finish your design, don’t forget to click the “Save Changes” button at the top of the side panel.
4. Displaying Your Coupon Popup
After you have completed your coupon popup design, the next important thing is to configure when and how this popup is displayed to your website visitors, and this brings us to the display rule section of the MailOptin popup builder page.
The display rules section has even many settings that allow you to control the behavior of the popup. It’s focused on users’ actions, like what happens when the user is about to leave the page— exit intent, what happens if the user has Adblocker on or scrolls down to the bottom of the page, and so on.
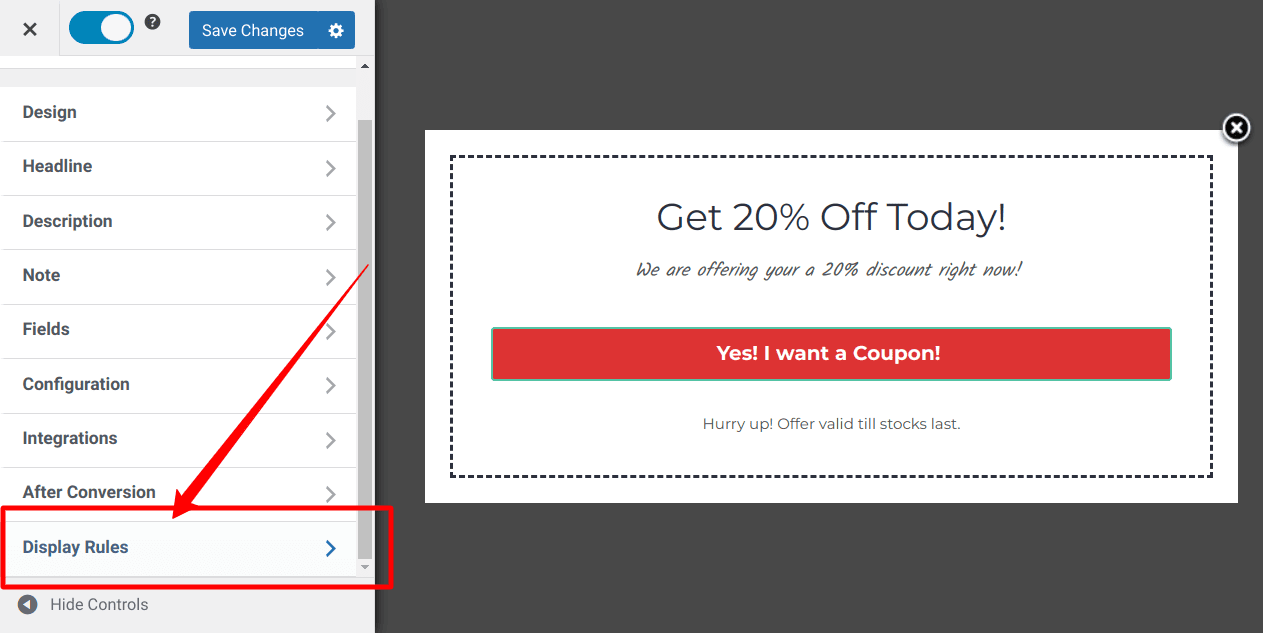
If you click on the Display Rules tab, you’ll see something that looks like so:

Interestingly the titles are very descriptive. They do exactly what they say. Now that we have the coupon campaign all setup, let’s look at how to activate the form.
Go to the “Display Rules” to configure where and how your coupon popup should be displayed. Various targeting levels are available at your disposal, such as Page targeting, Device targeting, Exit intent, cookie targeting, and more! MailOptin has a lot of options for you.
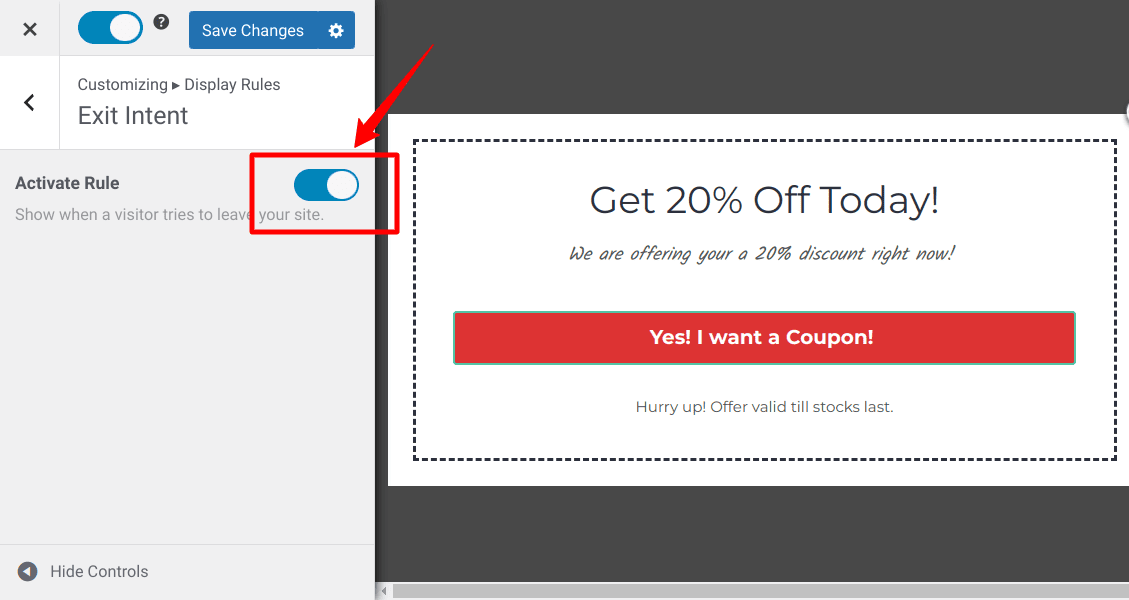
How to Setup Exit Intent Coupon Popup
MailOptin Exit Intent or Exit Detection trigger allows you to display your Coupon popup campaign at the exact moment a user is leaving your website. It works by tracking the user’s mouse position and triggering the optin campaign as the mouse approaches the top of the browser window, which indicates they intend to leave your site.
Click the “Exit Intent” option from the side panel and toggle the “Activate Rule” button. Click the “Save Changes” button, and your popup will appear whenever a visitor tries to exit your website.
How to show Coupon Popups on WooCommerce Pages
MailOptin also allows you to target WooCommerce pages for your popups. This will enable you to show a discount to your customers at a specific point during their purchasing process.
Open the Display rule panel and click on “WooCommerce Conditions” to configure where your coupon popup will be displayed.

That’s it. You have successfully created a coupon popup and also configured display rules for your popup.
Conclusion
Creating a coupon popup on your WordPress site is not rocket science. You can quickly create beautiful and intelligent coupon popups with MailOptin and drive more sales on your website.
Depending on your goals, you can have a coupon code popup at specific time intervals, like 3 minutes; this would have given your website visitors enough time to look around and add products to their cart.
If you’d like a more intelligent coupon popup setup, you can look into the WooCommerce conditions options in the display rules. These conditions will give you more control and allow you to show coupons after specific actions like Products in the cart or Cart total.