Setup WordPress New Post Notification To Mailgun Mailing List
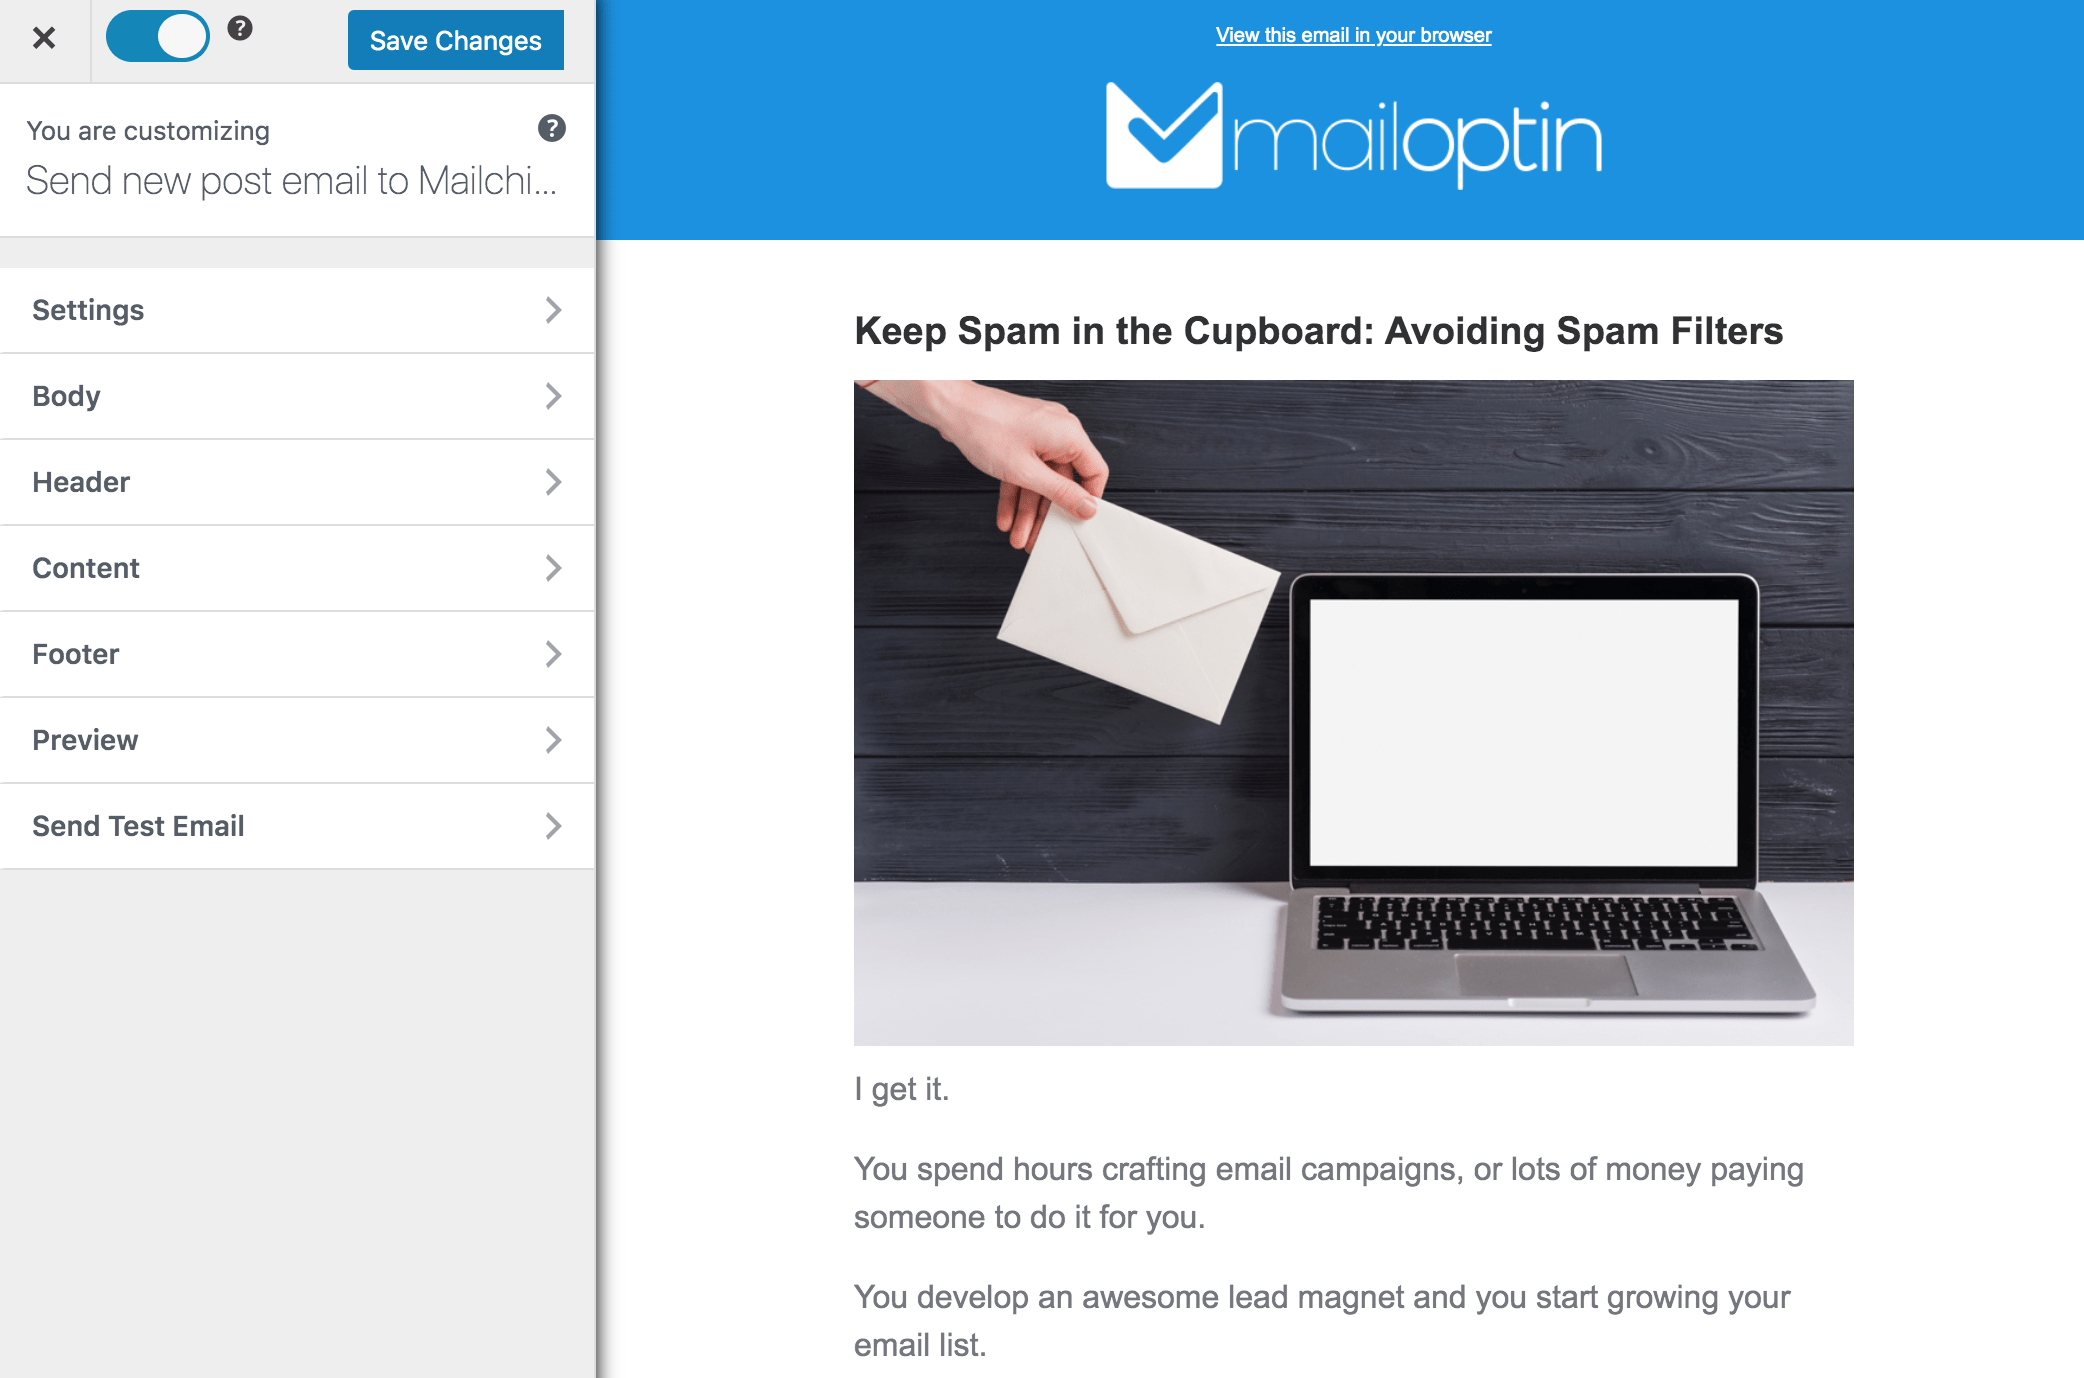
Do you want to automatically send WordPress new post notifications to your Mailgun mailing list?
Keeping your audience informed about your latest content is crucial for maintaining engagement and driving traffic to your site. Whether you’re running a blog, news site, or any content-driven platform, timely notifications can significantly boost readership and ensure your subscribers never miss an update.
In this tutorial, you’ll learn how to set up WordPress new post notifications using the MailOptin plugin so your Mailgun mailing list is always in the loop.
Step 1: Install and Activate MailOptin
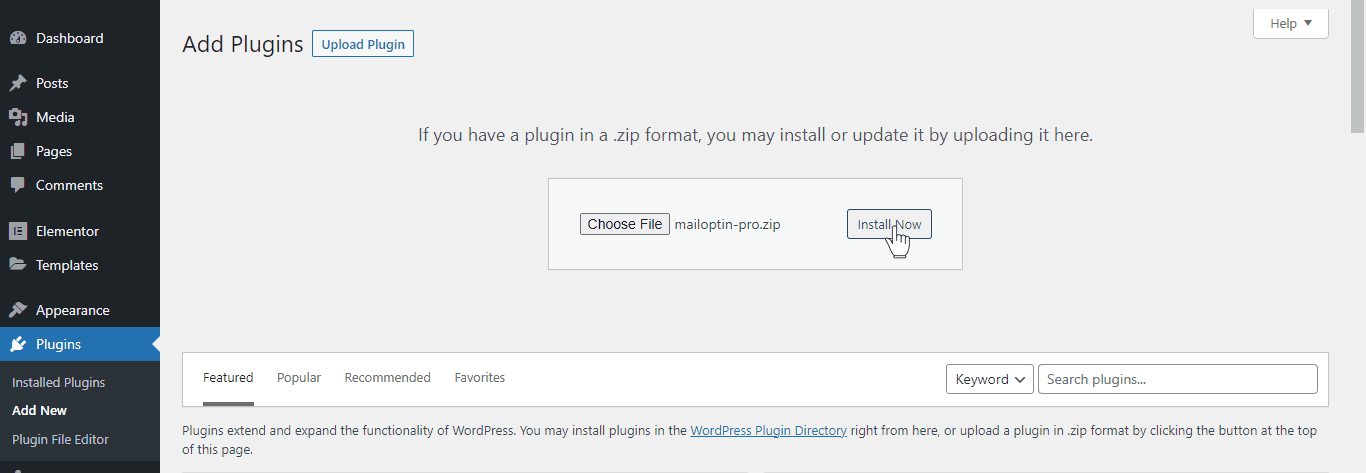
To set up new post notifications automation in WordPress, first purchase a MailOptin license. Next, log in to your WordPress admin dashboard, go to the Plugins page, click the Add New button and Upload Plugin.
Then, click Choose File to select the downloaded plugin zip file. Click Install Now. After installing the plugin, activate it by clicking ‘Activate Plugin’.
Step 2: Connect WordPress to Mailgun via MailOptin
After installing the MailOptin plugin, the next is to connect MailOptin to your Mailgun account.
To do this, log in to your Mailgun account. Click the top-right menu and select API Security.
On the API Security page, click the “Add new key” button, add a description for the API key you want to create, and submit the form.
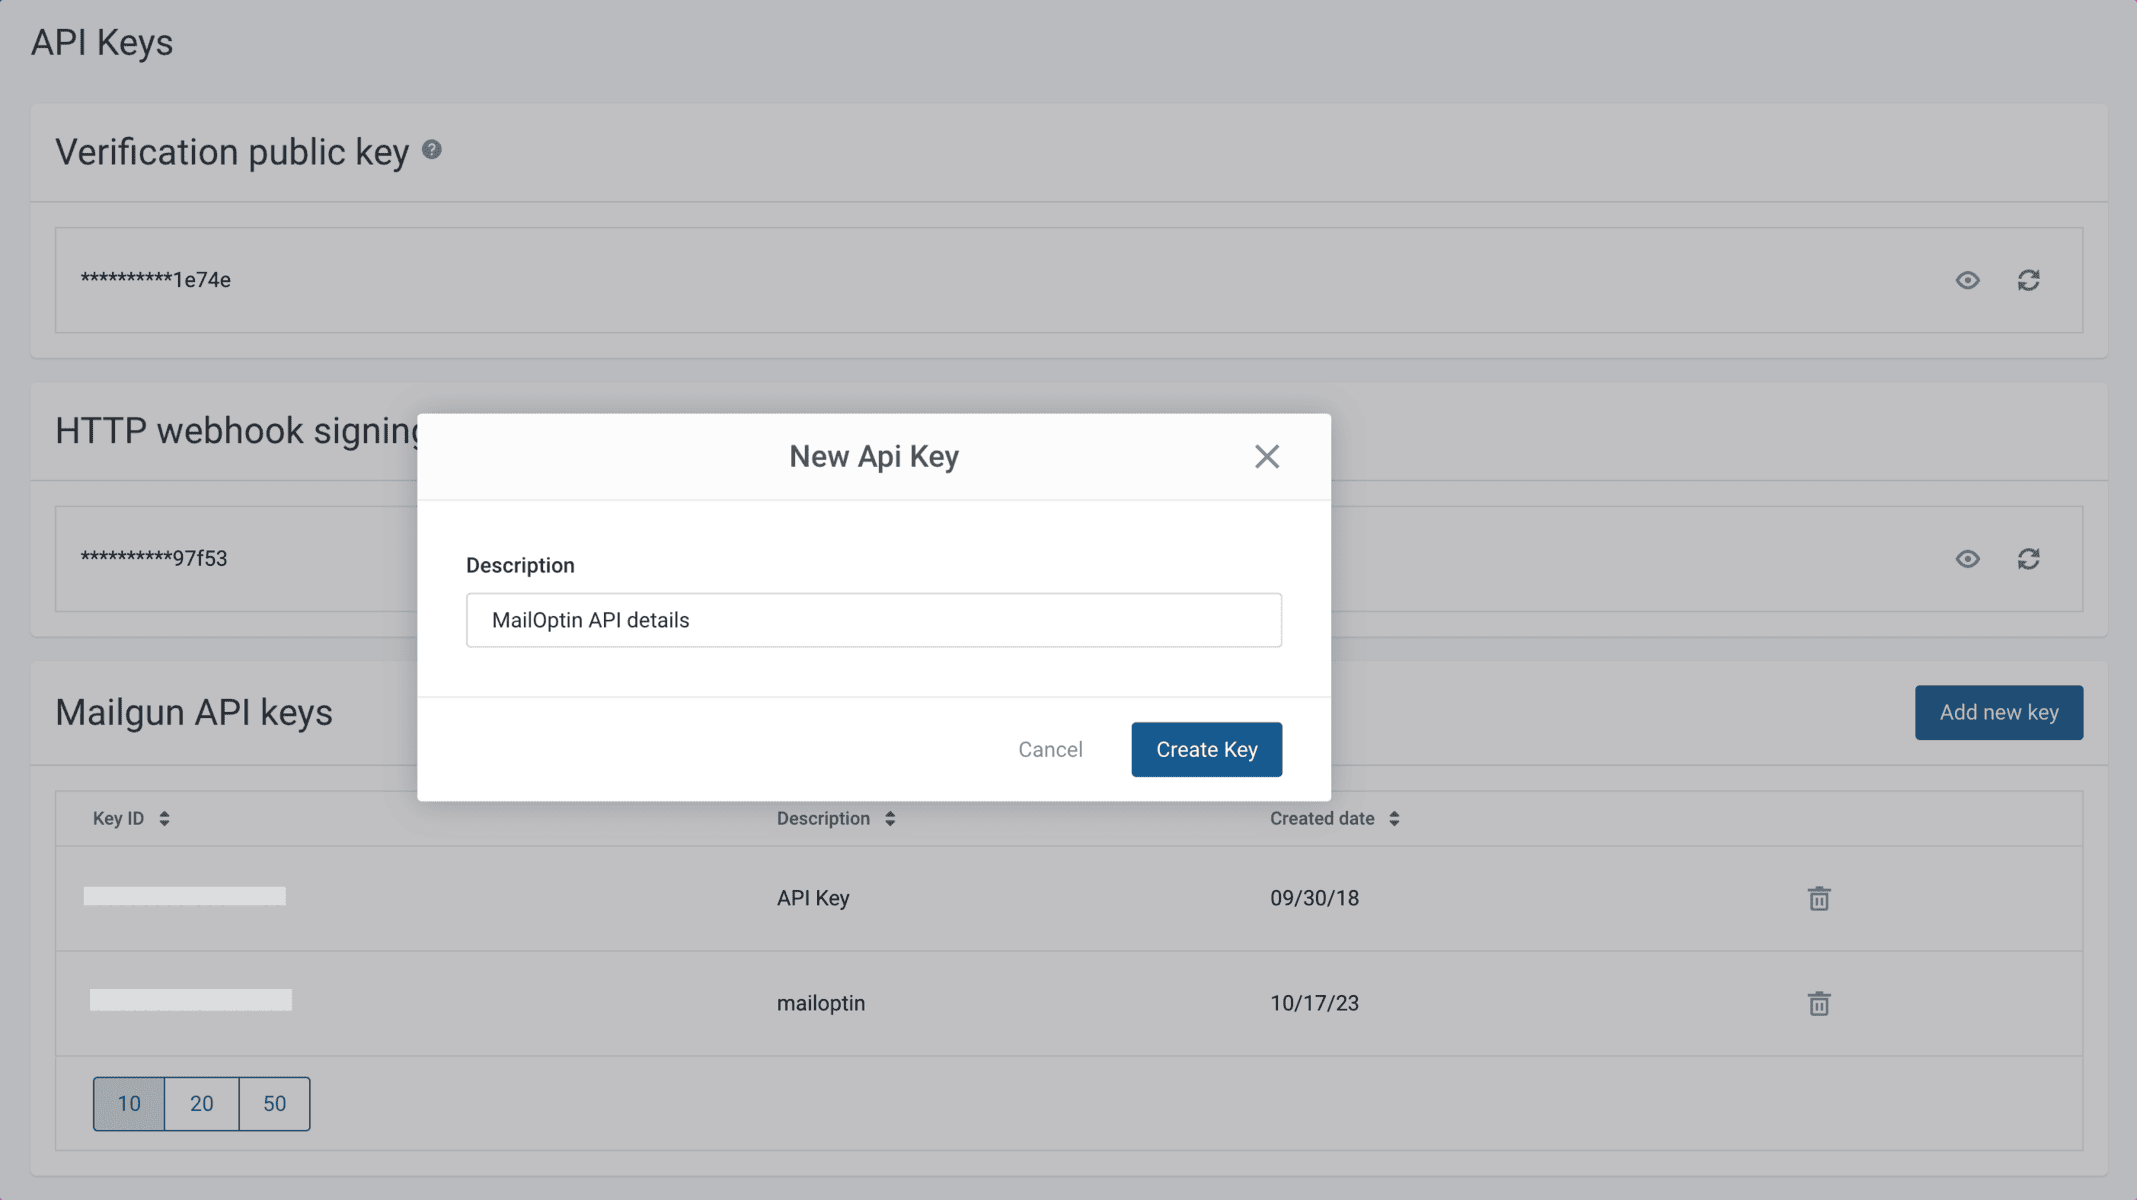
The generated API key will be displayed. Be sure to copy and save it securely, as you’ll need it later.
Next, go to your WordPress dashboard and navigate to MailOptin > Integrations. Then, open the Mailgun Connection section and enter the API key you created, the domain (found in the Mailgun dashboard under Sending > Domains), and the domain region.
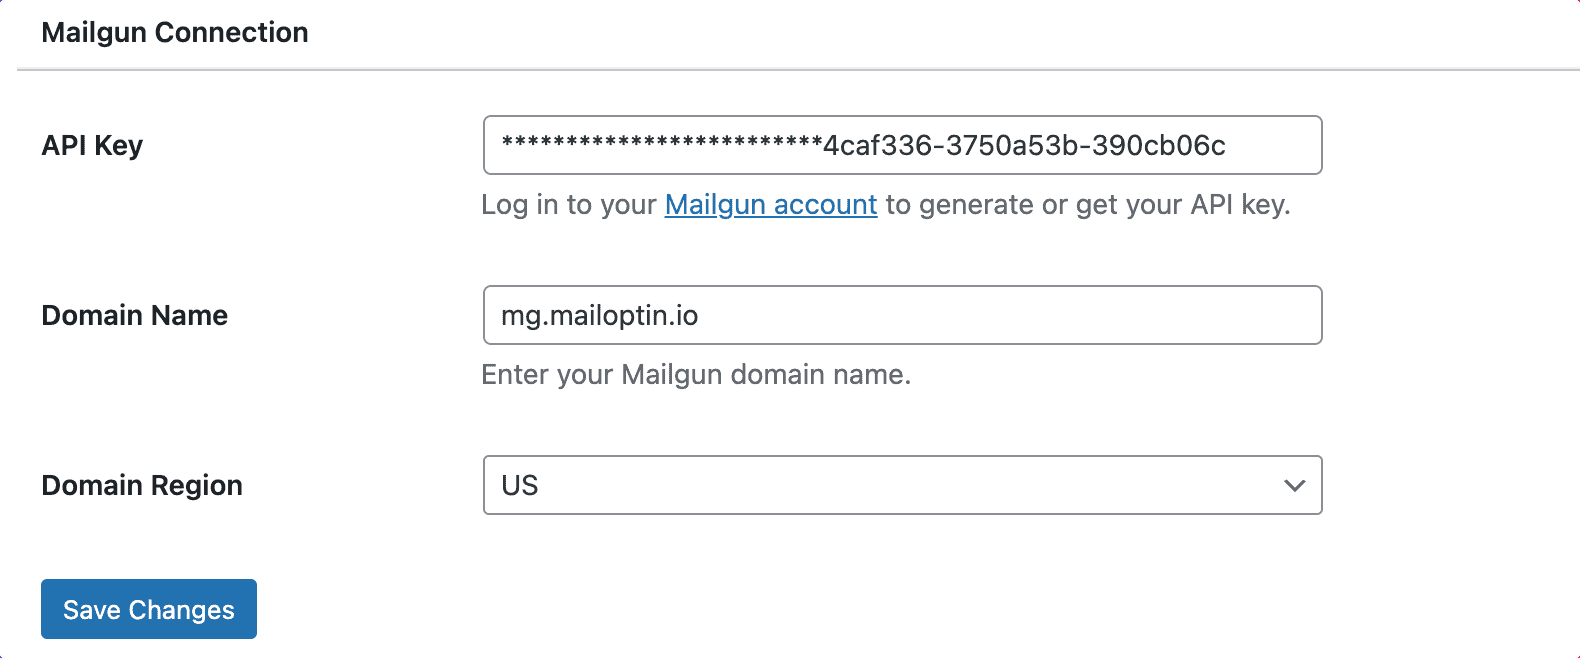
Finally, hit the “Save Changes” button.
Step 3: Create the WordPress New Post Notification to Mailgun Automation
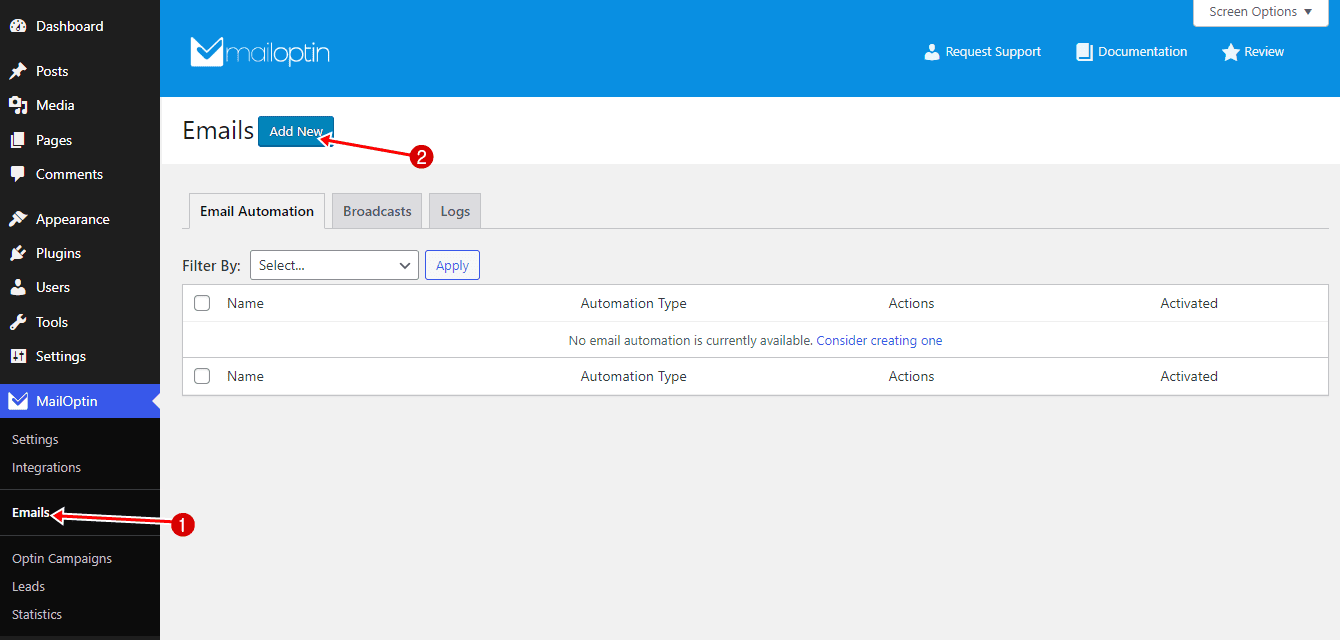
To set up the email automation that automatically emails your Mailgun mailing lists whenever a new post is published, go to MailOptin >Email > Add New.
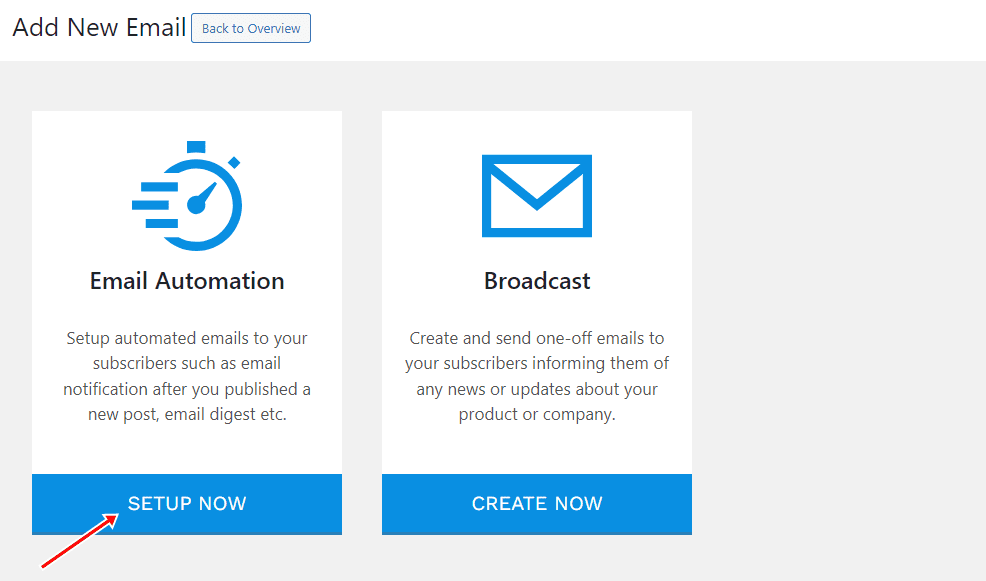
Locate the Email Automation card and click the Setup Now button below.
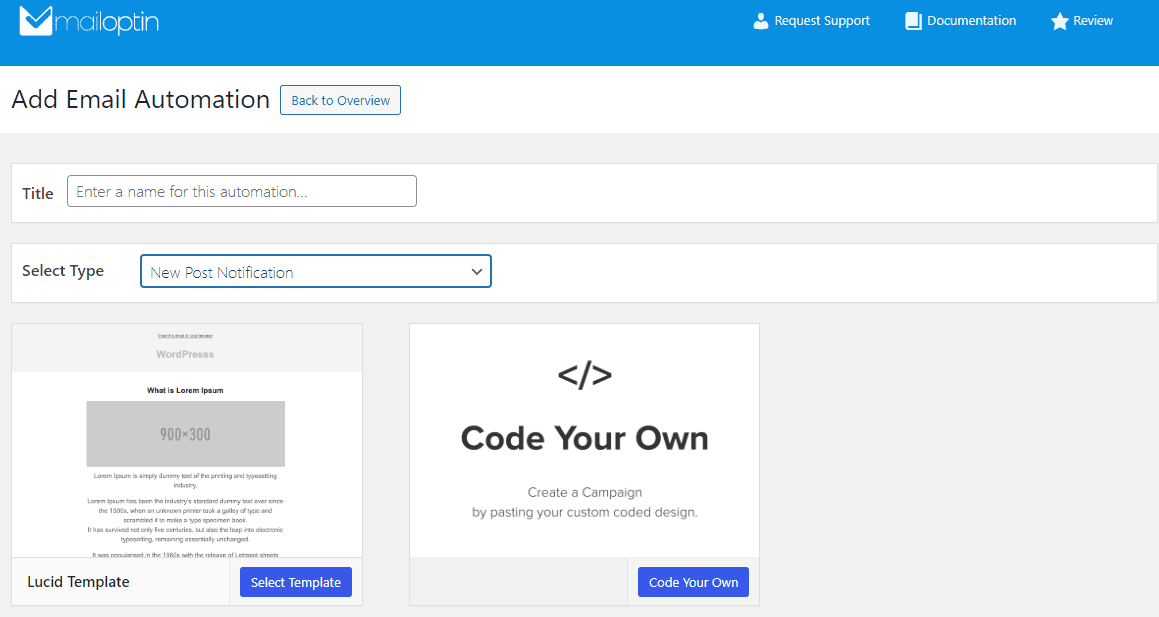
Enter your “Automation Title” and “Select Automation Type”> “New Post Notification”> Select Template.
Here’s how to use your own custom email template.
After selecting your template, you will be taken to the email customizer page, where you can configure the automation settings, template page, template header, template content, and even send a test email to your email address.

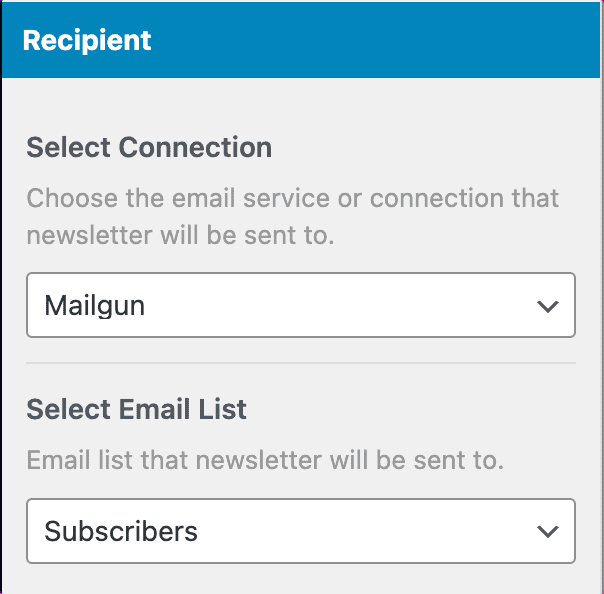
For this process to work without issues, click the “Campaign/Automation Settings” and select Mailgun as your connection.
Then, select a specific email list to which the new post newsletters will be sent. You can also decide to send the newsletters immediately after posting by checking “Send immediately” or scheduling it to be sent minutes, hours, or days after publication.
You can create as many automations as you want to be sent to a different email list based on the categories and tags the post belongs to.
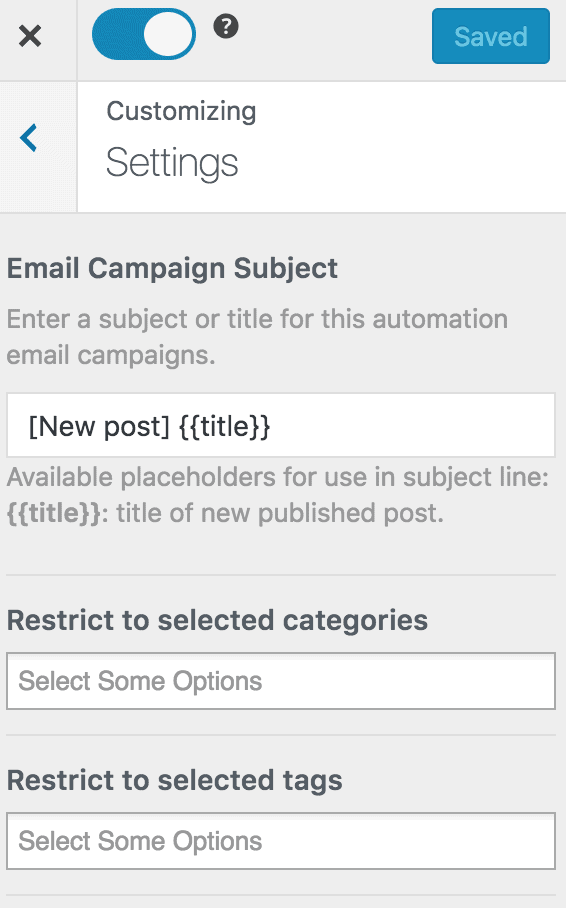
When you are done setting up your new automation campaign, remember to activate it by clicking on the activation switch at the top of the page.
Finally, click the Save Changes button to save your new automation campaign.
![]()
When MailOptin sends a new post newsletter to your list, you will see the record in Mailgun.
Now that you’ve learned how to set up WordPress new post notifications to your Mailgun list using MailOptin, it’s time to implement this knowledge and supercharge your content distribution strategy, save time, boost engagement, and keep your audience returning for more.
Follow the steps outlined in this guide to start sending automatic notifications to your Mailgun mailing list today. Your readers will appreciate staying informed, and you’ll enjoy the benefits of increased traffic and engagement.
Let us know if you have any questions or comments.
