WordPress New Post Notification To VerticalResponse Email List
Do you want to automatically send WordPress new post notifications to your VerticalResponse Email List? Imagine effortlessly keeping your subscribers updated with your latest blog posts, driving traffic, and boosting engagement.
With MailOptin, you can achieve this effortlessly. This tutorial will walk you through the step-by-step process of setting up this powerful automation, from connecting your VerticalResponse account to setting up the WordPress new post automation.
Step 1: Install and Activate MailOptin
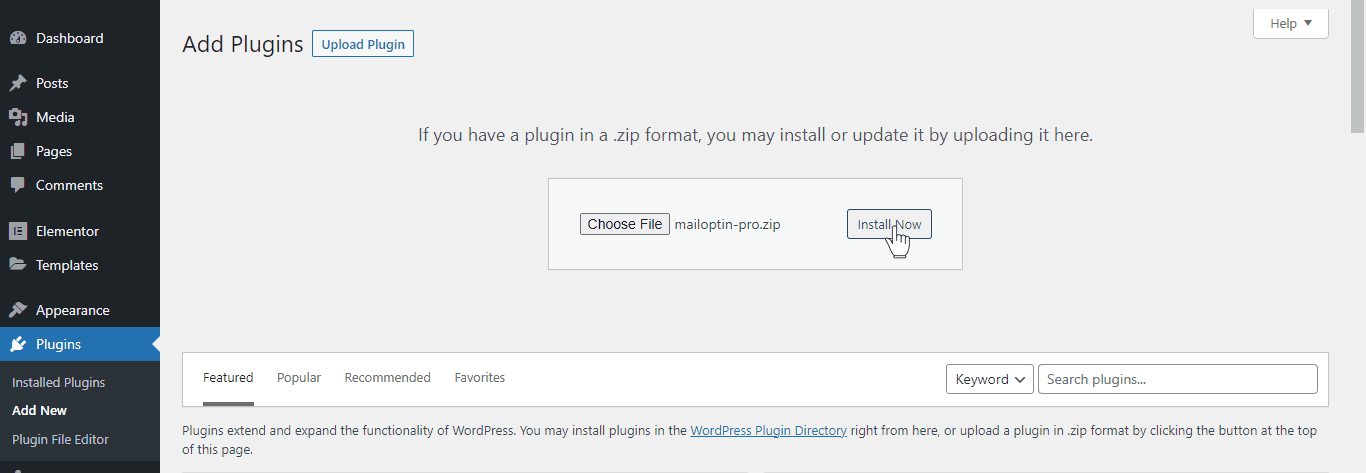
To set up new post notifications automation in WordPress, first purchase a MailOptin license. Next, log in to your WordPress admin dashboard, go to the Plugins page, click the Add New button and Upload Plugin.
Then, click Choose File to select the downloaded plugin zip file. Click Install Now. After installing the plugin, activate it by clicking ‘Activate Plugin’.
Step 2: Connect WordPress to AWeber via MailOptin
After installing the MailOptin plugin, the next is to connect MailOptin to your VerticalResponse account. To do this, go to the Integrations settings page by clicking the sidebar menu link or the top menu tabs.
Next, at the VerticalResponse Connection section, click the “Authorize” button.

You will be redirected to VerticalResponse’s website, where you will be required to log in before granting MailOptin access to your account.
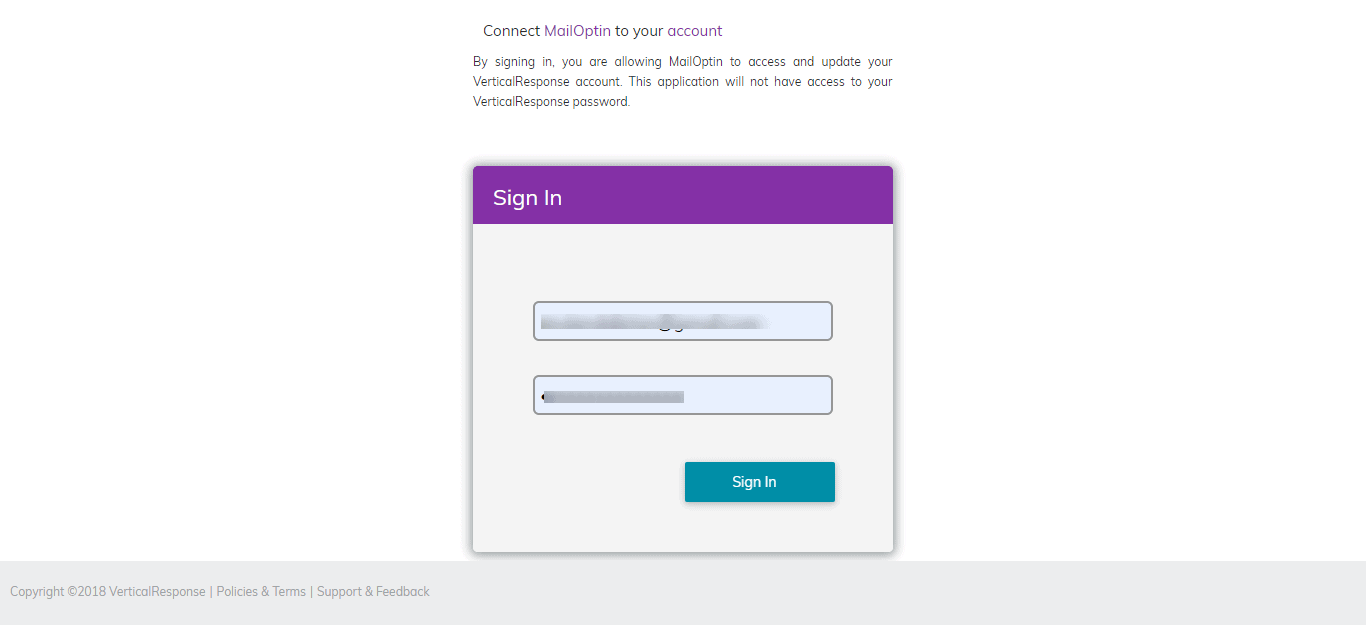
Enter your details to sign in to your VerticalResponse account.
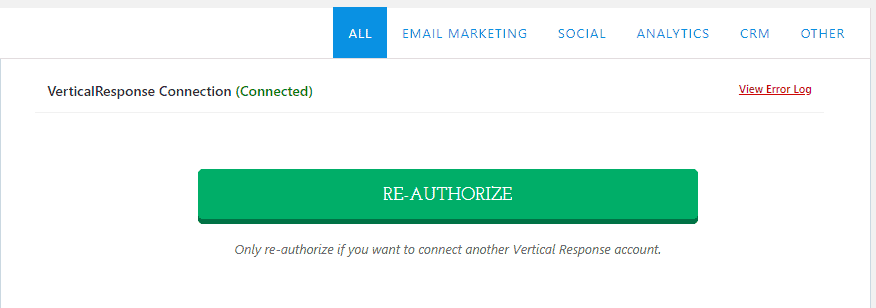
That’s all. MailOptin can now communicate with your VerticalResponse account.
Step 3: Create the WordPress New Post Notification to VerticalResponse Automation
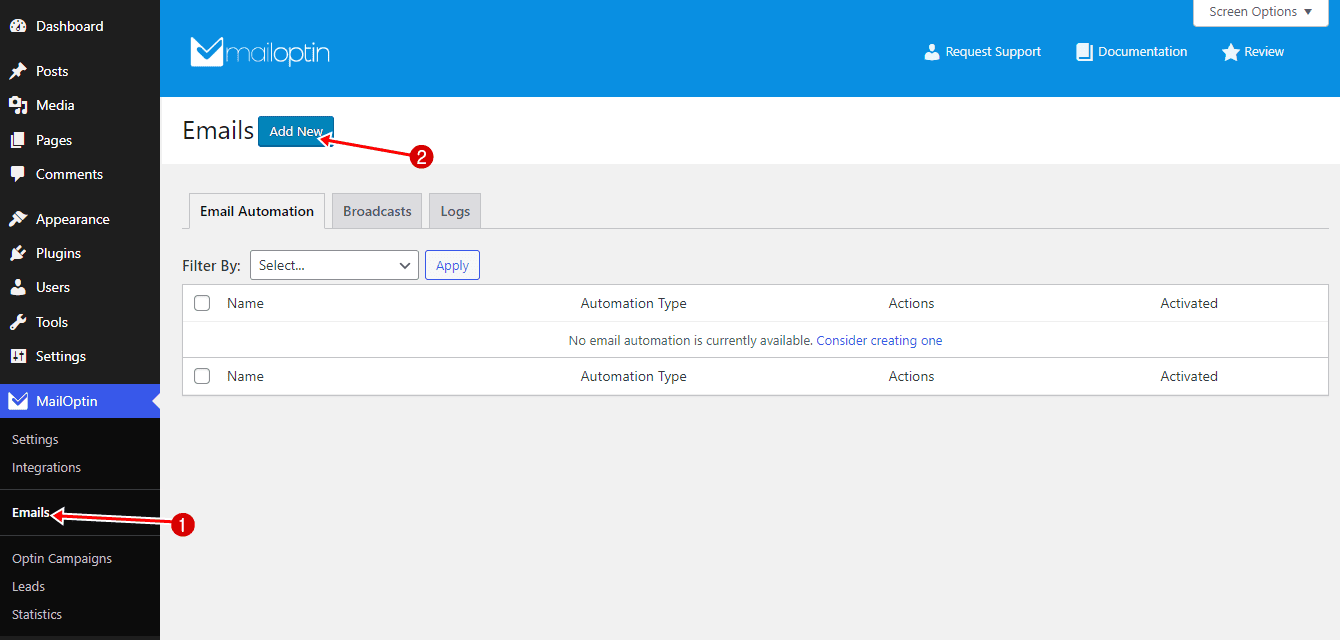
To set up the email automation that automatically emails your VerticalResponse list subscribers whenever a new post is published, go to MailOptin >Email > Add New.
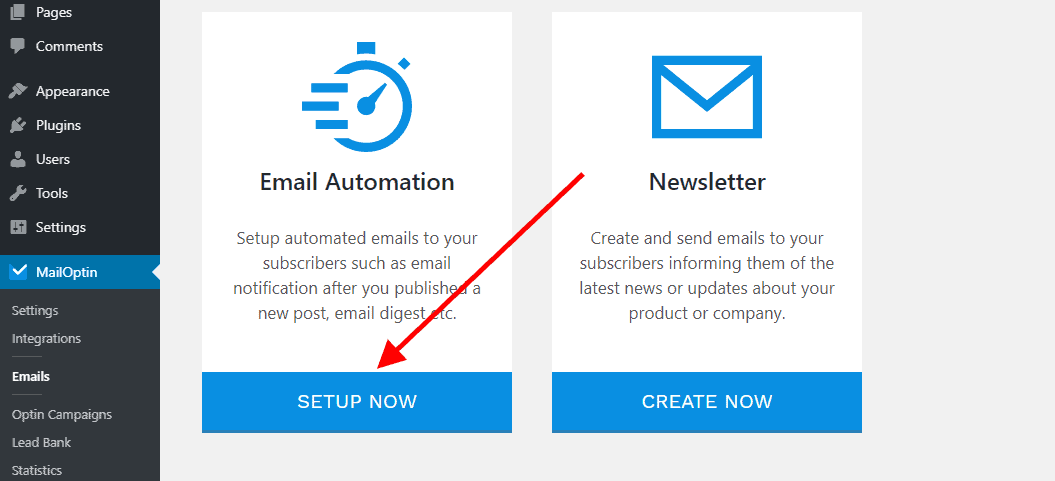
Locate the Email Automation card and click on the Setup Now button below it.
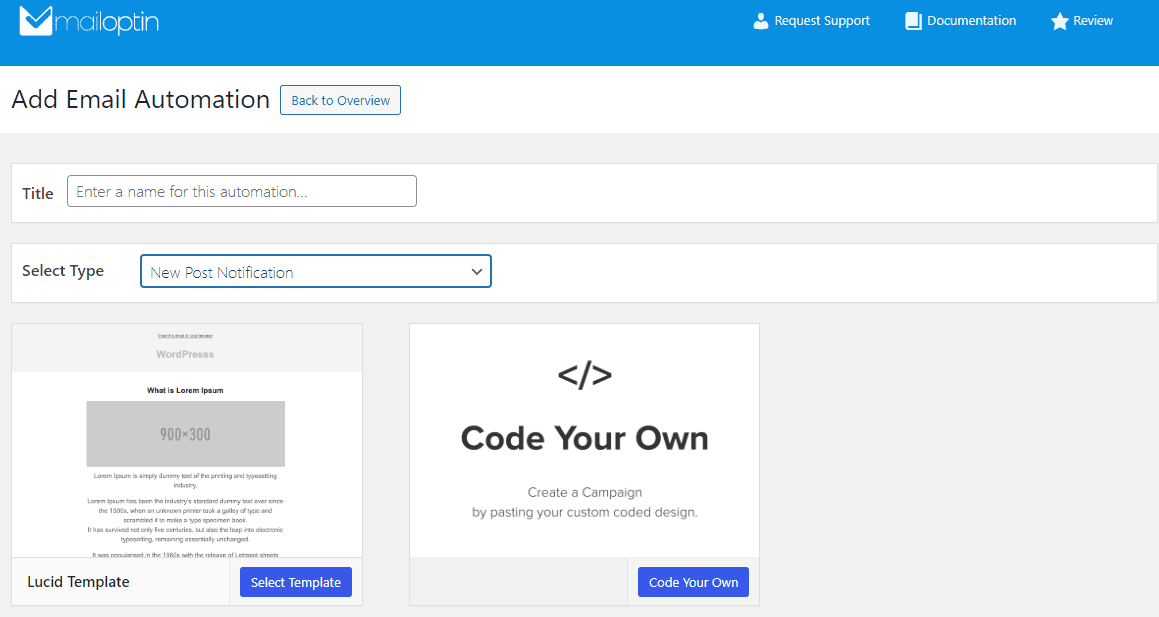
Enter a campaign title, select the type ‘New Post Notification,’ and choose a template.
Here’s how to use the custom-coded email template.
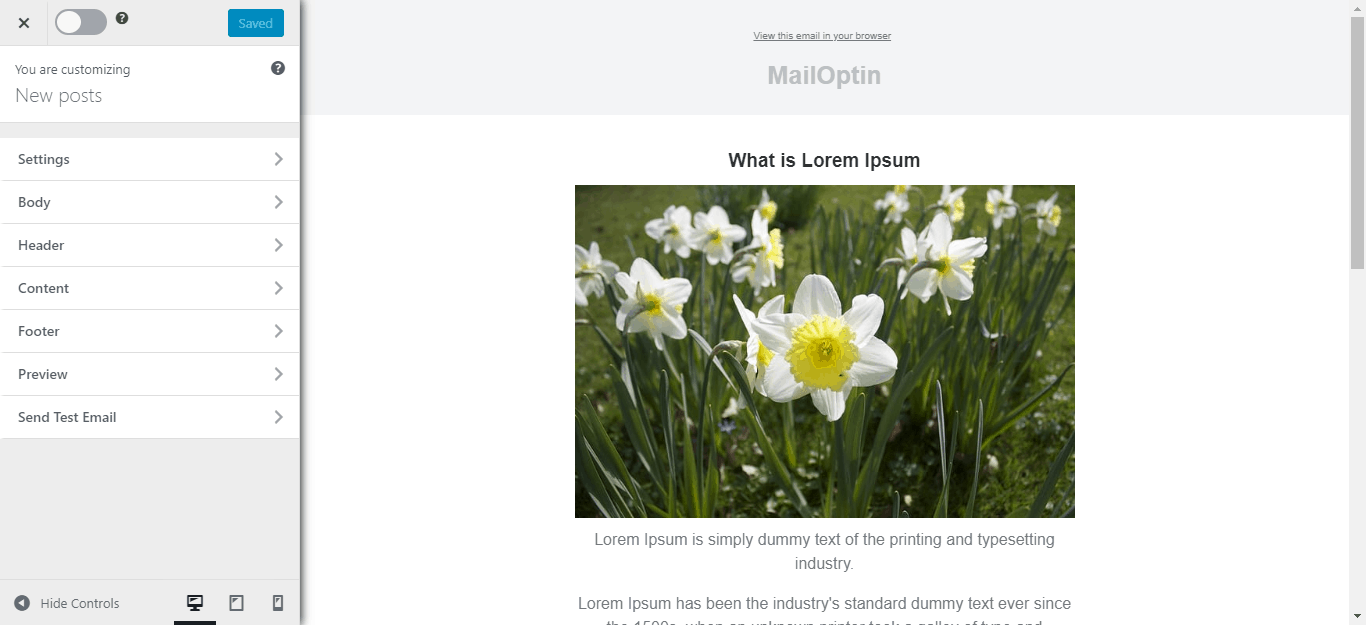
After selecting your template, you will be taken to the email customizer page where you can configure the automation settings (such as selecting the post type, categories, and tags the post has to belong to), template page, template header, template content and even send a test email to your email address.

Finally, we need to tell MailOptin to send the emails to a VerticalResponse list.
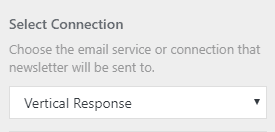
To do this; First, click on the Settings Panel and then scroll down to the Recipient section and select VerticalResponse under the Select Connection dropdown.
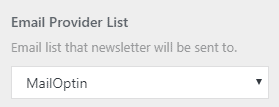
Next, select a specific email list to which the new post newsletters will be sent.
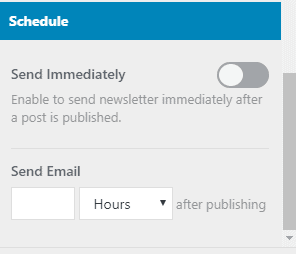
You can also decide to send the newsletters immediately or schedule them to be sent minutes, hours, or days after publication.
Note that you can create various automation to be sent out to different email lists based on the categories and tags the post belongs to.
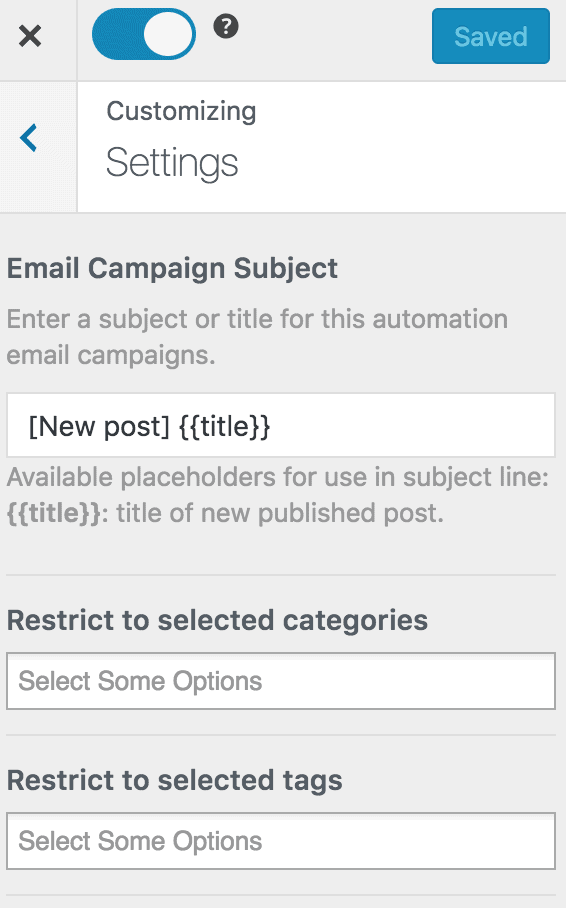
When you are done setting up your new automation campaign. Remember to activate it by clicking on the activation switch at the top of the page. Finally, click on the Save Changes button to save your new automation campaign.
![]()
Every time a new post is published, MailOptin will send out an email to your subscribers.
You can also decide to send a daily, weekly, or monthly round-up of published posts instead of immediately after posts are published.
We hope this article has helped you learn how to use the MailOptin plugin to set up WordPress new post notifications to your VerticalResponse email list.
