How to Use a Custom HTML Template for Your Email Automation
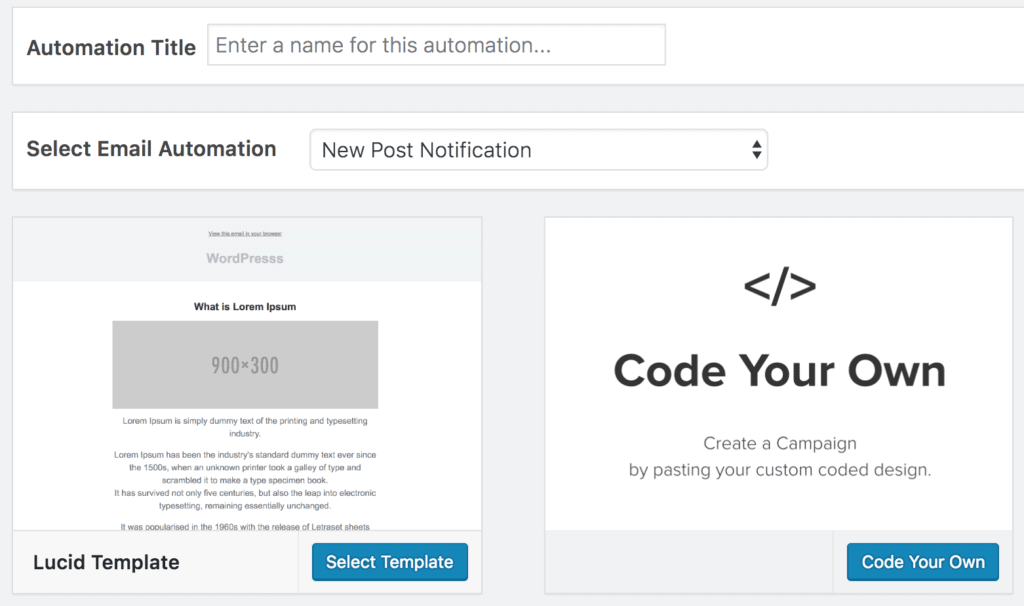
When creating email automations in MailOptin such as new post notification or email digest at Email Automations > Add New, you will have the option to use your own custom HTML template by selecting “Code Your Own”. After which you will be redirected to the email builder.
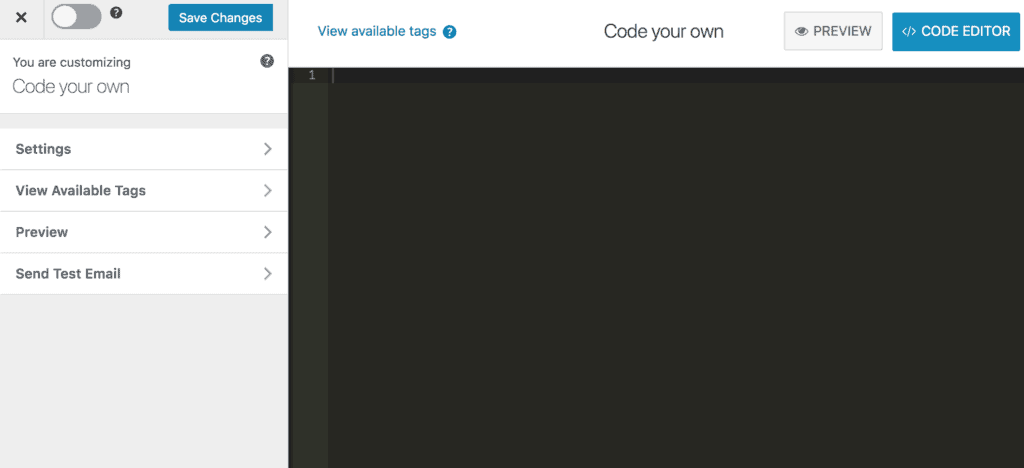
In the email builder, add the code of your custom email template in the code editor.
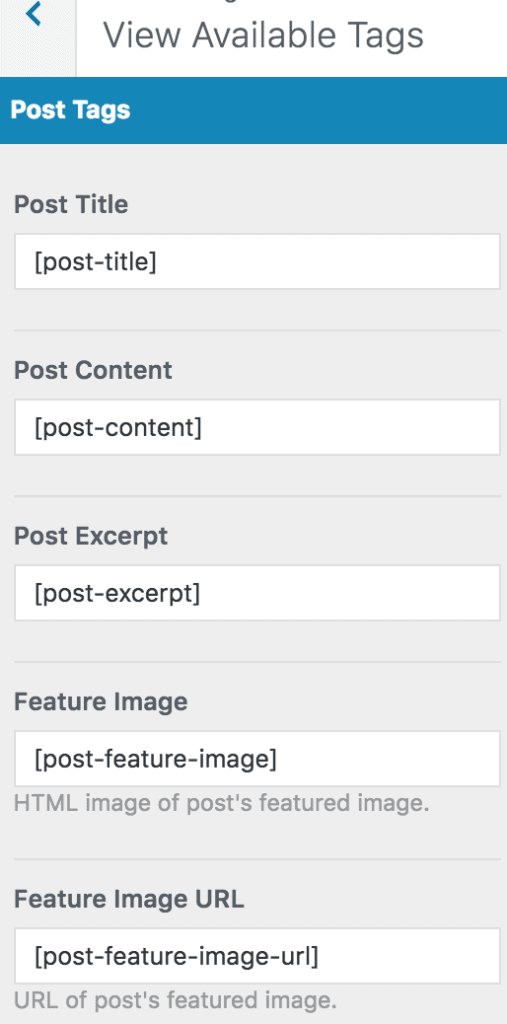
There are a number of shortcodes available for your use which you can see by clicking “View available tags” link at the top or opening it’s panel on the left.
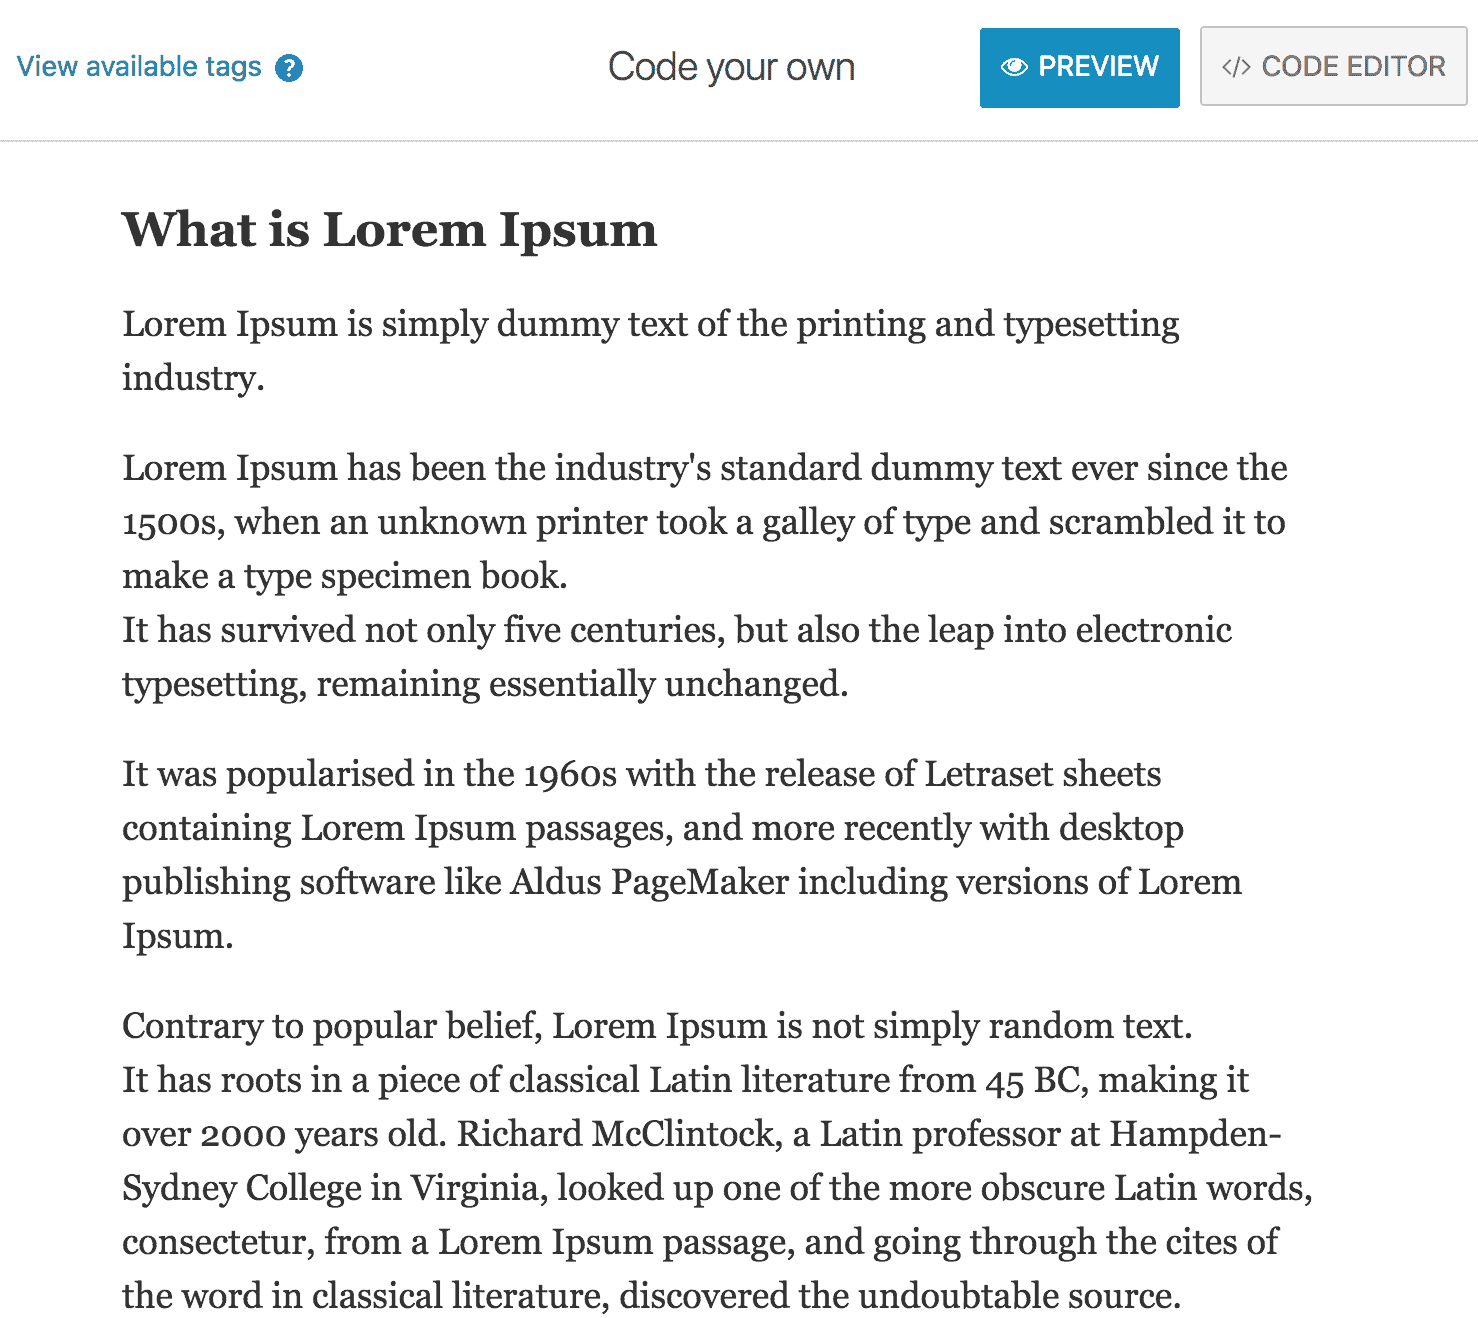
To preview your changes, click the “Preview” button at the far right beside “Code Editor”.
Let’s see a practical example to better understand how it all work.
Custom HTML Template for New Post Notification
Here’s the default template when you choose to use your own template for new post notification.
<!DOCTYPE html PUBLIC "-//W3C//DTD XHTML 1.0 Transitional//EN" "http://www.w3.org/TR/xhtml1/DTD/xhtml1-transitional.dtd">
<html xmlns="http://www.w3.org/1999/xhtml">
<head>
    <title>[post-title]</title>
    <meta http-equiv="Content-Type" content="text/html; charset=UTF-8" />
    <style>
    body {
      background-color: #fff;
    }
  .message-content {
    max-width: 600px;
    margin: 30px auto;
    font-family: Georgia, Times, serif;
  }
  .message-content div { padding-bottom: 10px; }
  .message-content img { max-width: 100%; height: auto; }

  * { font-family: Georgia, Times, serif; }

  h1, h2, h3, h4, h5, h6 {
    color: #333;
  }
  h1 { font-size: 32px; }
  h2 { font-size: 24px; }
  h3 { font-size: 18px; }

  p, p *, li, li * {
    font-size: 18px;
    line-height: 1.5em;
  }

  p, ul {
    margin-bottom: 1em;
    color: #333333;
    font-family: Georgia, Times, serif;
  }

  blockquote {
    border-left: solid 5px #aaa;
    margin: 20px 0px;
    padding: 15px 30px;
    font-size: 20px;
    line-height: 1.5em;
    font-style: italic;
    color: #444;
    font-family: Georgia, Times, serif;
  }

  a {
    text-decoration: none;
    border-bottom: 1px dotted #0875c1;
    color: #0875c1;
  }

  a:hover {
    color: #1b8ede;
    border-bottom-color: #1b8ede;
  }

  .button {
    border: none;
    background: #777;
    color: #fff;
    padding: 10px;
    display: inline-block;
    margin: 10px 0px;
    font-family: Helvetica, Arial, sans-serif;
    -webkit-border-radius: 3px;
    -moz-border-radius: 3px;
    border-radius: 3px;
  }

  .button:hover {
    color: #fff;
    background: #666;
  }

  .footer {
    border-top: 1px dotted #888;
    padding: 20px 0px;
    font-family: Helvetica, Arial, sans-serif;
    color: #aaa;
    font-size: 12px;
  }
</style>
</head>

<body>
<!--[if mso]>
<center>
    <table><tr><td width="580">
<![endif]-->
<div class='message-content'>

    <h2>[post-title]</h2>

    [post-content]

    <div class="footer">
        <a href="[unsubscribe]">Unsubscribe</a>
    </div>
</div>
<!--[if mso]>
</td></tr></table>
</center>
<![endif]-->

</body>

</html>
Notice how we use the follow tags in the template:
[post-title]: The post title.[post-content]: The post content.[unsubscribe]: Link for subscriber to unsubscribe.
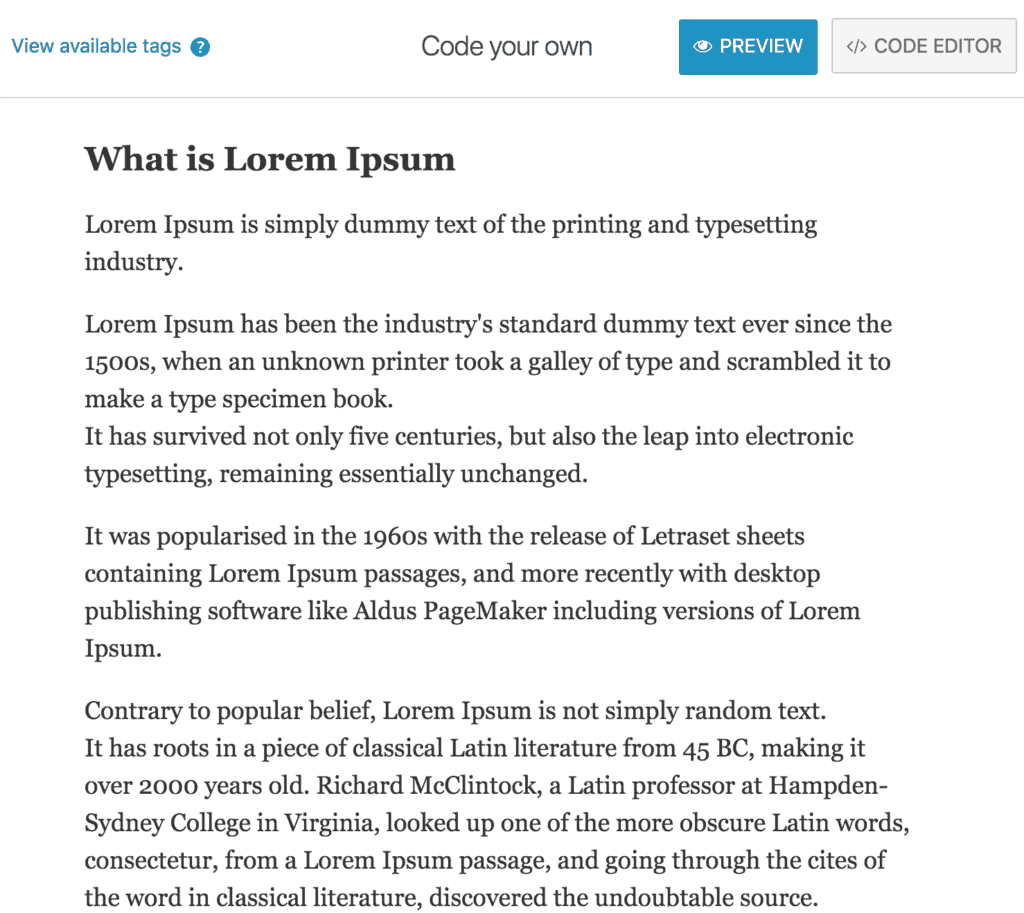
Here’s a preview of the email template. You like it right? 😀
For developers, there is the [post-meta key="meta_key"] tag to add a custom field value where “meta_key” is the meta key of the field to retrieve.
Custom HTML Template for Post Email Digest
Creating custom email template for email digest is very similar to new post notification described above. Only difference is that tags are enclosed between [posts-loop] .. [/posts-loop] like so:
[posts-loop]

<h2>[post-title]</h2>

[post-feature-image]

[post-content]

[/posts-loop]
Let’s adapt the template used above for email digest automation so you see how it works.
<!DOCTYPE html PUBLIC "-//W3C//DTD XHTML 1.0 Transitional//EN" "http://www.w3.org/TR/xhtml1/DTD/xhtml1-transitional.dtd">
<html xmlns="http://www.w3.org/1999/xhtml">
<head>
    <title>Weekly Post Roundup</title>
    <meta http-equiv="Content-Type" content="text/html; charset=UTF-8" />
    <style>
    body {
        background-color: #fff;
    }
  .message-content {
    max-width: 600px;
    margin: 30px auto;
    font-family: Georgia, Times, serif;
  }
  .message-content div { padding-bottom: 10px; }
  .message-content img { max-width: 100%; height: auto; }

  * { font-family: Georgia, Times, serif; }

  h1, h2, h3, h4, h5, h6 {
    color: #333;
  }
  h1 { font-size: 32px; }
  h2 { font-size: 24px; }
  h3 { font-size: 18px; }

  p, p *, li, li * {
    font-size: 18px;
    line-height: 1.5em;
  }

  p, ul {
    margin-bottom: 1em;
    color: #333333;
    font-family: Georgia, Times, serif;
  }

  blockquote {
    border-left: solid 5px #aaa;
    margin: 20px 0px;
    padding: 15px 30px;
    font-size: 20px;
    line-height: 1.5em;
    font-style: italic;
    color: #444;
    font-family: Georgia, Times, serif;
  }

  a {
    text-decoration: none;
    border-bottom: 1px dotted #0875c1;
    color: #0875c1;
  }

  a:hover {
    color: #1b8ede;
    border-bottom-color: #1b8ede;
  }

  .button {
    border: none;
    background: #777;
    color: #fff;
    padding: 10px;
    display: inline-block;
    margin: 10px 0px;
    font-family: Helvetica, Arial, sans-serif;
    -webkit-border-radius: 3px;
    -moz-border-radius: 3px;
    border-radius: 3px;
  }

  .button:hover {
    color: #fff;
    background: #666;
  }

  .footer {
    border-top: 1px dotted #888;
    padding: 20px 0px;
    font-family: Helvetica, Arial, sans-serif;
    color: #aaa;
    font-size: 12px;
  }
</style>
</head>

<body>
<!--[if mso]>
<center>
    <table><tr><td width="580">
<![endif]-->
<div class='message-content'>

    [posts-loop]

        <h2>[post-title]</h2>

        [post-content]

    [/posts-loop]

    <div class="footer">
        <a href="[unsubscribe]">Unsubscribe</a>
    </div>
</div>
<!--[if mso]>
</td></tr></table>
</center>
<![endif]-->

</body>

</html>
Pretty easy huh?
Do let us know if you have any question.
