How to Add Gated Content to Your WordPress Site
There’s quite a bit of content on the web that isn’t accessible for all users. Many websites lock content behind a prompt, often requiring action on the part of the user before they can get to it. This could either be an opt-in form that needs to be filled or certain content pieces might be locked behind a paywall.
Gated content has been used by marketers to increase signups and generate more leads since time immemorial. Ever since marketers realized just how important opt-in forms are, they began looking at ways to nudge users to fill in their contact information. Gated content offers the perfect incentive.
What is Gated Content and Why Is It So Beneficial?
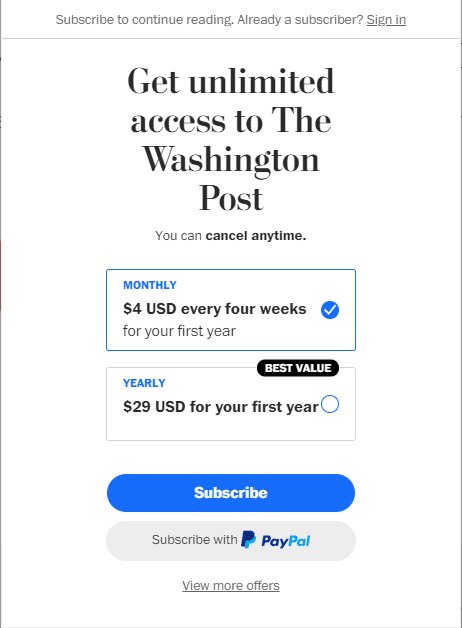
Most people often think of gated content as content that’s behind a paywall. Usually, reputable publication platforms have begun charging a small fee from their readers in order to access their articles. Here’s a prime example of content that’s locked behind a paywall:
While this does broadly fall under the “gated content” category, you should know that this is not the only example. Across the web, you will come across plenty of instances of gated content that is accessible without having to pay anything. In most cases, the content is locked behind a lead magnet.
As soon as you subscribe to it, you don’t just get a lead magnet, such as an eBook, but you also get access to the content you were trying to access. It could also be access to a template, scheduling a product demo, or you could just ask for their email address directly. Companies use the email address or contact information that you provide in order to build email lists.
Here’s an example of gated content that you can access by simply adding your contact information:

The content is inaccessible until you provide relevant information, which the company can then use for targeted marketing campaigns.
To ensure that the information you add isn’t bogus, most websites usually email a link to download the content or gain access to it. By tracking downloads and open rates, they know that the email is valid.
How to Add Gated Content to Your WordPress Website
WordPress is one of the most versatile content management systems that allow for complete control over your content. If you want to restrict access to the content on your WordPress website, you can easily do so with a plugin like MailOptin.
MailOptin is a powerful WordPress plugin that allows you to quickly grow your email list and display targeted messages using popups and optin forms. You can even create subscriber forms for your sidebar widget. It’s a fantastic tool that maximizes your lead generation efforts and allows you to create engaging templates and forms.
You can also add gated content on your WordPress website with MailOptin. Here’s how you do it.
Step 1: Create a New Optin Campaign

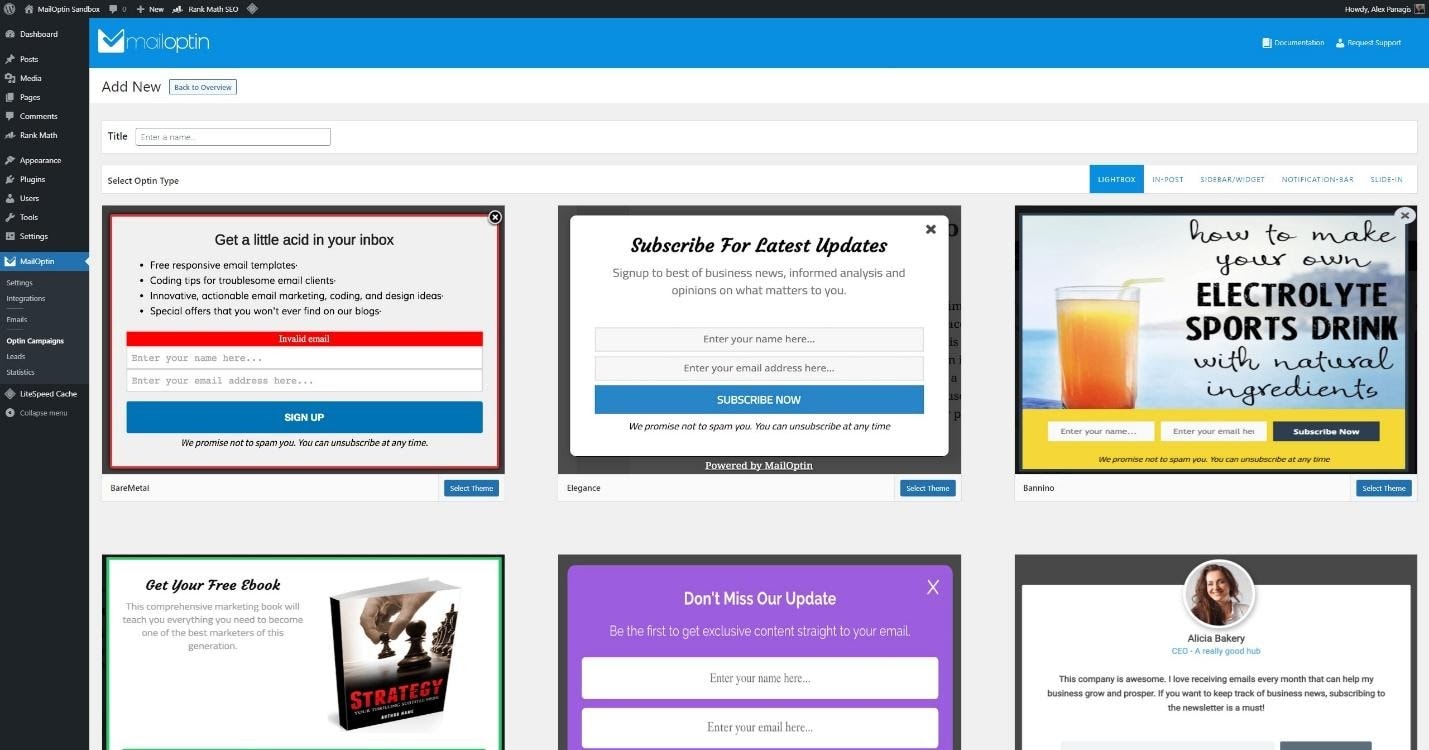
From your CMS, click on Optin Campaigns in the sidebar. You can then create a new optin campaign. As you can see above, there are a few optins already created. However, if you want to create a new one, just click on “Add New,” and then select from one of the many themes available.
Note: Only the “In-post” optin type supports content locking/gated content.
Step 2: Optimize the Optin Form for Gated Content
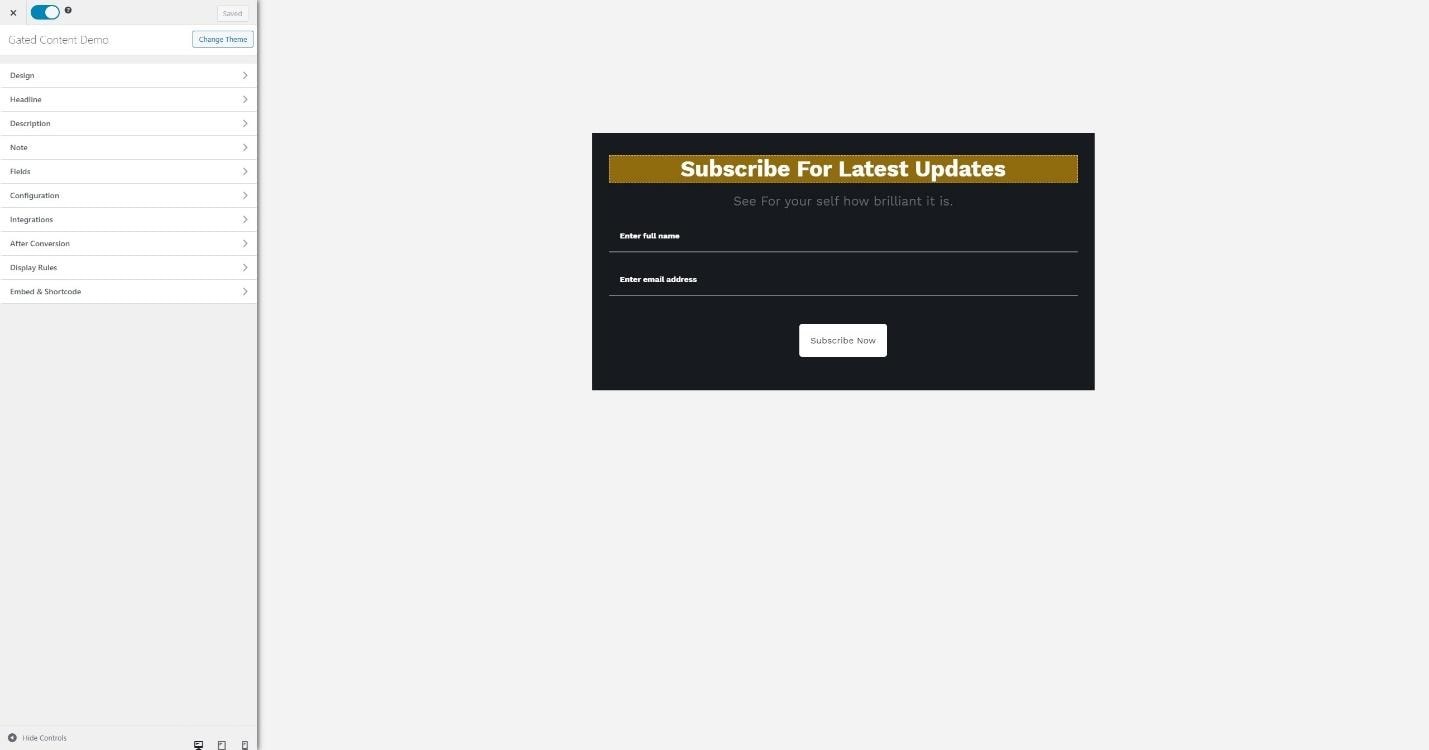
The next step is to optimize the optin form according to your liking. MailOptin gives you complete control over every aspect of your optin forms.
You can also set display rules for enhanced audience targeting. You can also specify the state of the optin form to users who have already subscribed, so you don’t have to worry about the optin form showing up for recurring users.
If you don’t want to gate all the content on your website, make sure you select which posts or categories of posts that you want it to appear on. You can specify this under Display Rules > Page Targeting.
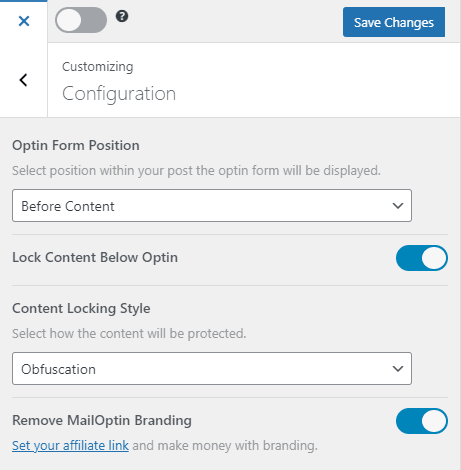
You can also define the optin form position and choose how you’d like to protect the content as shown below:
Step 3: Test the Optin Form
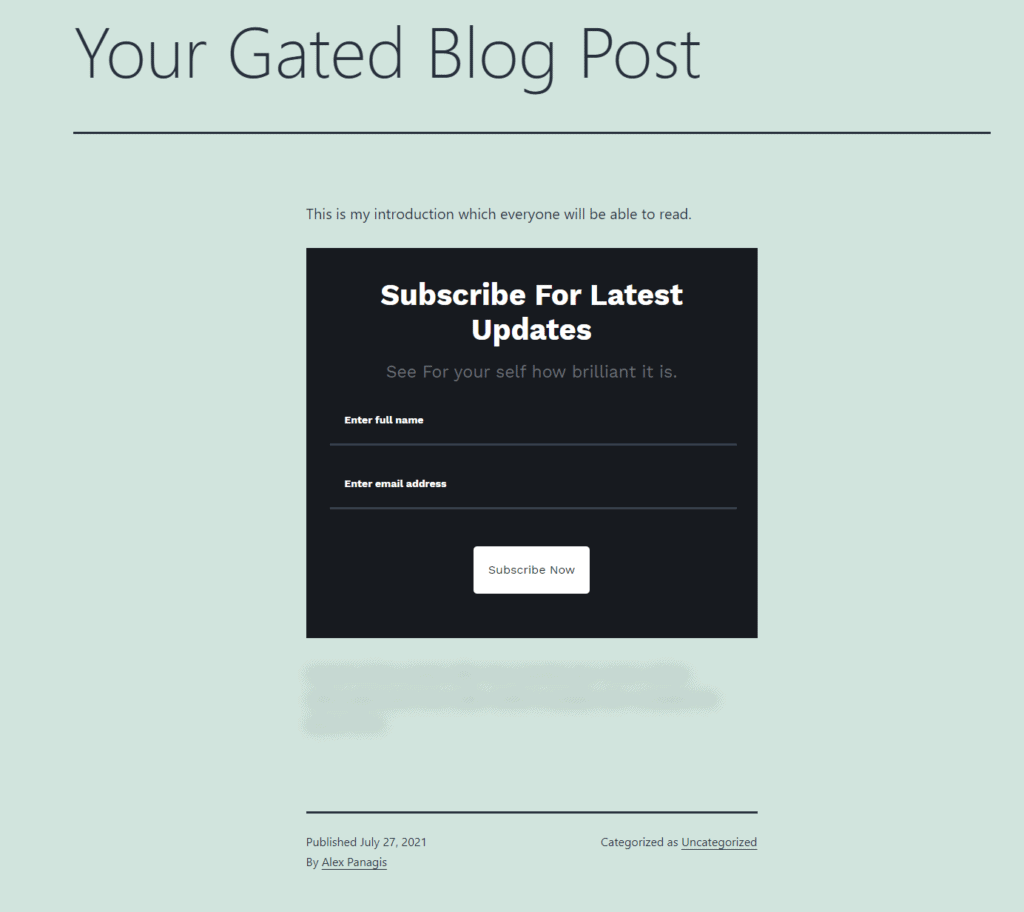
The next step is to check whether the optin form that you have created is actually doing its job or not. To do this, just browse your website and select any post on which the optin is supposed to appear. You should see it appear as shown above.
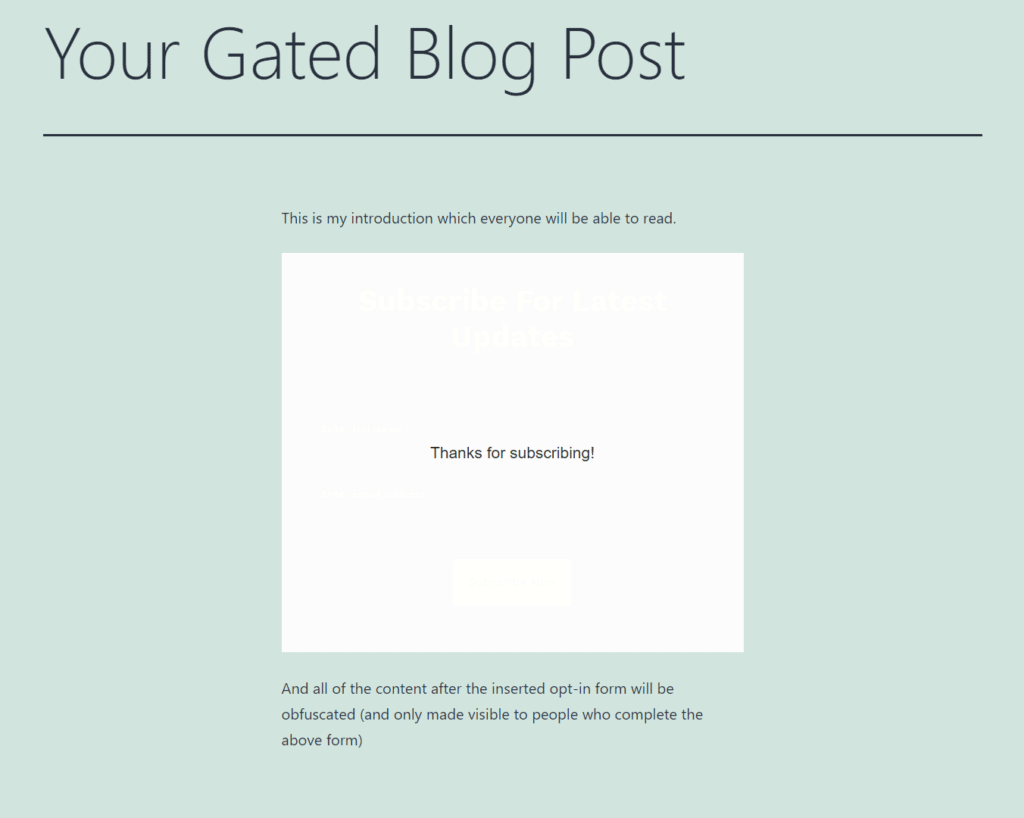
Try to enter an email address and see if the content loads up properly. Once the email address is added, the content should be accessible to the user. Here’s how the page looks after the lead is captured:
Step 4: Review and Optimize Accordingly
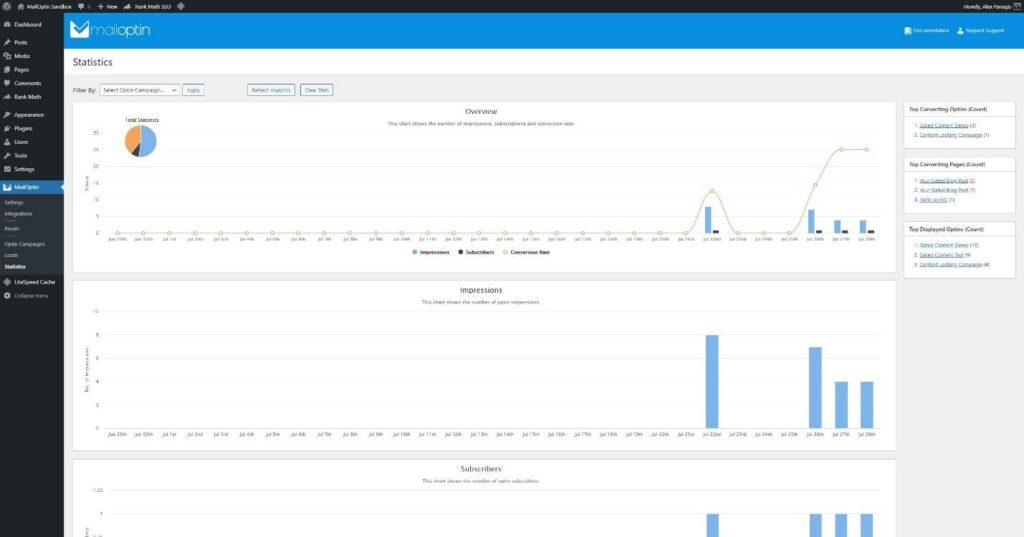
MailOptin also shows you important stats like the conversion rate, the subscribers, and impressions that your optin forms have generated. This way, you can check whether people are actually showing interest or not. If you are not able to capture leads effectively, you need to rework your optin campaign and change things around.
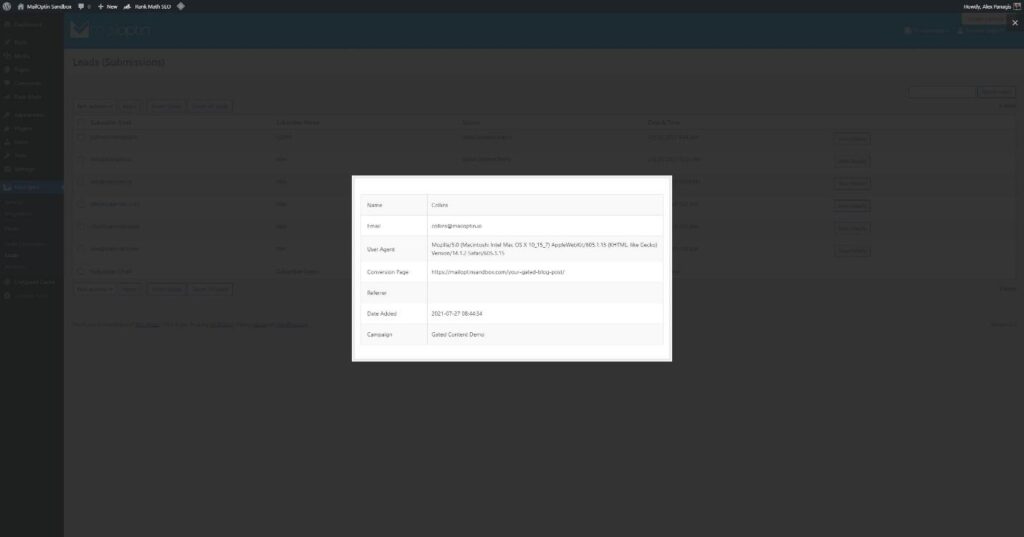
MailOptin also allows you to conduct A/B split testing by creating a new split variation. Once a lead is captured, just click on “Leads” from the sidebar in your CMS, and you can check specific details such as the conversion page, date, user agent, and other identifiers.
Wrapping Up – WordPress + MailOptin = Gated Content Powerhouse 🤩🔐
Gated content could result in a windfall of new leads if you know how to create optin forms that pique visitor attention. However, if the content you are offering is of little to no value, users won’t be interested in signing up at all. It will actually create a negative impression on your audience, which is the last thing that you want. Using a WordPress plugin like MailOptin to create optin forms is an excellent idea because getting up & running couldn’t be easier. And, MailOptin integrates seamlessly with your WordPress website, so you can track your leads, optimize campaigns, and create new optin forms directly through the CMS.