How to Create a Contact Form Popup in WordPress
Do you want to create a contact form popup for your WordPress website?
Whether you sell services or products, you need a contact form on your website. It’s how prospective clients will contact you about your services. It’s how people with questions about your products will contact you.
WordPress doesn’t come with a built-in contact form feature. You’ll need a plugin to create one and MailOptin to display the contact form as a popup on your website.
In this article, I’ll guide you through creating a WordPress contact form popup. No coding skill is required.
What You Need To Display a Contact Form Popup in WordPress
To create and display a contact form popup in WordPress, you’ll first need to install MailOptin. It’s an all-in-one lead-generation tool for WordPress. It makes creating popups easy and comes with dozens of customization options.
It’s a must-have plugin for any serious business. It’ll not only help you capture more leads, but it’ll also help you harness the power of email marketing to get more customers.
You’ll also need a WordPress plugin that allows creating contact forms. If you don’t already have one installed on your website, you can install and use Contact Form 7. It’s completely free and straightforward to use.
In this guide, I’ll show you how to create a contact form using some of the most popular contact form plugins. You can use any one of them.
Step 1: Install MailOptin Popup Plugin
You’ll first need to install the MailOptin plugin to create your contact form popup.
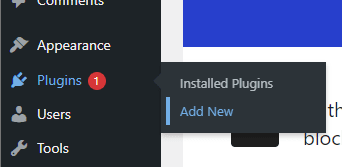
Log into your WordPress website’s admin dashboard and navigate to Plugins > Add New:
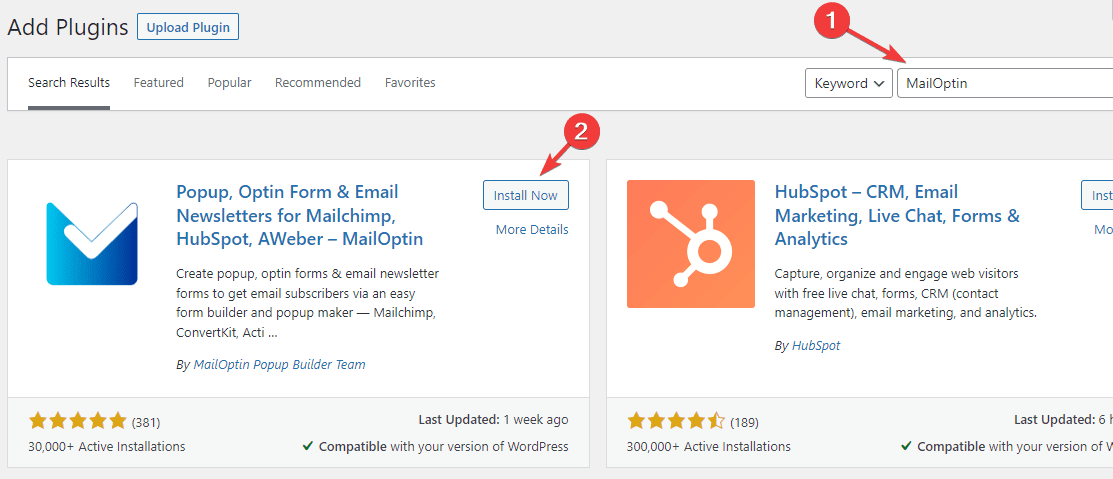
Now, enter MailOptin in the search field, and click the Install button when you see the plugin in the results:
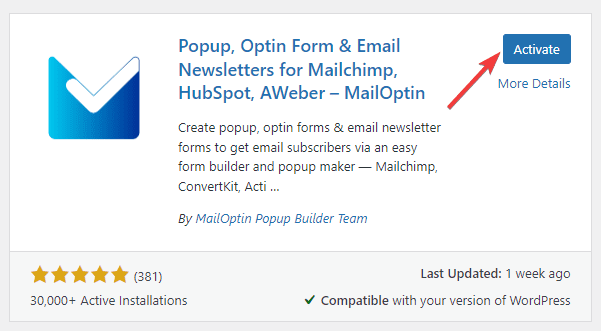
When WordPress is done installing the plugin, you’ll see an Activate button instead of the Install button. Click Activate:
Step 2: Create A WordPress Contact Form
In this step, I’ll show you how to use popular WordPress contact form plugins to create a basic contact form. Next, I’ll show you how to display your contact form in a popup.
The following sections assume you’ve installed the required plugin on your WordPress site.
How To Create a Contact Form With Contact Form 7
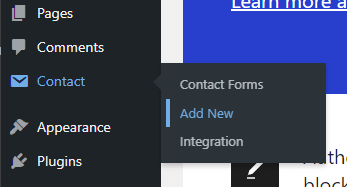
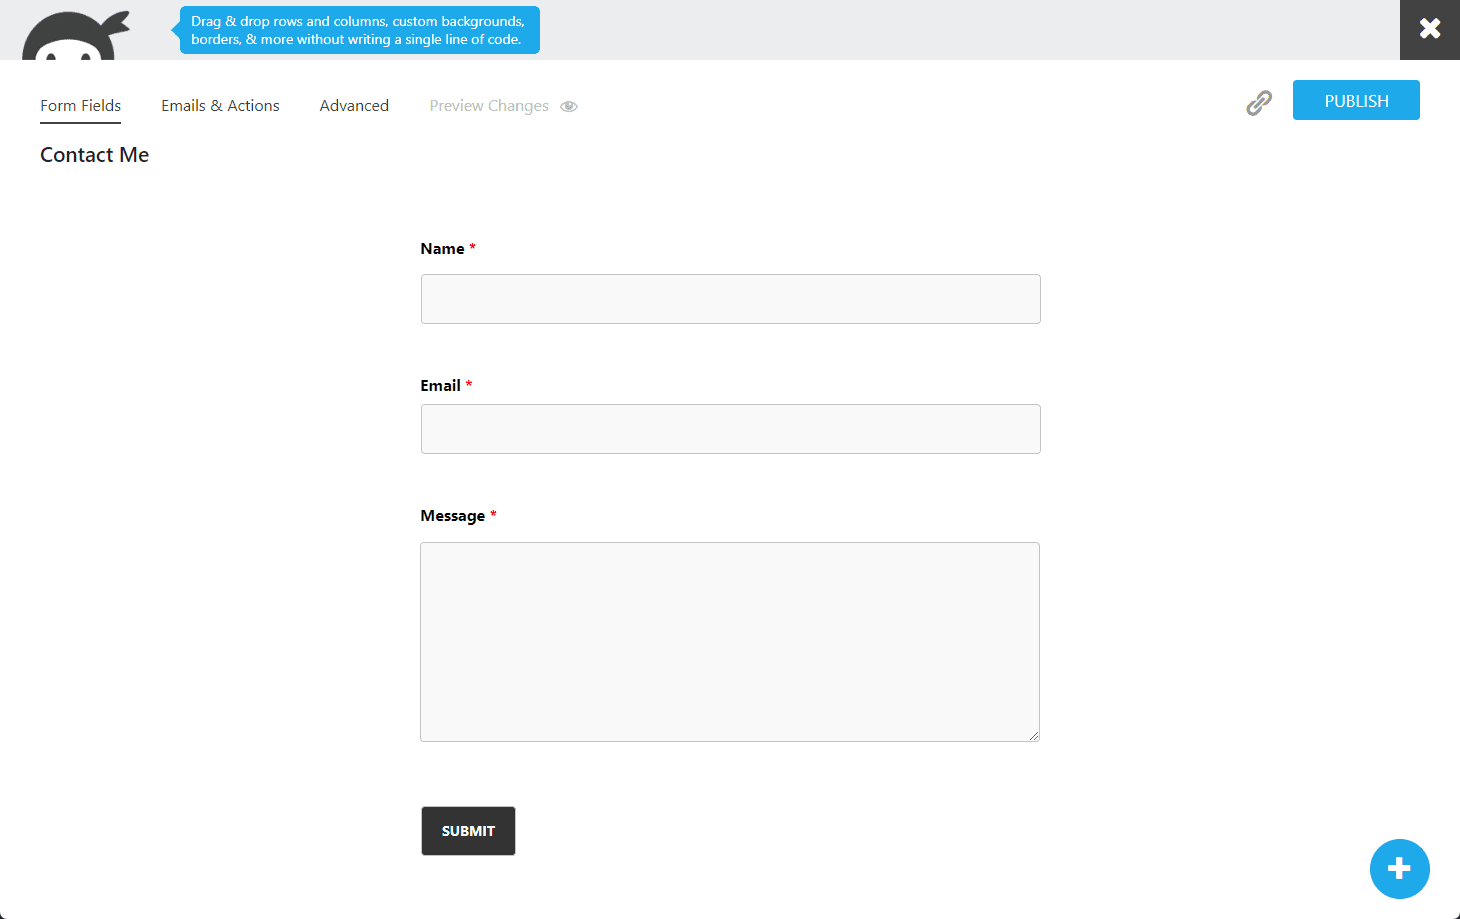
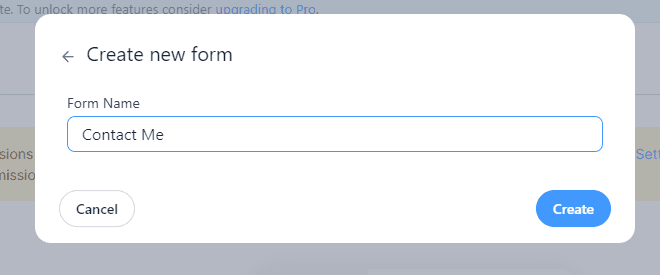
In your WordPress dashboard, navigate to Contact > Add New:
Now, enter a title for this new contact form:
In the Form section of this page, you can add or remove fields as you’d like.
To add a new field, click any one of the blue buttons. If you want to add an email field, click the email button. It will be added at the position of your text cursor.
To remove a field, remove the associated shortcode and the label html tag surrounding it.
Once you are done customizing your contact form’s fields, click the Save button at the bottom of the page:
You’ll now see a shortcode for this new contact form at the top of the page:

Copy this shortcode. You’ll need it in the next step.
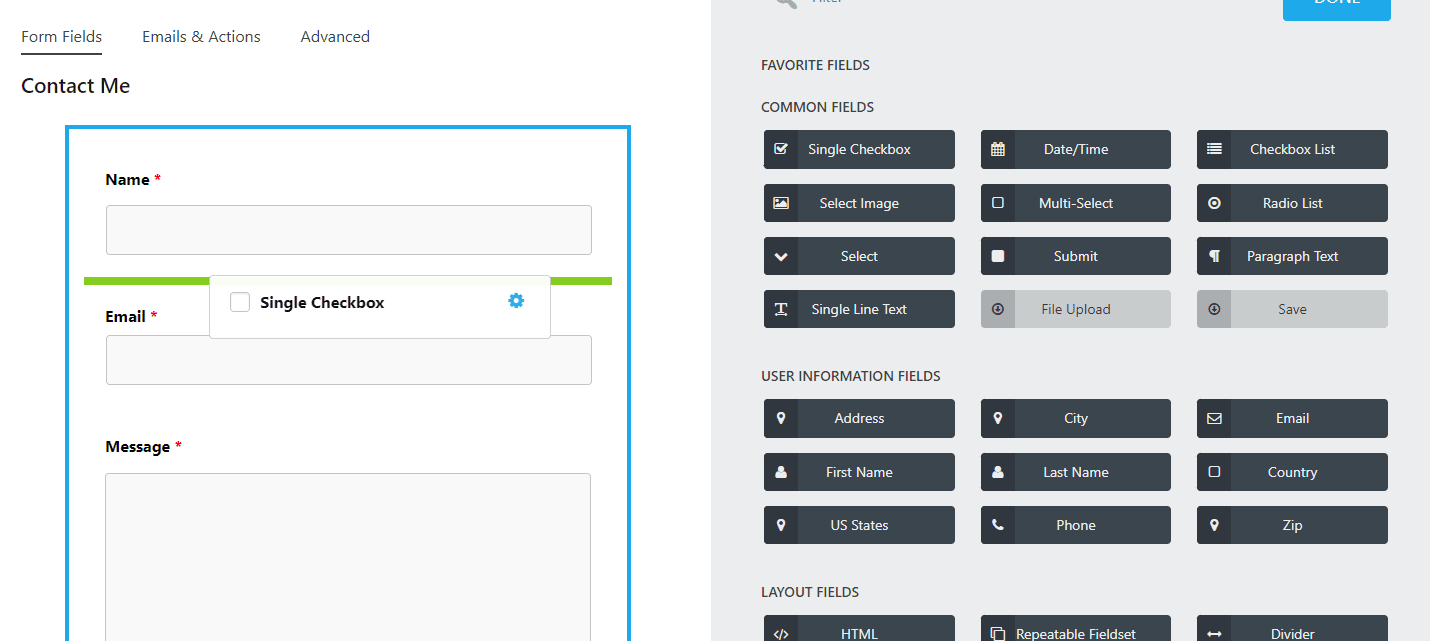
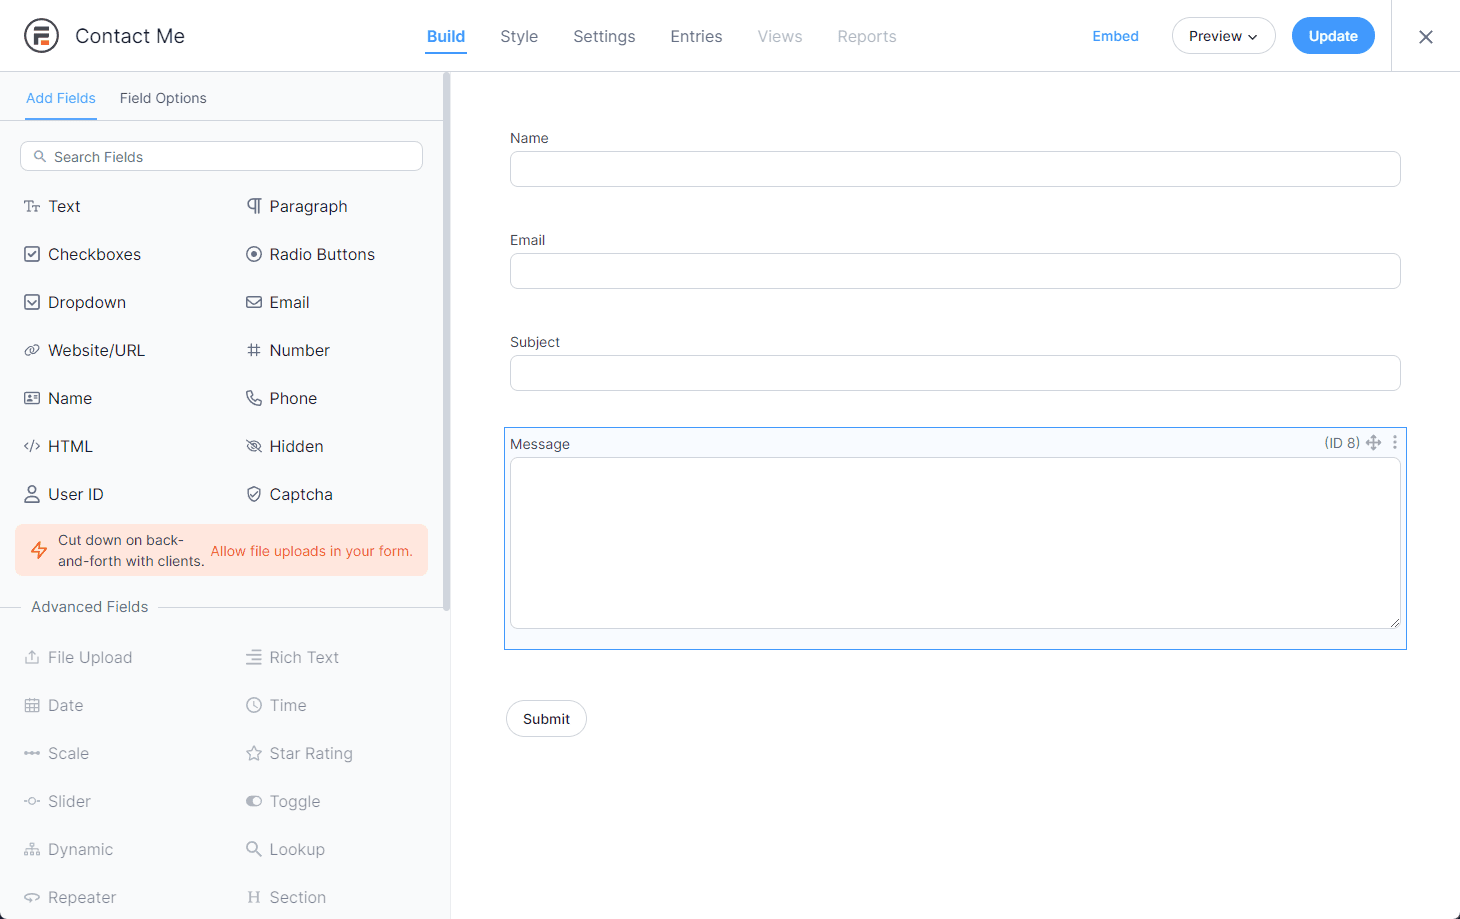
How To Create a Contact Form With WPForms
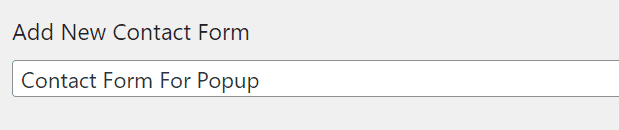
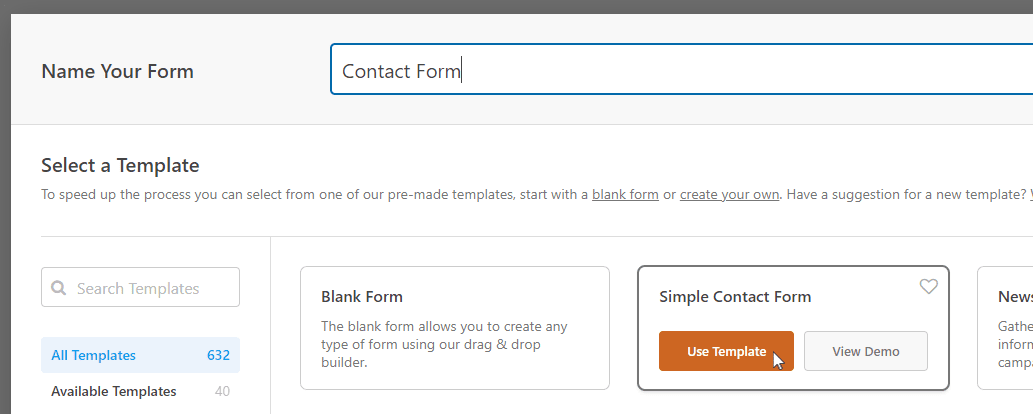
To create a new contact form, navigate to WPForms > Add New:
Now, enter a name for the WordPress contact form and select the Simple Contact Form template:
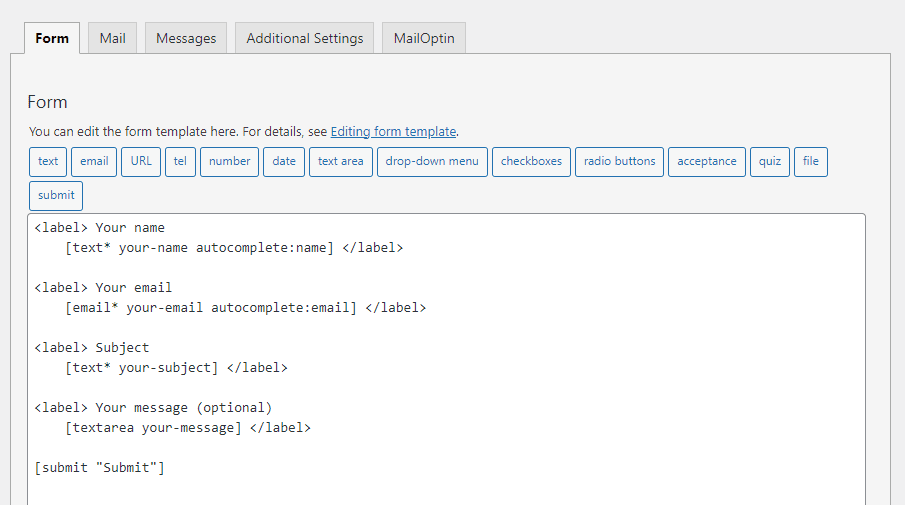
You’ll now see WPForms’ form builder:
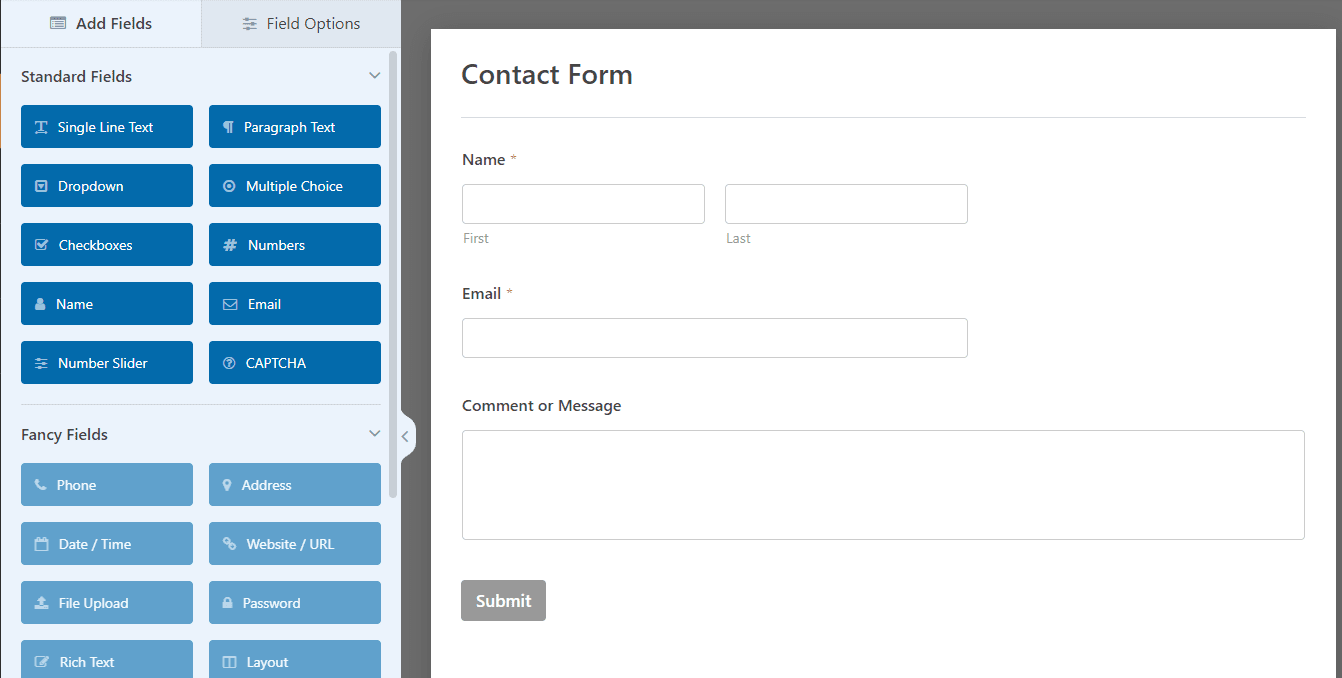
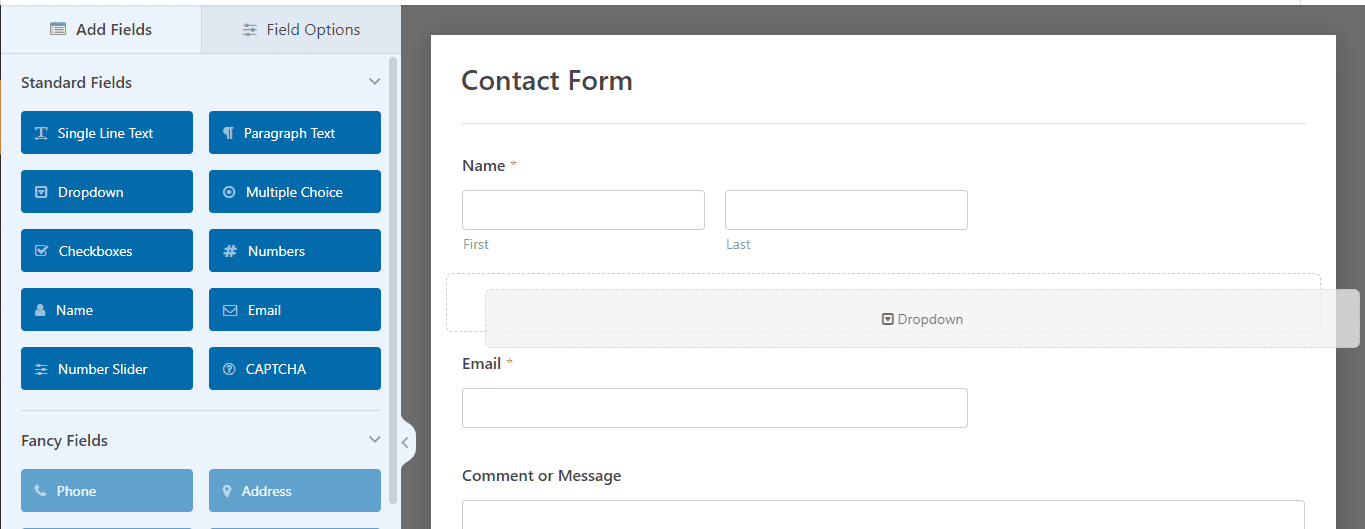
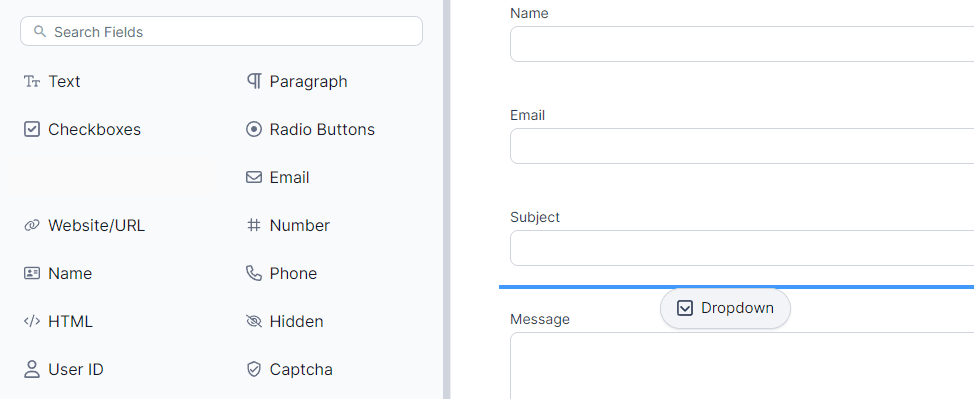
To add a new field, drag it from the left onto the form:
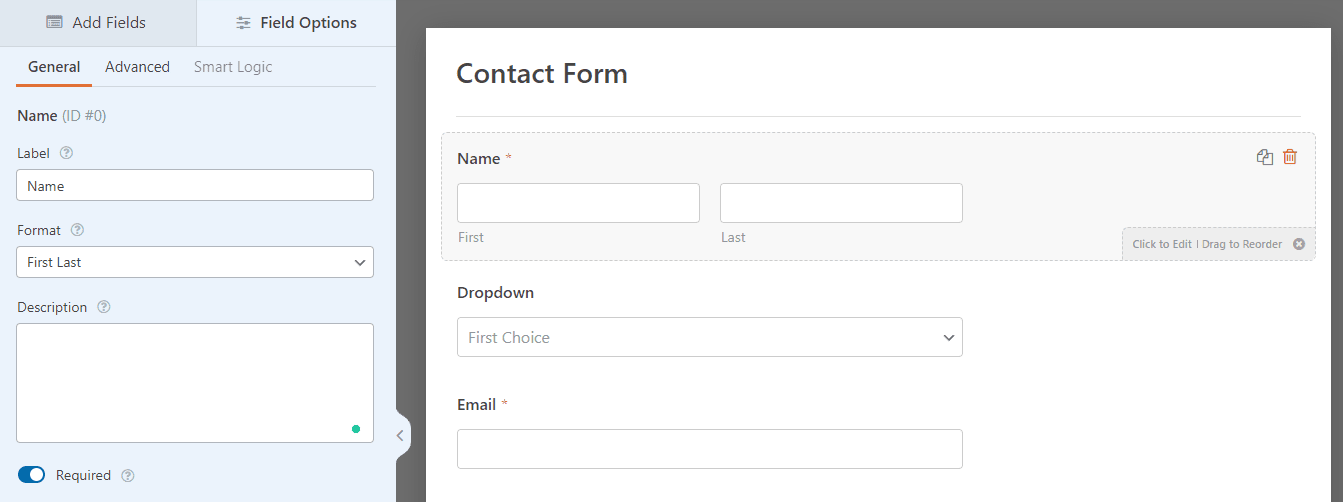
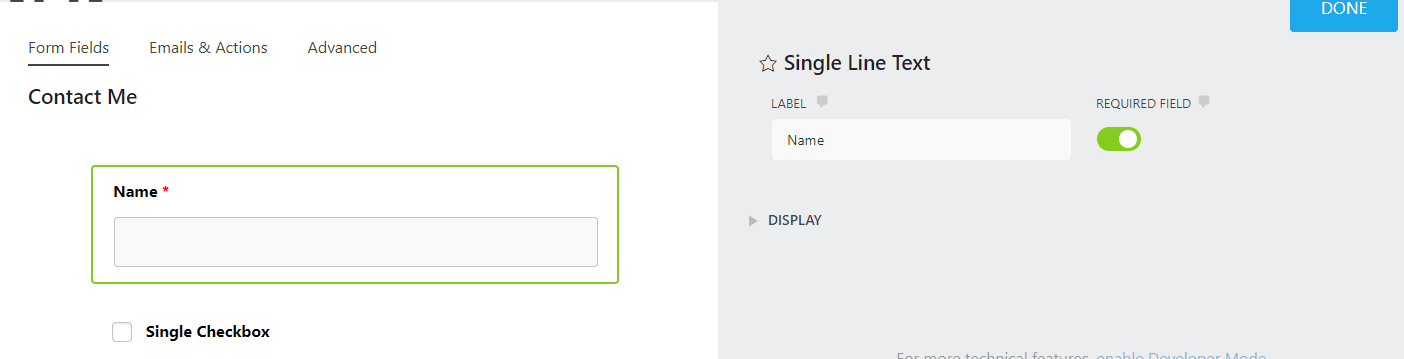
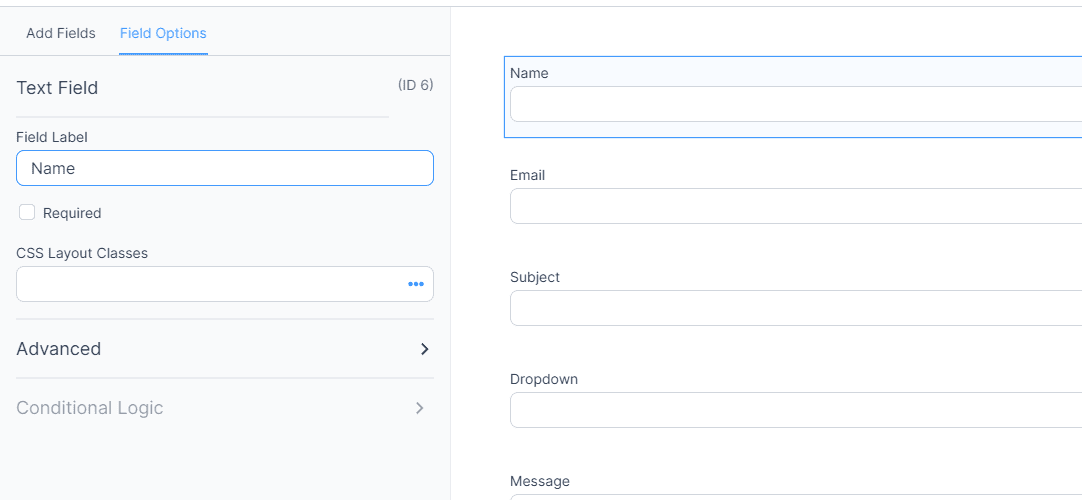
To customize a field, click on it in the preview to see all the customization options for that field in the left sidebar:
Click the Save button on top to save your changes:

Now, click the Embed button that’s next to the Save button. You’ll see this popup:
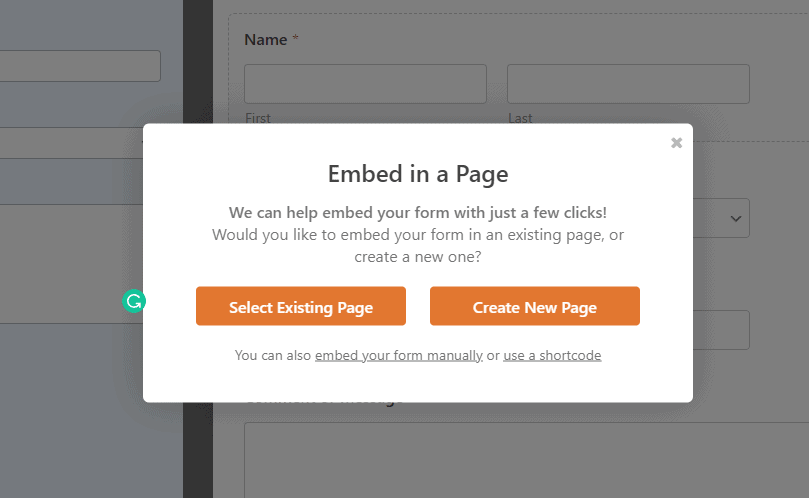
Click the ‘use a shortcode’ link at the bottom:
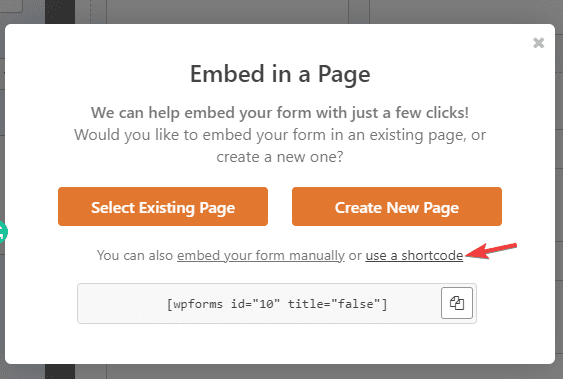
Now, copy the shortcode. You’ll need it for the next step.
How To Create a WordPress Contact Form With Ninja Forms
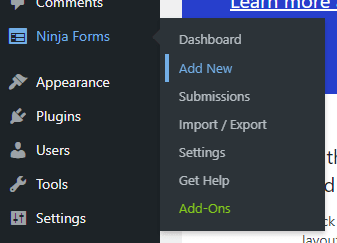
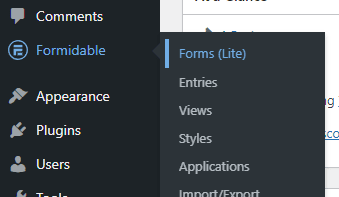
To create a Ninja Forms contact form, navigate to Ninja Forms > Add New:
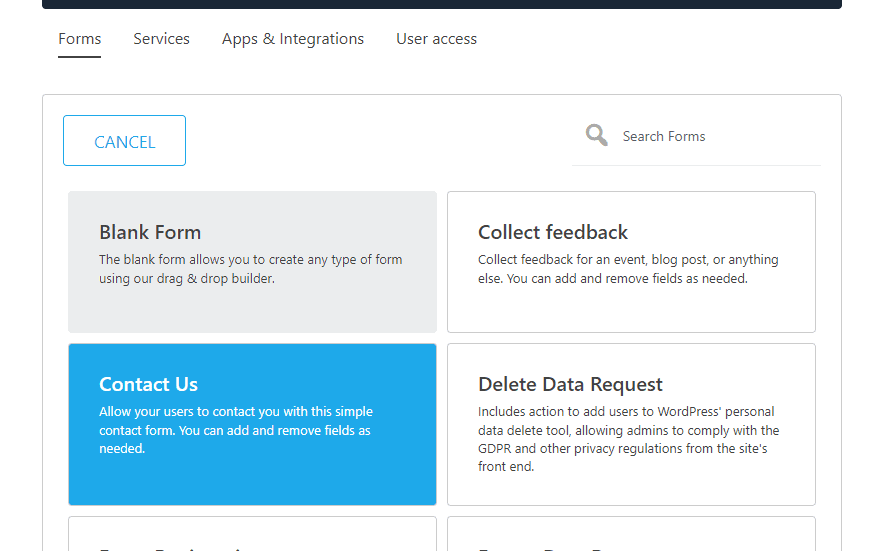
Now, select the Contact Form template:
You’ll now see Ninja Forms’ Form Builder:
To add a new field to your form, click the blue Add button on the bottom right of the screen:

Then, drag and drop any of the fields onto your form to add it:
You can add as many fields as you want.
To customize a field, click on it to see all the customization options available for that field:
Click the Publish button to publish this form:
Now, click the link button next to the Publish button. It’ll show you the shortcode for this form:
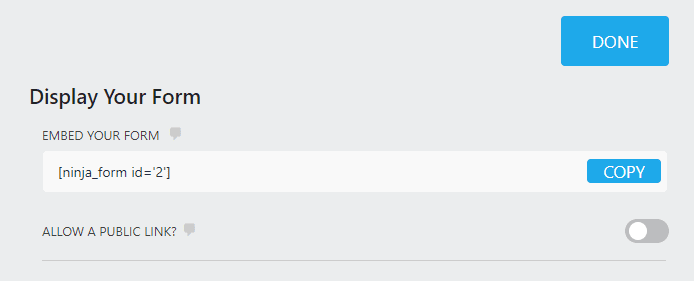
Copy this shortcode. You’ll need it for the next step.
How To Create a WordPress Contact Form With Formidable Forms
Navigate to Formidable > Forms:
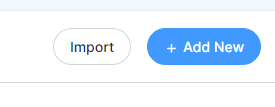
Click the Add New button:
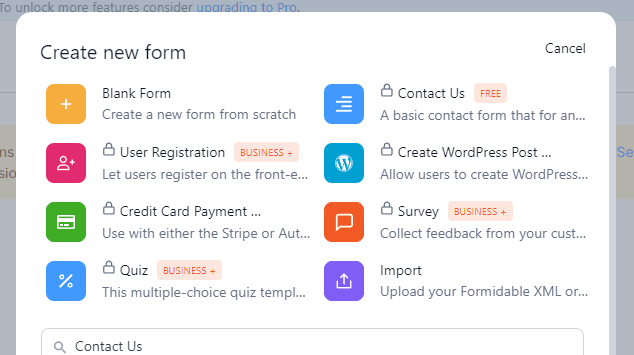
Select the Contact Us template:
Enter a name for your form:
You’ll now see the Formidable form builder:
To add a new field to your form, drag the desired field from the left sidebar onto the form canvas:
To customize a field, click on it:
You’ll see all the available customization options in the left sidebar for this field.
Now, click the Embed button:

Select the Insert Manually option:
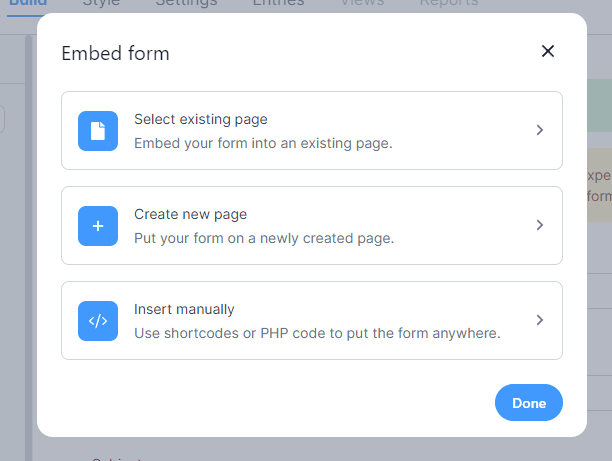
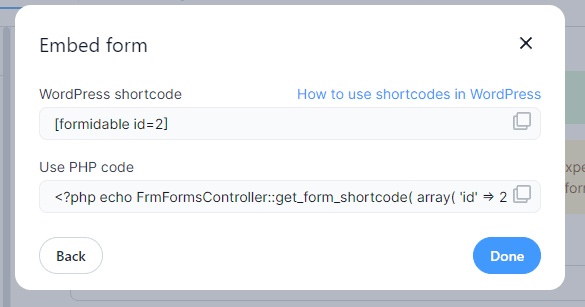
Now, copy the shortcode:
Step 3: How To Display Your Contact Form in a Popup
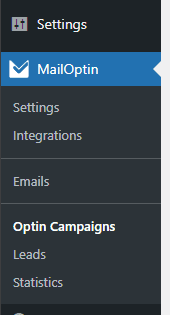
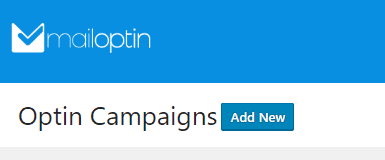
Now that you’ve created your contact form, we need to create a popup to display it. To create your contact form popup, navigate to MailOptin > Optin Campaigns:
Click the Add New button:
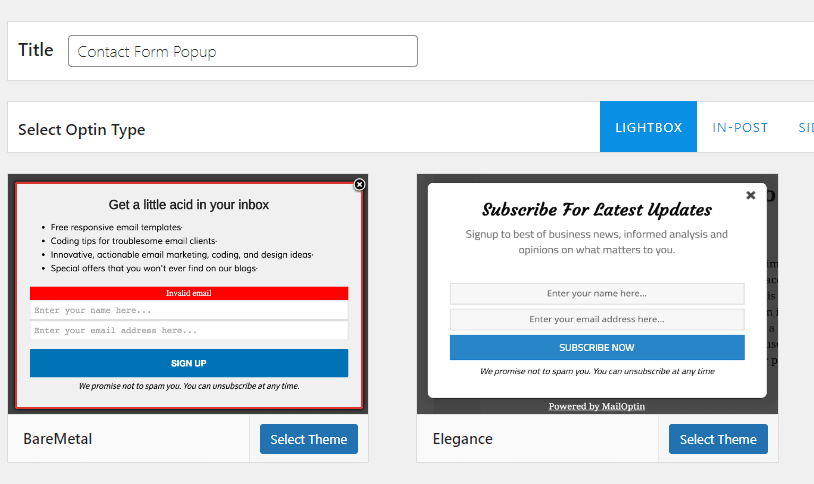
Now, enter a name for this popup and select a template:
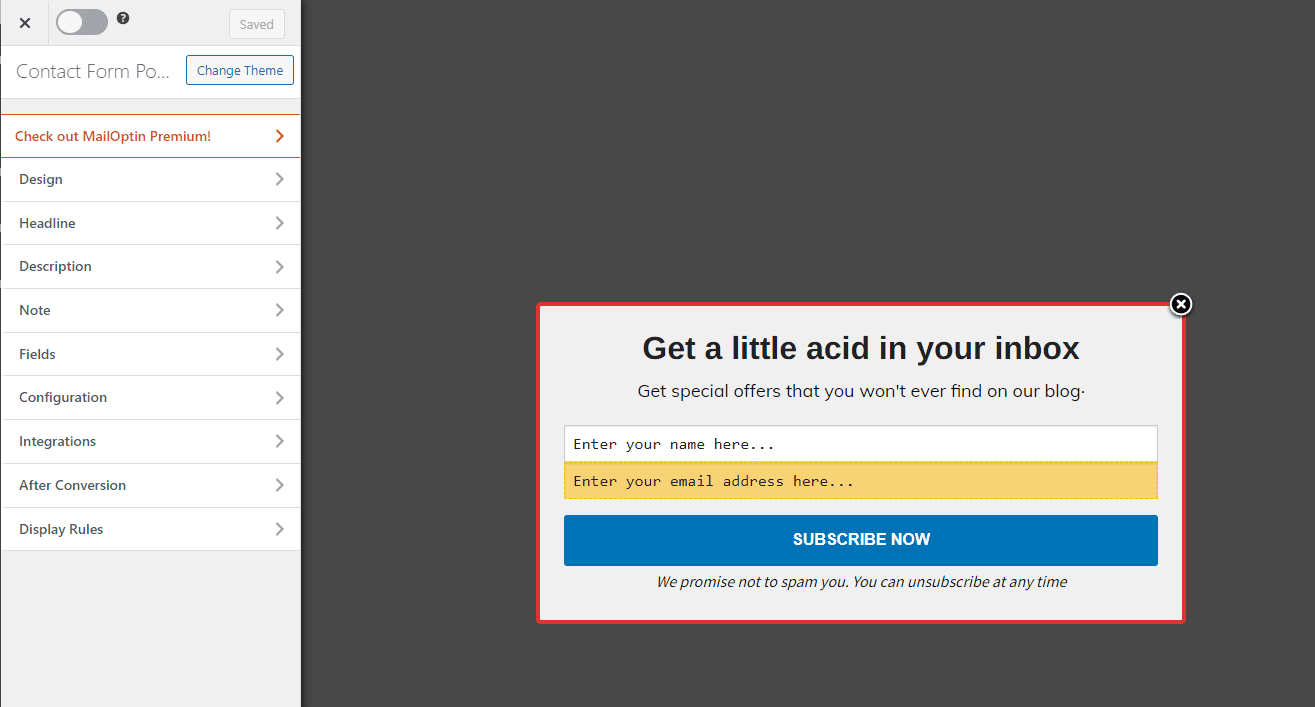
You’ll now see the MailOptin campaign editor:
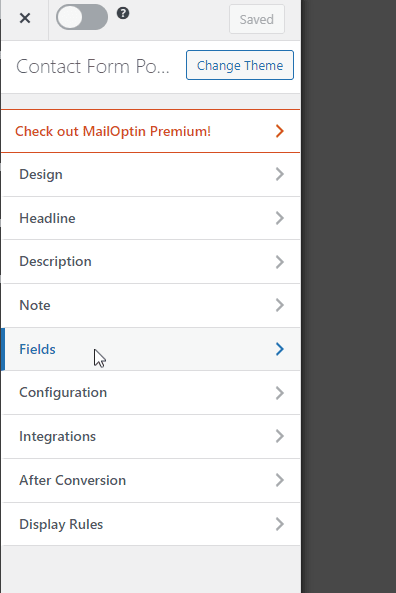
Select the Fields option from the left sidebar:
Next, click the Custom HTML Toggle on top:
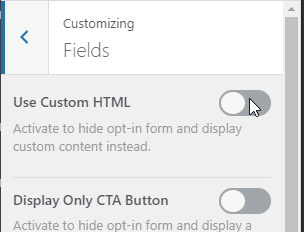
Now, enter the shortcode you copied in the last step. I’m going to paste the one from Contact Form 7:
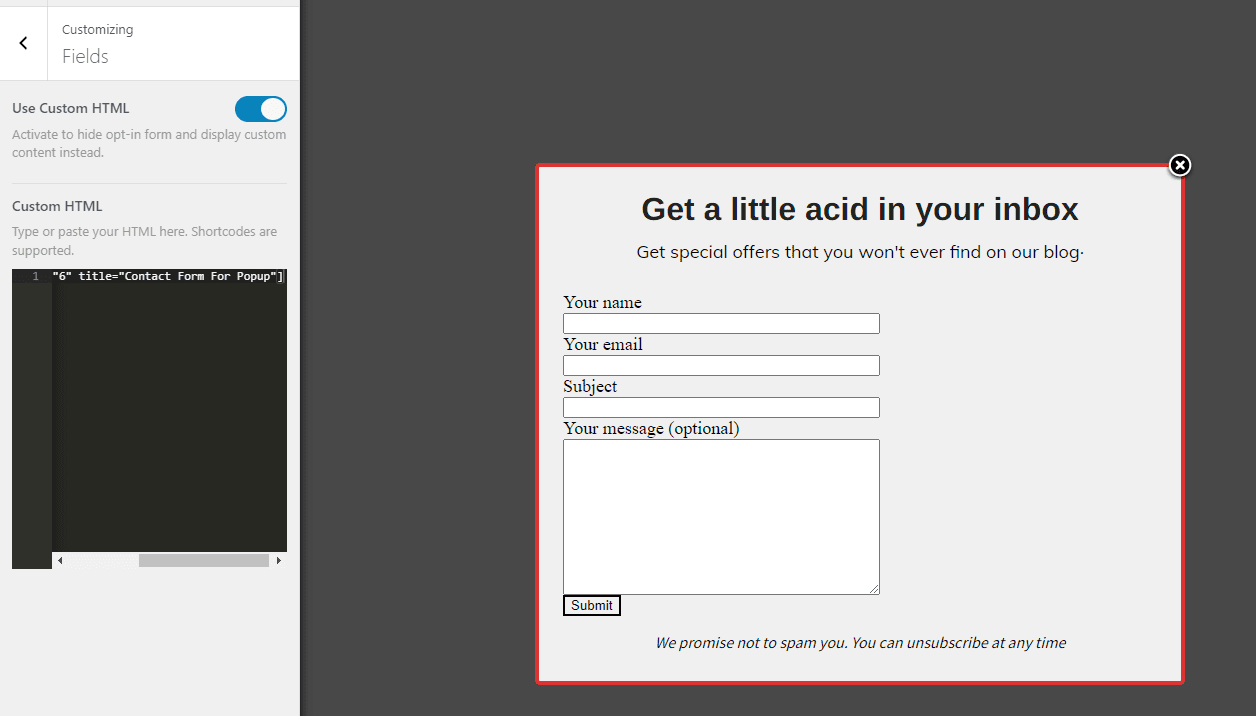
You’ll now see a preview of what your Contact Form popup will look like on your website. Your contact form may look drastically different based on what contact form plugin you’re using.
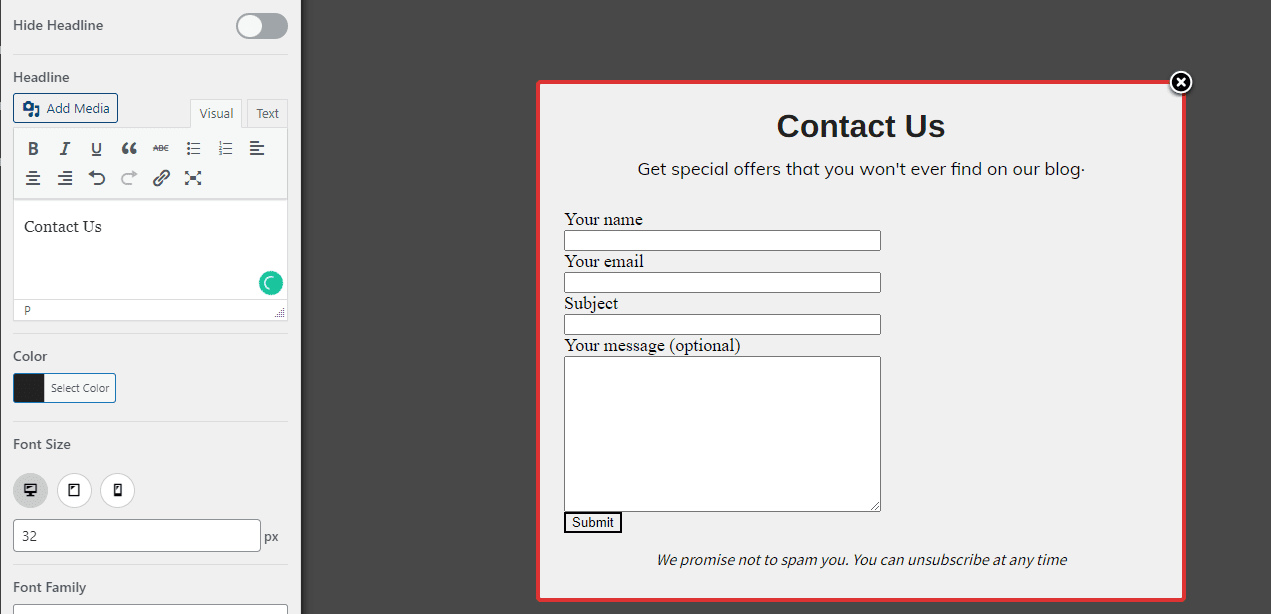
To edit the heading or the subheading, click on it, and you’ll see available customization options in the left sidebar:
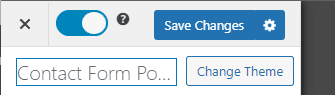
Once you are done customizing your popup, click the Save Changes button on top:
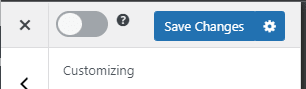
To enable this popup, click the toggle to the left of the Save Changes button:
Now, if you visit any page on your website, you’ll see the popup:

MailOptin offers a lot of triggers to control when to display the popup. You can check the documentation to learn more about customizing your popup’s behavior.
Conclusion
Creating a contact form popup in WordPress is easy. All you need is MailOptin and a contact form plugin. This article includes instructions for five of the most popular plugins.
Whichever one you use, follow the instructions for that plugin. If you don’t have a contact form plugin installed on your website, I recommend installing Contact Form 7. It’s completely free and effortless to use.