How to Translate Strings & Texts in WordPress Plugins
Localizing or translating a WordPress plugin to a language of your choice can be a reasonably effortless task even for beginners, provided the right plugin is used for this purpose.
When localizing a plugin on your website to your language of choice. Loco Translate makes it effortlessly easy, even for beginners. We have outlined steps to translate the strings/texts of the MailOptin plugin in a few easy steps.
With this plugin, you’ll be able to translate any string in a plugin, including the Widget Area titles – all this directly from your browser.
However, it would be best to familiarize yourself with the most common terms when translating labels in WordPress themes or plugins.
⋅ Label - A predefined text in a theme added by the author.
⋅ POT file - Portable Object Template – This is the file you get when extracting texts from the web/mobile application. Usually, you would send this file to your translators/agency.
⋅ PO file - Portable Object – This is the file you receive back from the translators. It’s a text file that includes the original texts and the translations.
⋅ MO file - Machine Object – The MO file contains the same contents as the PO file. The two files differ in their format. While a PO file is a text file and is easy for humans to read, MO files are compiled and easy for computers to read.
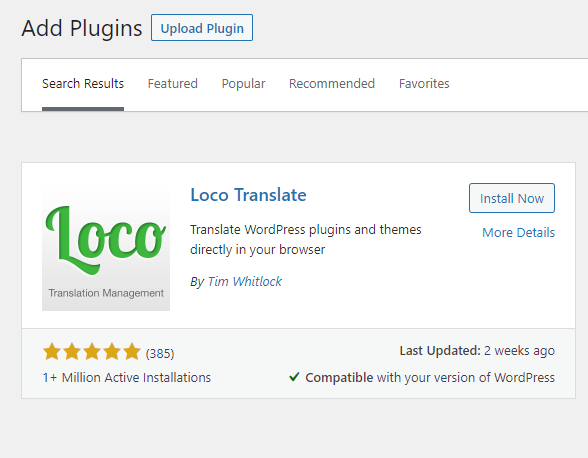
Now that you are familiar with the basic terms, you can install and activate the Loco Plugin via your WordPress dashboard.
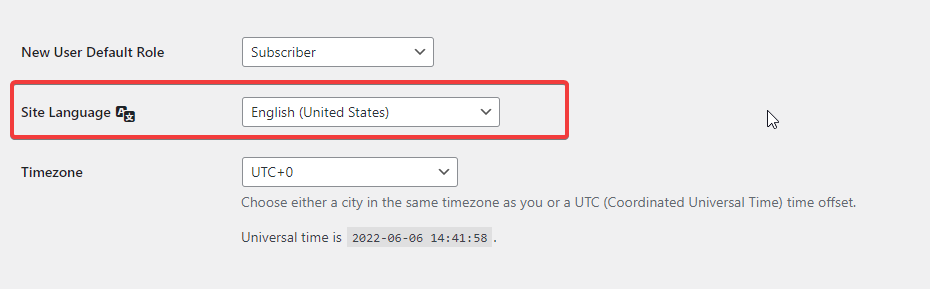
Changing the website’s default language
If you haven’t changed your website’s default language to your language, you can do so at Dashboard>>Settings>>General.
Translating Plugins
To do this, hover on Loco Translate and click on Plugins. This will list all the plugins installed on your website, and you should scroll down and click on the plugin. In this case, MailOptin.
![]()
By clicking on the MailOptin plugin, you can add a new localization and create or modify the template within the POT file.
Adding a new localization language is pretty straightforward. First, click on the “New language” button in the overview tab. Then, select any language under “WordPress language” and “Author” as the location option.
You can choose the custom language option and supply a three-letter abbreviation if your desired language is missing.
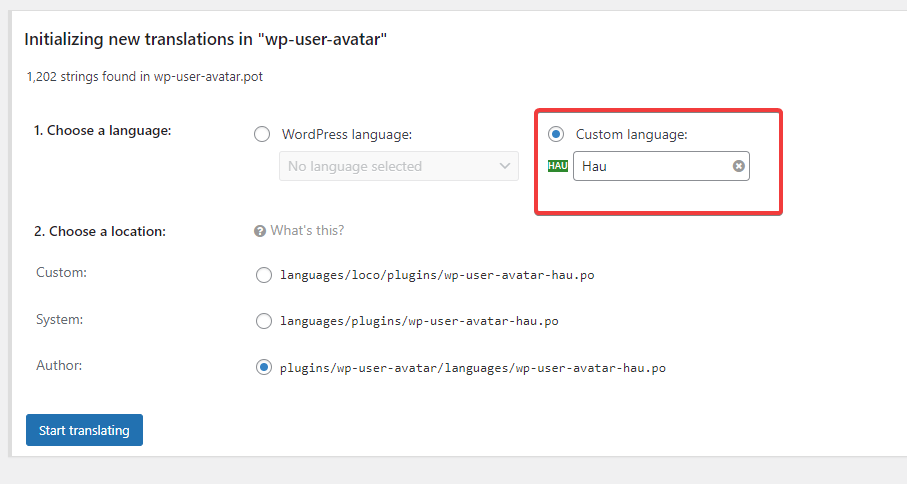
NB: In the screenshot above, I used “Hau” for the Hausa language.
In the translating screen, you’ll get a list of editable/translatable labels that you can change as desired.
![]()
You can translate the labels in ascending order or search for your desired label using the filter option. After locating your label, you must input the translation into your-language translation field and save the changes you made.
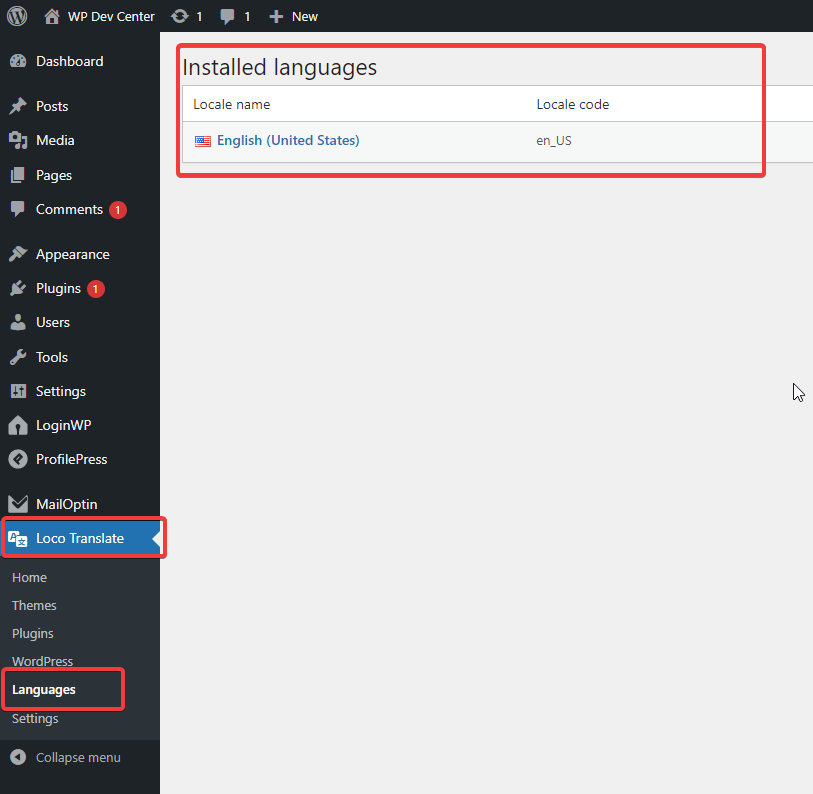
You can check all the added localizations on the Languages page:
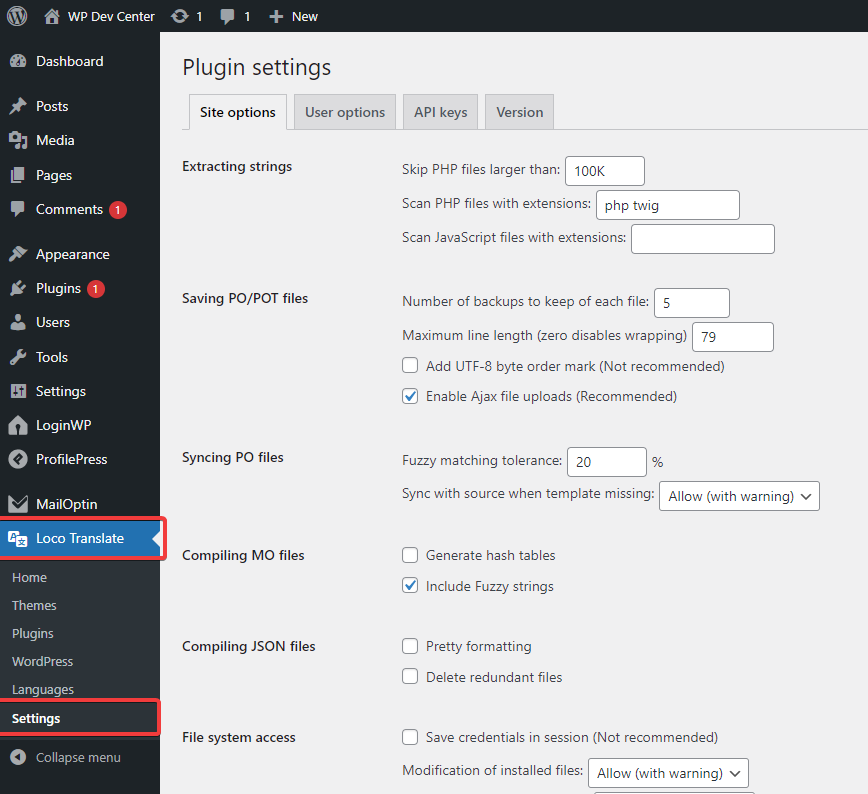
If you wish to change some of the default settings for the Loco Translate plugin, you can do so here:
Translating Simple Strings
If a string of text you are trying to translate doesn’t have a dynamic component, eg. %s has been added to your cart.You can use the Translate Word plugin.

Conclusion
Translating the MailOptin plugin’s texts and strings is very easy. This can be done by contributing a language translation in the WordPress repository or with the free Loco Translate described above.