How to Send Emails to Paid Memberships Pro Members in WordPress
Paid Memberships Pro is a popular WordPress membership plugin that lets you create & sell memberships and courses online.
If WordPress powers your membership site, it’s important you send emails to your members regularly. Email is one of the most efficient and cheapest forms of marketing on the Internet. It’s an inexpensive way to engage a vast audience in a very short amount of time.
Sending people emails does more than give you a way to inform others or send out news and product updates. It also can play a role in marketing your products and increasing revenues.
This tutorial will teach you how to bulk email your Paid Memberships Pro members or users in WordPress without requiring expensive email marketing software.
Sending Emails to Your Paid Memberships Pro Members
To send a broadcast or bulk email to members or users who are subscribed to a Paid Memberships Pro membership level in WordPress, follow the guide below.
First, please make sure you have MailOptin installed and activated.
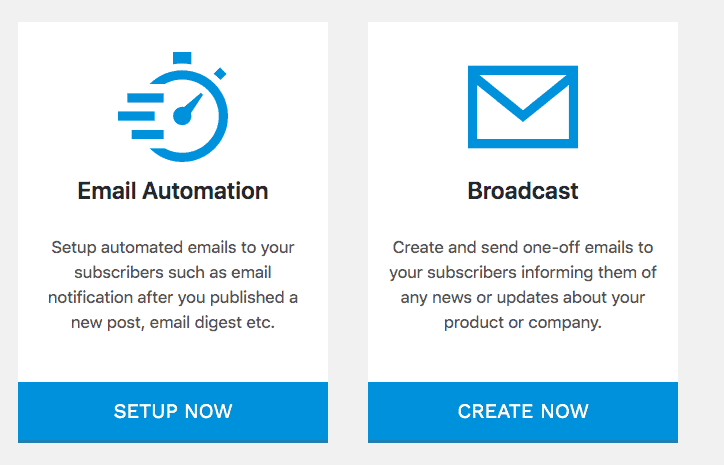
In the WordPress Dashboard, navigate to MailOptin >> Emails, click the Add New button, and select Broadcast.
Enter an email subject and select a template
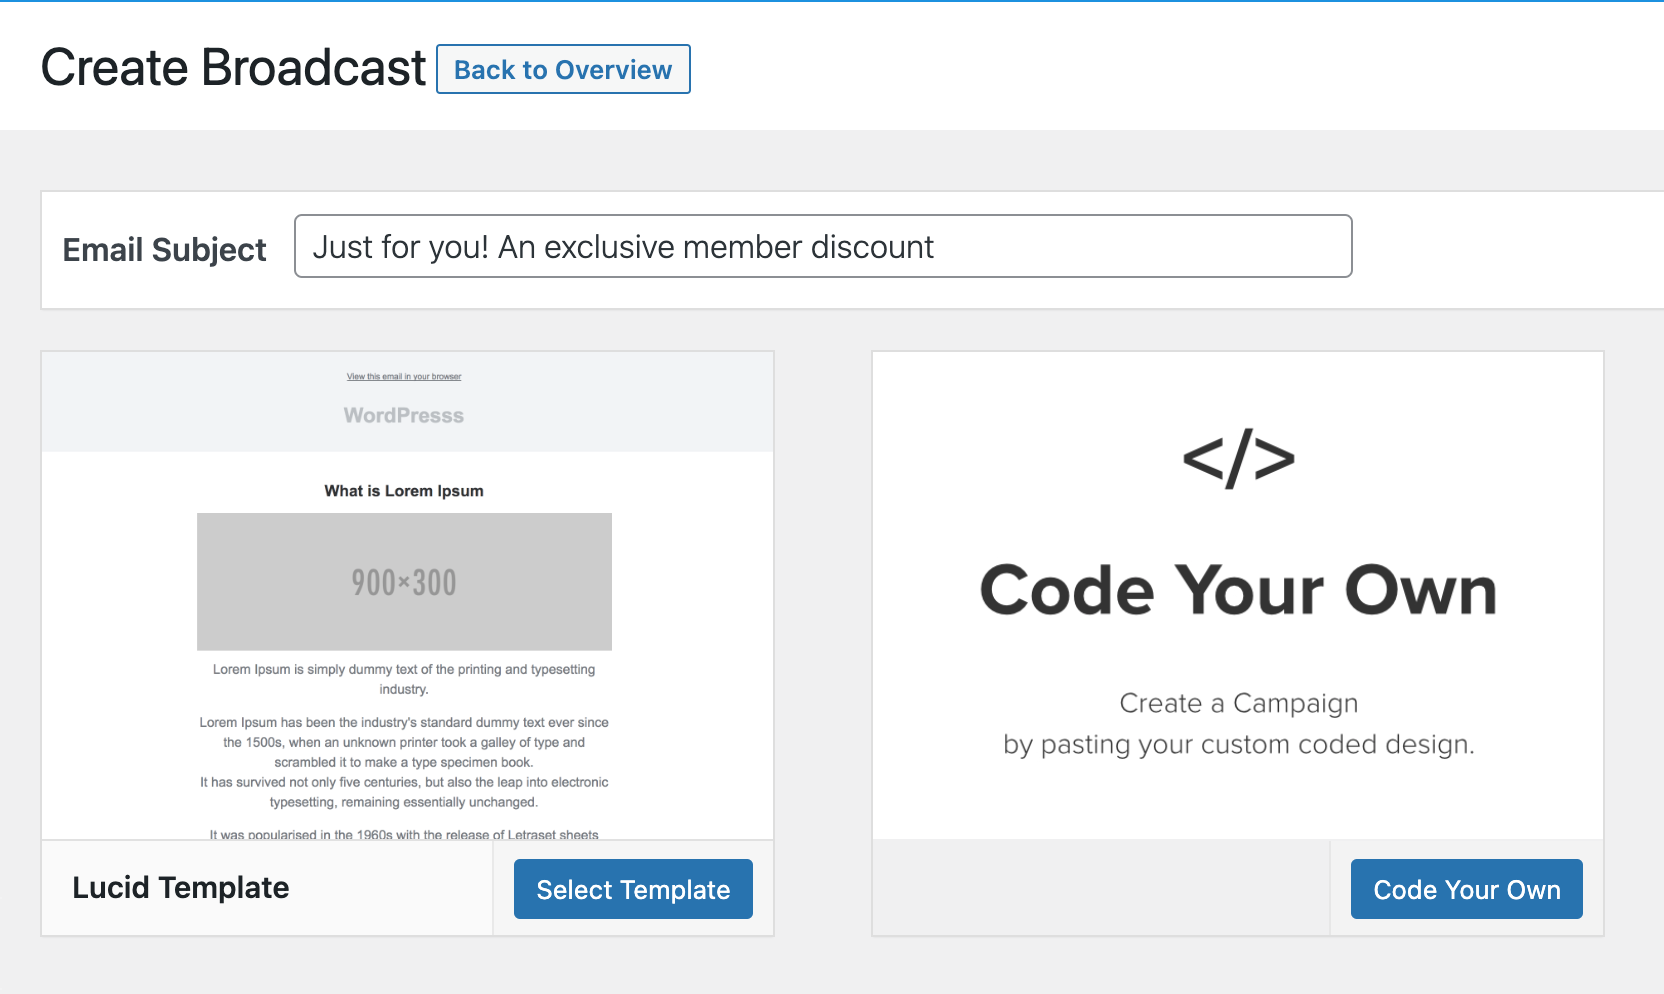
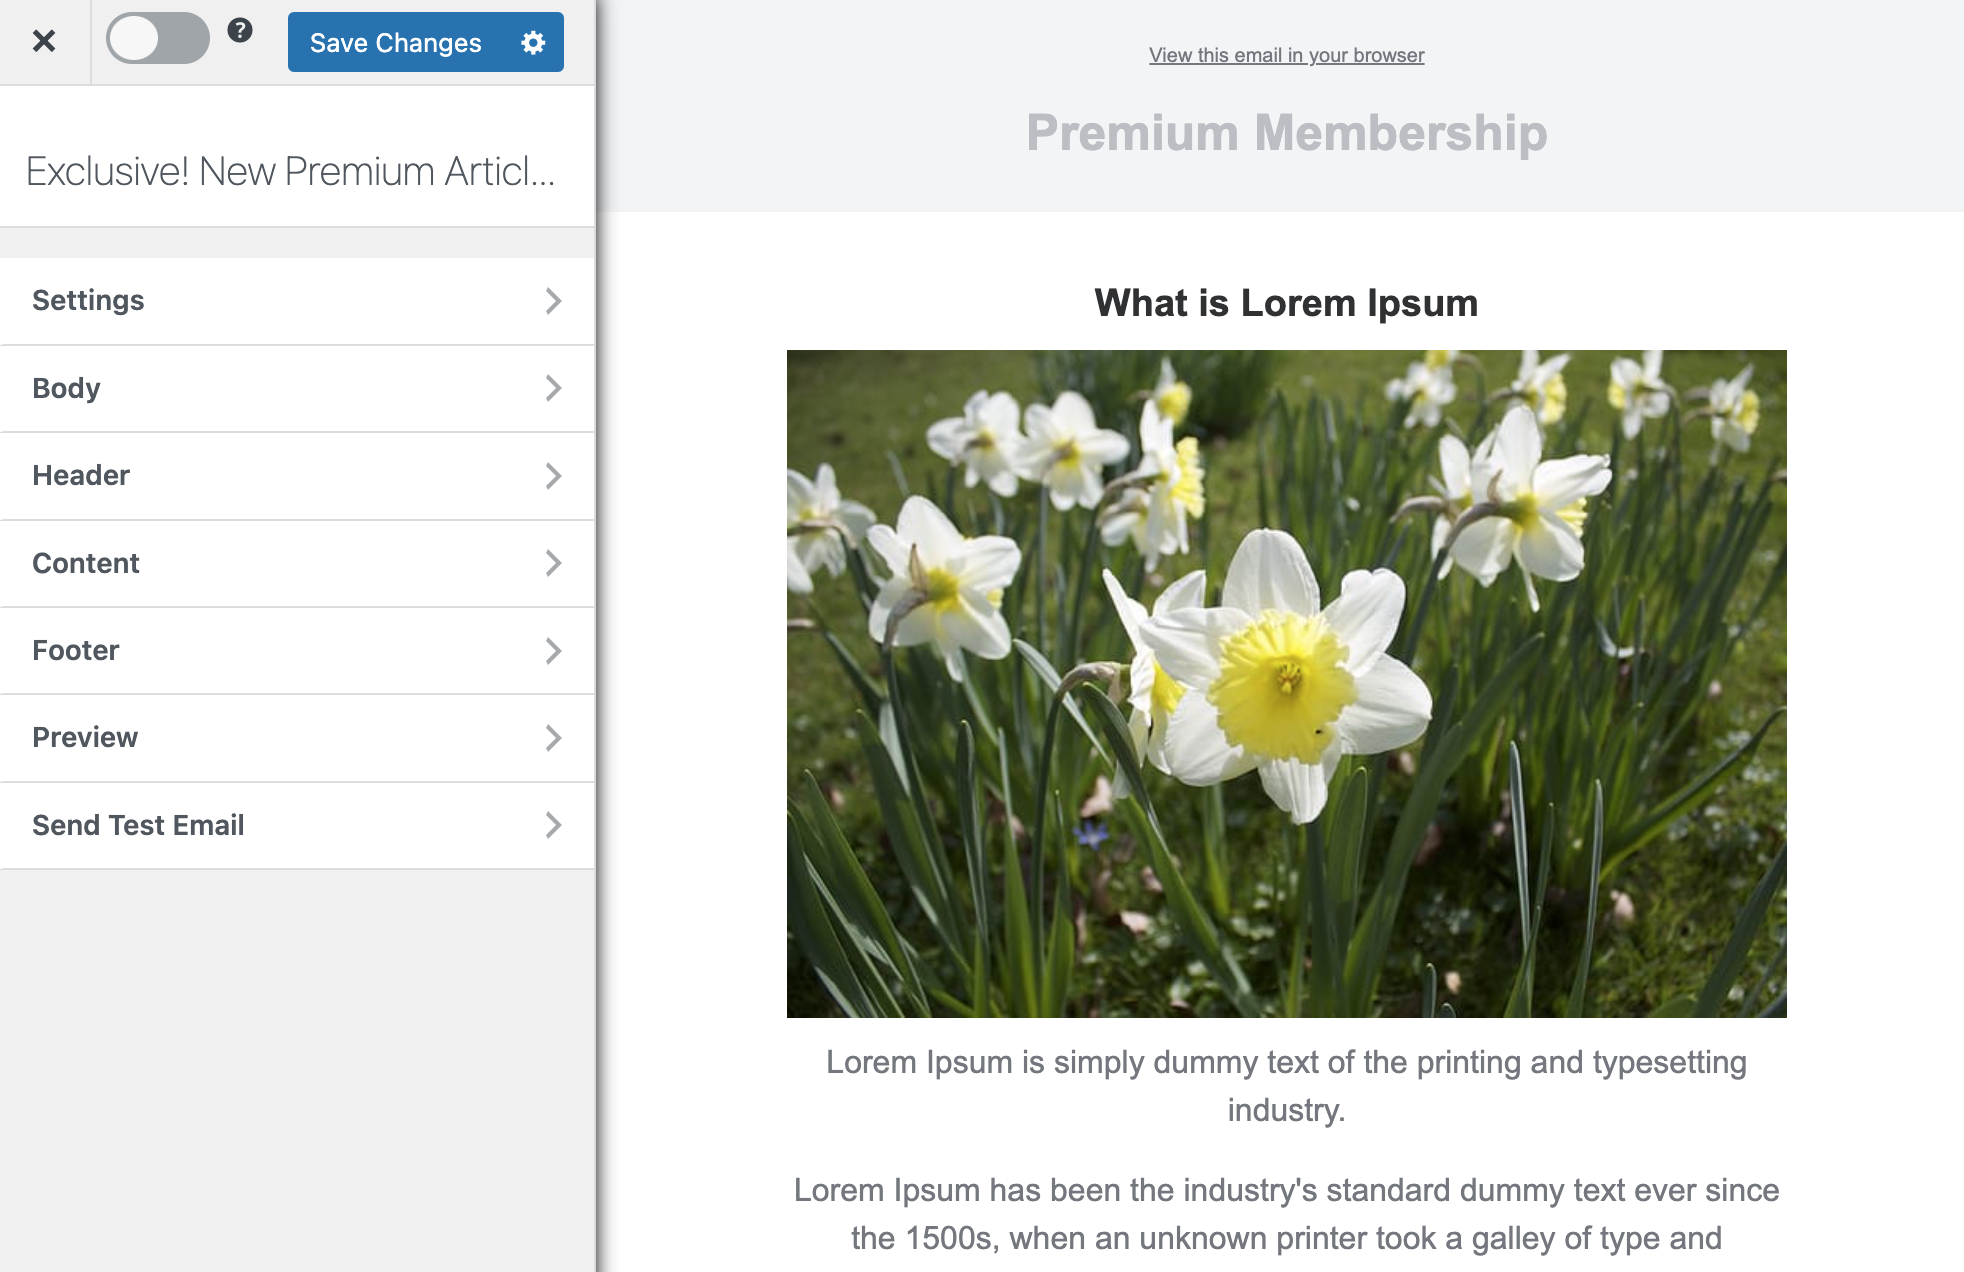
After you’ve selected an email template, you will then open the email builder.
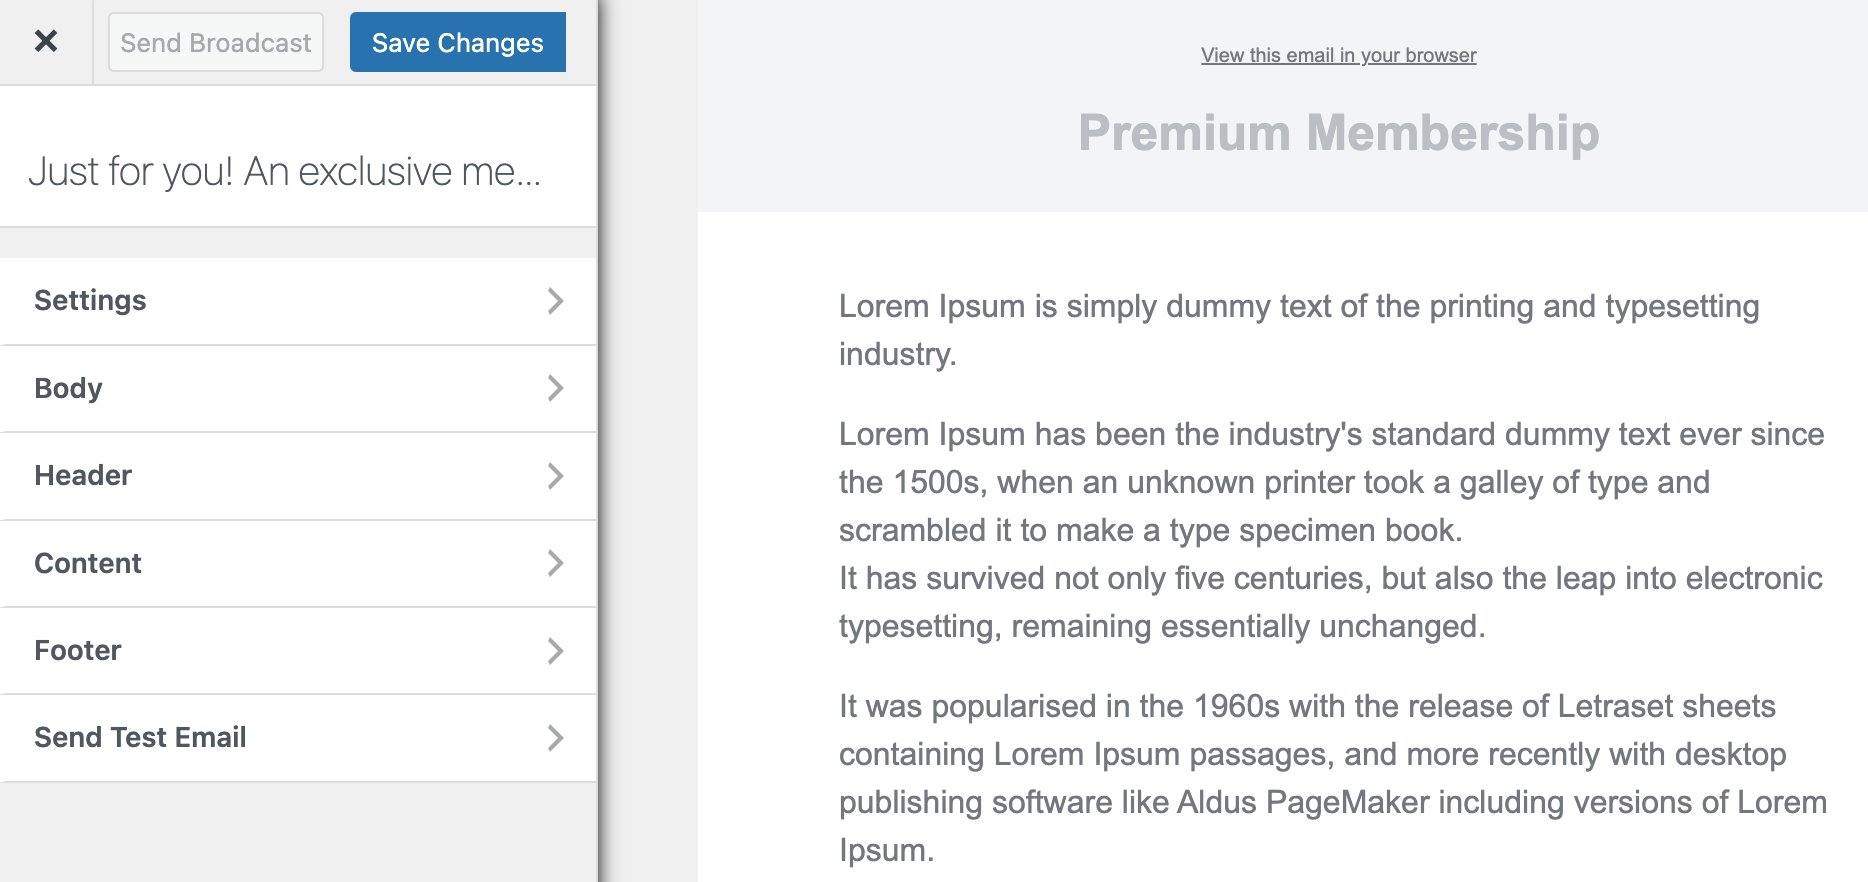
The builder consists of the following panels: Settings, Body, Header, Content, Footer, and Send Test Email.
Settings: You get to modify the email’s subject under this option. You will also be able to connect the email with users to whom you want to send the email.
Body: With this option, you get to change the look of the email template. You can modify the background colour, content background colour, and text colour. You can also add custom CSS to the email template.
Header: The header allows you to set an image that appears on top of your email. But if you want, you also have the option to remove the header.
Content: This option is self-explanatory. It’s worth noting that it’s the Content option. You can also change the style (i.e., font family and size) and block settings (i.e., padding of the content).
Footer: In the footer, you can show your mailing address and copyright message and add an unsubscription link. You also have the option to remove the MailOptin logo or remove the footer altogether.
Send Test Email: As the name suggests, using this option, you can send a test email to anyone, including yourself.
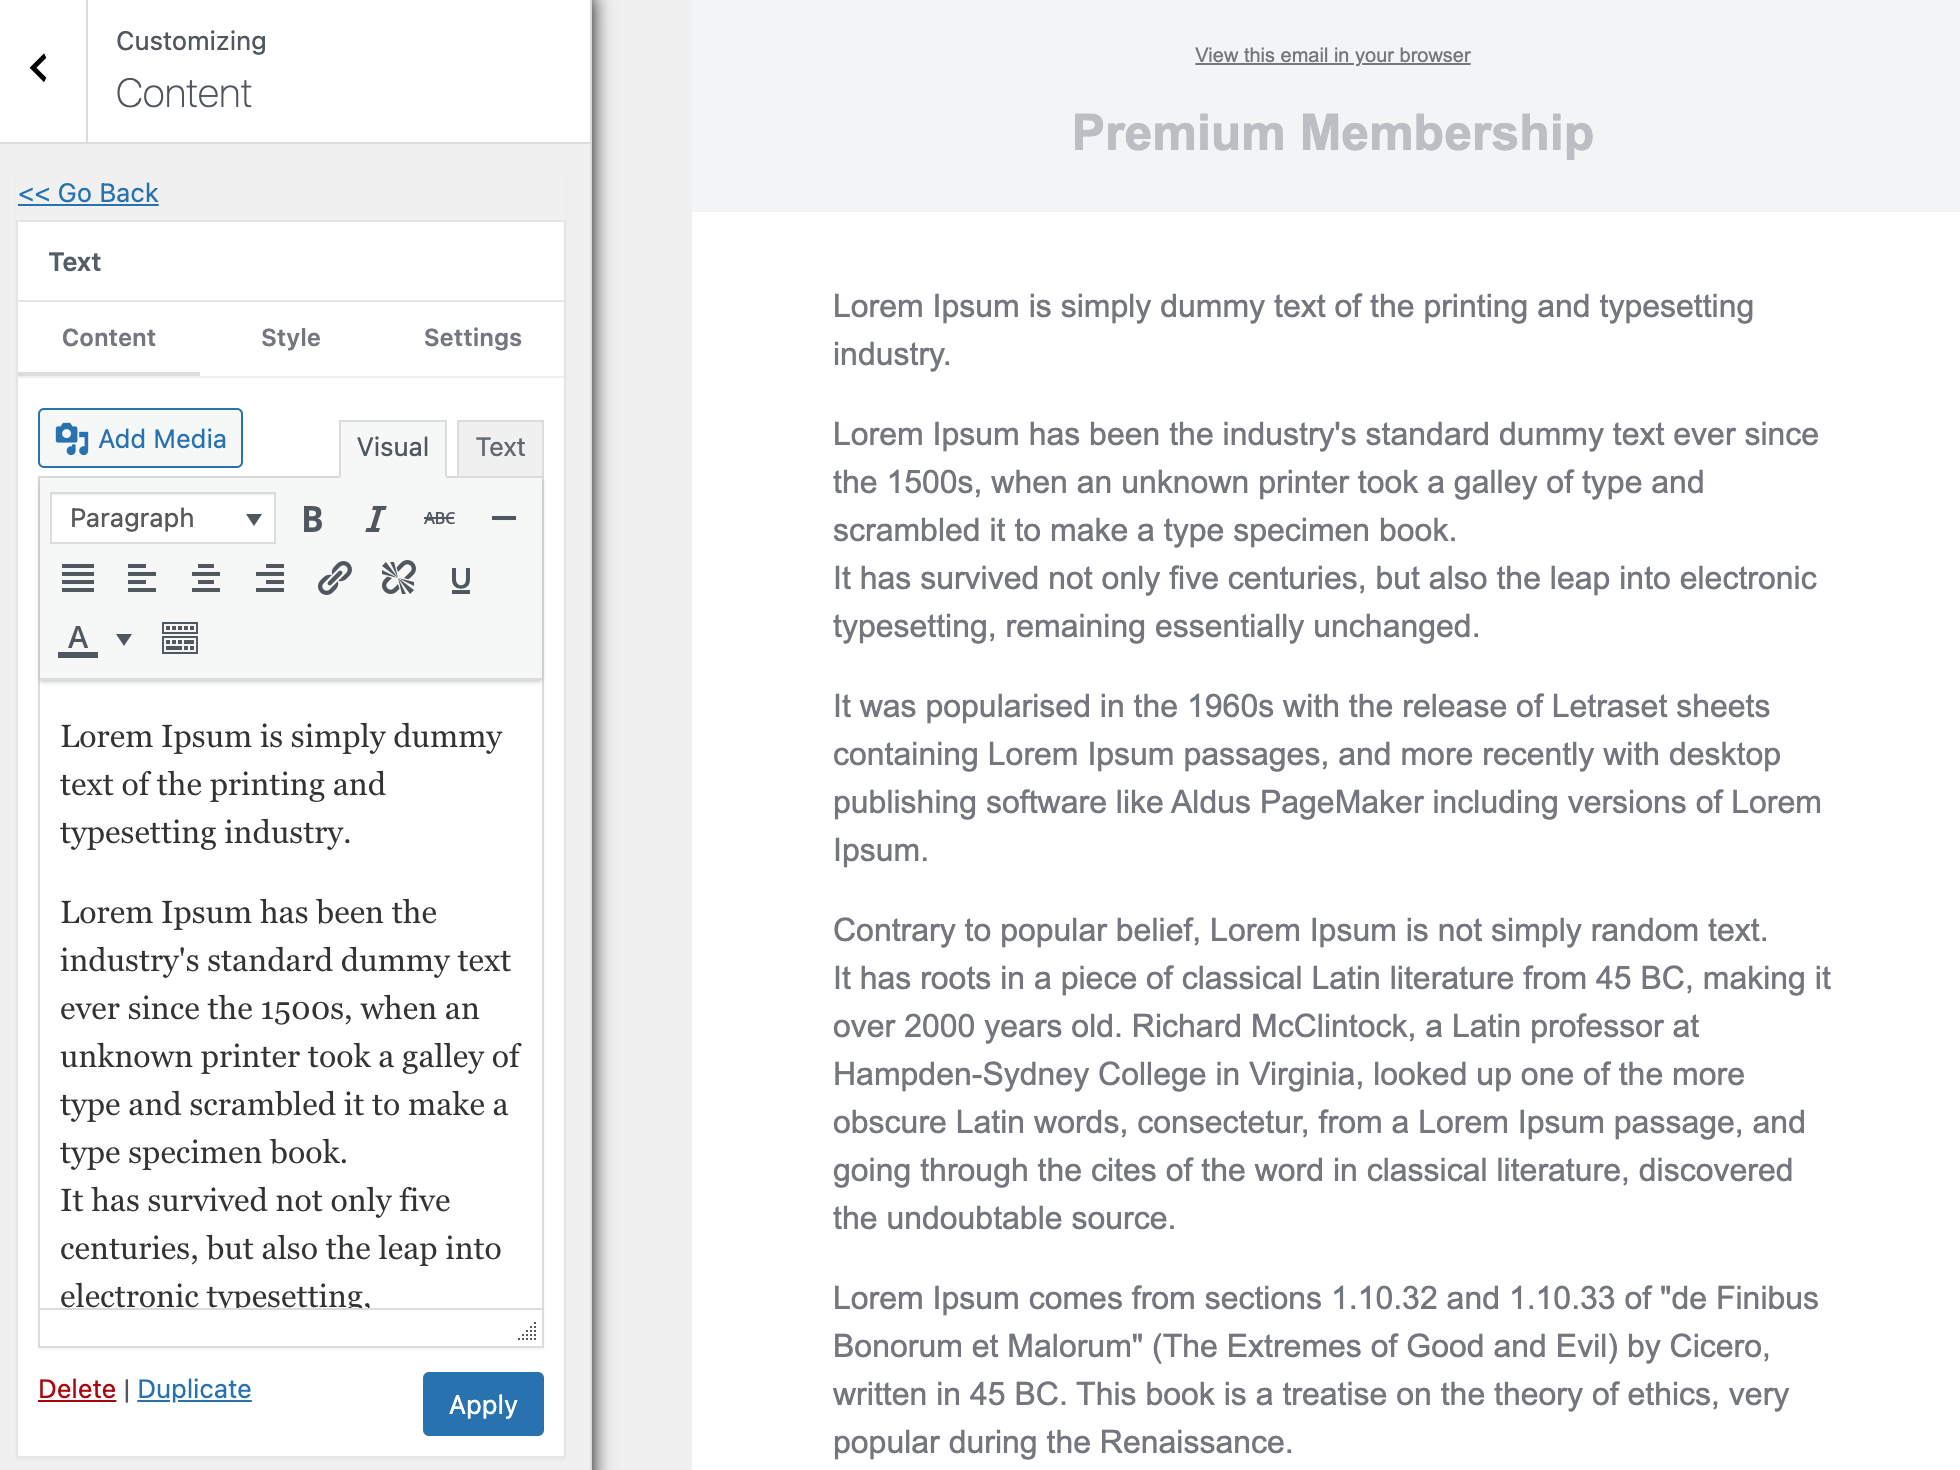
Open the content panel to craft and style the email message or body to your heart’s content.
When you finish the email content, open the Settings panel to set up the email recipient.
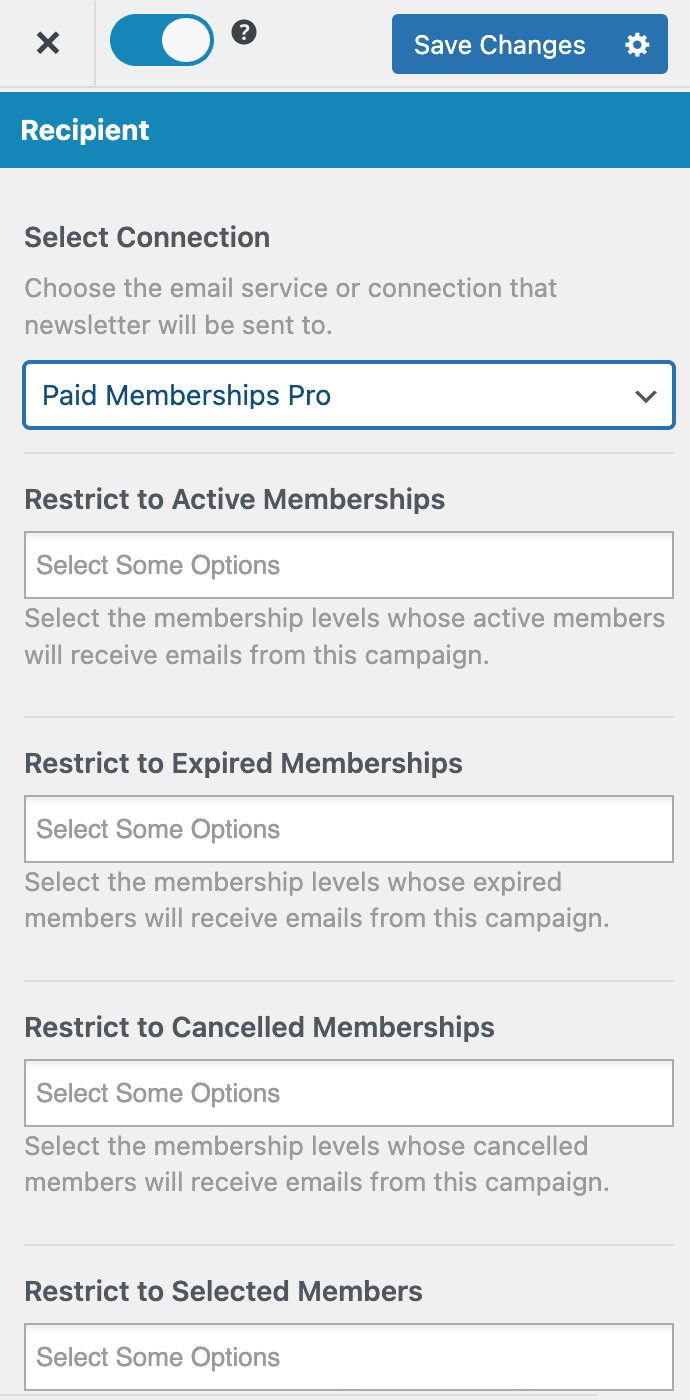
Select Paid Memberships Pro as the connection or recipient. This will send to all Paid Memberships Pro members or users.
If you only want to send the email to members with an active, canceled, and expired subscription to specific membership levels, use the “Restrict to Memberships” setting. And if to specific members, use the “Restrict to Selected Members” setting.
If you want to send the email to members of specific membership levels and selected members, use both the “Restrict to Memberships” and “Restrict to Selected Members” settings.
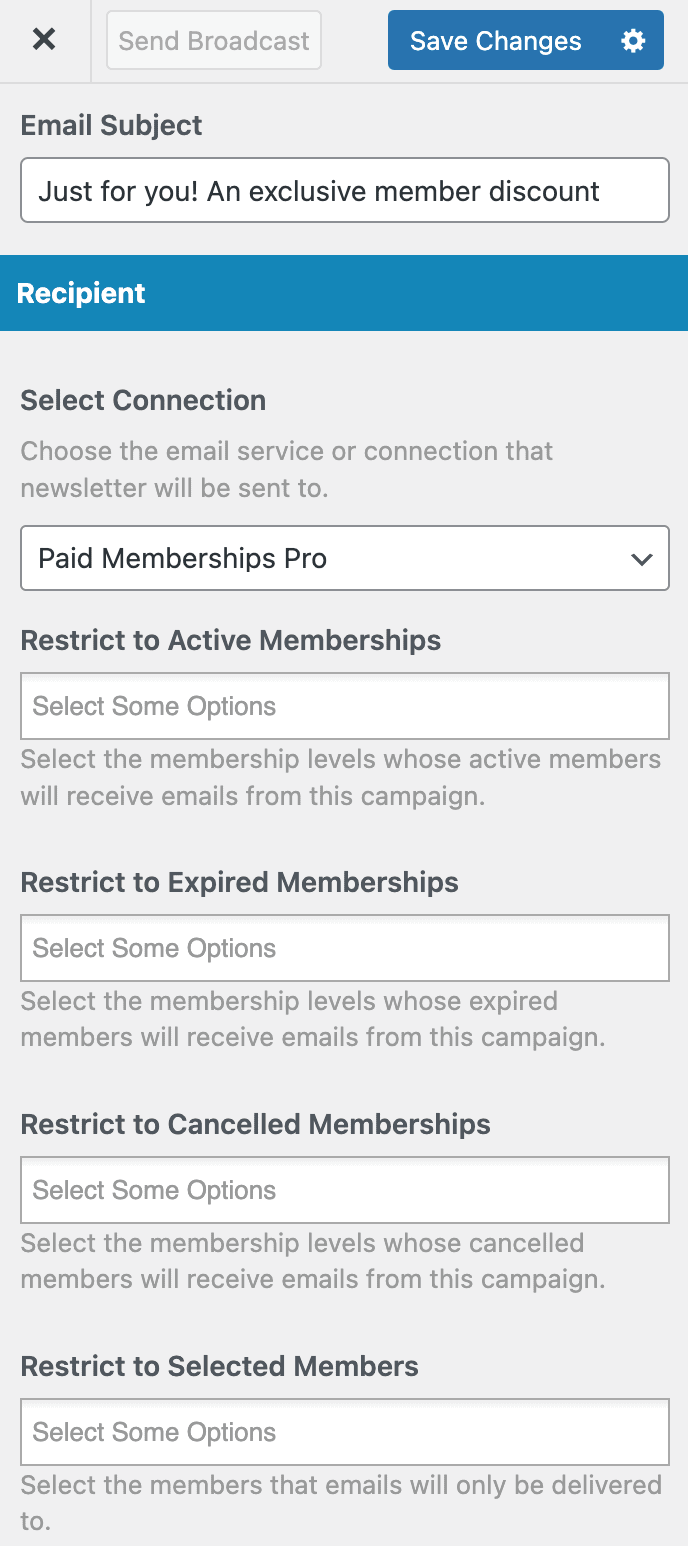
When you are done, click the “Save Changes” button to enable the “Send Newsletter” button that you will click when you finally decide it’s time to send the email.
Easy peasy.
Setting Up Email Automation to Paid Memberships Pro Members
With MailOptin, you can set up email automation to email your paid subscribers or users whenever you publish a new post or article. You can also set up a daily, weekly, and monthly email digest of your published posts to your members.
Setting Up New Published Post Email Automation
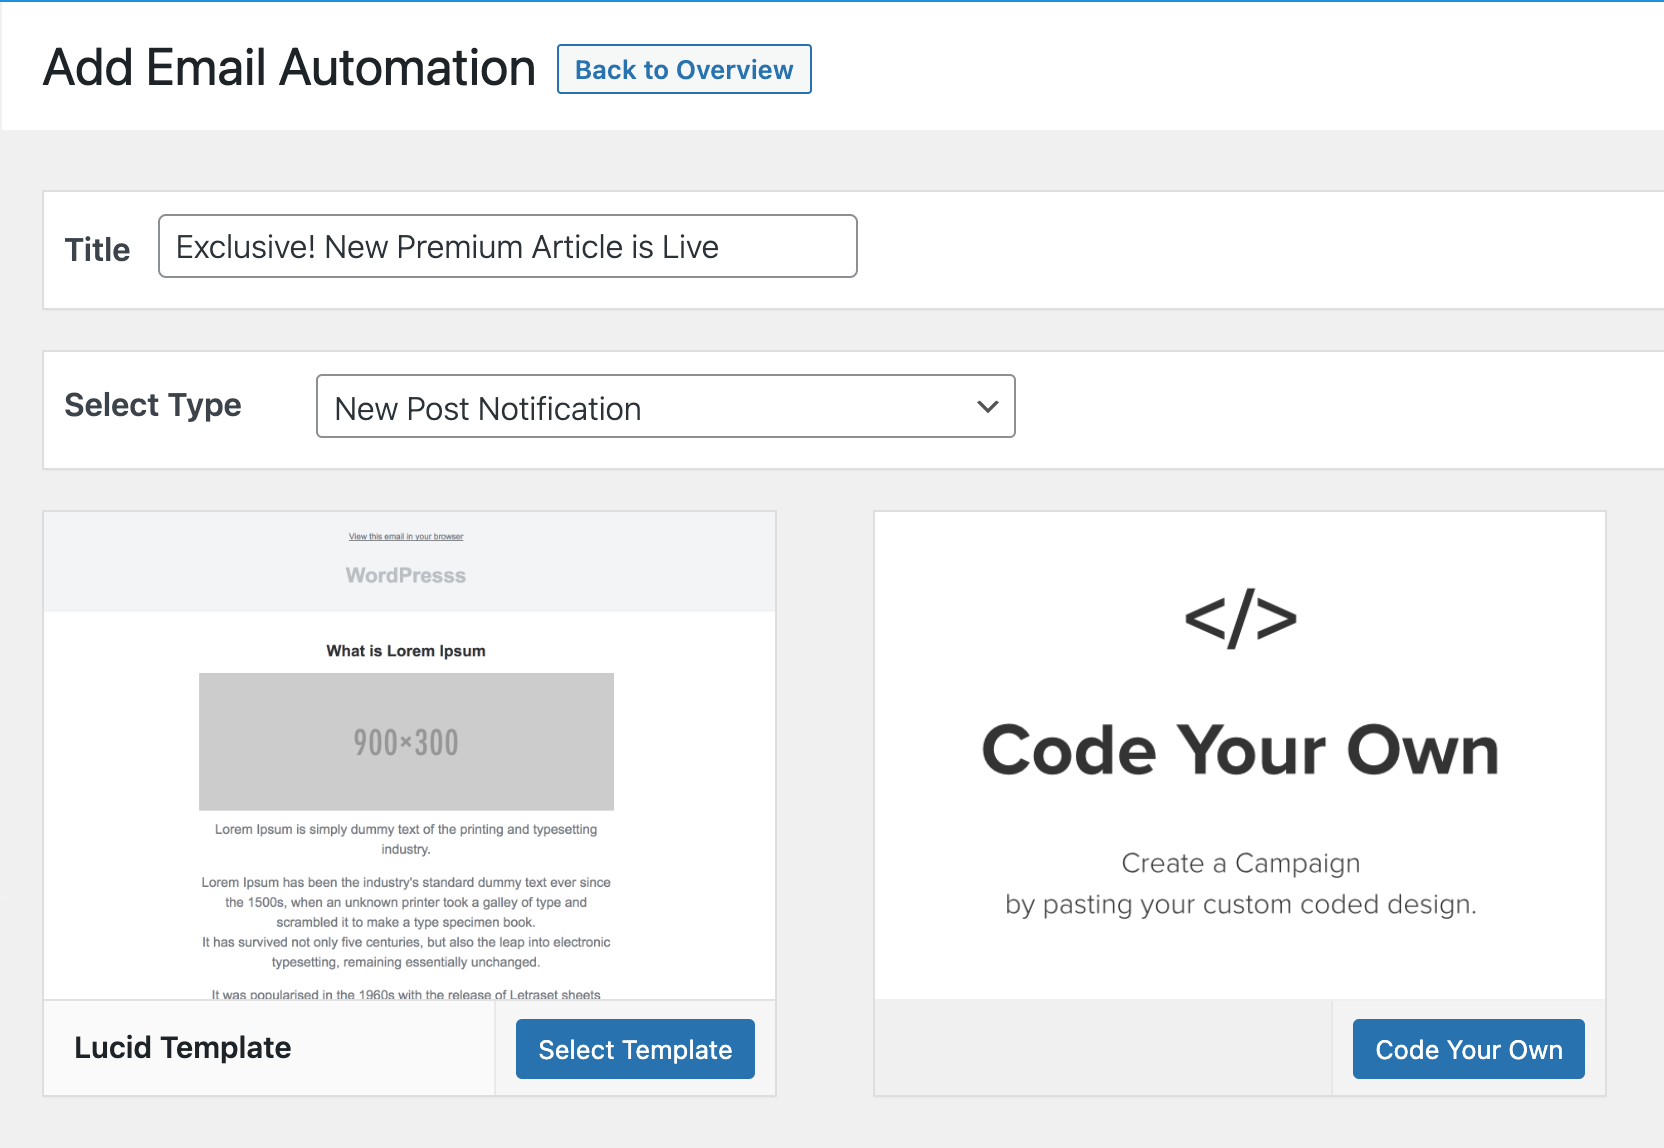
To get started, go to MailOptin >> Emails and click the Add New button. Select “Email Automation”
Enter a title for the automation, select “New Post Notification, ” and select an email template to open the email builder.
On the email builder, use the Body, Header, Content, and Footer panels to customize the email template to your heart’s content. You have options to change colours, add a header image, add custom content, and more.
The Settings panel is where the actual setup is done. Open it to set up the email subject and the maximum content length. You can also restrict the automation to specific categories, tags, and authors. This is ideal if you want to send an email when blog posts are added to a specific category in WordPress.
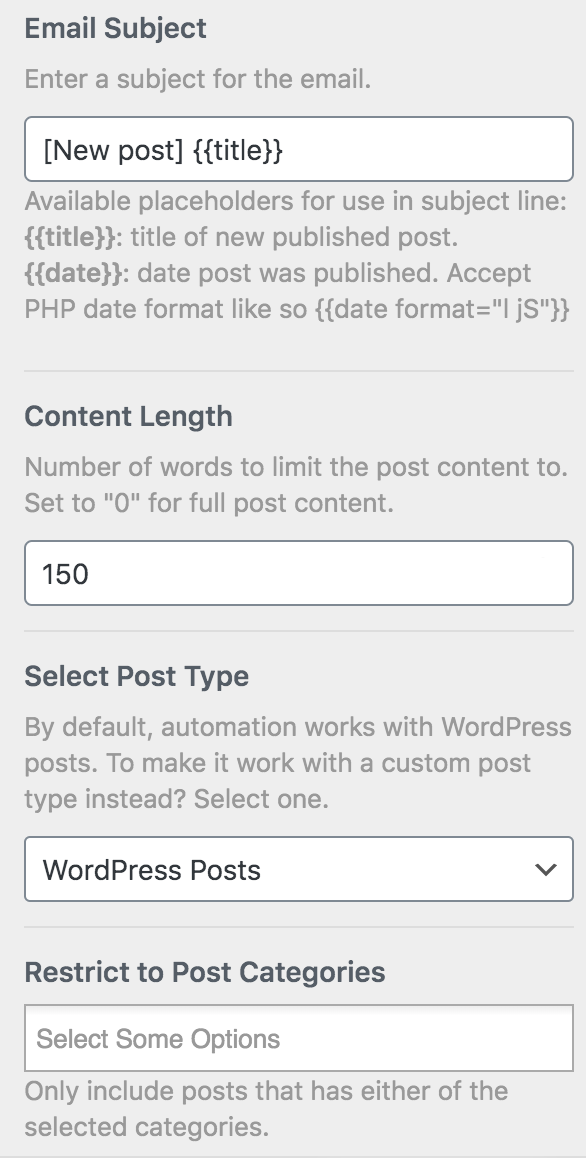
You can also restrict the automation to certain post authors or authors that belong to specific memberships.
Next, scroll down to the Recipient section, and select ‘Paid Memberships Pro’. If you only want to send the email to members of specific memberships, use the Restrict to Memberships setting. And if to specific members, use the Restrict to Selected Members setting.
When you are done, click the Save Changes button at the top right corner and then toggle the activation switch to the right to enable the automation.
Setting Up Email Digest Automation
Similar to the New Post Notification setup explained above, when creating the automation, select “Posts Email Digest” and choose a template.
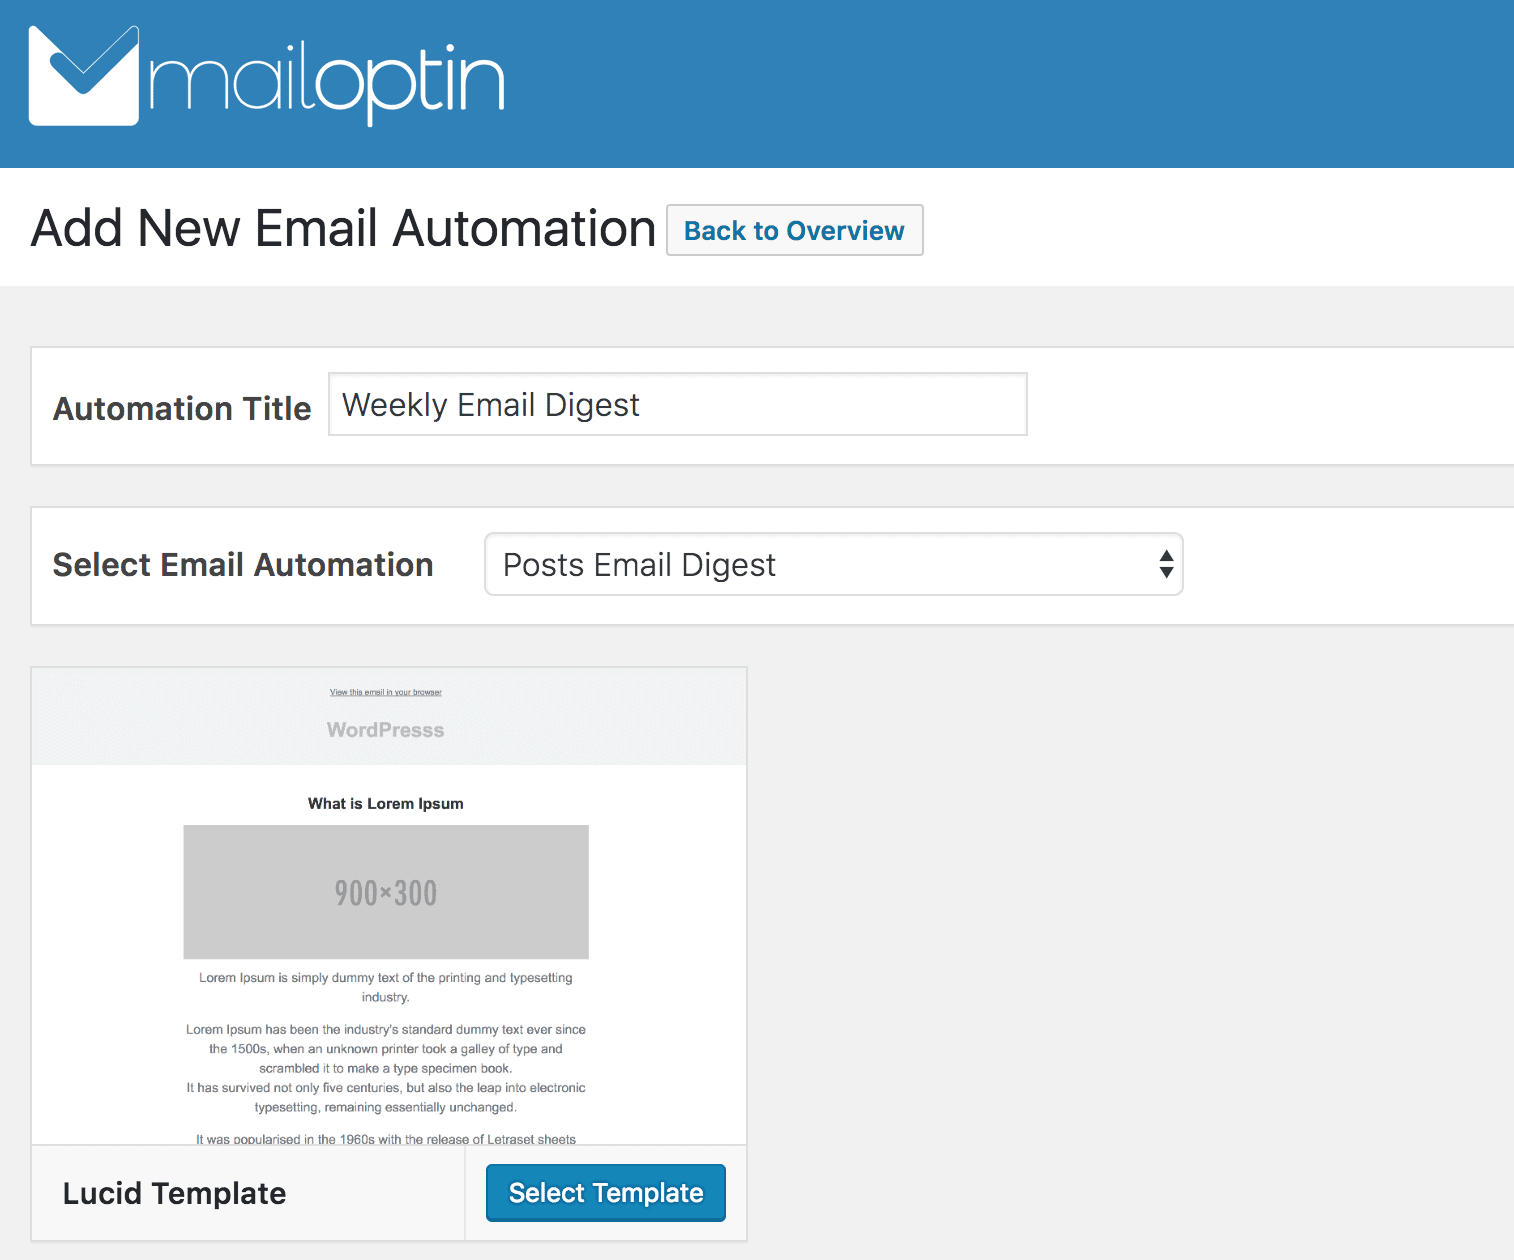
Set up and craft the email content and settings. In the recipient section, select Paid Memberships Pro and/or the memberships whose members you will love to send the automated emails.

Use the Schedule section to decide when to send out the email, which could be daily, weekly, or monthly.
Don’t forget to save your changes and activate the automation.
Conclusion
Bulking email or sending newsletters/broadcasts to your membership site users or members is a great tool in any website owner’s toolkit. As long as you handle the process responsibly and don’t spam anyone, it can be a win-win situation for the user and you as a site owner.
MailOptin integration with Paid Memberships Pro makes it easy to contact all your members without hassle.
If you are using email marketing software with your membership and online course website, MailOptin lets you subscribe to Paid Memberships Pro members to your email list after they signup or subscribe to a membership.