WordPress New Post Notification To ActiveCampaign List Contacts
The New Post Notification email automation feature in MailOptin is an essential tool for email list builders.
Keeping your subscribers engaged and informed about your latest content is crucial for maintaining a vibrant online community. However, manually sending emails every time you publish can be time-consuming and prone to human error.
MailOptin is a versatile WordPress plugin that integrates seamlessly with various email marketing services, including ActiveCampaign. It automates notifying subscribers about new posts, ensuring they receive fresh content.
In this tutorial, we will learn how to set up new post notifications to your email list contacts on ActiveCampaign; it will save you the stress of manually creating newsletters for every new post you publish on your WordPress site.
Setting Up New WordPress Post Email Automation to ActiveCampaign List
Begin by purchasing a copy of MailOptin. When you’re done with the purchase, log in to your WordPress admin dashboard, go to the Plugins page, and click the Add New button.
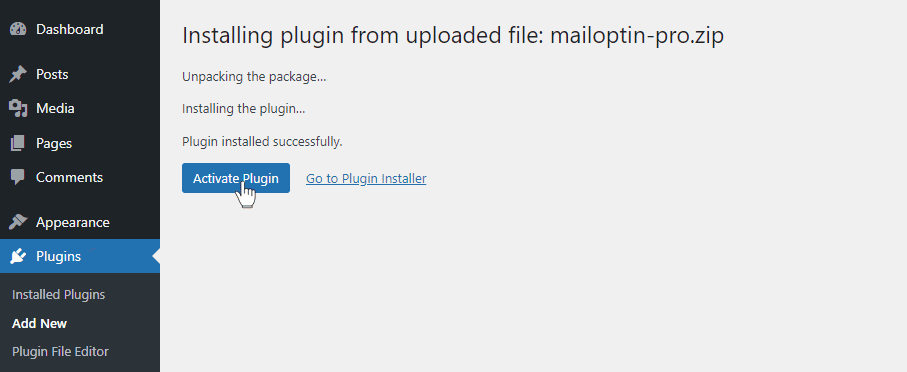
Click “Choose File” to select the downloaded plugin zip file, then click “Install Now”. After installing the plugin, click ‘Activate Plugin’ to enable it.
In your ActiveCampaign account, create a default address if you haven’t already. This is very important; otherwise, no email campaigns will be sent by ActiveCampaign. Do that now by following this guide.
Ensure you’ve connected MailOptin with your ActiveCampaign account.

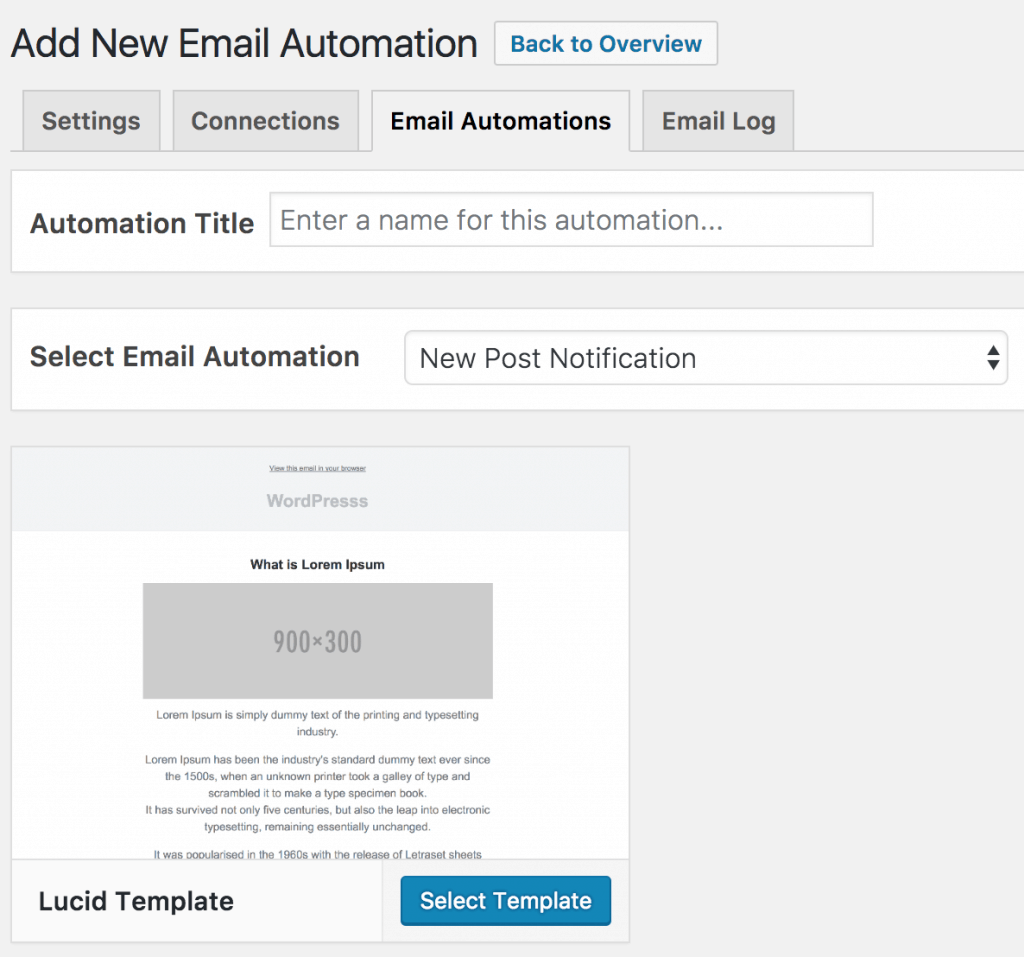
Go to MailOptin >> Email >> Add New. Enter a title for the automation, select the automation type “New Post Notification”, and finally, select an email template.
Here’s how to use your own custom email template.
Setting Up The New Post Notifications
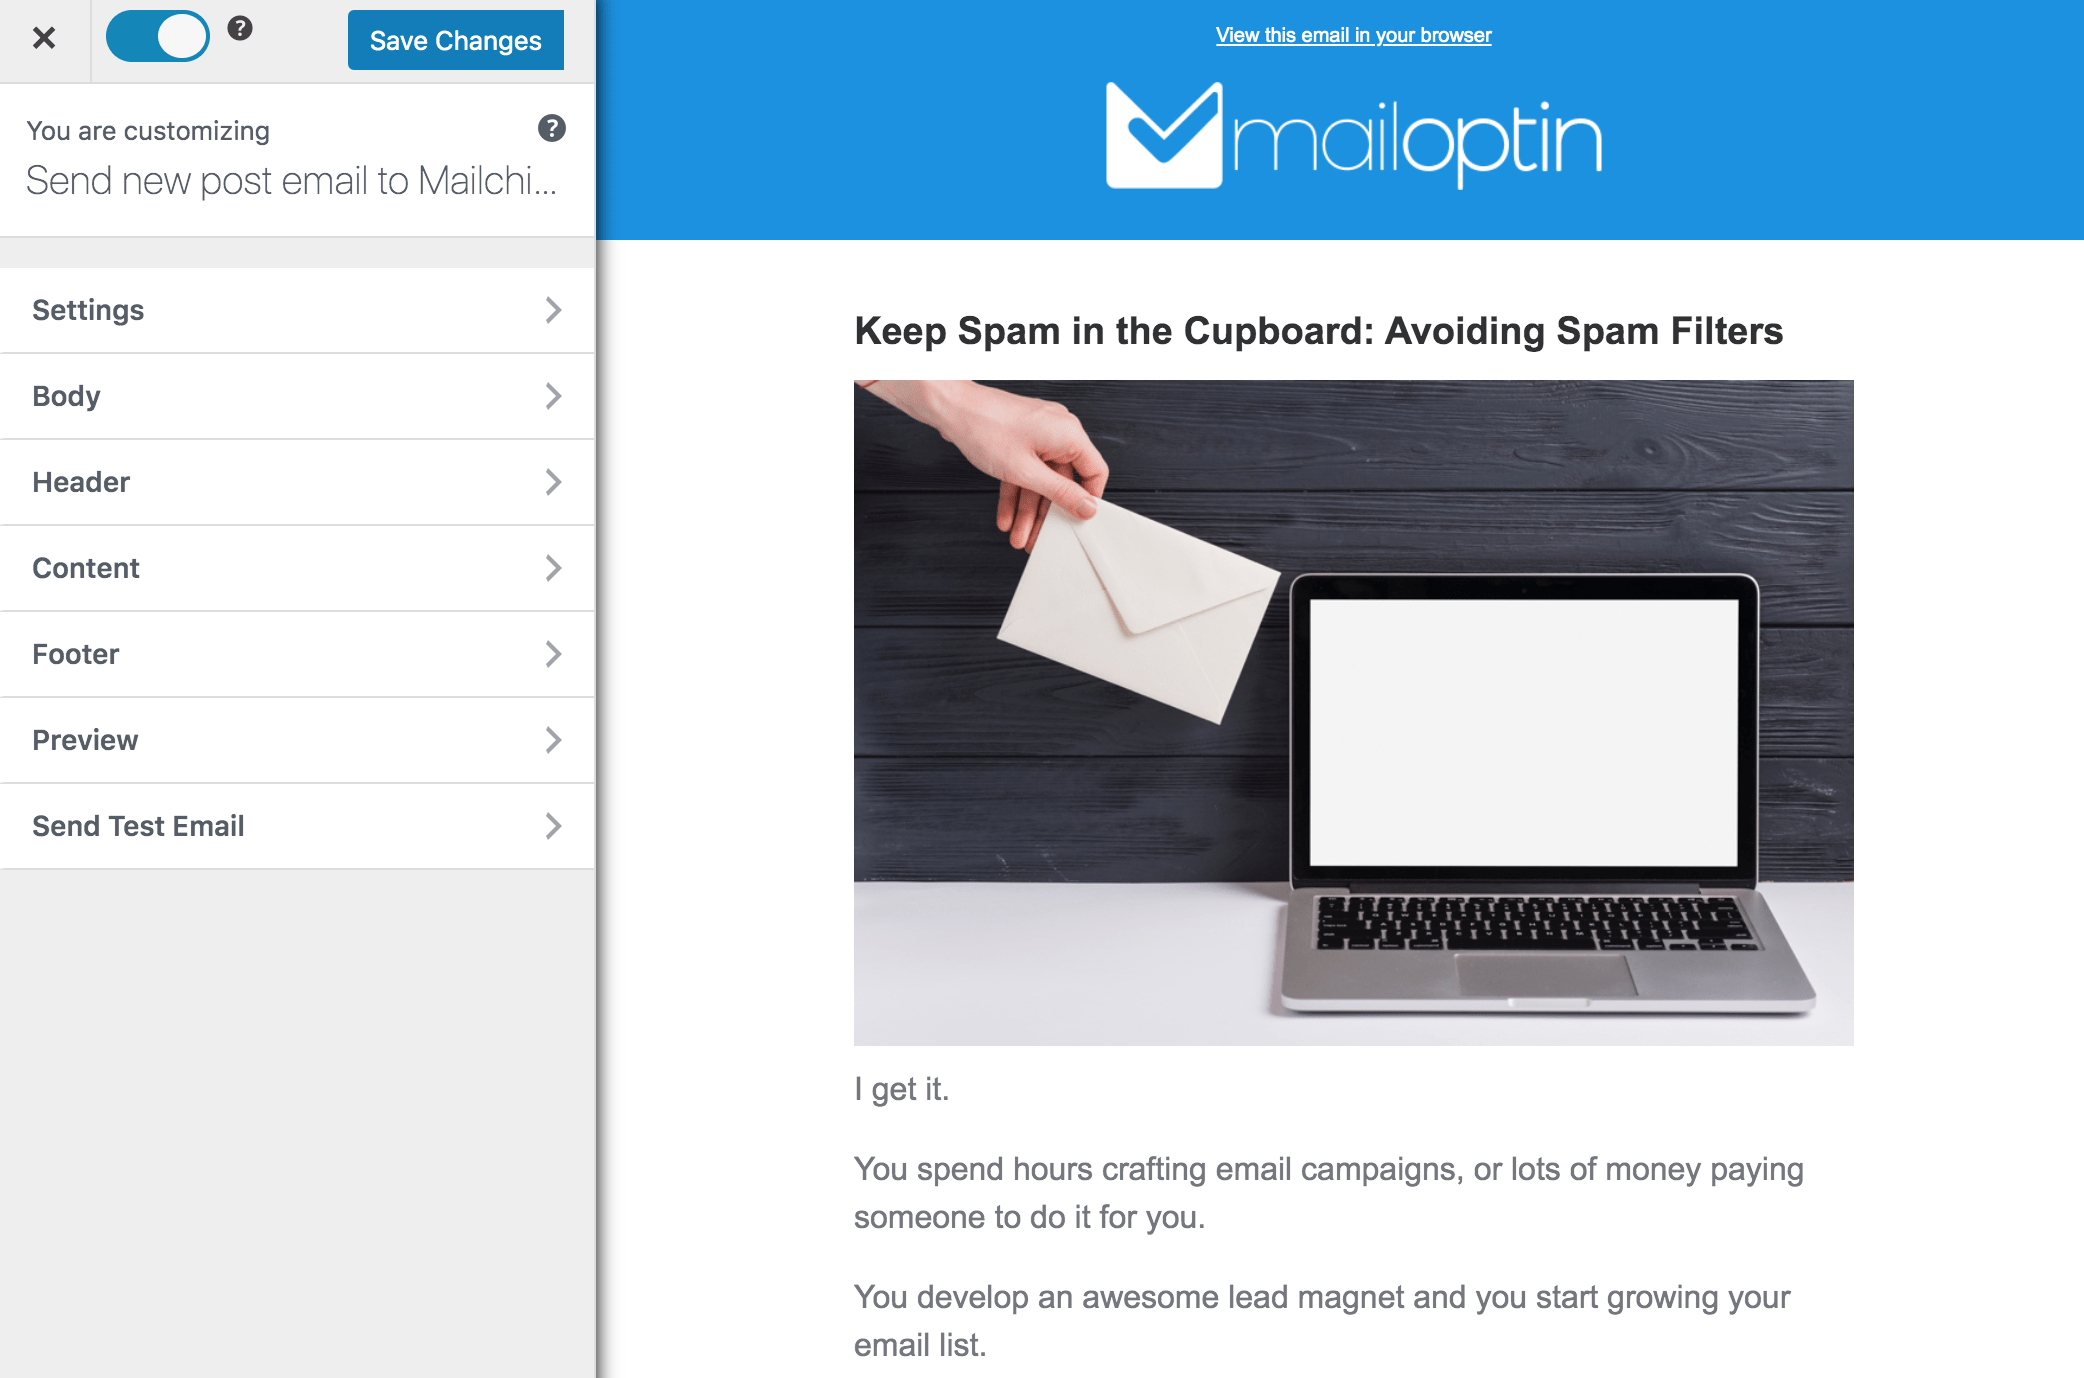
After selecting your template, you will be taken to the email customizer page, where you can configure the automation settings, template page, template header, template content, and even send a test email to your email address.
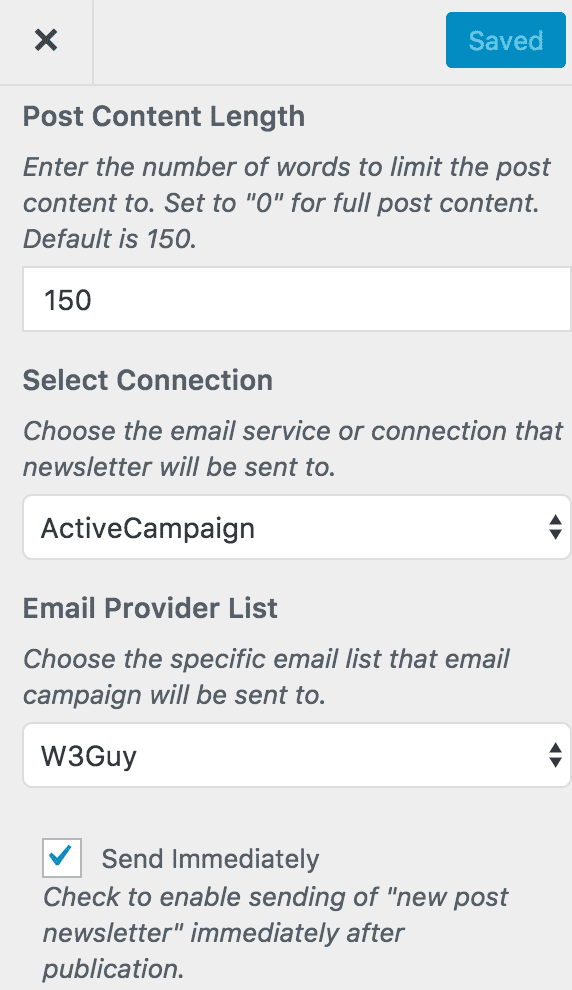
Open the Settings panel, select “ActiveCampaign” as the connection, and select a specific email list to send the email to.
You can also decide to send the newsletters immediately after post-publication to ActiveCampaign by checking “Send immediately” or schedule it to be sent minutes, hours, or days after post-publication.
So that you know, you can create as much automation as possible to send the post to a different email list based on the categories and tags it belongs to.
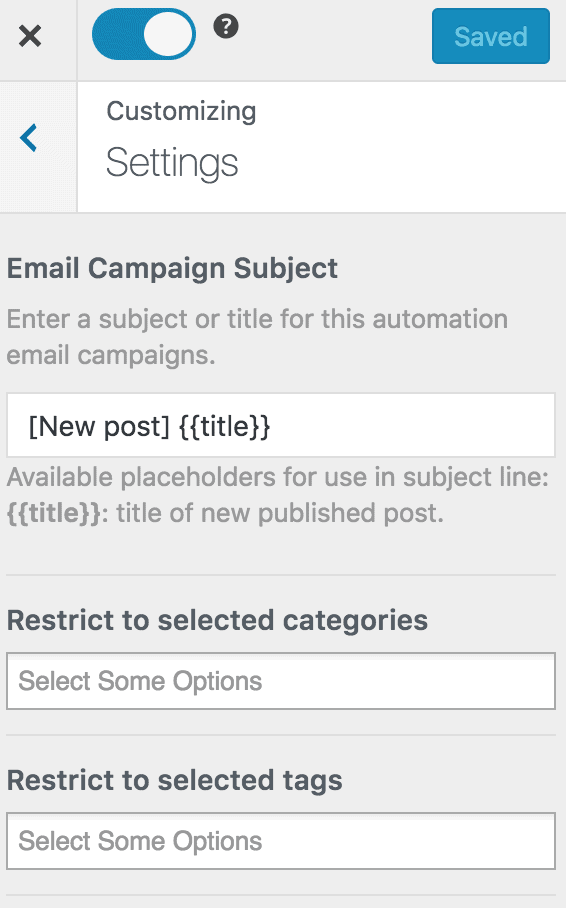
The setup is now complete. Finally, save your changes and activate the automation.
Every time MailOptin sends a new post newsletter to your list, you will see the record in your ActiveCampaign dashboard.

You can also decide to send a daily, weekly or monthly round up of published posts instead of immediately after posts are published.
Now that you’ve learned how to set up WordPress new post notifications to your ActiveCampaign list using MailOptin, it’s time to take action!
Don’t let your fresh content go unnoticed. You can engage your subscribers automatically and keep them returning to your website.
To recap, here’s what you should do next:
- Install MailOptin on your WordPress site if you haven’t already done so.
- Connect your ActiveCampaign account to MailOptin.
- Set up your WordPress new post notification as outlined in this guide.
- Test your setup to ensure everything works smoothly.
Consistent communication with your audience is crucial for building a loyal readership. Implementing this automated notification system signifies a significant step towards more effective content distribution and increased website traffic.
