WordPress New Post Notification Email To Keap/Infusionsoft Contacts
Do you want to automatically send WordPress new post notifications to your Keap/Infusionsoft contact list?
Keeping your subscribers engaged and informed about your latest content is crucial for maintaining a vibrant online community. However, manually sending emails every time you publish can be time-consuming and prone to human error. That’s where the powerful combination of MailOptin and Keap/Infusionsoft comes in.
MailOptin is a versatile WordPress plugin that seamlessly integrates with various email marketing services, including Keap/Infusionsoft, which automates notifying subscribers about new posts and ensures they get fresh content.
In this article, we’ll walk you through setting up WordPress new post notifications to your Keap (Infusionsoft) list using the MailOptin plugin.
Step 1: Install and Activate MailOptin Plugin
Begin by purchasing a copy of the MailOptin plugin.
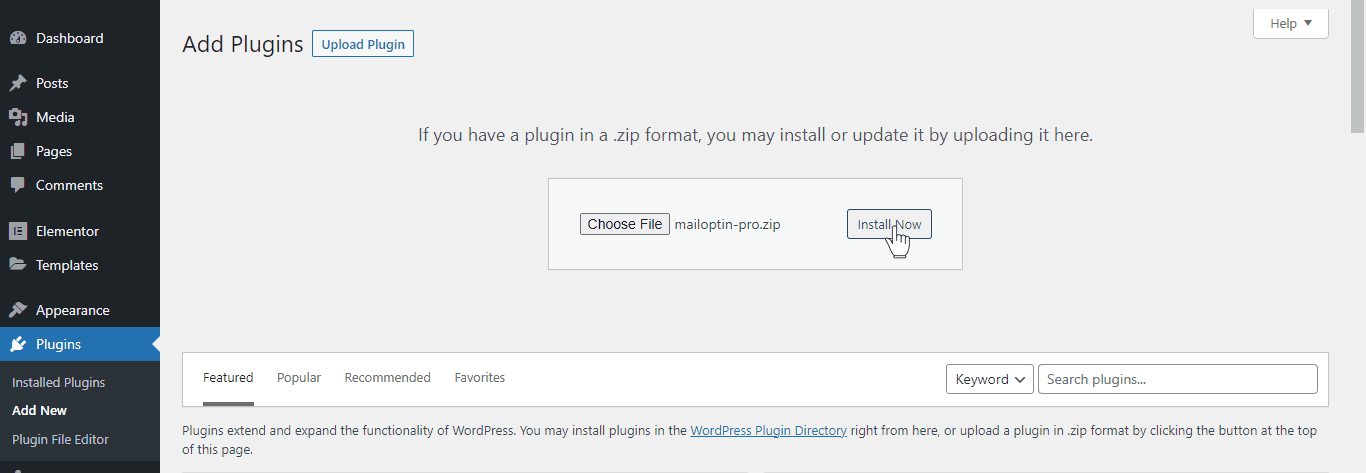
After your purchase, log in to your WordPress admin dashboard and navigate to the Plugins page. Click on the “Add New” button and click “Upload Plugin. ”
Upload the zip file, install, and activate the plugin on your WordPress site.
Step 2: Connect MailOptin to Keap/Infusionsoft
Next, you need to connect MailOptin to your Keap/Infusionsoft account. To do this, go to the Integrations settings page by clicking the sidebar menu link or the top menu tabs.
At the Keap / Infusionsoft Connection section, click the “Authorize” button.
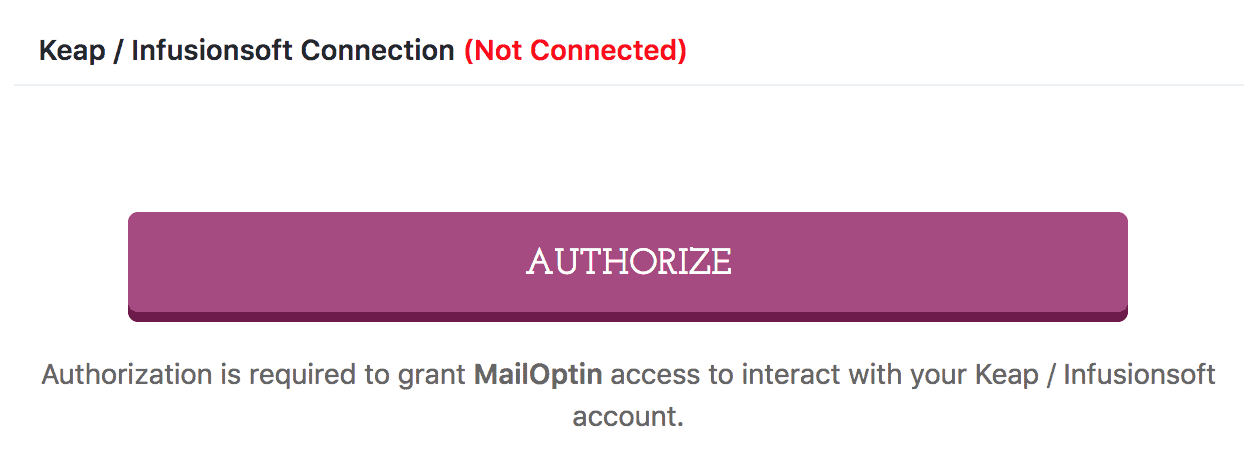
You will then be redirected to log in to your account and subsequently to a page to authorize MailOptin to access your account.
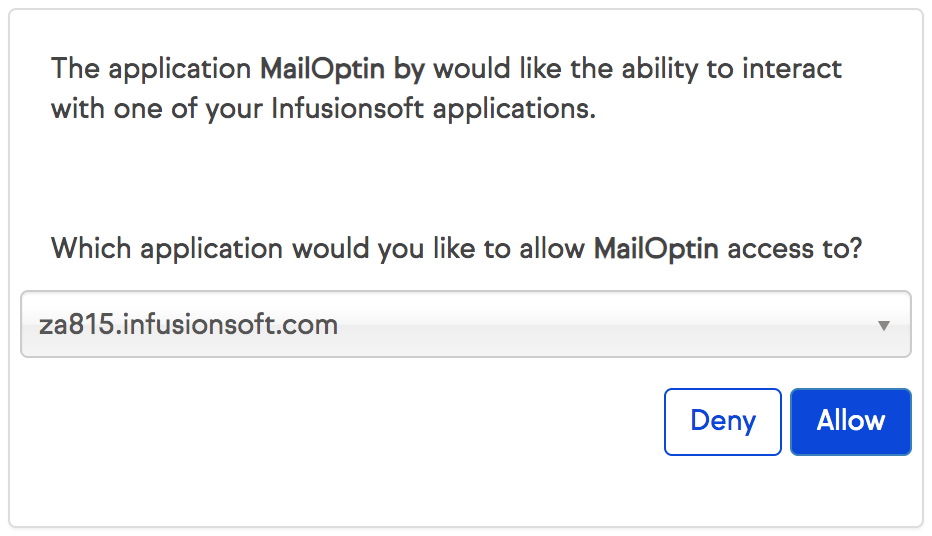
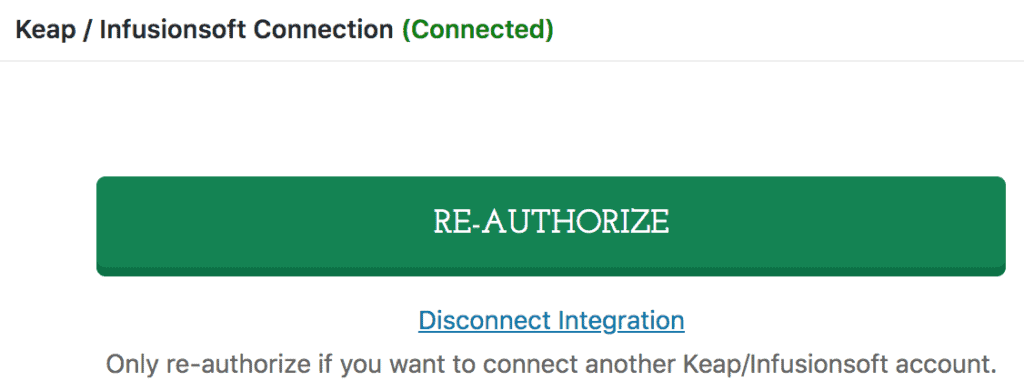
After authorization, you will be redirected back to the MailOptin connections page with the button color now green.
Step 3: Setting Up the WordPress New Post Notifications to Keap/Infusionsoft
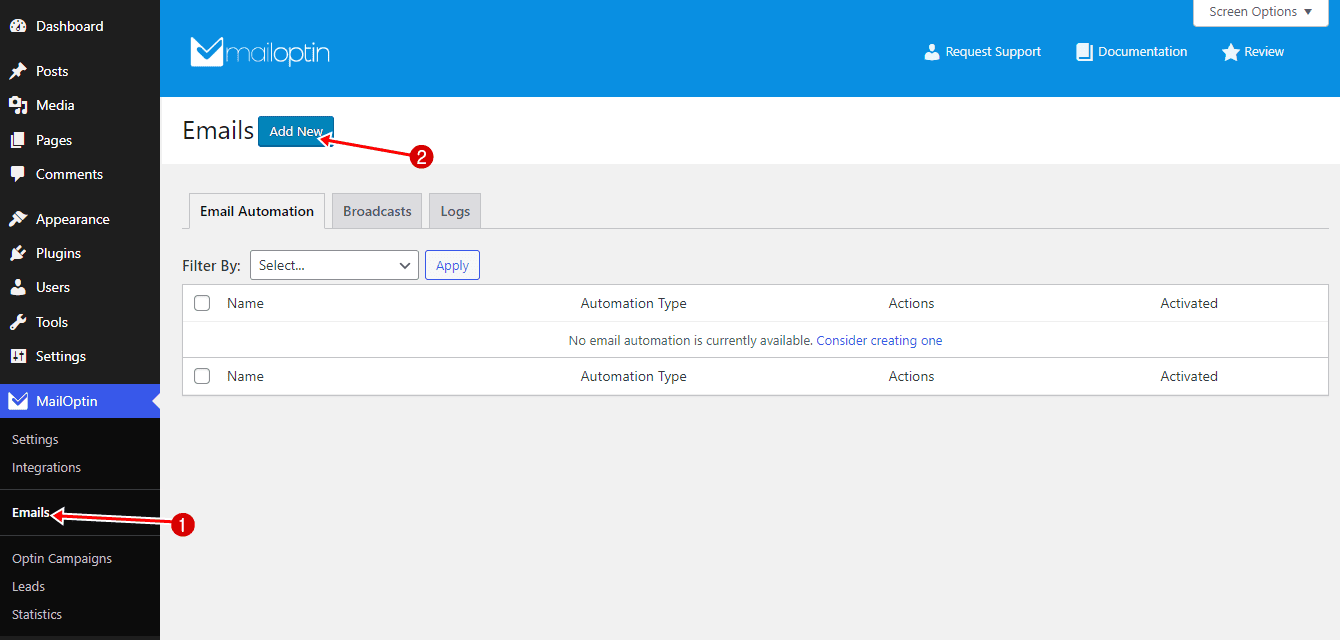
To set up new post notification automation to your Keap/Infusionsoft contact list, go to MailOptin >Email > Add New.
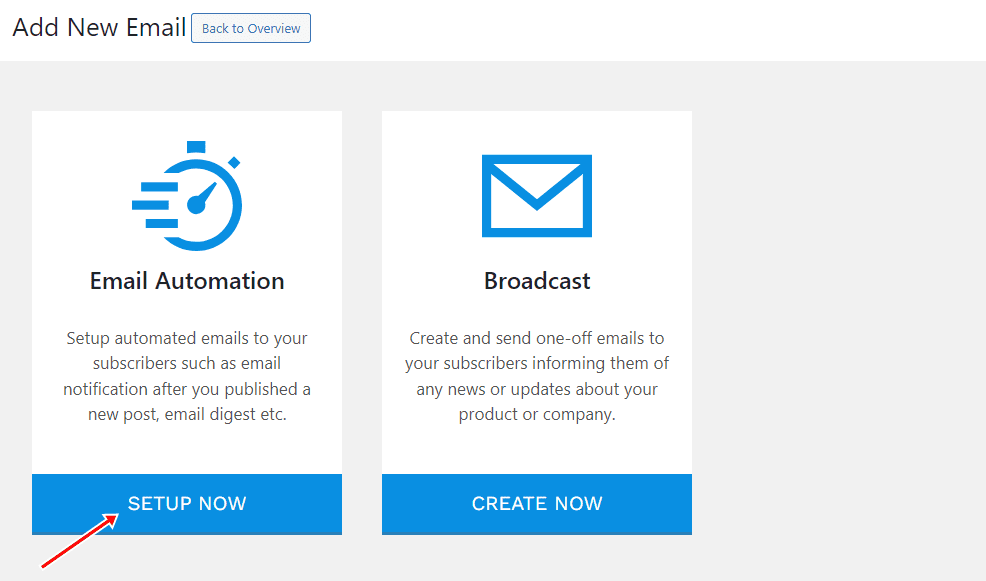
Next, click on ‘Setup Now’ under Email Automation.
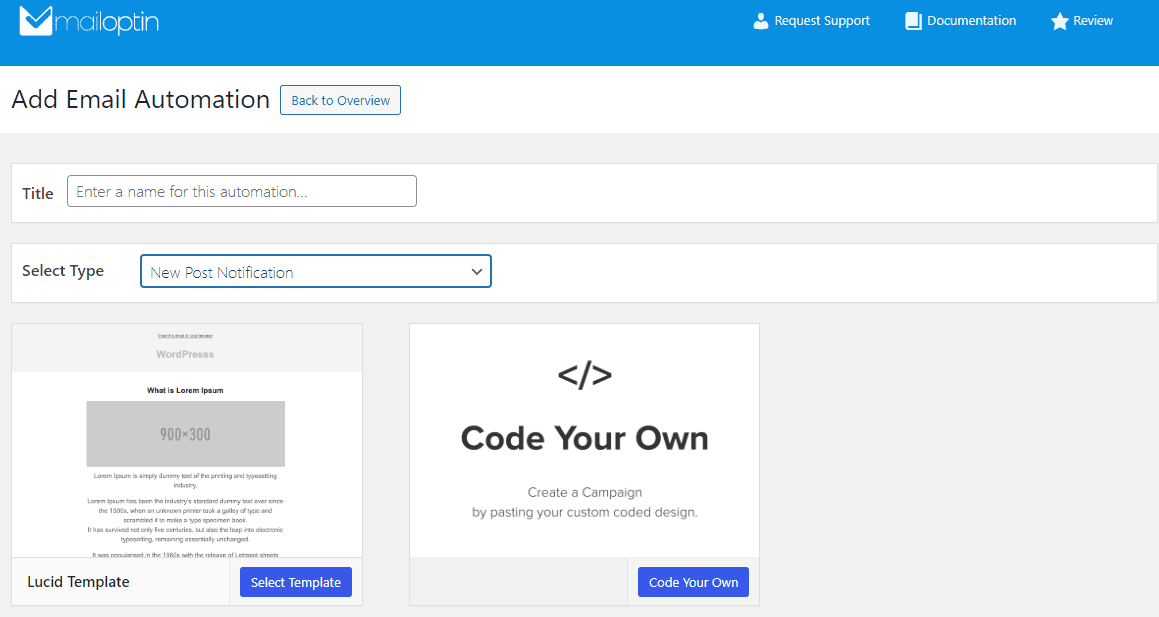
Then, enter a campaign title, select the type ‘New Post Notification,’ and choose a template.
Here’s how to use your own custom-coded email template.
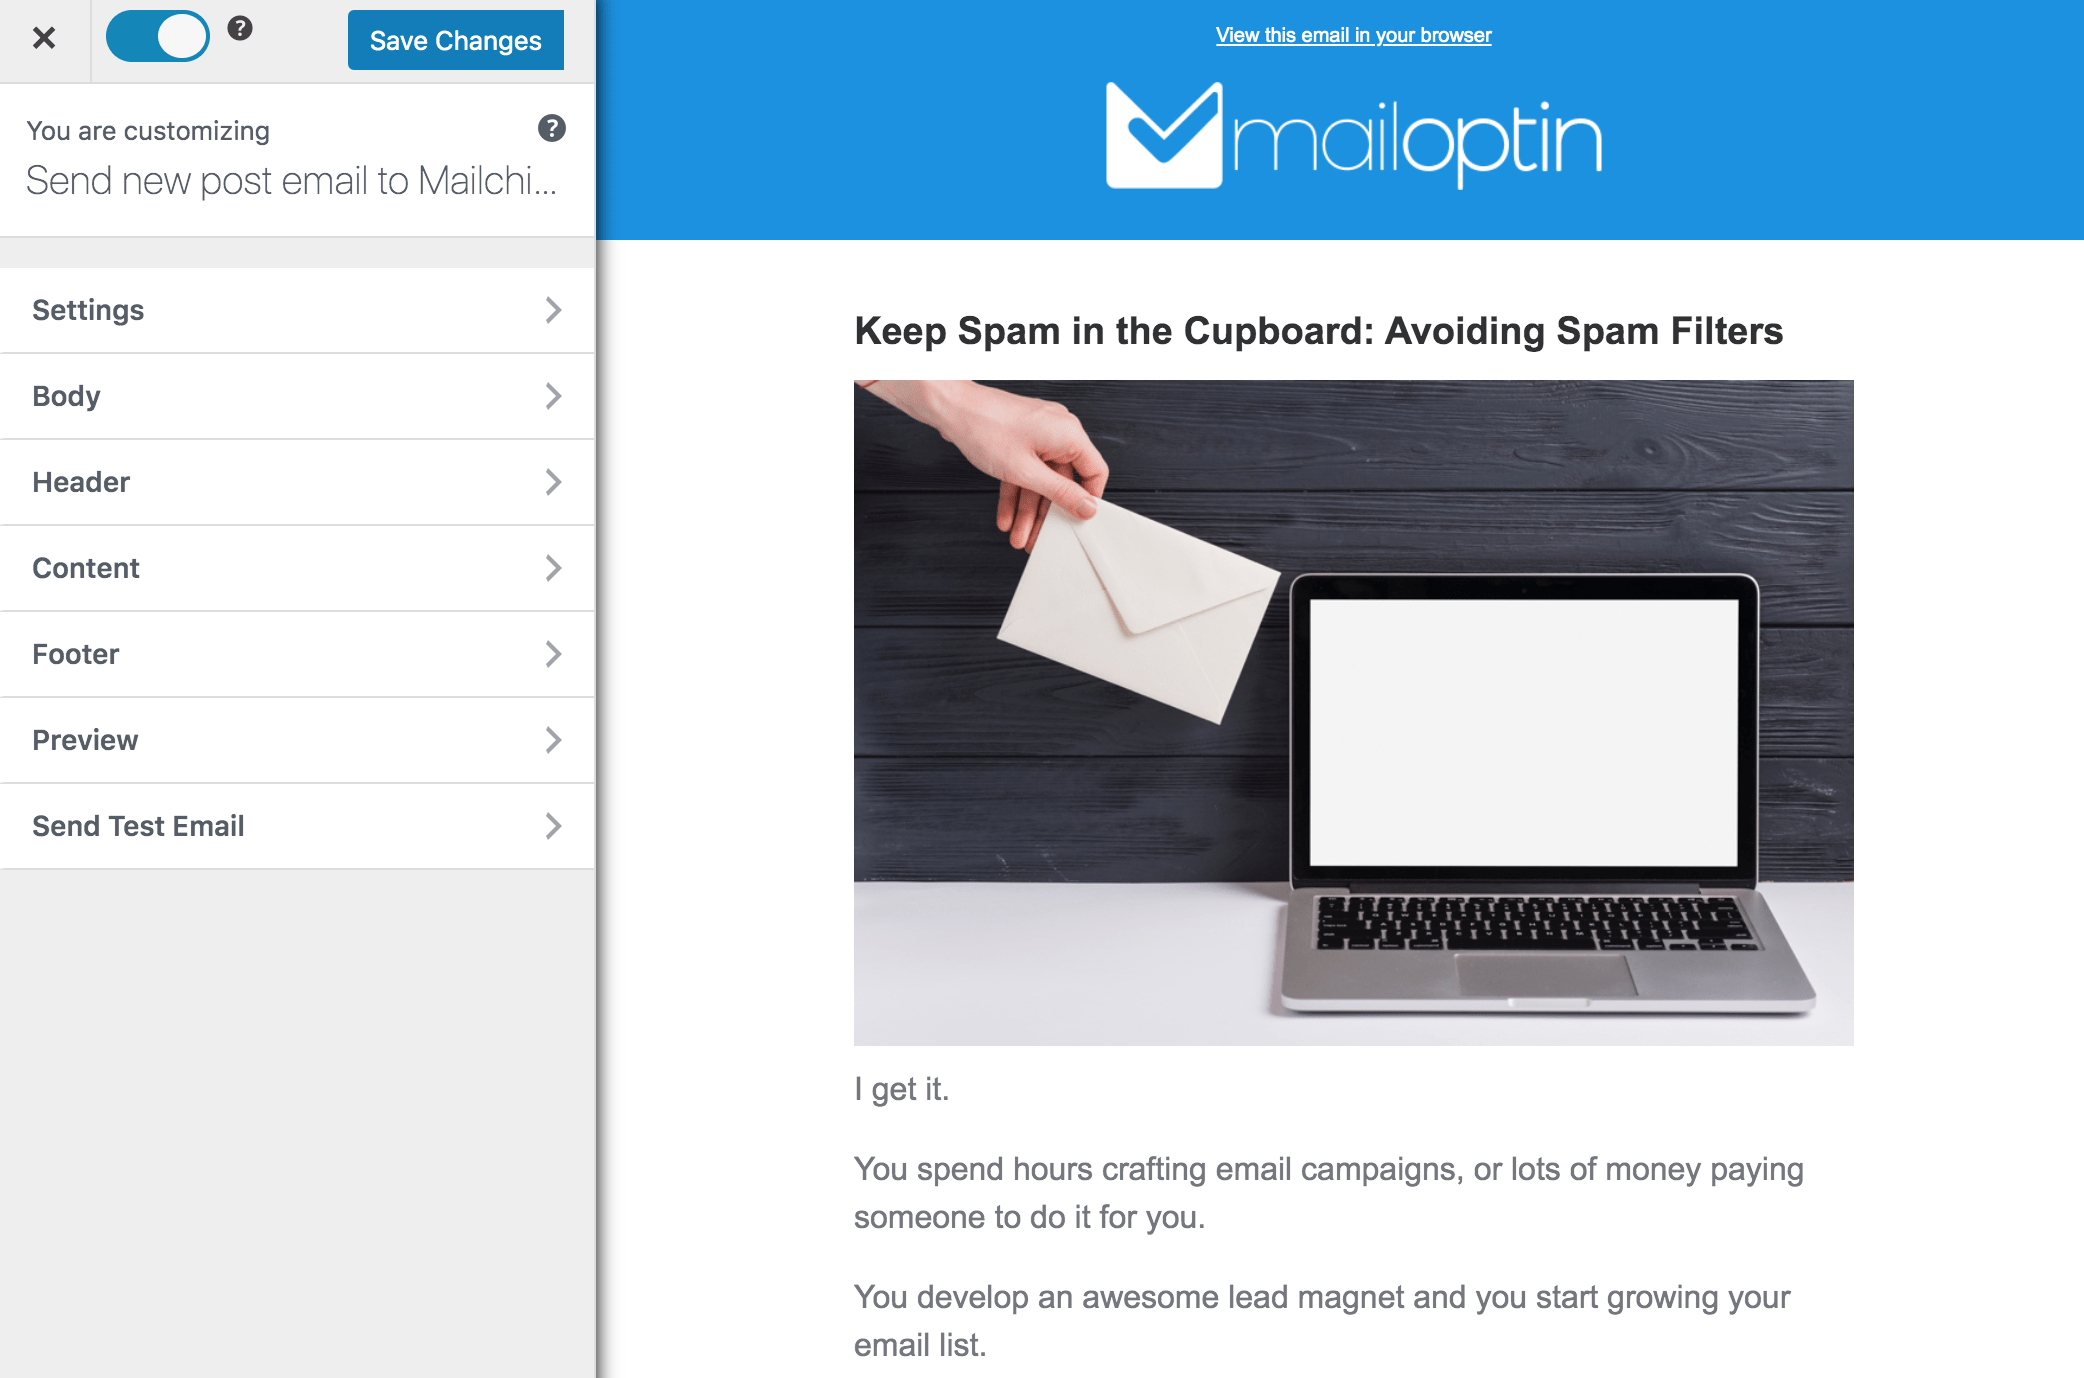
After selecting your template, you will be taken to the email customizer page, where you can configure the automation settings, template page, template header, template content, and even send a test email to your email address.
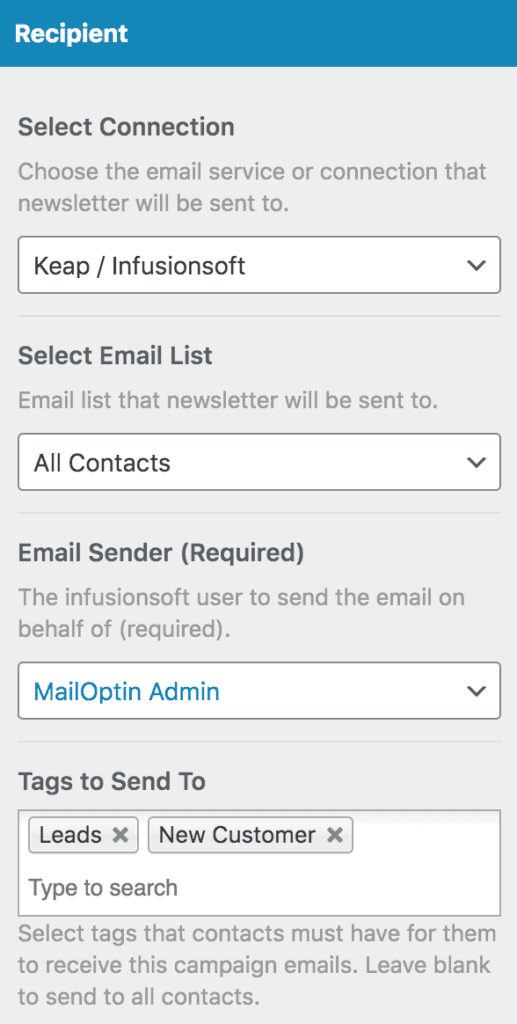
For this process to work without issues, click ‘Settings’ and select ‘Keap/Infusionsoft’ as your connection. Then, select the Infusionsoft user that the emails will be sent on behalf of.
Finally, choose the tags that contacts must have to receive emails from the automation.
You can also decide to send the newsletters immediately after a post is published by enabling “Send Immediately” or schedule it to be sent minutes, hours, or days after publication.
Note that you can create as much automation as possible to send to different tagged contacts based on the categories and tags a post belongs to.
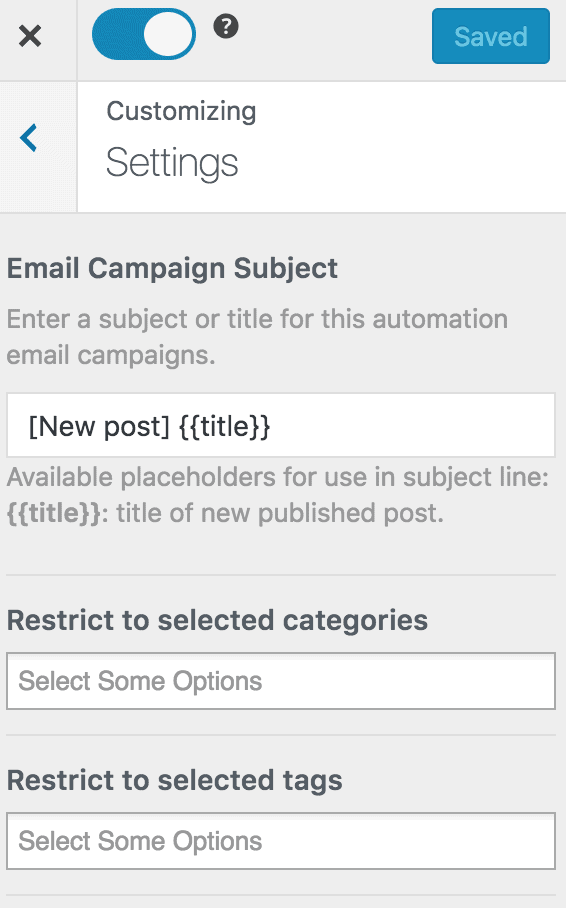
The setup is now complete. Finally, save your changes and activate the automation.
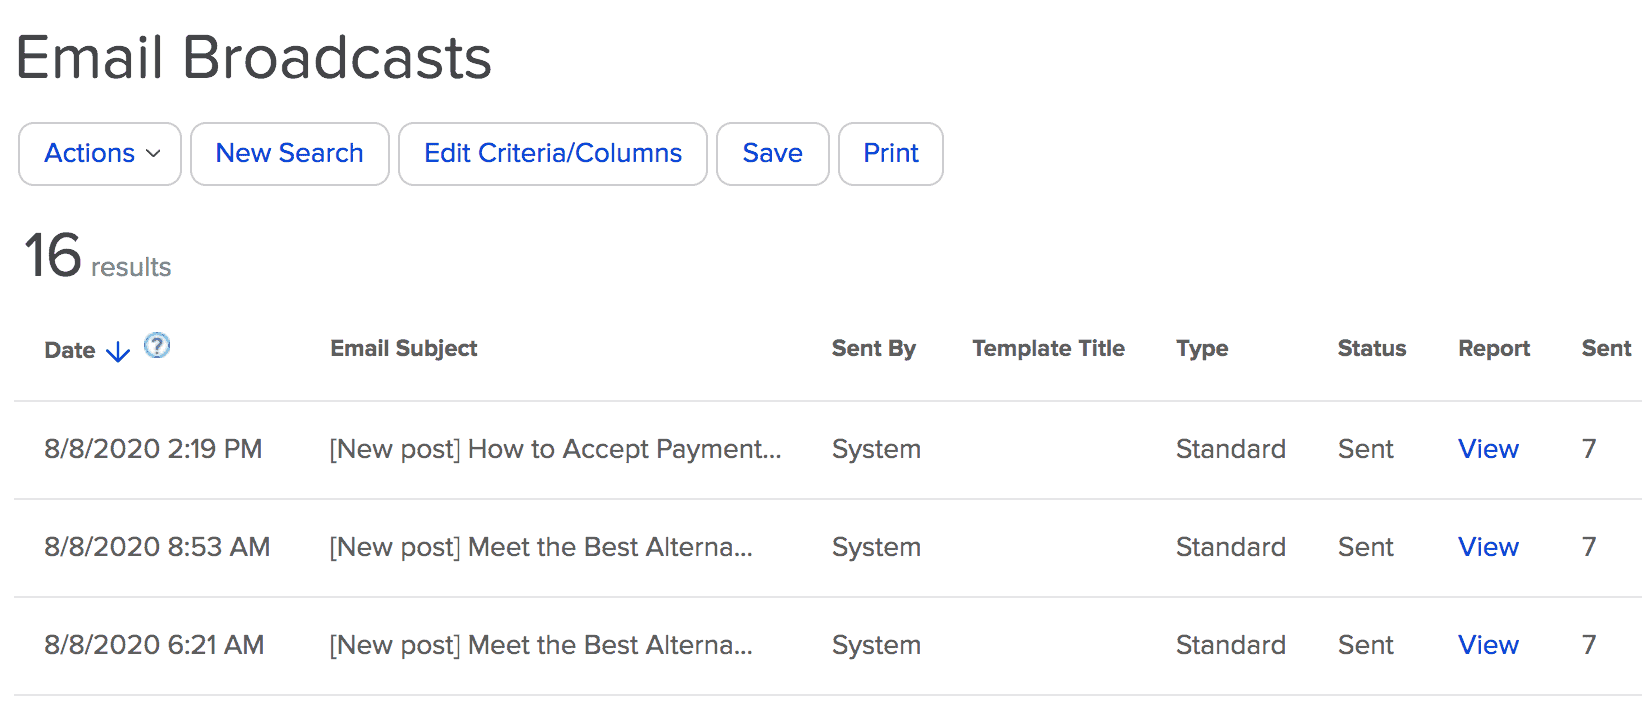
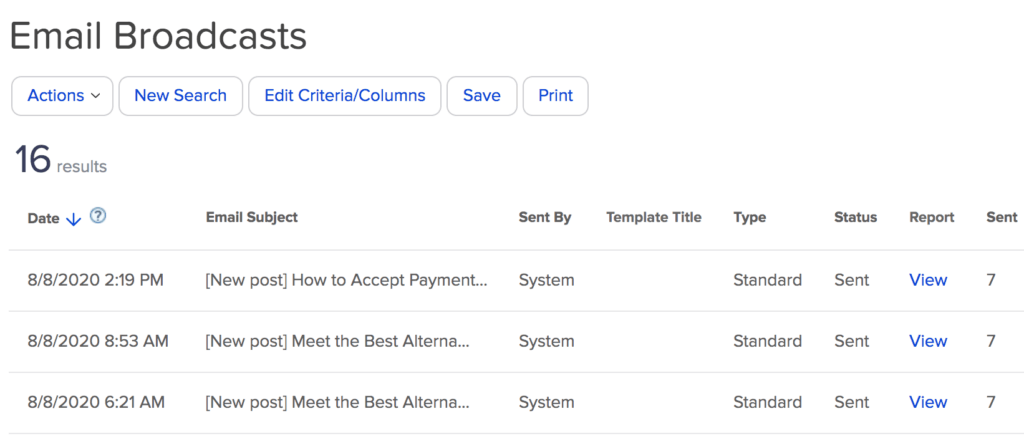
Whenever MailOptin sends a new post newsletter to your list, you will see the record on the Keap/Infusionsoft broadcast report page.
You can also decide to send a daily, weekly or monthly round up of published posts instead of immediately after posts are published.
Conclusion
We hope this article helped you learn how to set up WordPress new post notification emails to your Keap/Infusionsoft contact list.
Take action now by:
1. Installing MailOptin if you haven’t already.
2. Connecting your Keap/Infusionsoft account.
3. Setting up your automated new post notifications.
4. Publishing your next post with the confidence that your subscribers will be instantly notified.
Embrace the power of automation and watch your blog’s reach and influence grow exponentially.
Let us know if you have any questions or comments.
