How to Let Users Select Email List in Your WordPress Form
Do you want to let users select their email list in your WordPress form?
Many MailOptin users have inquired about allowing their website visitors to choose the Mailchimp list they wish to join.
By enabling WordPress form email list selection, you ensure your subscribers receive precisely what they want, making your communication more effective and engaging.
In this article, we’ll guide you on giving your website visitors the option to choose which audience, email list, or contact list they want to be added to. This approach meets their preferences and helps you maintain a loyal subscriber base by delivering the right content to the right people.
Creating WordPress Form with Email List Selection
Follow these steps to enable users to select their preferred email list to subscribe to in your WordPress form.
Note that this setup is compatible not only with Mailchimp but also with all the email marketing software and CRM systems that MailOptin supports, including MailChimp, Salesforce, Microsoft Dynamics 365, Drip, AWeber, ConvertKit, MailerLite, Constant Contact, GetResponse, Sendy, Campaign Monitor, ActiveCampaign, Brevo (Sendinblue), Gist, Klaviyo, Sendlane, Mailster, Vertical Response, Mailjet, HubSpot, Ontraport, Moosend, MailPoet, Zoho CRM, Zoho Campaigns, Keap Max Classic (Infusionsoft), HighLevel, Omnisend, Flodesk, Beehiiv, Benchmark Email, SendFox, iContact, Mailgun, E-goi, SendGrid Email Marketing, Elastic Email, GoDaddy Email Marketing, weMail, FluentCRM, CleverReach, NewsMAN, Facebook custom audience..
Step 1: Install and Activate MailOptin
To get started, purchase a copy of MailOptin.
After purchasing MailOptin, log in to your WordPress admin dashboard. Navigate to the Plugins page and click the Add New button.
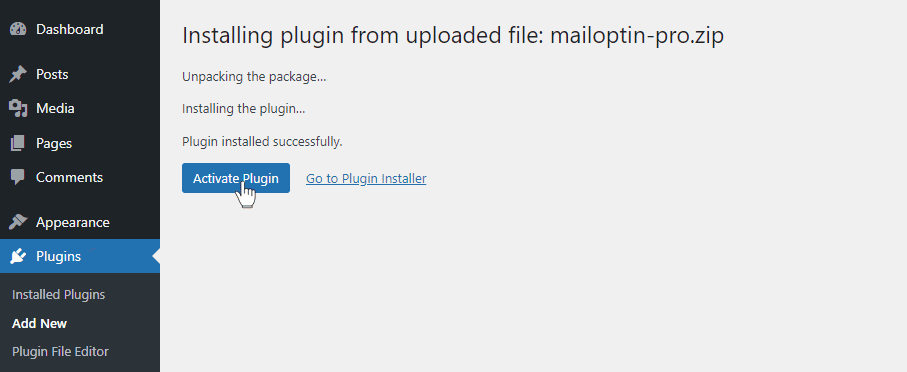
Select the downloaded plugin zip file by clicking “Choose File,” then click “Install Now.”

After installing the plugin, activate it by clicking ‘Activate Plugin’.
Step 2: Connect MailOptin with Your Email Marketing Software
Next, connect MailOptin with your email marketing software. This is necessary because MailOptin needs to fetch all email lists you have created so it can display it on your form for users to select which they want to be subscribed to.
Step 3: Create an Email Signup Form
Next is to create a newsletter signup form. For step-by-step directions, check out our tutorial on how to create optin forms in WordPress.
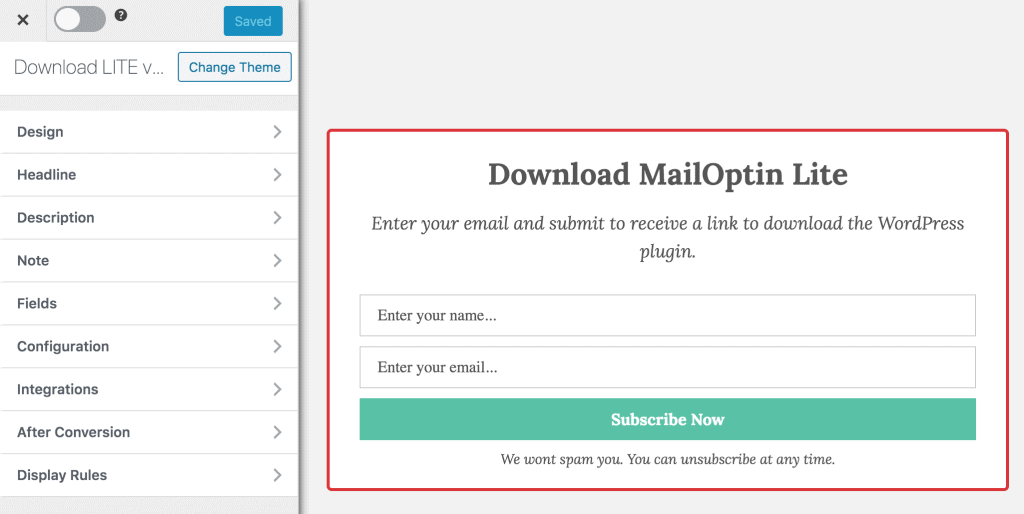
After creating your form, you’ll need to add the list selection custom field so site visitors can select which mailing list they want to subscribe to.
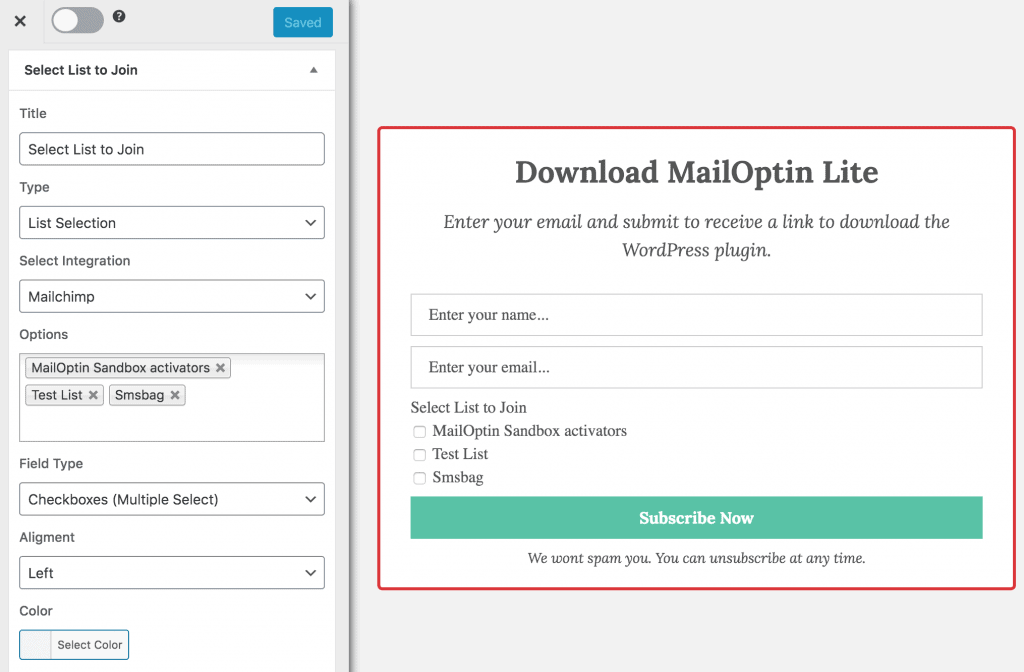
To do this, open the Fields panel and the “List Selection” field to the form.
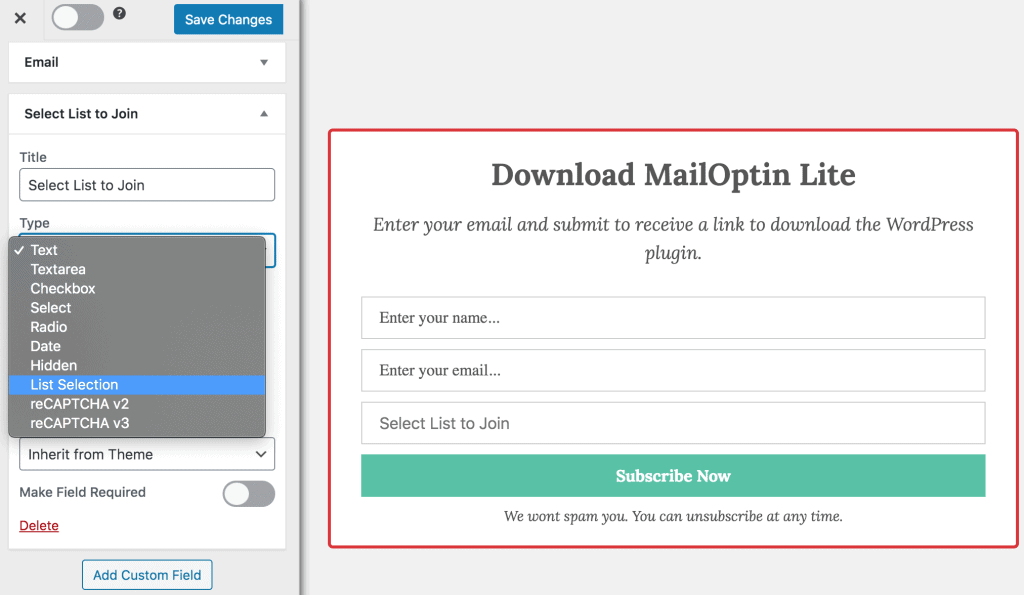
You should see a list of options you need to set up.
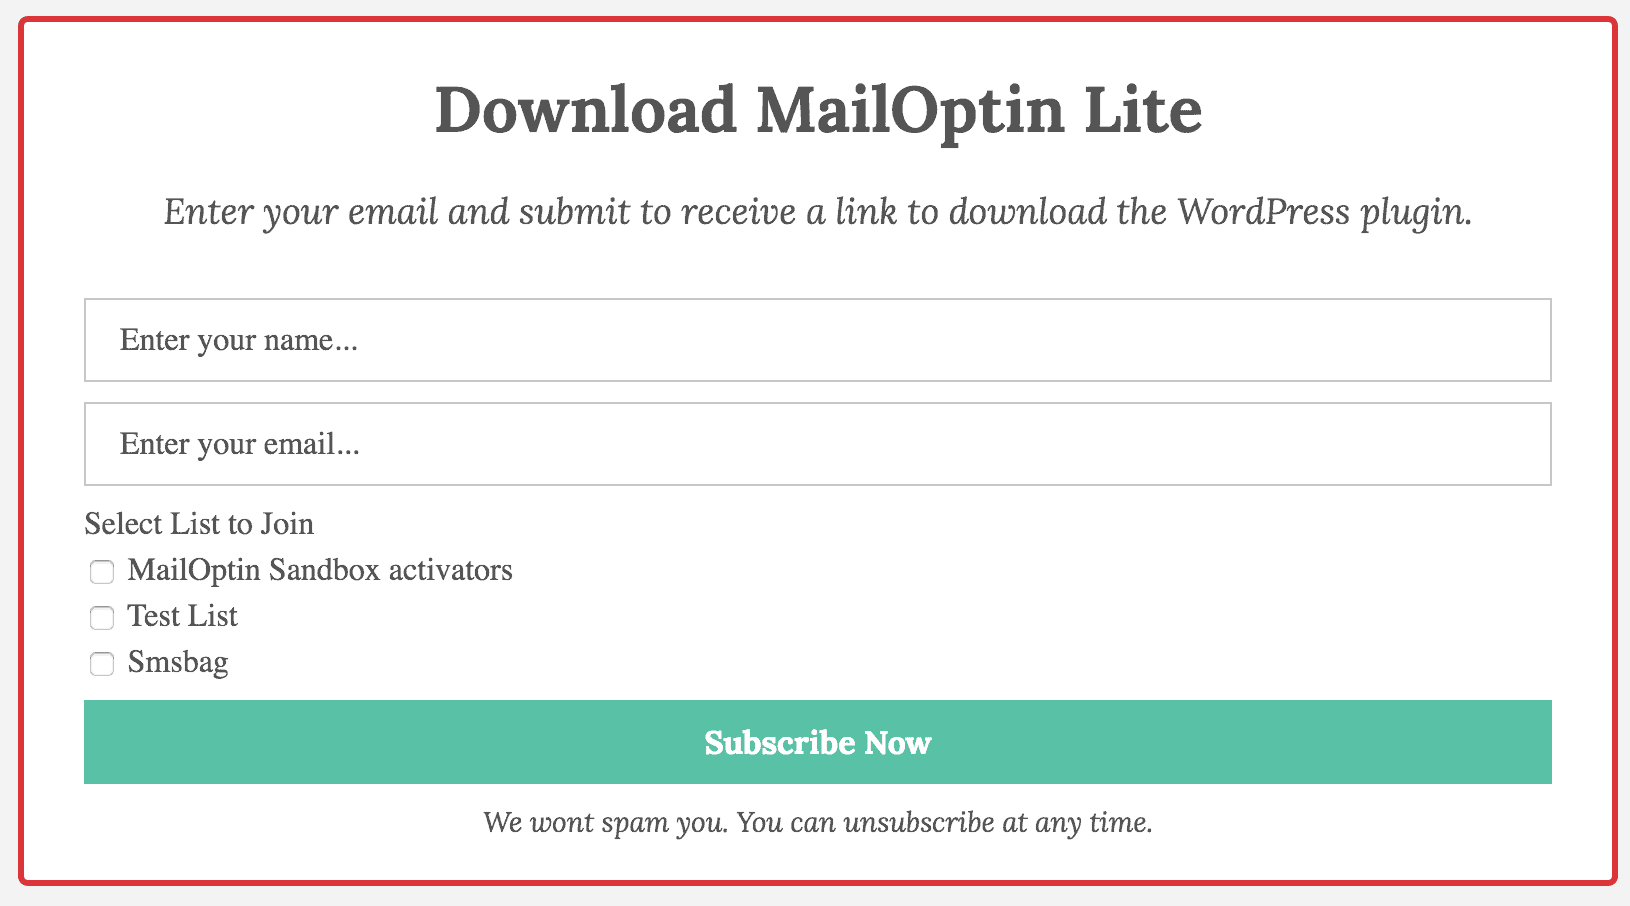
Firstly, select your integration (Mailchimp, in our case). In Options, select the lists you want to make available for selection in your WordPress optin form, then select the Field Type, which can be a select dropdown, radio buttons, or checkboxes (this allows users to select multiple lists, unlike select and radio buttons that allow just one pick).
You also have the option to set the field alignment, colors, font, and much more.
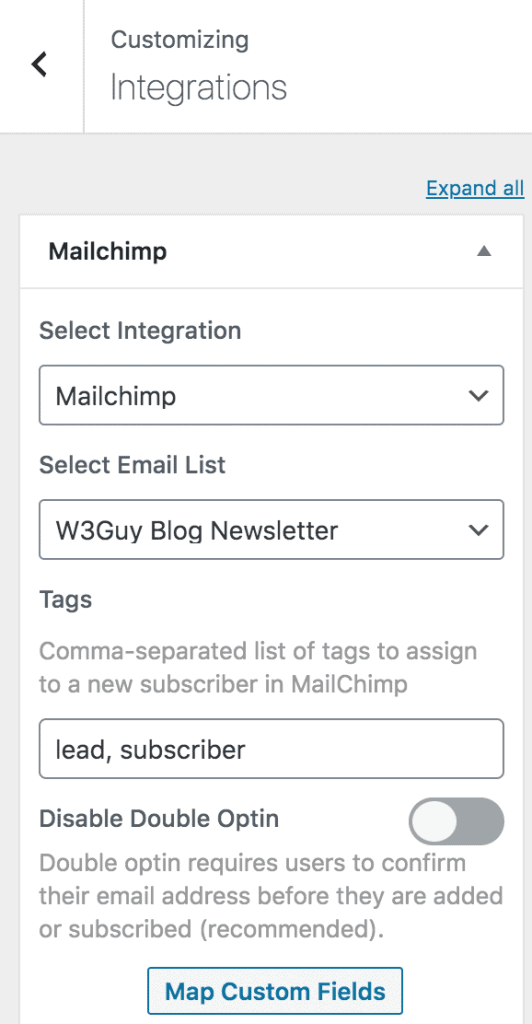
The last thing we need to do is connect the form to your integration.
Open the Integrations panel and select your email marketing and CRM integration.
Note that this must be the same integration you configured in the “List selection” custom field above.
Select the default email list that leads will be added to if they do not select any list. So, the way this thing works is that the list selected by subscribers will override the default you selected.
If your integration supports tagging and custom field mapping, you can also set that up.
Save your changes, and that’s it.
Finally, activate the form with the toggle switch at the top-left corner.
In conclusion, creating a WordPress form with email list selection is a strategic approach that can significantly enhance your email marketing efforts.
By allowing your visitors to choose their preferred email list to subscribe to, you can ensure that your communication is tailored to their interests, leading to increased engagement and loyalty.
We hope this article helped you learn how to allow users to select their email list in your WordPress form. You can also check out our articles on how to add Custom Fields to Your Optin Form in WordPress.