Connect Elementor Form to Email Marketing Software & CRM
Elementor is arguably the best WordPress page builder. MailOptin has built-in integration with the Element form widget that lets you create lead capture or email optin forms.
It works by connecting the form to your email marketing service provider (or email marketing software), including MailChimp, Salesforce, Microsoft Dynamics 365, Drip, AWeber, ConvertKit, MailerLite, Constant Contact, GetResponse, Sendy, Campaign Monitor, ActiveCampaign, Brevo (Sendinblue), Gist, Klaviyo, Sendlane, Mailster, Vertical Response, Mailjet, HubSpot, Ontraport, Moosend, MailPoet, Zoho CRM, Zoho Campaigns, Keap Max Classic (Infusionsoft), HighLevel, Omnisend, Flodesk, Beehiiv, Benchmark Email, SendFox, iContact, Mailgun, E-goi, SendGrid Email Marketing, Elastic Email, GoDaddy Email Marketing, weMail, FluentCRM, CleverReach, NewsMAN, Facebook custom audience.
Although unlimited conversion, field mapping and custom field support are not available in our free/lite plugin version.
Follow the step-by-step guide below to learn how to connect the Elementor form to your email marketing service via MailOptin.
Firstly, ensure you’ve connected MailOptin to your email marketing provider.
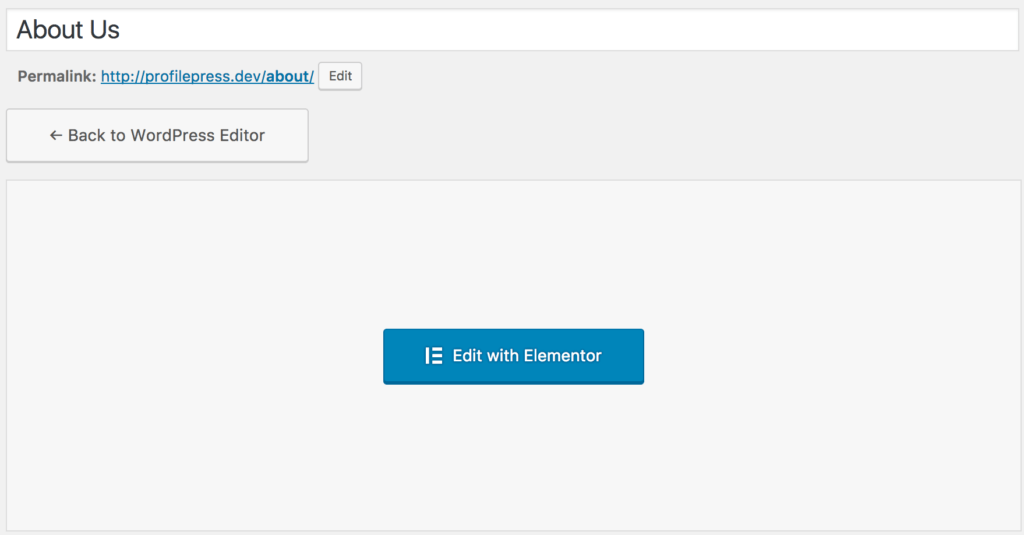
In the WordPress dashboard, open the edit screen of the post or page to which you wish to include/embed an optin form and edit with Elementor.
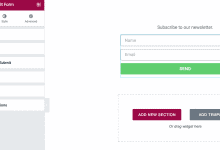
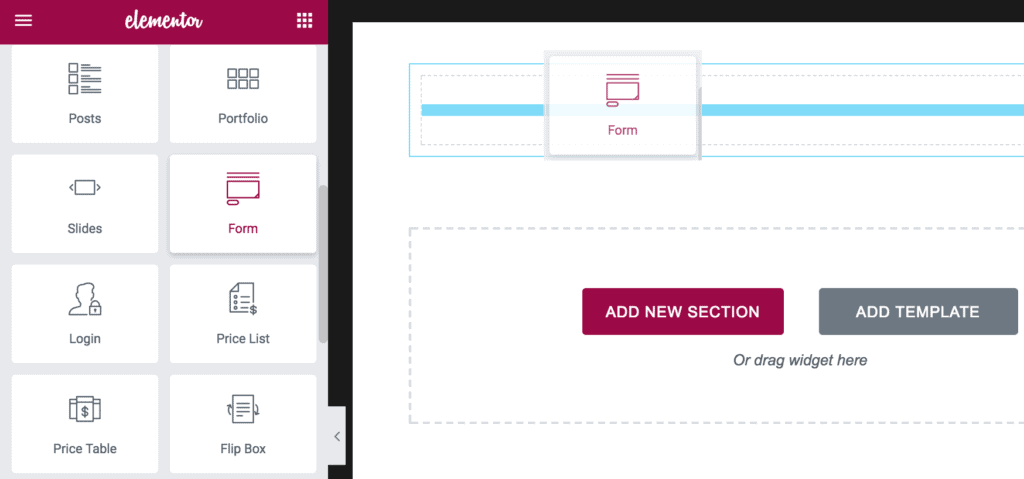
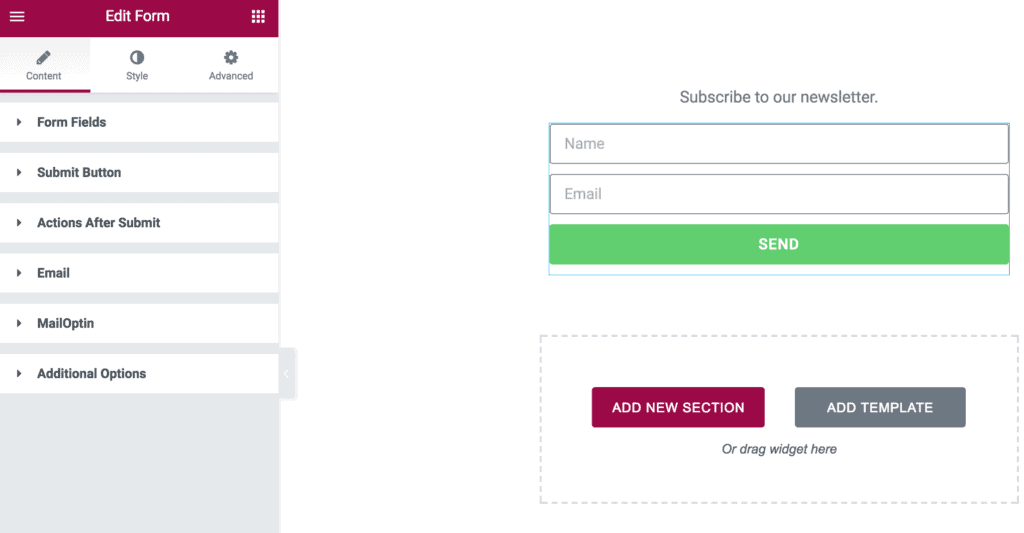
Drag and drop the Form element to your desired section or area of your site.
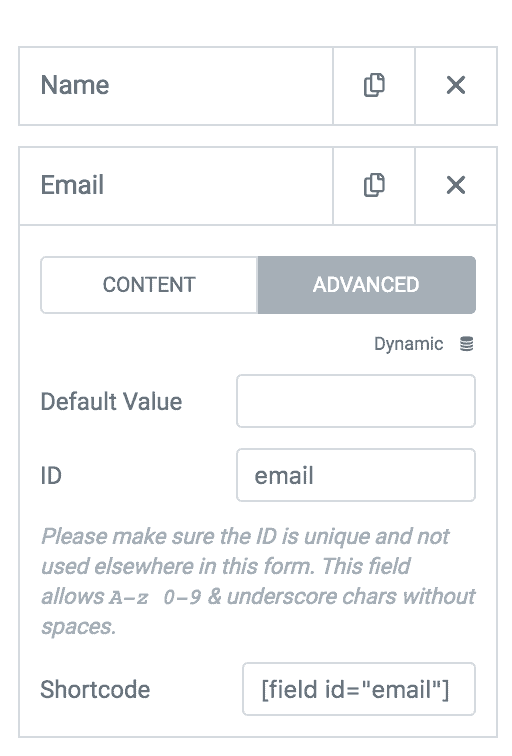
If you want the form to capture subscribers’ full names and email addresses, be sure to remove the default “message” Textarea leaving just the name and email fields.
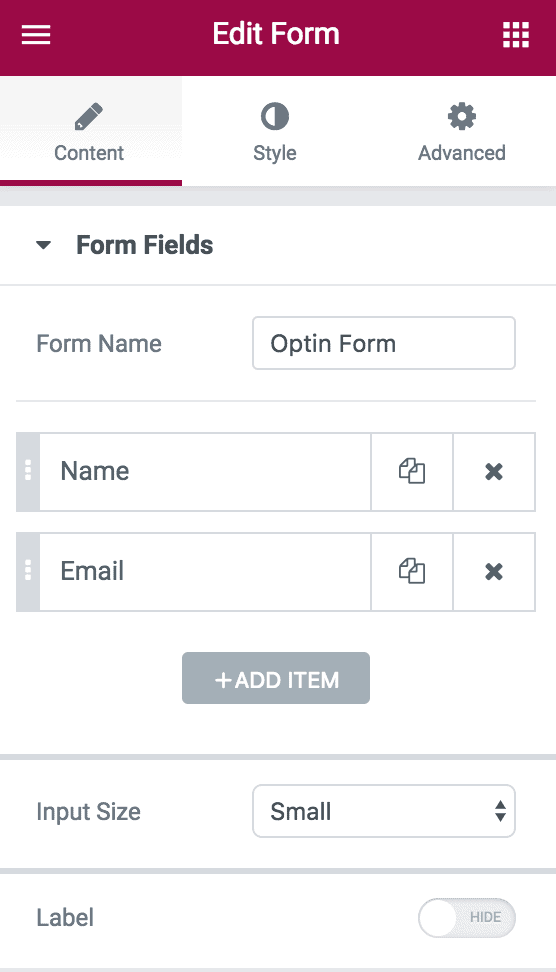
Remove the name field if you want to capture or collect just their email addresses.
Please ensure the ID of the email field is email.
How about if you want to capture their first names, last names and email addresses? Although a bit involved, it’s possible by following the steps below.
- Click the “+ ADD ITEM” button to add a new form field. Change the label and placeholder to “Last Name”. Click the Advanced tab and enter
last_nameas the Custom ID.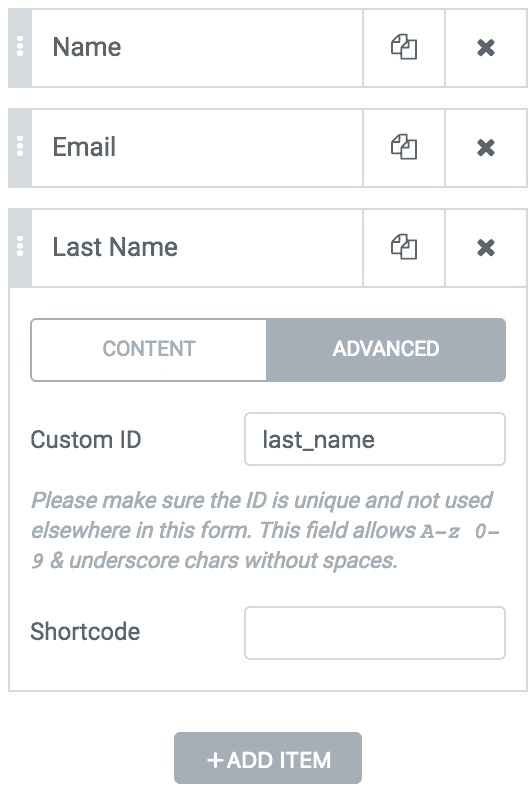

- Click on the existing Name field, change the label and placeholder to “First Name”. Go to the Advanced tab and change the Custom ID from
nametofirst_name.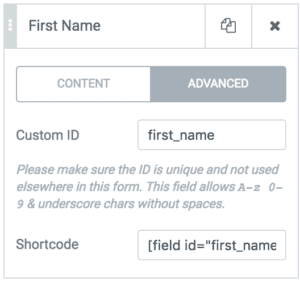
- Don’t forget to move the “Last Name” field below “First Name”.
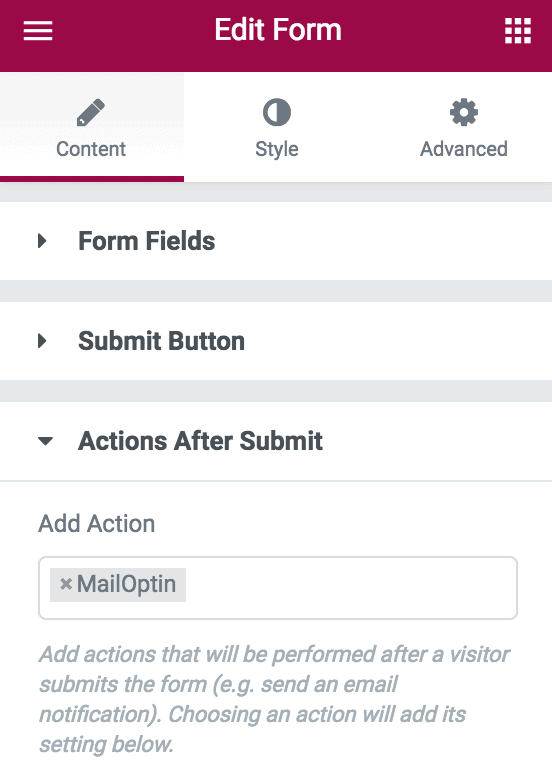
Having finished setting up the form, up next is connecting the form to your email service provider (such as MailChimp, AWeber, Constant Contact, Sendy, MailerLite, Sendlane) via MailOptin.
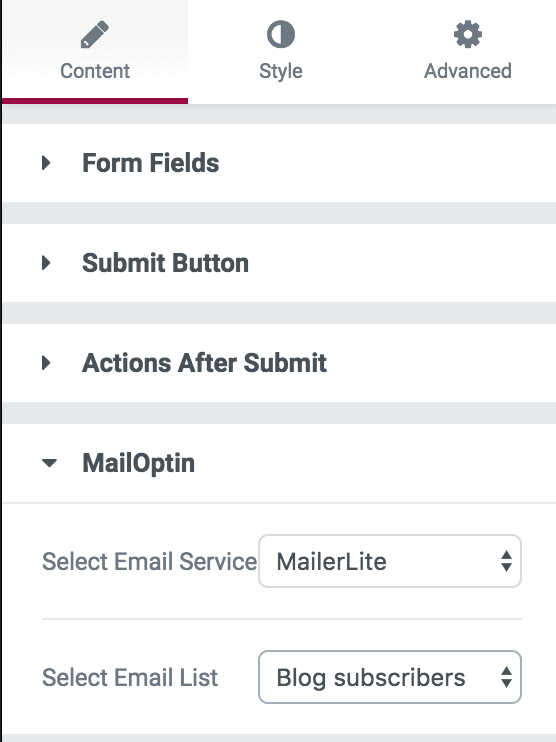
- Go to the “Actions After Submit” section and select MailOptin.
- Select your email marketing service and the email list the form will be connected to. If you don’t want to use an email marketing service, you can choose to save subscribers in WordPress by selecting “MailOptin Leads” as Email Service. Learn more about MailOptin Leads here.
Assigning Tags to Subscribers
If you are using an email marketing software that supports tagging (such as AWeber, Mailchimp, ActiveCampaign, Drip, ConvertKit, Ontraport, Keap/Infusionsoft, GetResponse), you should see a field to specify or select tags to assign to subscribers.

Collecting Additional or Extra Information
You have the option to collect additional or extra data about your lead or subscriber besides the name and email address by mapping custom fields to your email marketing service.

Don’t forget to save the changes.
Troubleshooting
If you get an invalid email error when you try to submit the Elementor form or any error at all; this note is for you.
If you want to capture subscribers’ email address and full name only, ensure the Custom ID of the email field is email and that of the full name name
If you are capturing both first and last names as well as their email addresses, the Custom ID of the first name should be first_name, the last name should be last_name and email address email.
If you want to sync a checkbox or select field-type options to your email service, you will need to include the value of the options separated by the pipe “|” symbol.
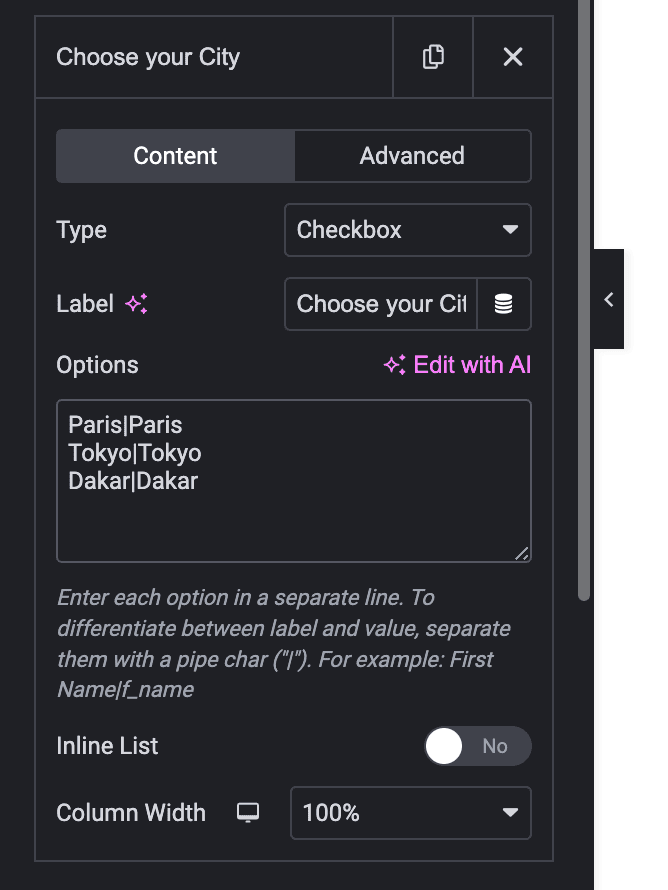
Note: For Brevo, you need to pass the number corresponding to the attribute options. This means the options now become Paris|1, Tokyo|2, and so on.