How to Create a WordPress Popup Form
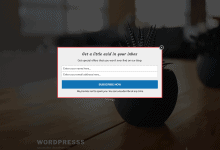
Would you like to create a WordPress popup form to capture leads on your website?
Lightbox Popups are a powerful tool for capturing leads, promoting special offers, and growing your website’s audience. But simply throwing a generic popup at your visitors won’t do the trick. They can be annoying if they are not well-designed and implemented.
Follow this guide to learn how to use MailOptin’s intuitive and easy-to-use form builder to create a beautiful, conversion-optimized WordPress popup form for your website.
Before you proceed, please make sure you’ve connected your email marketing service provider. MailOptin supports popular ESP and CRM software, including MailChimp, Salesforce, Microsoft Dynamics 365, Drip, AWeber, Google Sheets, Kit (ConvertKit), MailerLite, Constant Contact, GetResponse, Sendy, Campaign Monitor, ActiveCampaign, Brevo (Sendinblue), Gist, Klaviyo, Sendlane, Mailster, Vertical Response, Mailjet, HubSpot, Ontraport, Moosend, MailPoet, Zoho CRM, Zoho Campaigns, Keap Max Classic (Infusionsoft), HighLevel, Omnisend, Flodesk, Beehiiv, Benchmark Email, SendFox, iContact, Mailgun, E-goi, SendGrid Email Marketing, Elastic Email, Encharge, weMail, FluentCRM, CleverReach, NewsMAN, Facebook custom audience..
You can skip this if you intend to use our MailOptin Leads feature to store your leads.
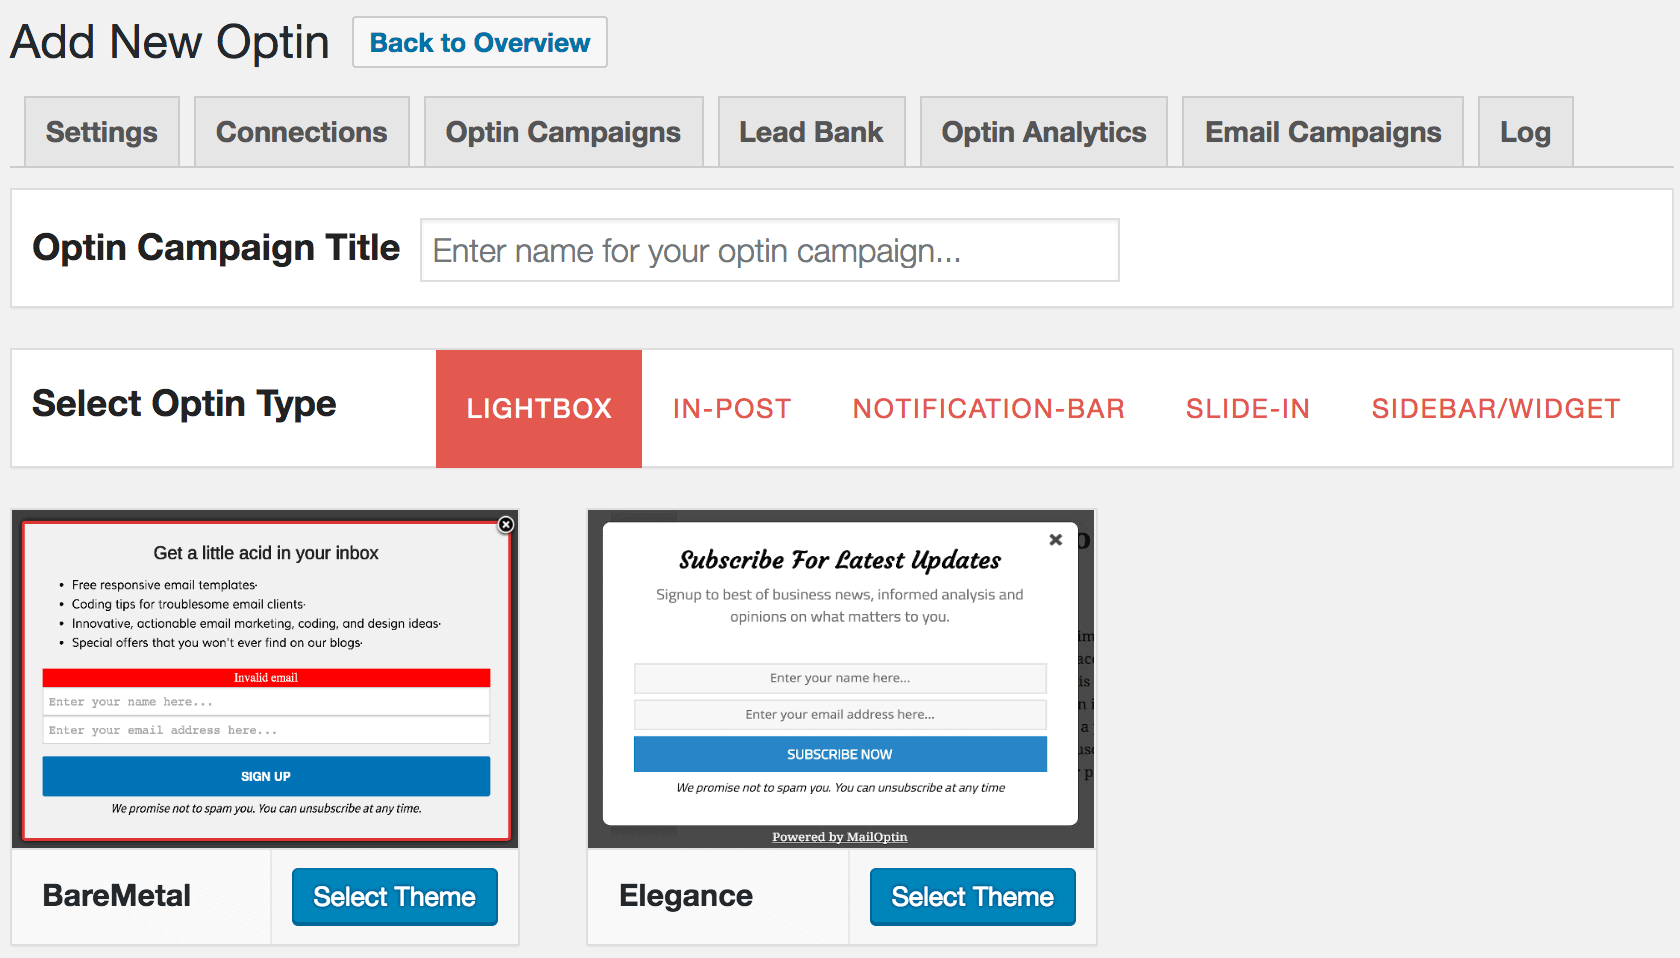
Go to the Optin Campaigns admin page and click the “Add New” Button at the top of the page.

Enter a title for the optin campaign, select Lightbox optin type, click the lightbox/popup theme to use, and you will be redirected to the form builder.
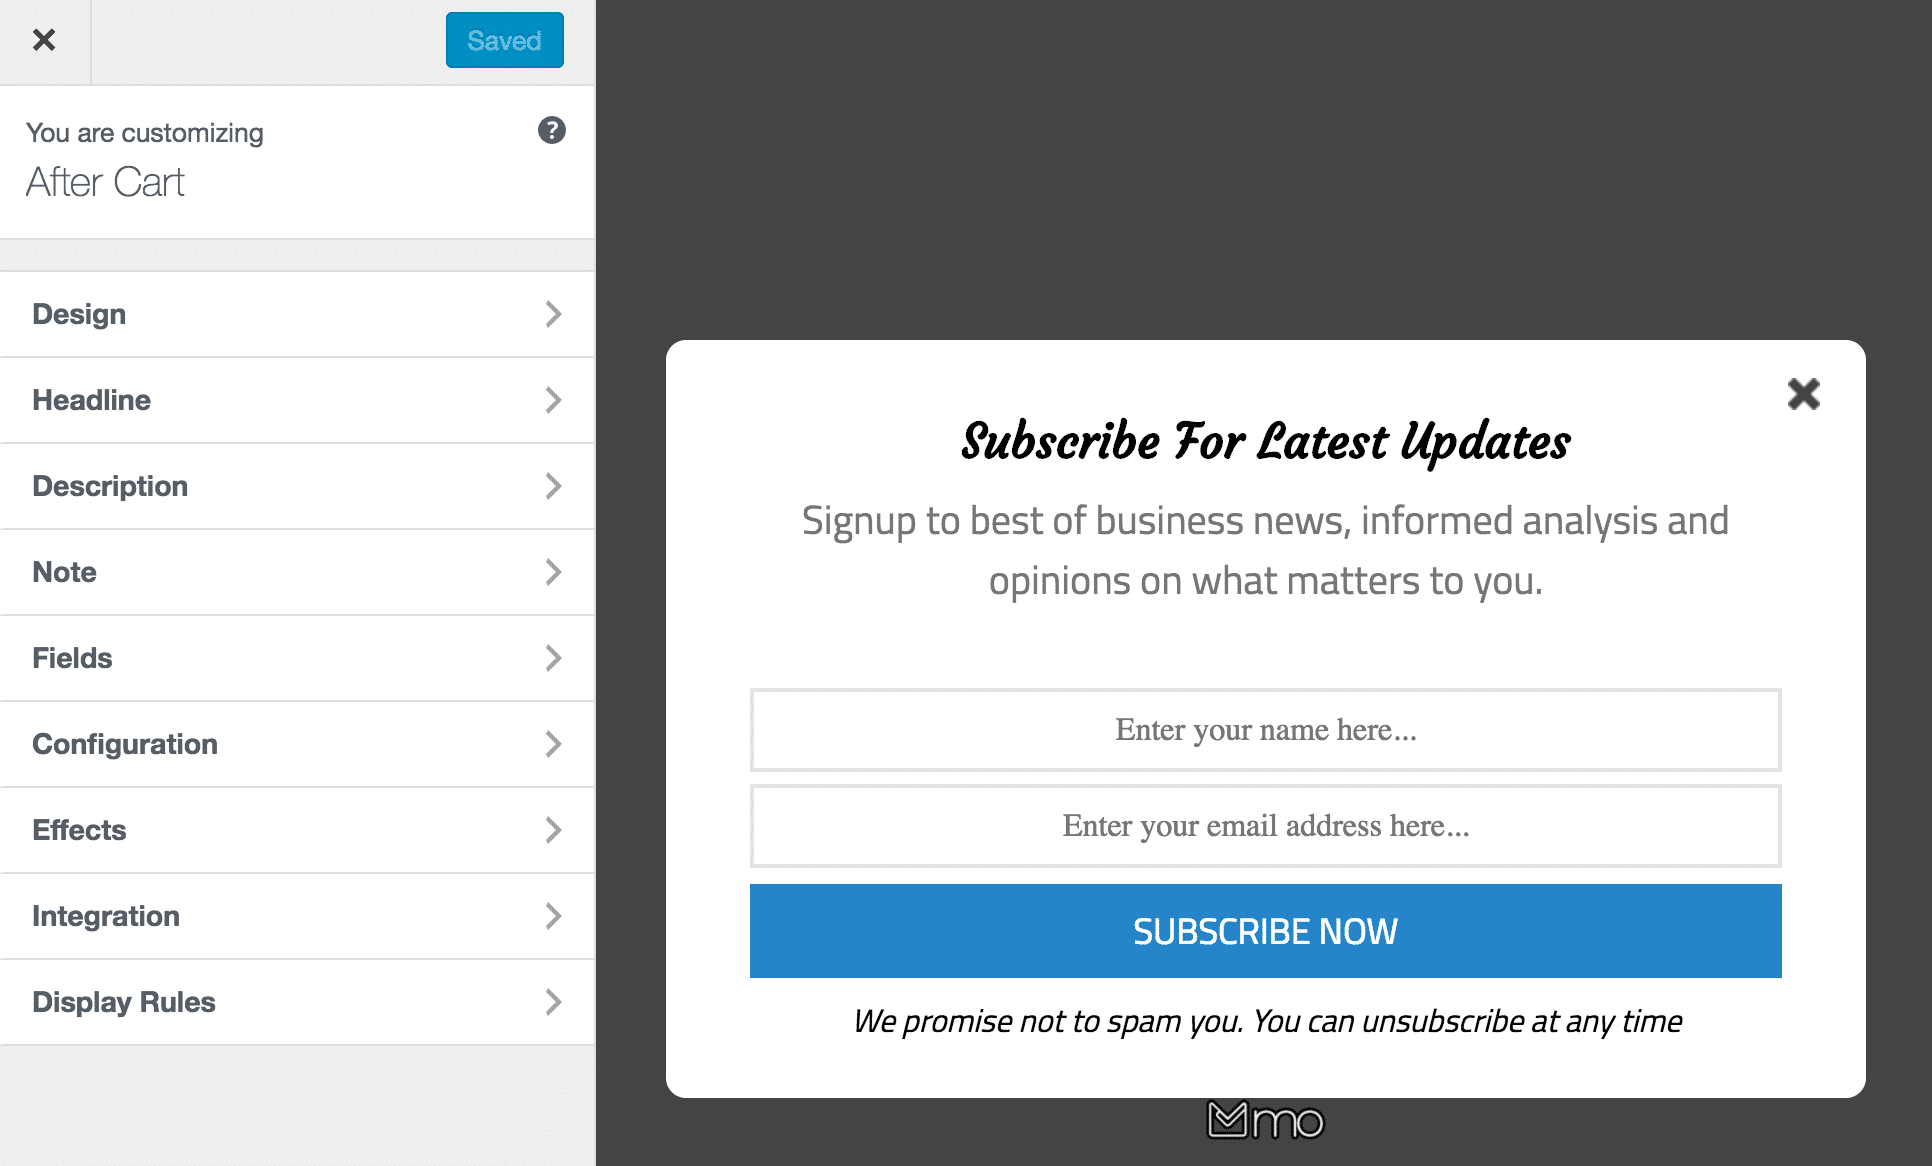
Customize the opt-in form to your heart’s content using our intuitive form builder.
See: Adding Extra Fields to Your Optin Form
To get the optin to display on your site, navigate to the “Display Rules” panel, go to the “Quick Setup” section, and check “Activate 0ptin”.
If you want the optin to be displayed everywhere (all pages) on your site, also check “Globally load optin”; otherwise, use the page level targeting to target a specific section of your site to display the optin campaign.
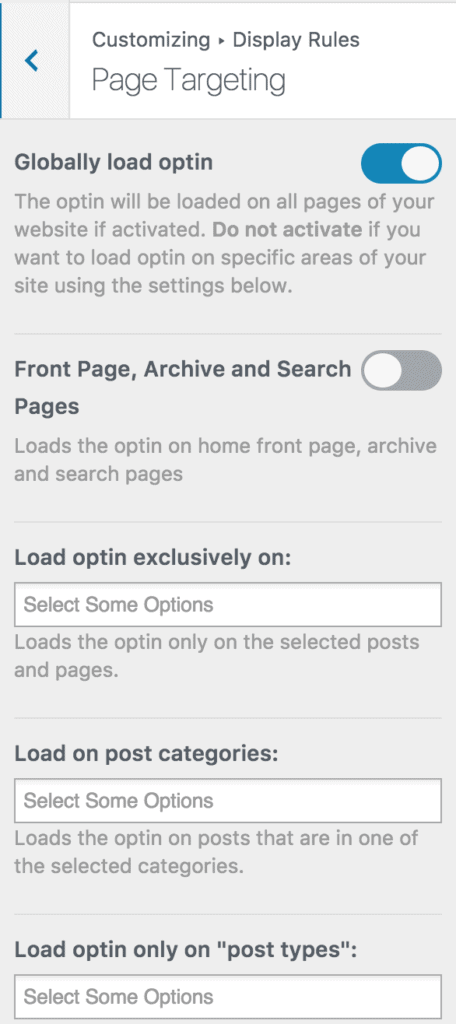
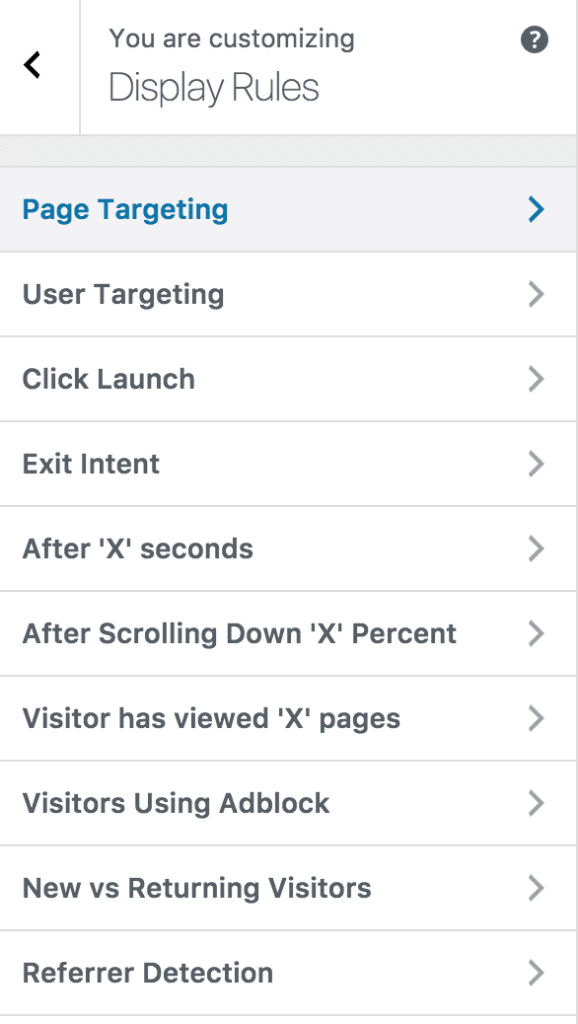
Use the “Display Rules” panel to configure how the popup will appear, such as:
- Page level targeting allows you to control the pages, posts, categories, and custom post types where the optin form will be included or excluded for display.
- Triggers to cause the optin form to display, such as exit intent, scroll trigger, time on site, and number of page views.
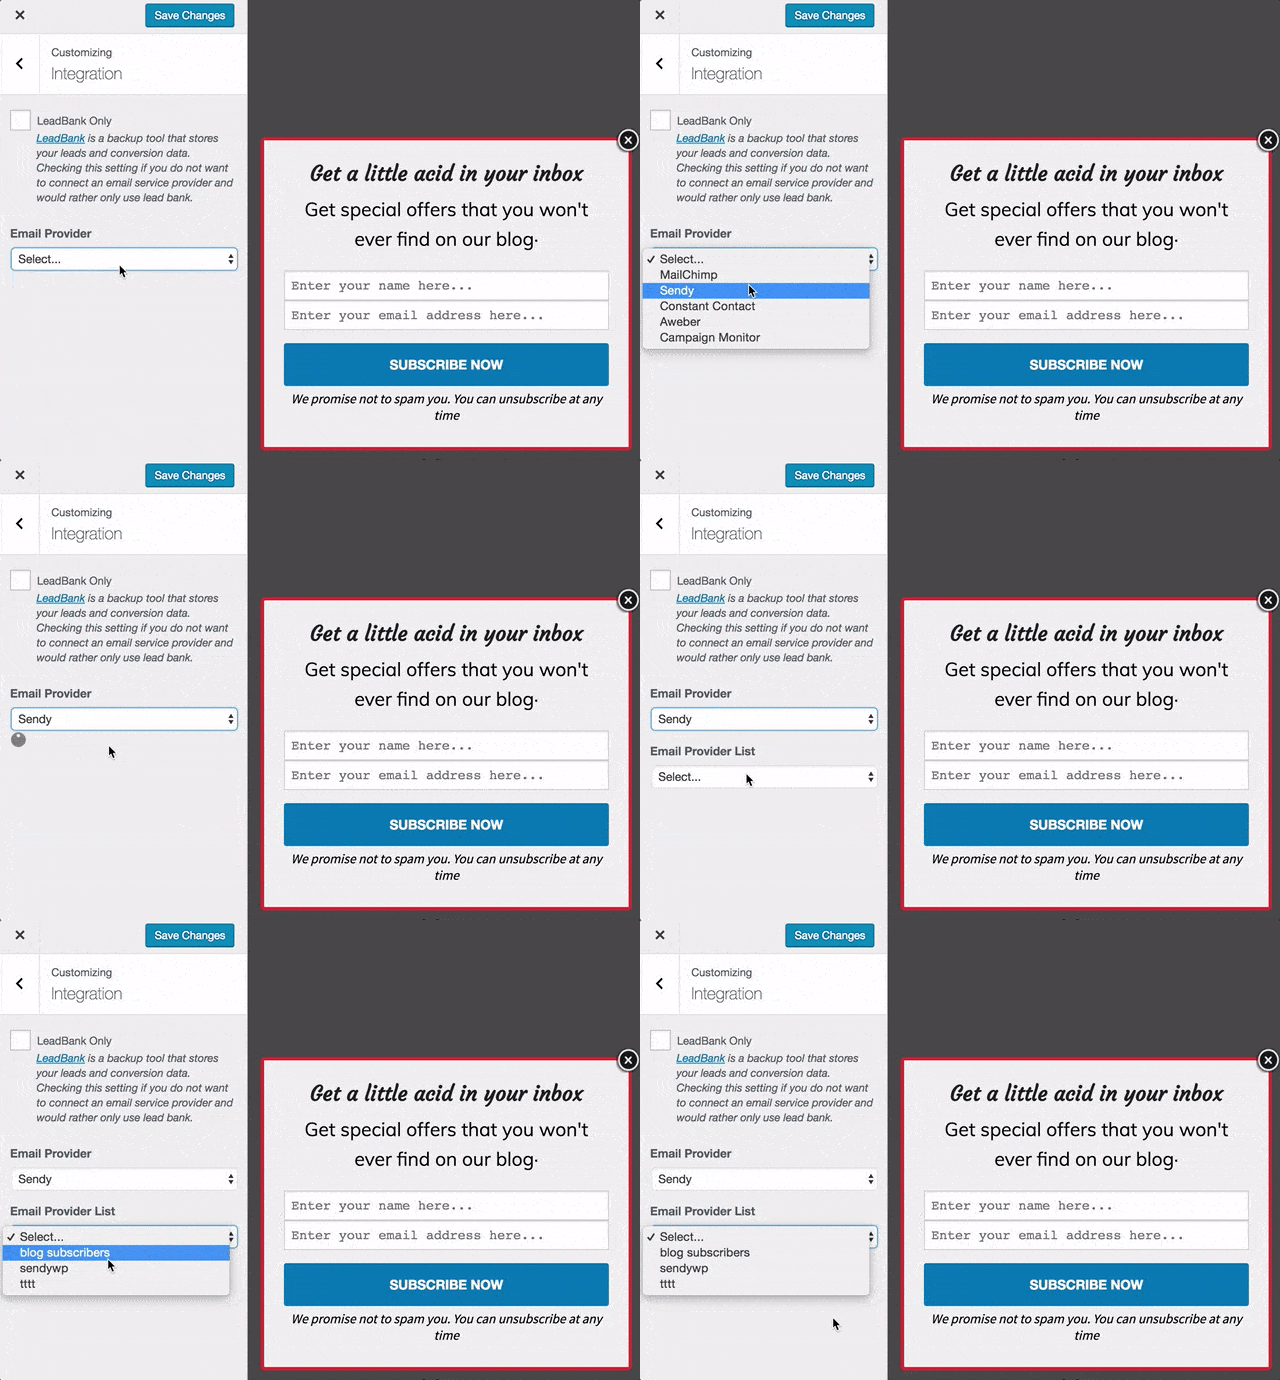
Go to the “Integration” panel, select your email service provider, and the email list to save all captured leads/conversions into. You could decide to use MailOptin Leads for lead storage and be done with it.
Finally, activate the popup at the top right-hand corner by switching the switch to the right.
Easy, isn’t it?
Popup forms are a powerful tool for capturing leads and growing your audience on WordPress. Following the steps outlined in this guide, you can easily create and customize a WordPress popup form that complements your website’s design and effectively gathers the information you need.
Remember to prioritize a positive user experience by setting clear triggers and offering value in exchange for signups. With a well-designed popup form, you can boost conversions and take your WordPress website to the next level.
