How to Connect WordPress With Sendy
Would you like to connect your WordPress website to Sendy for effective email marketing?
MailOptin makes it easy to integrate WordPress with Sendy, an excellent tool for managing newsletters and email campaigns. In this guide, we’ll walk you through how to set it up, so you can contact your audience with your newsletters.
Connecting WordPress To Sendy
To connect WordPress with Sendy, please ensure you have the MailOptin plugin installed on your WordPress site.
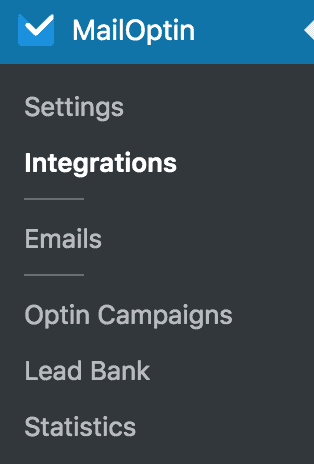
Log in to your WordPress dashboard. Then navigate to MailOptin → Integrations.
Open the Sendy section and enter the following information:
- Installation URL – The URL where your Sendy is hosted.
- API Key – Retrieve this from
http://your-installation-domain-name.com/settings. - Email List Name & ID – Log in to your Sendy dashboard to find these details.
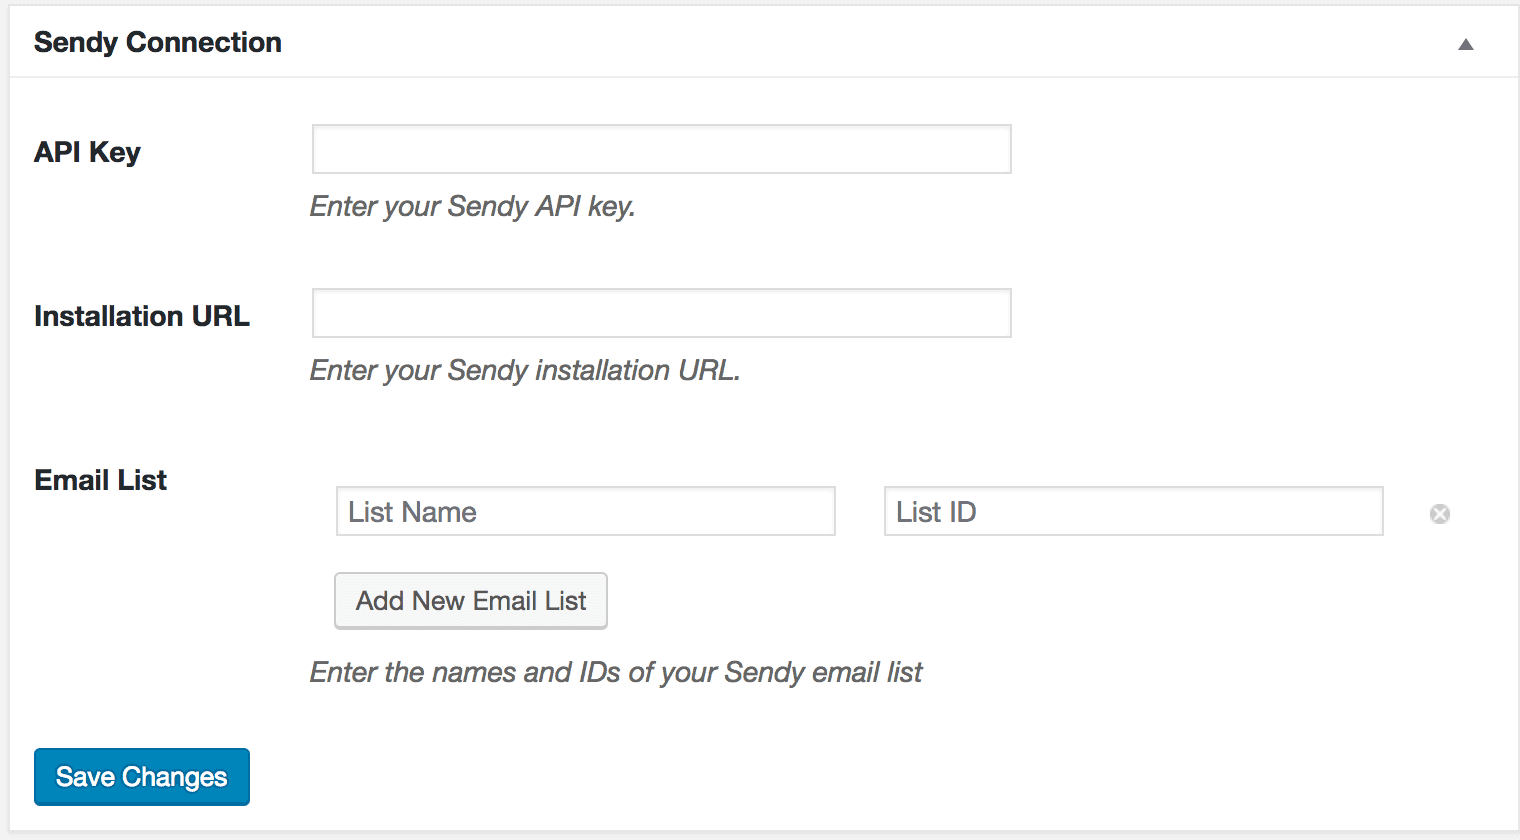
Tip: Double-check these details for accuracy to avoid connection issues.
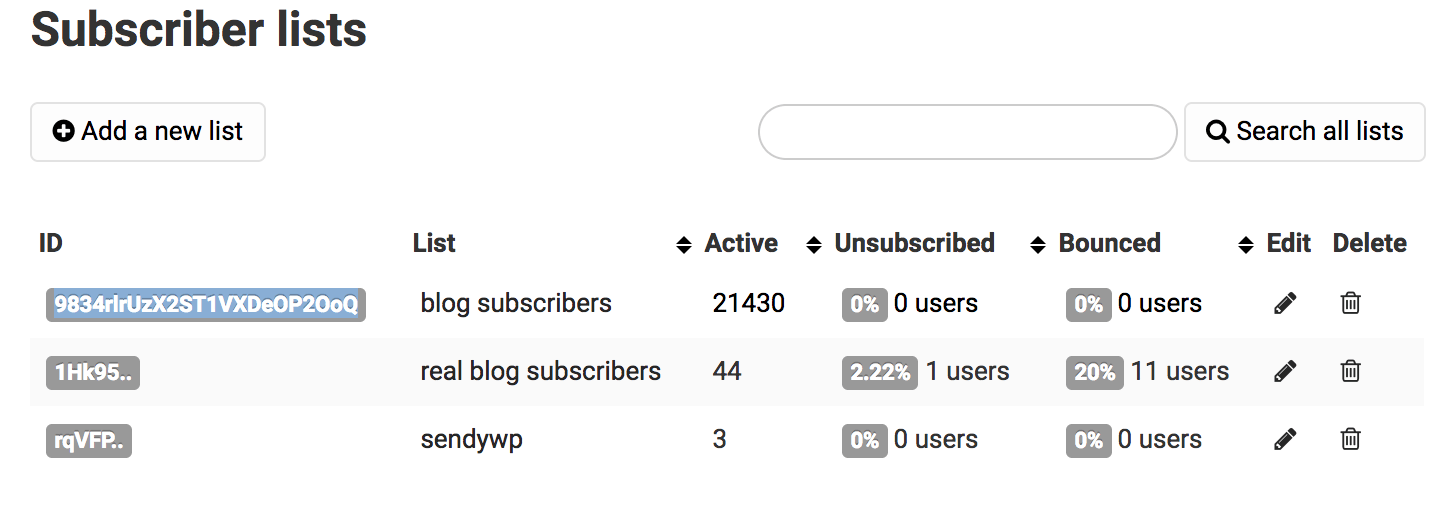
To add more email lists, click the “Add New Email List” button and enter the name and ID of the list. Not sure where to find your List ID? Log in to your Sendy URL, and you can find it here:
Finally, click the “Save Changes” button to save.
In conclusion, connecting your WordPress site to Sendy using MailOptin is a straightforward process that can significantly improve your email marketing efforts. Once you’ve set everything up, you can easily capture leads and send newsletters to keep your audience informed and engaged.
So follow the steps, and start building strong relationships with your subscribers today.