How to Add WordPress Frontend Login Page to Your Website
Would you like to add a WordPress frontend login page to your website?
The default WordPress login page doesn’t offer the best user experience. Adding a frontend login form to your WordPress site can significantly enhance the user experience by allowing visitors to log in without needing to access the backend.
Whether you run a membership site, an online community, or an eCommerce platform, having a customized front-end login page can improve engagement, security, and overall user satisfaction.
In this guide, we’ll walk you through adding a WordPress frontend login page to your website using the ProfilePress plugin.
Benefits of a WordPress Frontend Login Page
Implementing a WordPress frontend login on your website offers numerous advantages. Firstly, it significantly enhances the user experience by allowing seamless navigation and enabling users to log in directly from the front end without being redirected to the backend. This approach also allows for a customizable interface, ensuring the login page matches the website’s branding for a consistent look and feel.
From a security perspective, a frontend login helps limit backend access, reducing the risk of brute-force attacks. Creating a custom login URL protects your site from automated attacks targeting the default WordPress login URL.
The customization and functionality of a frontend login can be enhanced through various plugins and widgets, offering features such as social login, reCAPTCHA for added security, and password recovery. Shortcodes provided by these plugins make it easy to place login forms anywhere on your site, including posts, pages, and sidebars.
Lastly, a custom frontend login contributes to a professional appearance by maintaining brand consistency and increasing user trust and confidence in your site’s security and professionalism.
Creating a Custom WordPress Login Page
ProfilePress is a WordPress membership plugin that lets you build paid membership sites, sell digital products, and control who can access your content. It also allows you to create a custom WordPress login page that conforms to your website design using its powerful drag-and-drop form builder.
Here are the steps to add a WordPress frontend login page to your website using the ProfilePress plugin:
Step 1: Install and Activate ProfilePress
First, you’ll need to purchase a copy of the ProfilePress plugin.
Once your purchase is successful, you will receive an email with the download link for the plugin and your license key. You can also download the plugin from your account page on the ProfilePress website.
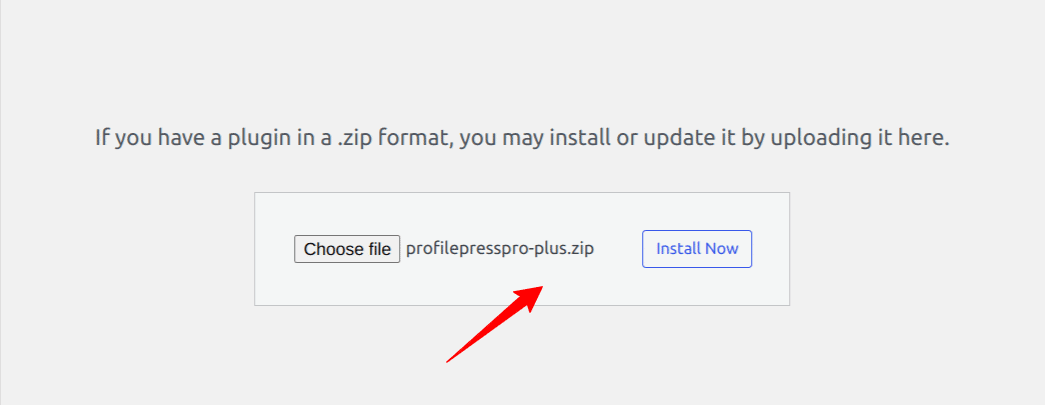
To install the plugin, log in to your WordPress admin dashboard, go to Plugins > Add New, then select Upload Plugin.
Next, choose the ProfilePress zip file you downloaded and click “Install Now”.
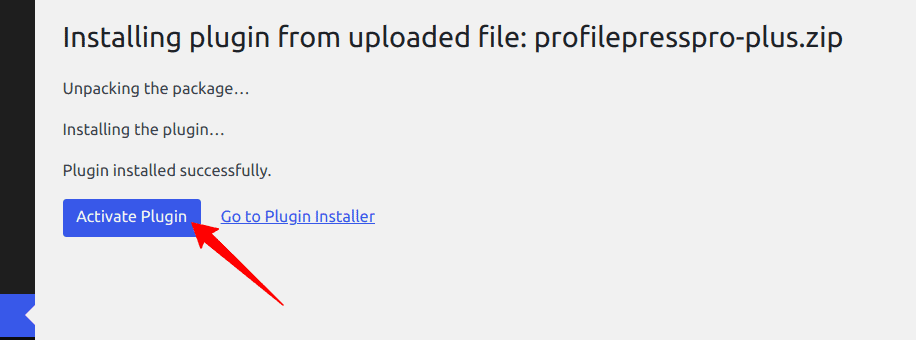
After installation, click “Activate.”
Step 2: Create a Custom WordPress Login Form
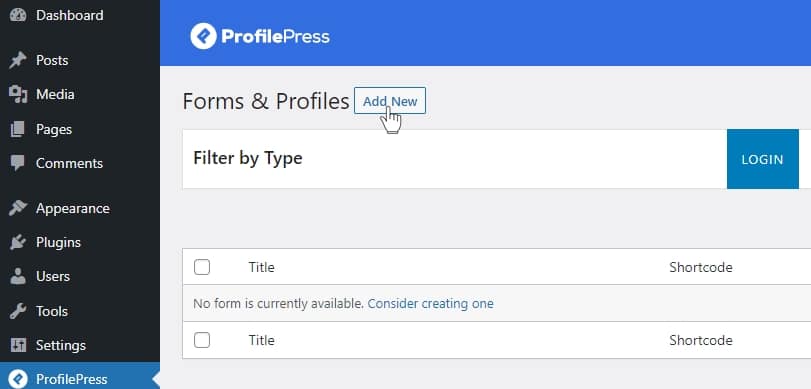
To create a custom WordPress login form that will be embedded on a page that will serve as your website login page, go to your WordPress dashboard, navigate to ProfilePress > Forms & Profiles, and click the “Add New” button.
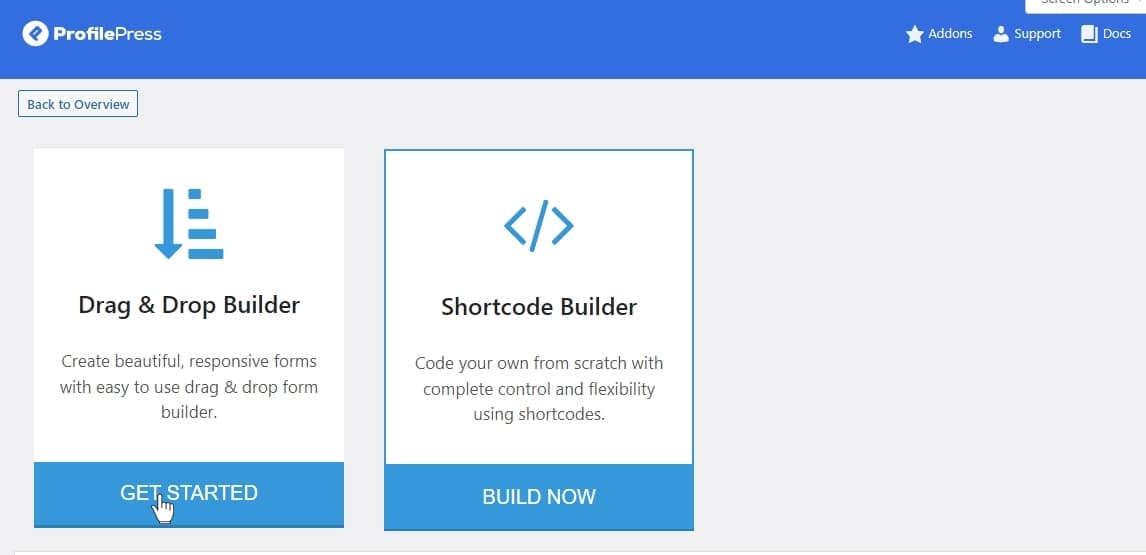
Decide between using the drag-and-drop or advanced shortcode builder. For this guide, we will go with the “Drag & Drop Builder.”
Enter a name for the login form, click the Login tab, and select a theme or template.
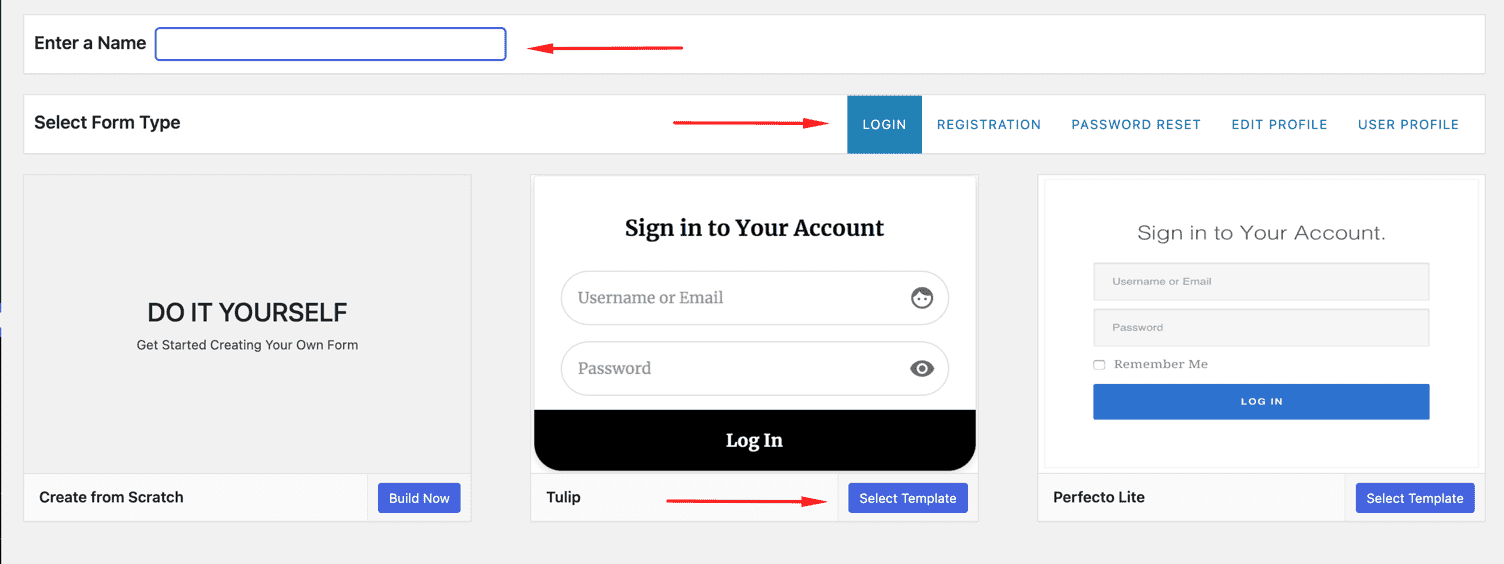
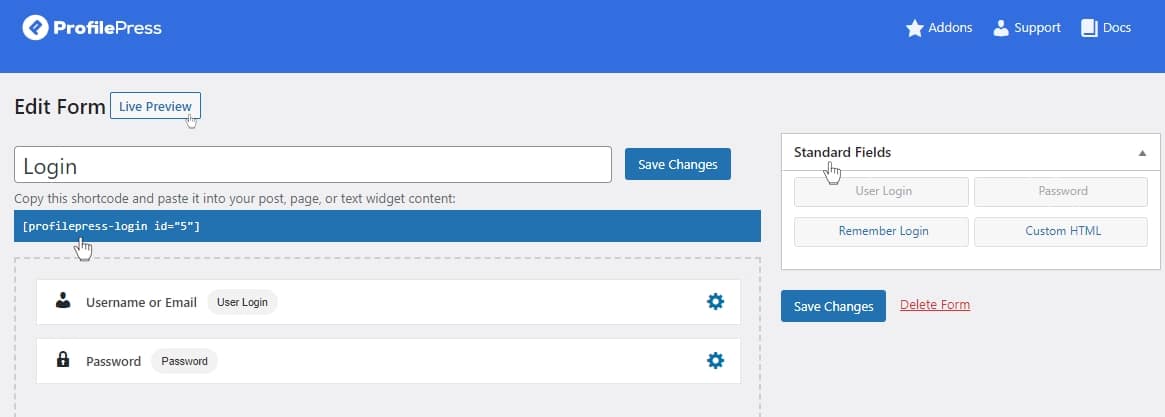
On the form builder page, you will see several fields for building the login form. In addition, there’s the login form shortcode at the top of the fields and a live preview button to preview our changes.
Drag and drop form fields from the Standard Fields section on the page’s right sidebar to customize the WordPress login form. For instance, you can drag the Remember Login field into the form builder area and position it beneath the Password field.
To remove unneeded fields, hover your mouse over the field and click the Trash icon.
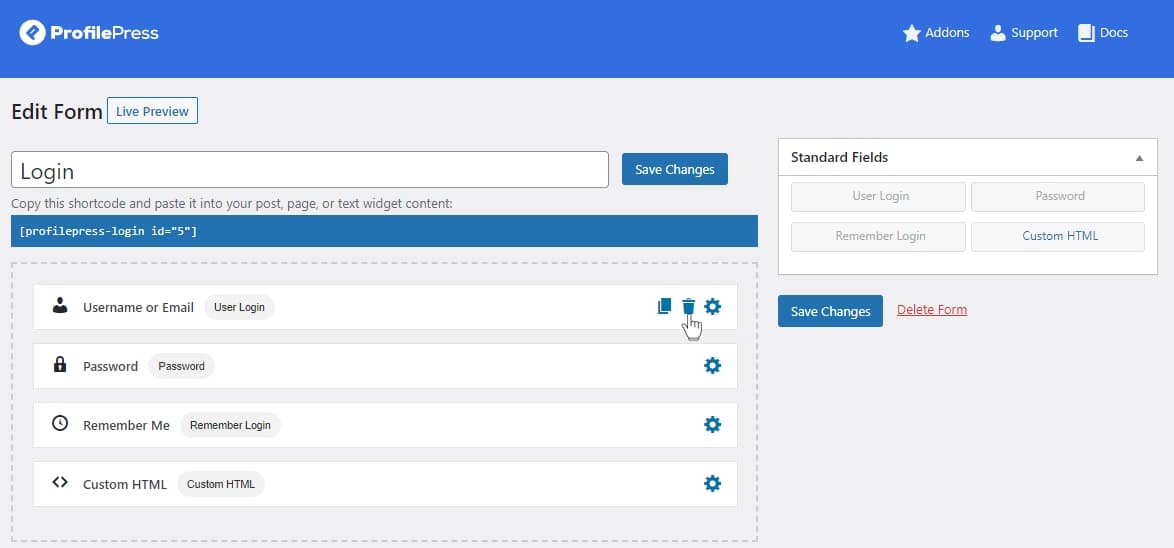
To adjust the settings for any form field, click the Gear icon to open a popup displaying the available settings for that field.
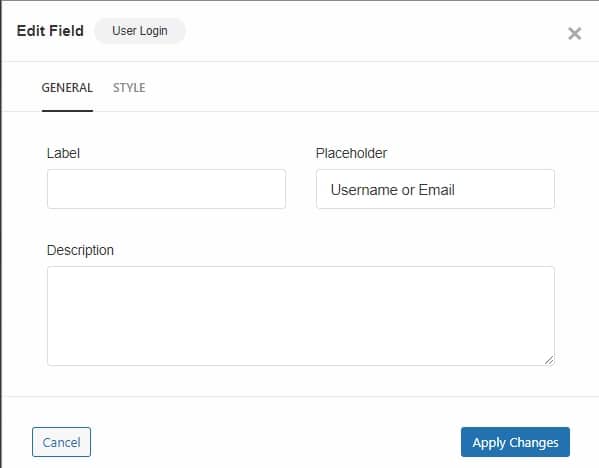
There are two sections that you can modify for each form field. They are – General and Style. Each section contains various elements that affect the field display and behavior.
Step 3: Customizing The WordPress Login Form
You can modify the custom login form’s design in the “Form Settings” section of the form builder, such as the Appearance, Field & Styling, Labels & Text, and Submit Button.
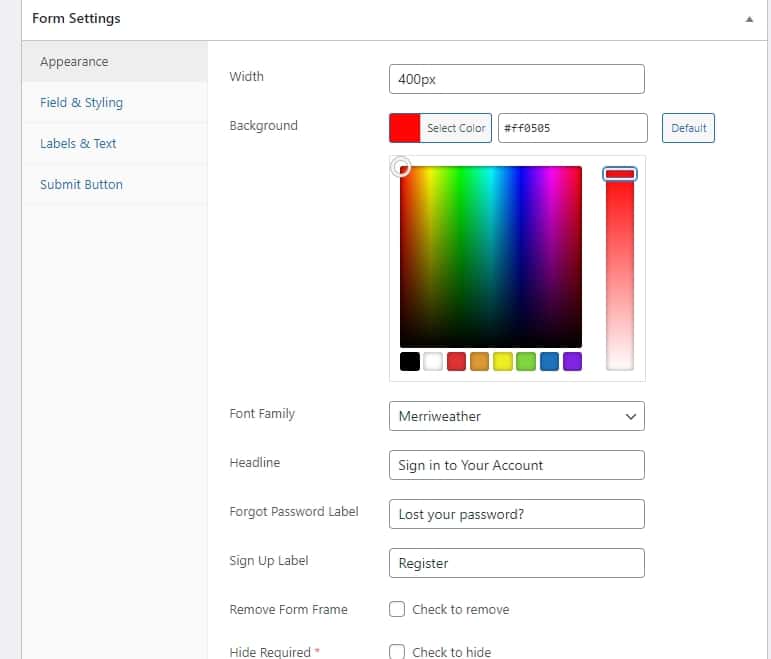
Appearance
The Appearance tab lets you customize your login form’s overall look, including the width, background color, headline, forget password label, sign-up label, form frame, and more.
Fields & Styling

The Field & Styling section lets you customize various properties that control the form layout. For instance, when the field is focused or unfocused, you can adjust the colors for your form’s fields, including the border color. Additionally, you can change your field’s design style to round, square, pillar, material, or flat.
Labels & Text
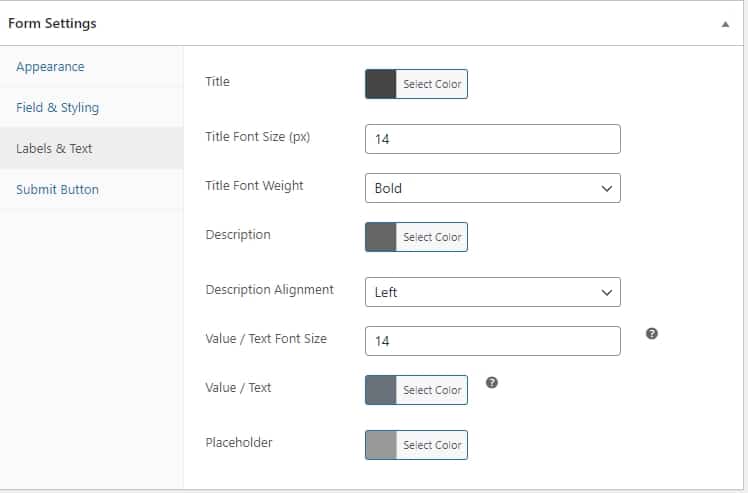
The Labels & Text tab provides the tools to customize the design of your field labels and descriptions, including setting the title, description, and placeholder colors.
Submit Button
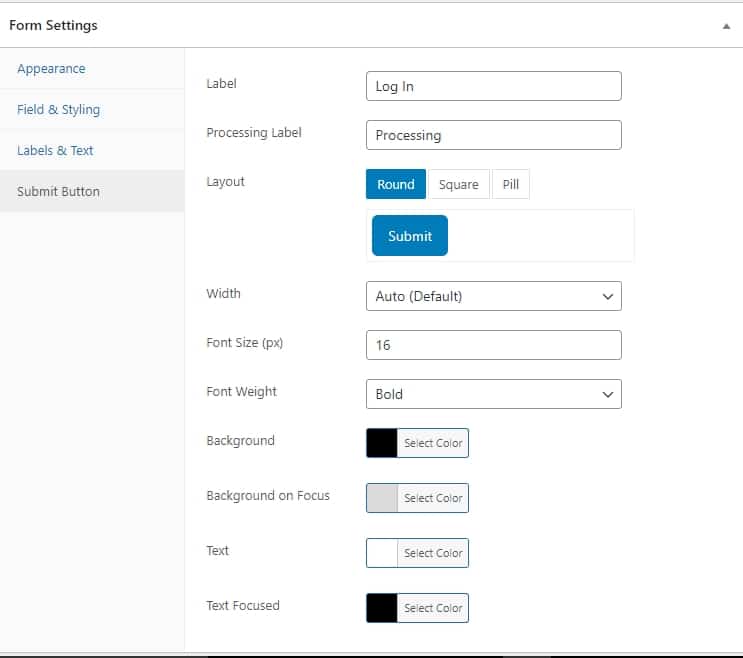
The Submit Button section allows you to customize both the appearance and behavior of the Submit button on your form. You can modify the label, adjust the button width, change the colors, and alter the layout to suit your needs.
Once you have finished customizing your form, click on the “Save Changes” button.
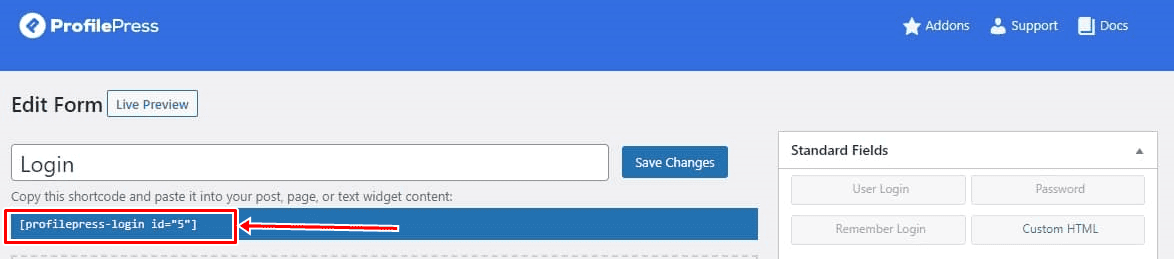
After saving the form, copy the shortcode displayed just below the form title. This shortcode is essential for the next step, allowing you to embed the form into a WordPress page.
Step 4: Creating the Frontend WordPress Login Page
We need to embed it on a page to display your created custom WordPress login form customized login form.
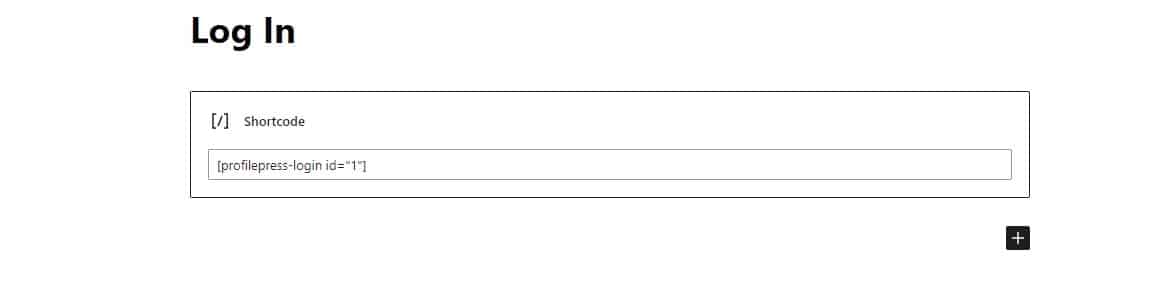
Go to WordPress Dashboard >> Pages and click “Add New.” Enter a title for your page, e.g, “Login”.
If you’re using the WordPress block editor, click the plus icon, select the shortcode block, and paste the shortcode of the custom login form copied into the block.
Alternatively, if you’re using the WordPress classic editor, paste the shortcode directly into the text editor.
Click “Publish” to make your new WordPress Login page live on your website.
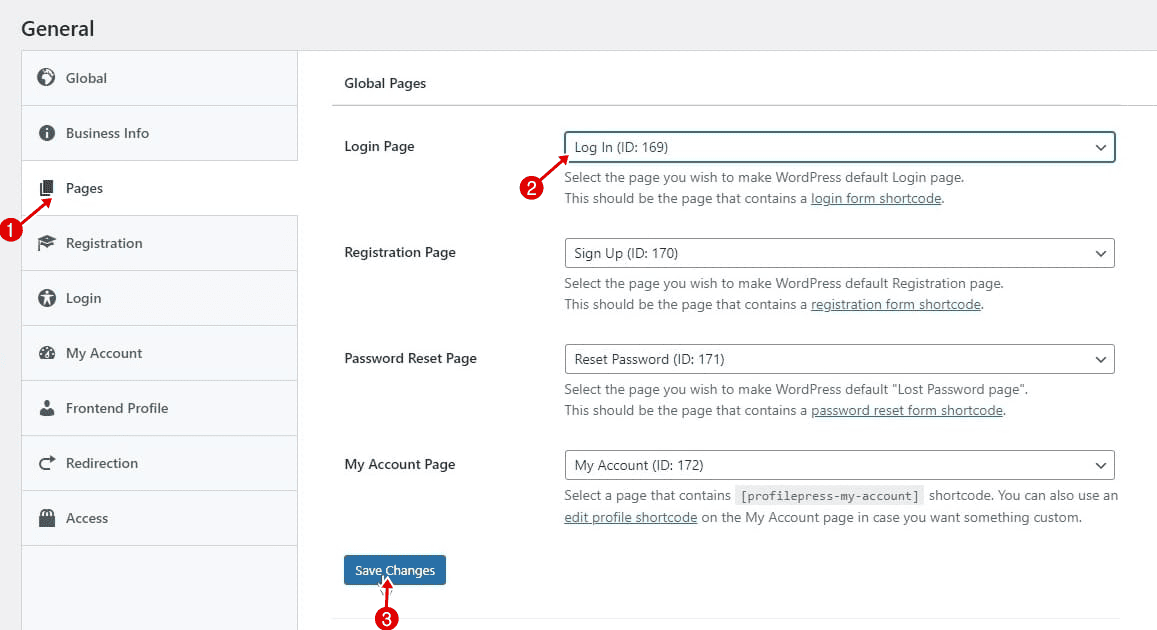
Now that you have published the login page, navigate to ProfilePress → Settings and click on the Pages tab. Select the login page using the dropdown and save your changes. Doing this will redirect the default WordPress login page to the custom login page you created.
Once you have completed the steps above, users who visit https://yoursite.com/wp-login.php will be redirected to your frontend WordPress login page.
Bonus
ProfilePress lets you set up social login and implement security features such as Google reCAPTCHA.
Follow the steps below to configure these features:
Setting up Social Login
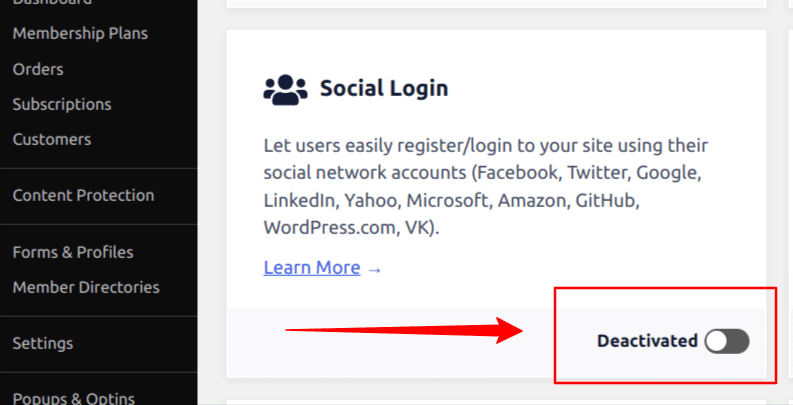
The social login addon allows users to register and log in to your WordPress membership site using their social media accounts. Supported platforms include Facebook, Twitter, LinkedIn, Google, Amazon, Yahoo, Microsoft, VK.com, WordPress.com, and GitHub.
To enable social login, navigate to ProfilePress > Add-ons and activate the Social Login addon.
Learn more by visiting our guide on setting up WordPress social login.
Adding reCAPTCHA to the WordPress Login Form
Implementing reCAPTCHA in your WordPress login page is highly recommended because it can block spam and bot attacks targeted at the login page.
To activate the Google reCAPTCHA addon, navigate to ProfilePress >> Addons, scroll to Google reCAPTCHA, and enable it.

For more information, please refer to the documentation on adding reCAPTCHA to protect WordPress registration and login forms.
Create a WordPress Frontend Login Page for Your Site Today
Adding a custom login page to your WordPress website using the ProfilePress plugin can significantly enhance user experience, security, and overall engagement.
By implementing a WordPress frontend login page, you can provide visitors with a seamless and branded login experience, improve security by limiting backend access, and enhance user registration and profile management.
The flexibility the ProfilePress user management plugin offers allows for further customization and added features such as social login, reCAPTCHA, and password recovery, resulting in a professional and trustworthy online presence.
We hope this article helped you learn how to add a front-end login page to your WordPress website.