Setting Up Online Course Website with WordPress & Sensei LMS
Do you want to create an online course website with WordPress?
A course website allows you to create and sell your online courses. Whether you want to offer paid or free courses, WordPress is a perfect solution for building an online course website.
WordPress is a widely used content management system that powers over 50% of websites worldwide. Its popularity is attributed to its user-friendly interface and adaptability. With the help of plugins, WordPress can be extended to create any website. However, the platform alone does not support building a course website, student management, or accepting payments.
Creating an online course with WordPress is not difficult but can be a little challenging if you have never done it before, do not worry; I will show you how to build your WordPress Online Course website using Sensei LMS for creating the course and ProfilePress membership plugin for selling the course for a one-time or recurring fee.
Install and Activate Sensei LMS
Sensei LMS is a powerful WordPress learning management system (LMS) plugin. It is a perfect tool for building an Online Course website on WordPress. It comes loaded with all the tools and features required for hosting your course on a WordPress site.
Sensei LMS will help you to create and sell courses on your WordPress site. It has a free and pro version. The free version works well for this tutorial, but you should get the pro version if you require more advanced features.
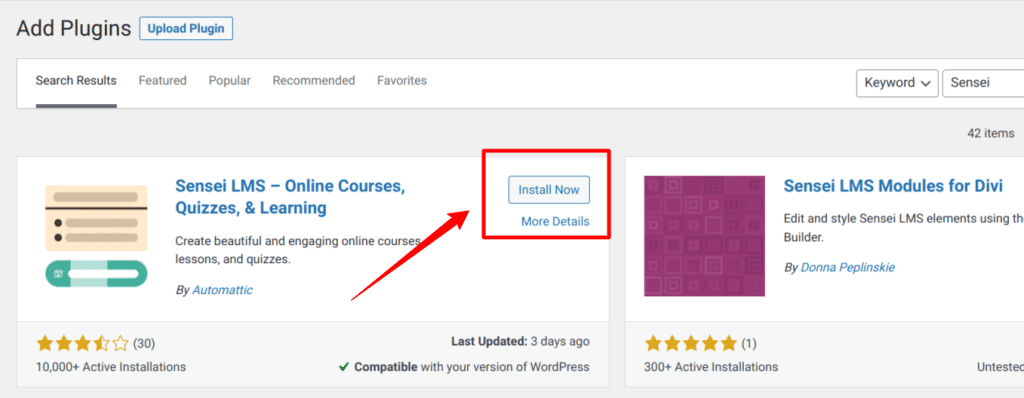
Navigate to Plugins > Add New, search for Sensei LMS, and install and activate it.
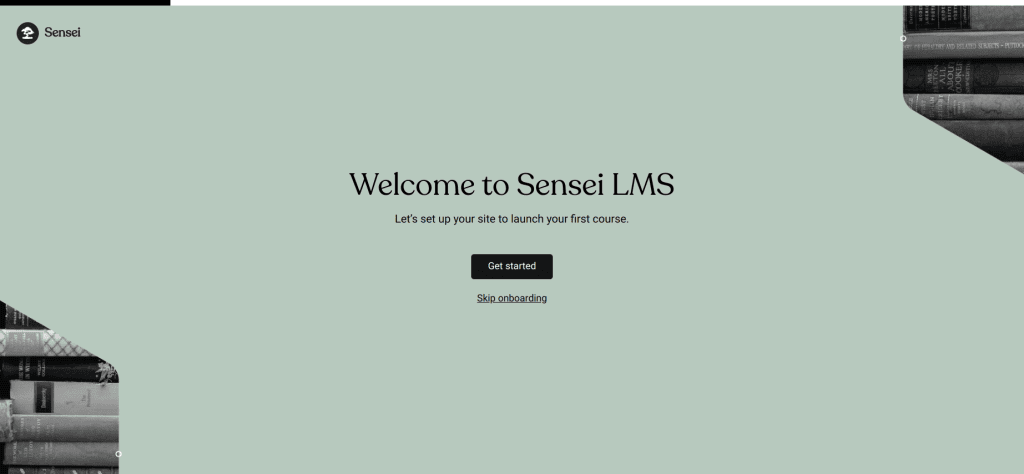
Once you click the activate button, you will be greeted with the Sensei LMS plugin onboarding screen, which will walk you through a series of necessary steps to set up your Online Course website properly. I will recommend that you follow this wizard to complete the initial setup.
There are a bunch of other things that you can configure from the Sensei LMS settings page. You can go over each of them to make any necessary changes by navigating to Sensei LMS > Settings.

Install a Sensei LMS Theme
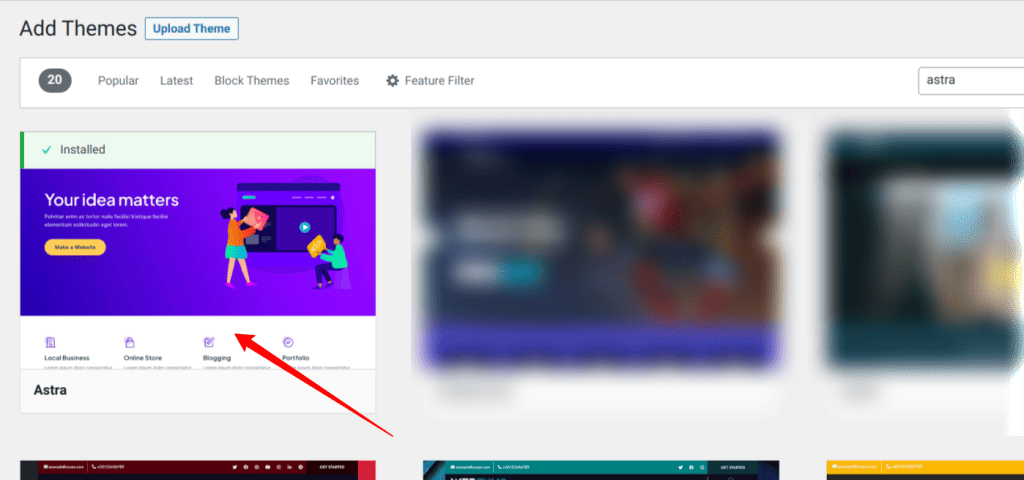
Once the Sensei LMS plugin is installed and configured, the next step is to install a compatible WordPress theme for Sensei LMS. We will be using the Astra WordPress theme.
From your WordPress dashboard, navigate to Appearance > Themes, choose Add New and search for Astra. Install and Activate it.
Once you have installed and activated the theme, we need to install a companion plugin for this theme.
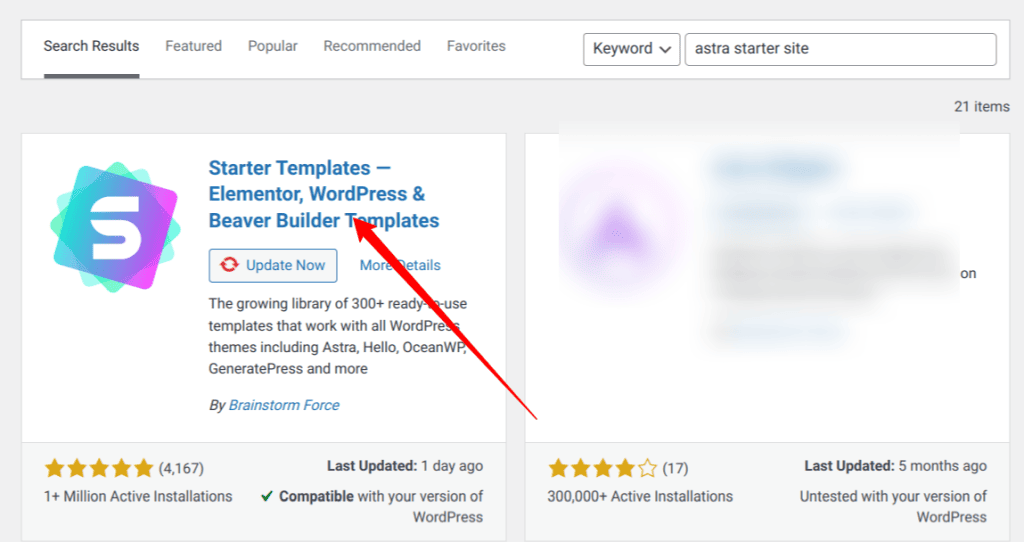
Navigate to Plugins > Add New, search for a plugin called Starter Templates, and install and activate it. The Starter Templates is an Astra theme companion plugin enabling us to import predesigned templates for faster development.
Now that our theme is installed and activated, we can import a starter template into our website.
Navigate to Appearance > Starter Templates from the left side admin panel. You will be presented with a page allowing you to choose your favorite site builder and search for prebuilt templates that you can import into your website.
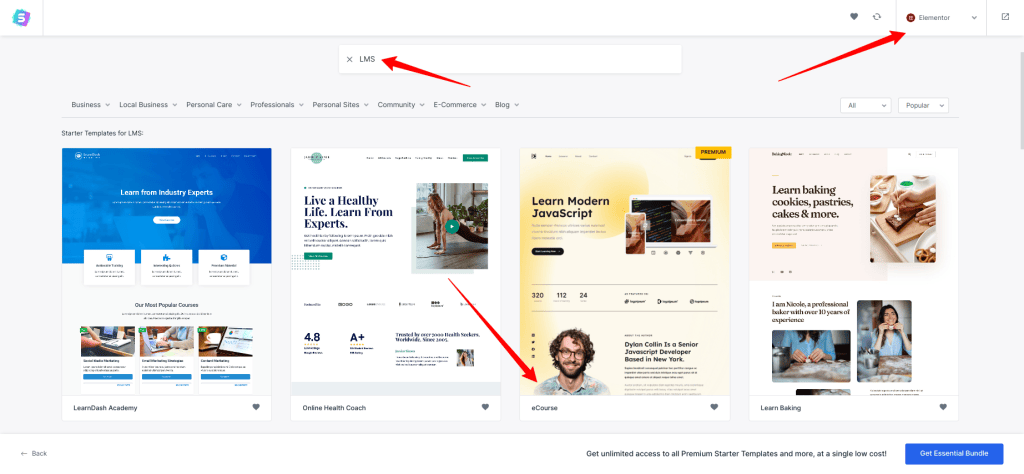
Using the search form on this page, search for “LMS”, and you will get a result with various templates that are compatible with Sensei LMS.
For this guide, we will be using the eCourse template. You can see a demo of each template by clicking on each template.
Follow the prompts to upload your logo and make any minor adjustments. If you are unsure about them, leave them default and click the Import Site button, and the template will be imported into your WordPress site.
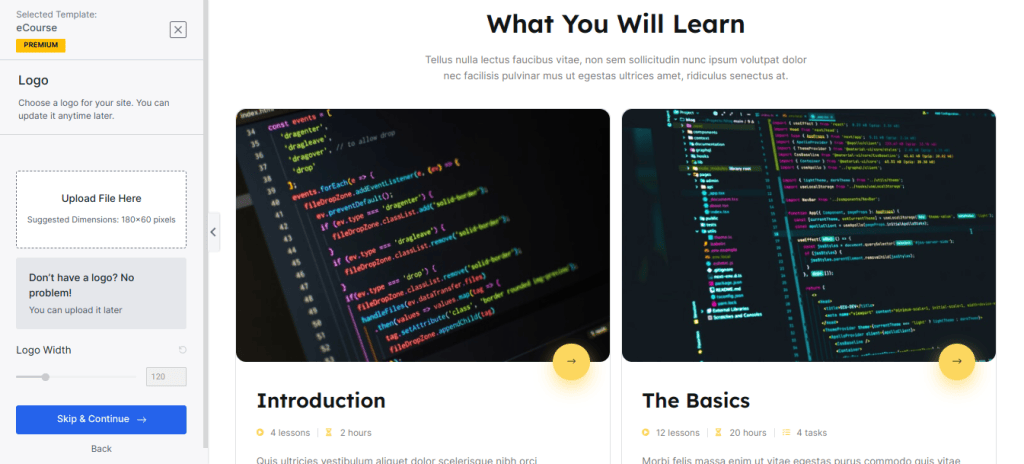
Once the import is complete, click View Site to see how your site will look. You will see that Starter Templates has created a beautifully-designed layout for your site, and what is left is to make some minor changes, and you are good to go.
Creating a Course
Now that we have set up the Sensei LMS plugin and also gotten a beautifully-designed layout on our course website, we can proceed to create a course for our students.
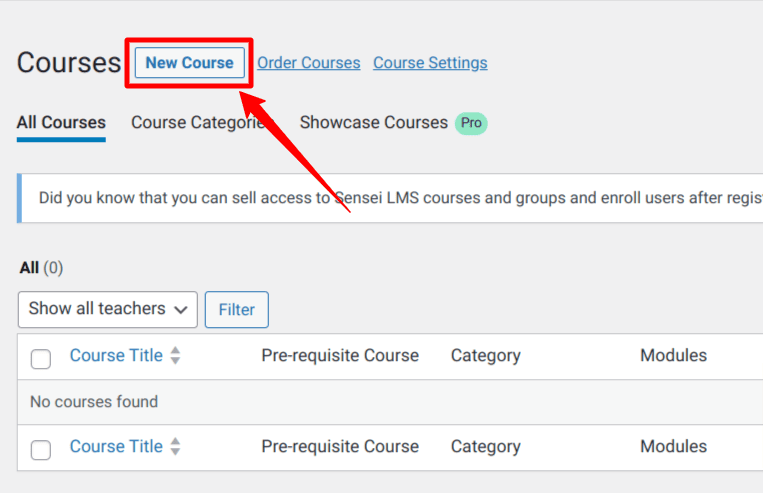
Creating a course with Sensei LMS is quite easy. Navigate to Sensei LMS > Courses, then click on New Course.
Once you’re on the course editor page, fill in the course title, add some description in the content editor, and add an excerpt that will appear on the course page.
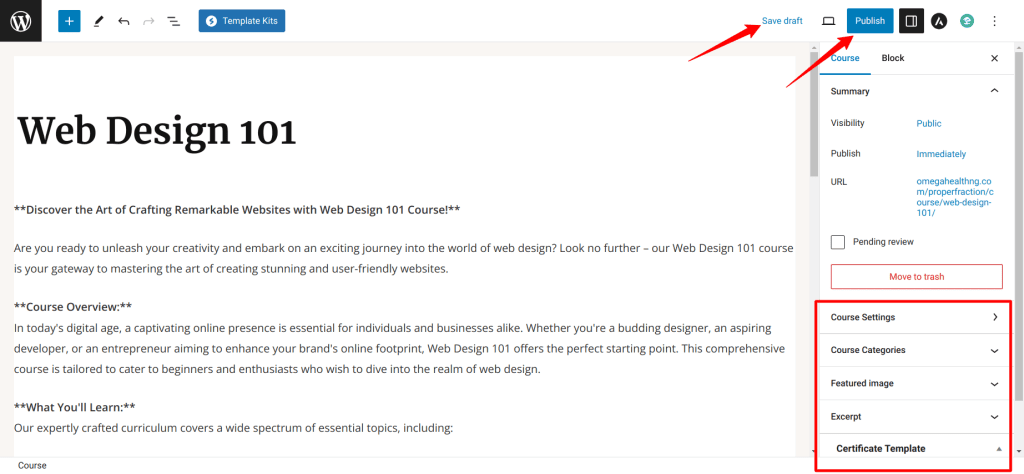
Next, scroll down, and you’ll see several meta boxes where you can configure the details of your course, such as the enrolment button and course progress bar.
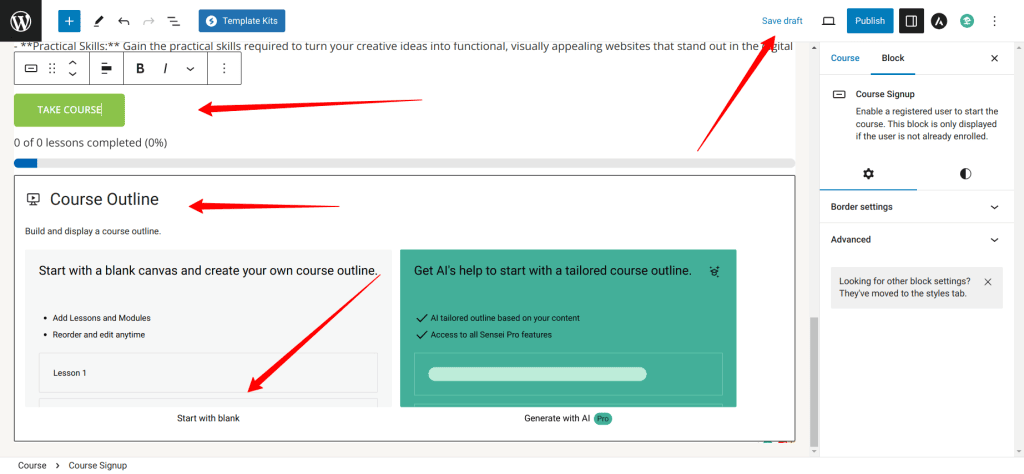
An essential section of the course creation process is the course outline section, where you add the course modules or lessons each student can access when enrolling in your course. Each module in this section can have lessons and quizzes attached to it.
To learn more about how to use the course outline, check out this Sensei LMS Documentation.
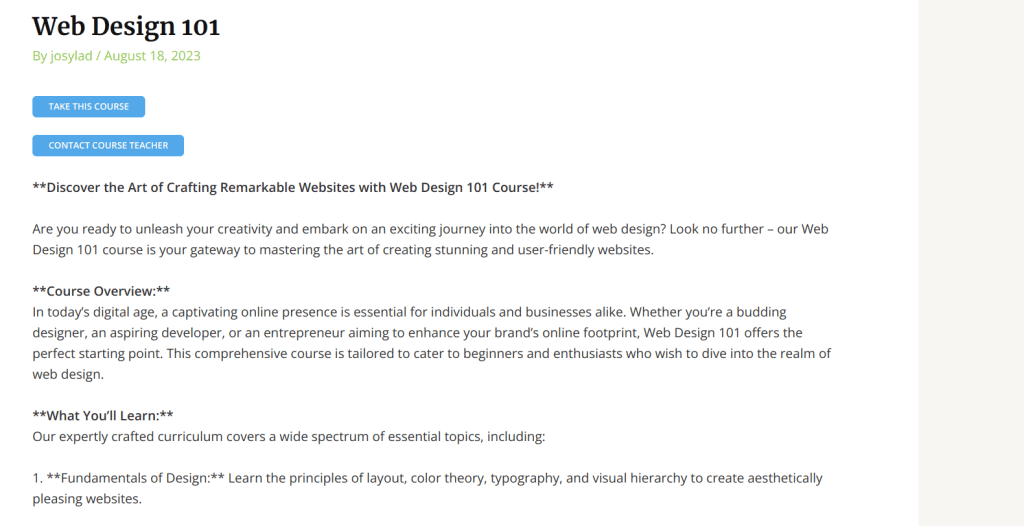
Once you finish all modifications, click the Publish button, and your course will be live on the website. Now, students can enroll in your course and review the available topics. This is how easy it is to create courses with WordPress using Sensei LMS.
Selling with ProfilePress Ecommerce Plugin
Sensei, by default, can only be used to create your course website. However, you need an e-commerce or membership plugin such as ProfilePress to charge for your courses or sell access to them.

ProfilePress is an eCommerce and WordPress membership plugin that allows you to build powerful eCommerce websites. It is one of the best WordPress payment plugins. It allows you to accept one-time or recurring payments via PayPal, Stripe, Mollie, Paystack, Razorpay, and more.
To get started, You will need to purchase a ProfilePress Pro License and install the ProfilePress plugin. To do that, go to the ProfilePress website to purchase a suitable license plan.
After purchasing your copy of the ProfilePress Plugin, you will receive a confirmation email with a link to download the plugin zip file and your license key. You can also download the plugin from your account page on the ProfilePress website.
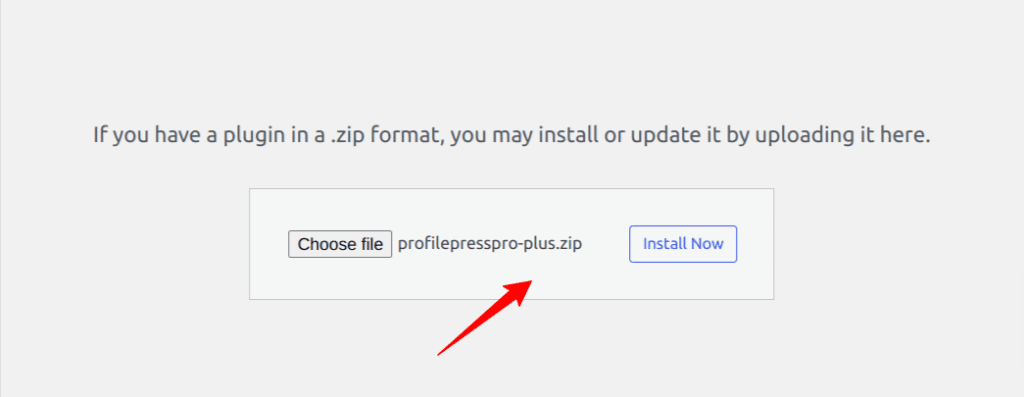
Once you have downloaded the plugin, login to your WordPress admin dashboard, and navigate to the Plugins page; click on the “Add New” button and click “Upload Plugin“.
Next, click “Choose file” to select the previously downloaded plugin zip file. Click “Install Now.”
After installation is complete, click the Activate Plugin button.
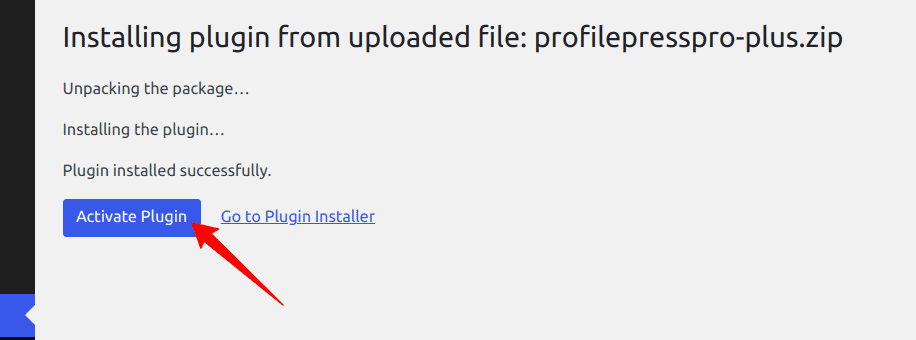
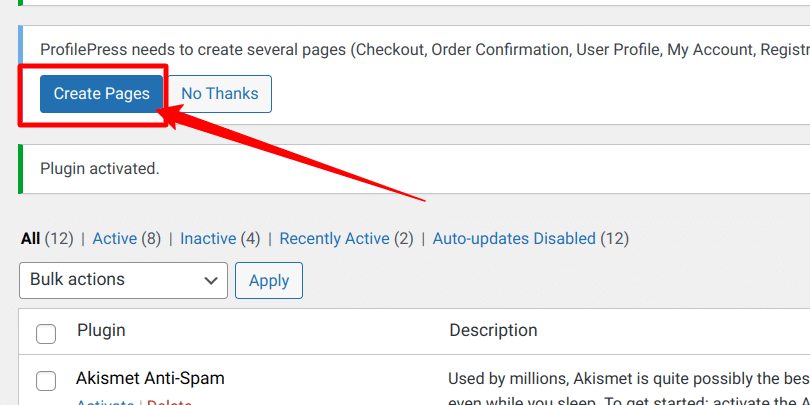
At the top of the page, you will see a notification that says, “ProfilePress needs to create several pages,” Click on the “Create Pages” button to complete the plugin setup.
If you do not see this notification, navigate to ProfilePress > Dashboard and click the “Create pages” button to complete the plugin setup.
With this done, we have completed the initial setup of the ProfilePress plugin on our WordPress site.
Integrate Stripe Payment Gateway
After installing and setting up ProfilePress, the next step is to set up a payment gateway. We will use the Stripe Payment gateway for our WordPress payment forms for this guide. You can configure the Stripe payments on your site by navigating to ProfilePress > Settings > Payments > Payment Methods and choosing Stripe.
Click on the “Connect Stripe” button, follow the prompts, and you are all set to start accepting payments from your customers.
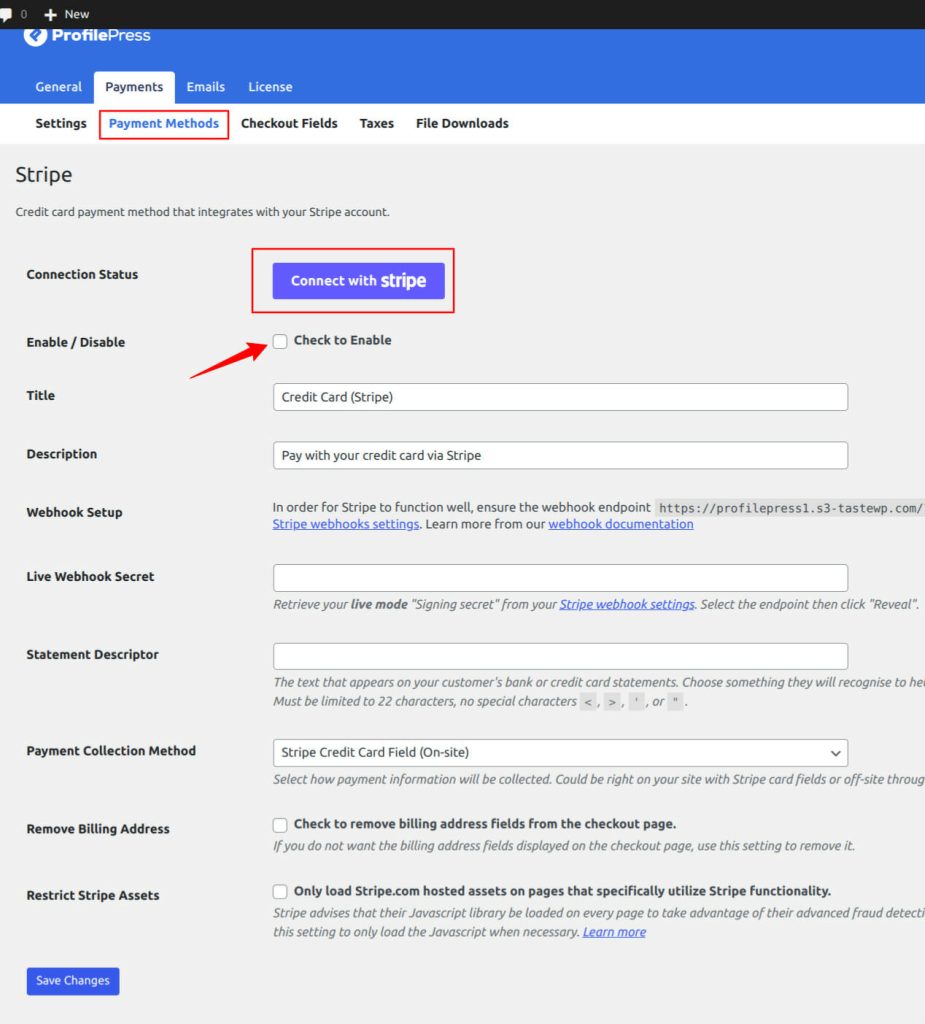
If you don’t want to use Stripe, ProfilePress supports other popular payment gateways like PayPal, Razorpay, Paystack, and Mollie.
Activate Sensei LMS Addon in ProfilePress
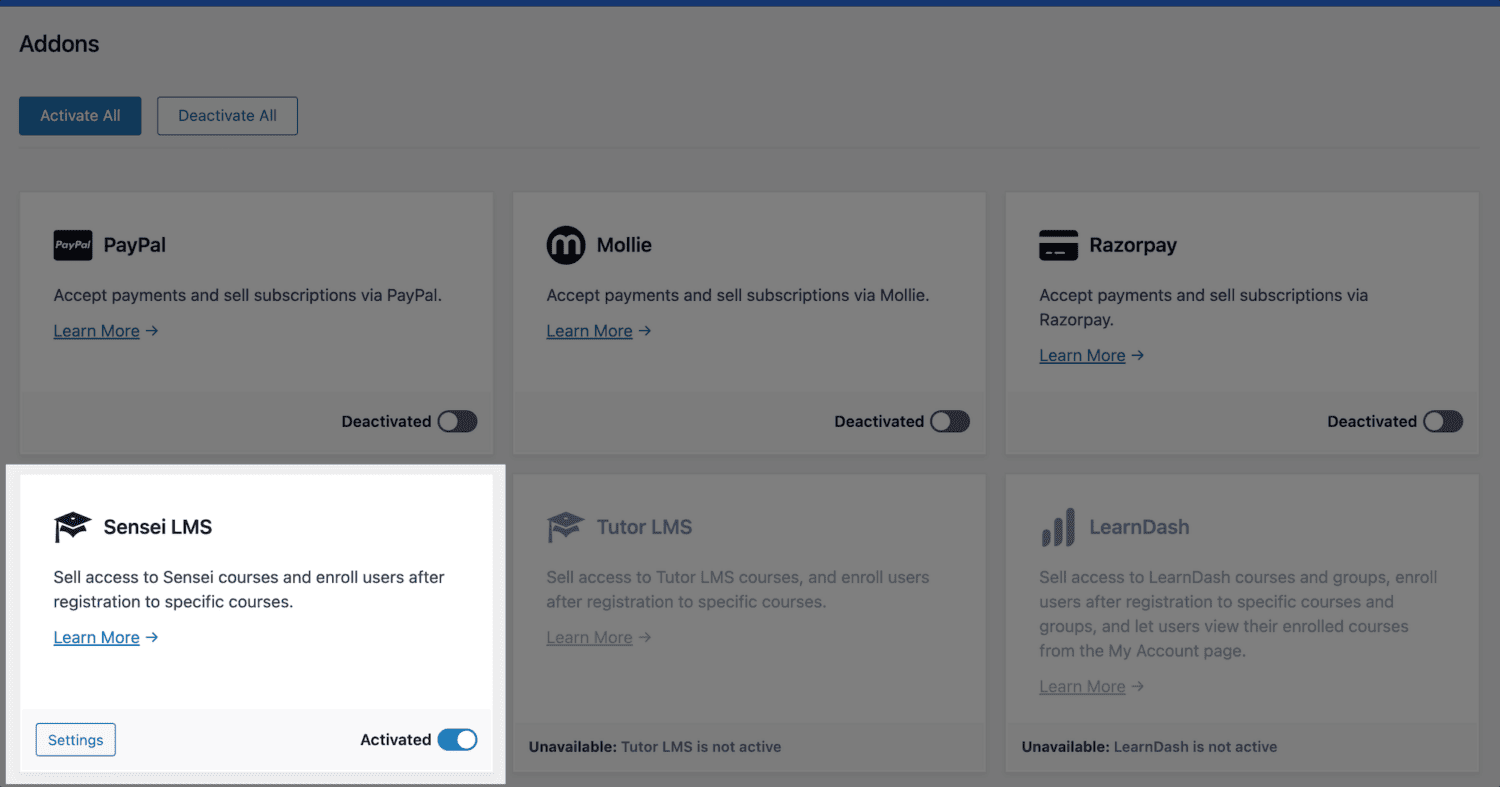
The next step is to activate the Sensei LMS Addon in ProfilePress. Navigate to ProfilePress > Addons, scroll until you find the Sensei LMS addon, and activate it.
After activating the addon, you can find its setting by navigating to ProfilePress > Settings > Sensei LMS.
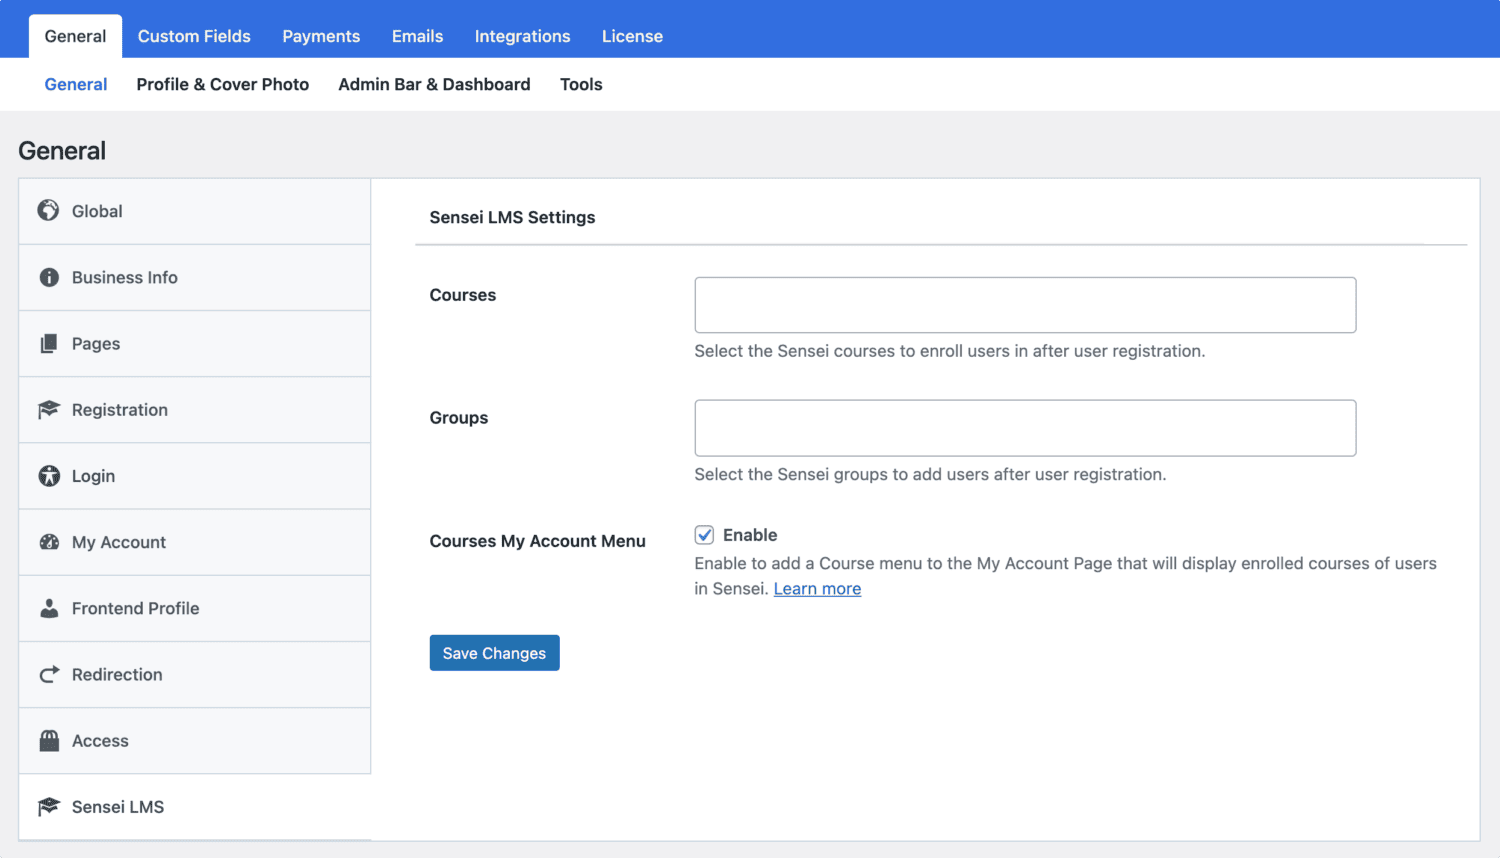
If you want to add a menu to the My Account page that displays users’ enrolled courses, enable the “Courses My Account Menu” setting as shown above.
Selling Sensei LMS Courses and Group Access with ProfilePress
ProfilePress Sensei LMS addon lets you sell your courses with ease. It works by associating one or multiple courses to a membership plan.
You can combine two or more related courses into a bundle, price it lower than the cost individually, and sell this to your users. There are a lot of things you can do with the ProfilePress integration.
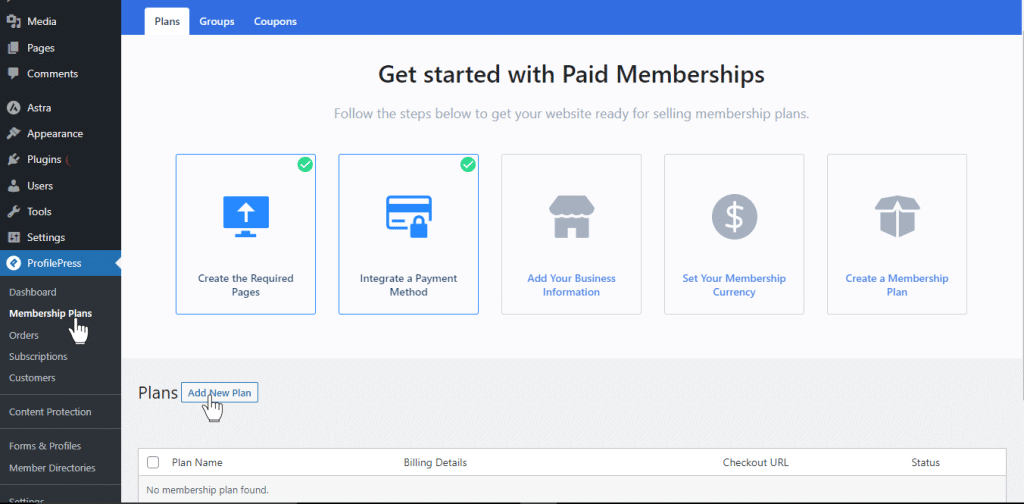
Navigate to ProfilePress > Membership Plans to create a new membership plan or open up the edit screen of an existing plan that you want to use to sell your course.
Provide the plan name, description, and price.
ProfilePress has a built-in field called “Purchase Note” shown to the customer after a successful purchase on the order confirmation page and in the customer’s receipt email. You can use this field to provide instructions or the next steps for taking your course, along with a link to the course page.
This field accepts HTML so you can include a direct link to the course for the student. Here’s an example of creating a link to your course. Replace the URL with the URL to your specific course.
<a href="https://yoursite.com/courses/build-websites-101/">Start this Course</a>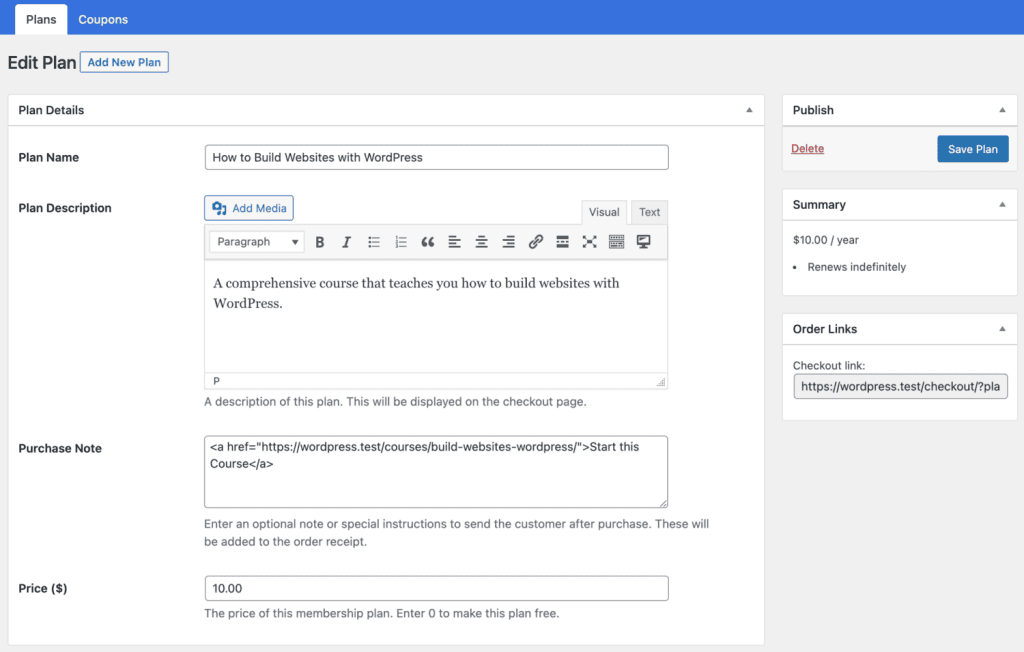
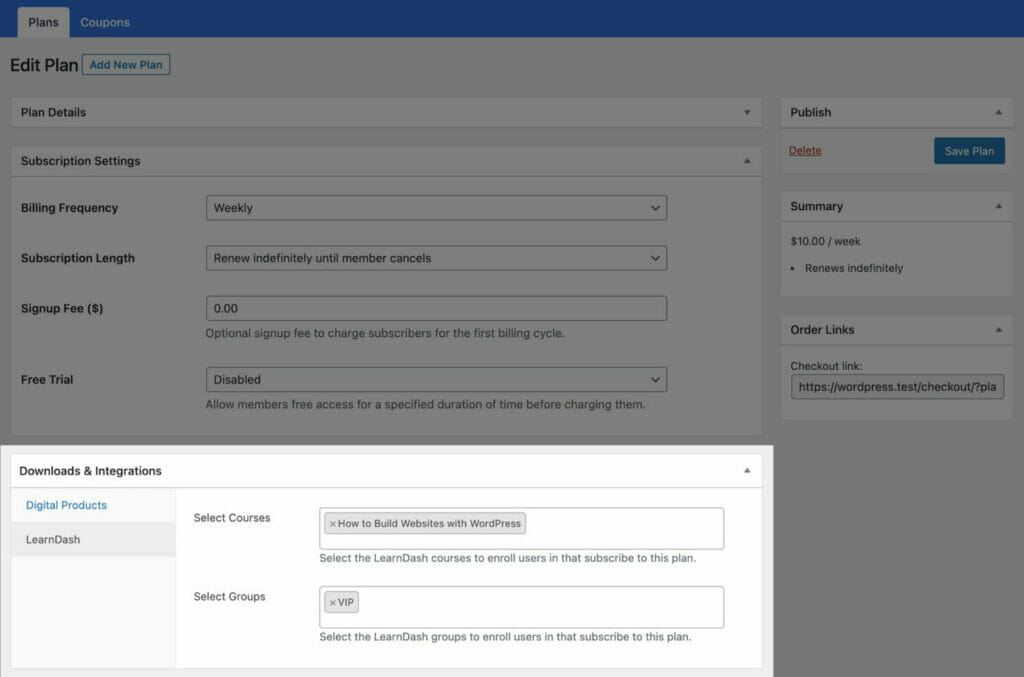
Scroll down to the Subscription Settings section to set the plan or course fee as a recurring payment that can be charged daily, weekly, monthly, quarterly, every six months, or yearly; you can also set it as a one-time payment.
Finally, on the Downloads & Integrations section, select the Sensei LMS courses and groups to grant users access after purchasing the membership plan.
Select the course you created earlier to start charging a fee for it.
Save your changes, and your membership plan will be created. Note that if the membership plan is a subscription that charges a recurring fee, access is automatically revoked if the subscription is refunded or expired.
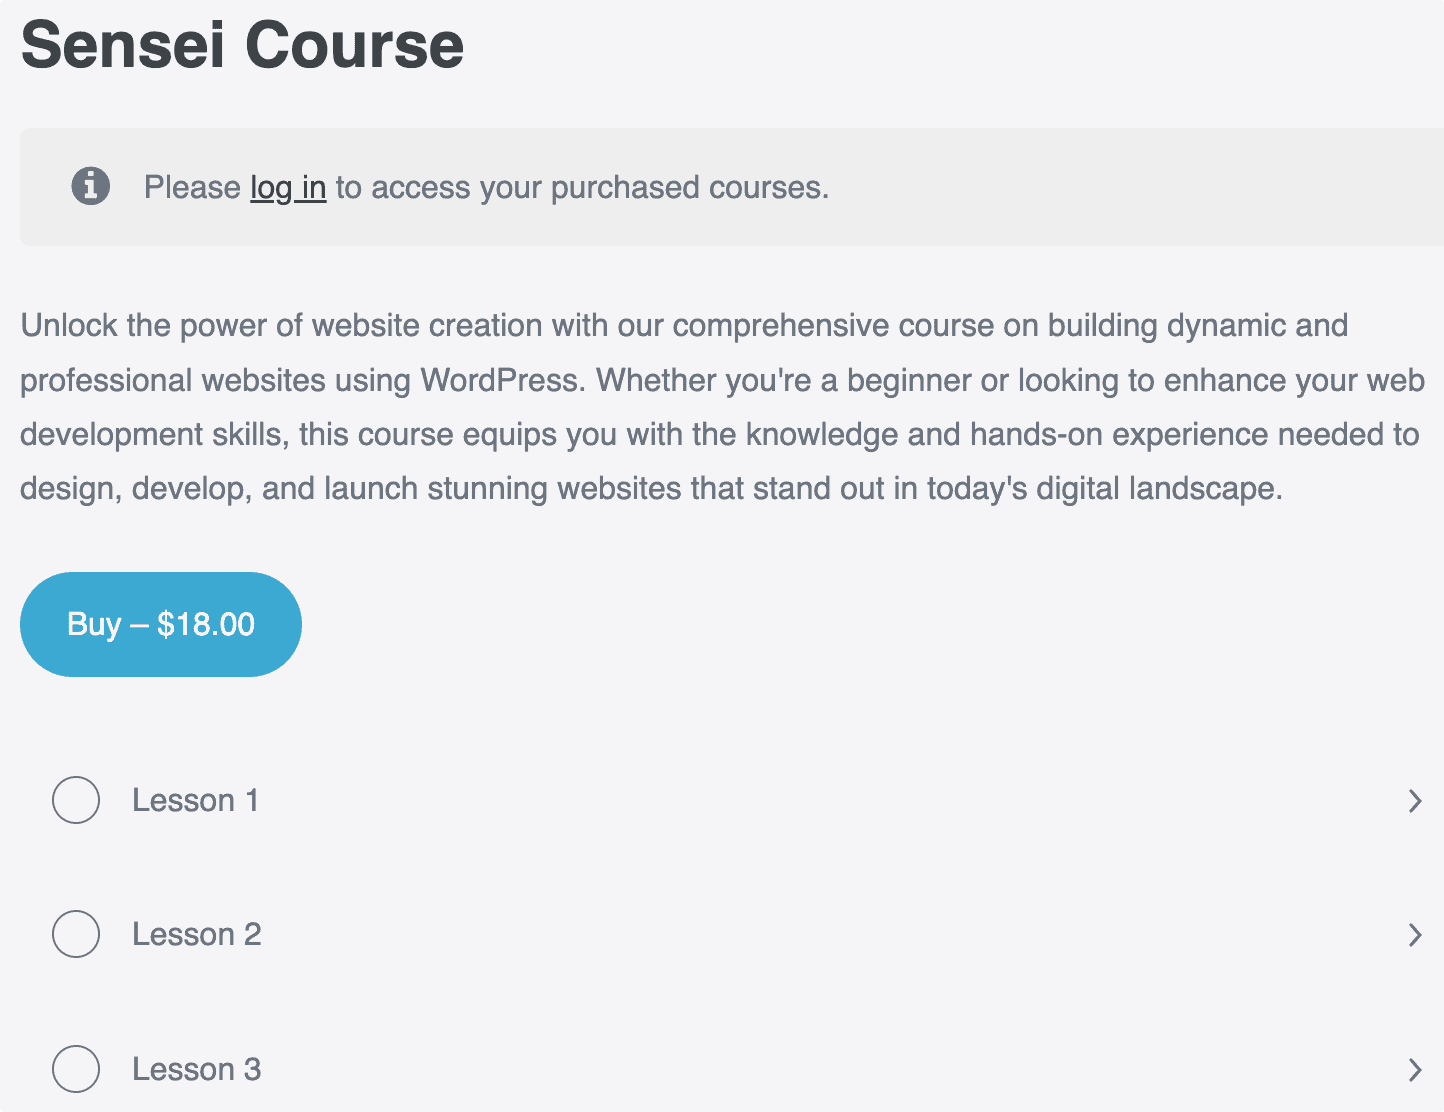
With this done, When users visit any course page protected by a ProfilePress membership plan, they will see a “Buy Button” button that takes them to the checkout page to complete their purchase.
After checkout or payment, the Buy button would be replaced with a button to start or take the course.
Conclusion
Creating an online course with WordPress can be easy. In this guide, we have looked at how to create an online course with WordPress and also monetize it.
With a combination of Sensei LMS and ProfilePress, you can create a fully functional online course website with WordPress that is easy to use and navigate for your users. Additionally, you can monetize your courses by offering paid memberships, selling course materials, or creating premium content for your users.