Adding Accept Terms & Privacy Policy Checkbox to Optin Forms
Looking to add a checkbox to your MailOptin opt-in forms so visitors and users can agree to your terms of service, marketing, and privacy policies before subscribing?
Ensuring that subscribers explicitly consent to your terms keeps you compliant with regulations like GDPR and CCPA and fosters trust and transparency with your audience.
Obtaining explicit consent from users serves as a protective measure in potential legal disputes. It demonstrates that users actively agreed to your terms and privacy practices by checking the box.
In this guide, we’ll walk you through adding this checkbox to your MailOptin optin forms, ensuring you meet legal standards while enhancing user experience.
Adding Optin Checkbox to Your WordPress Form
Follow the steps to add an acceptance checkbox to your WordPress optin form created via MailOptin.
Step 1: Install and Activate MailOptin Plugin
To begin, you will need to buy a MailOptin license. Then, download the plugin from the welcome email or your MailOptin account.
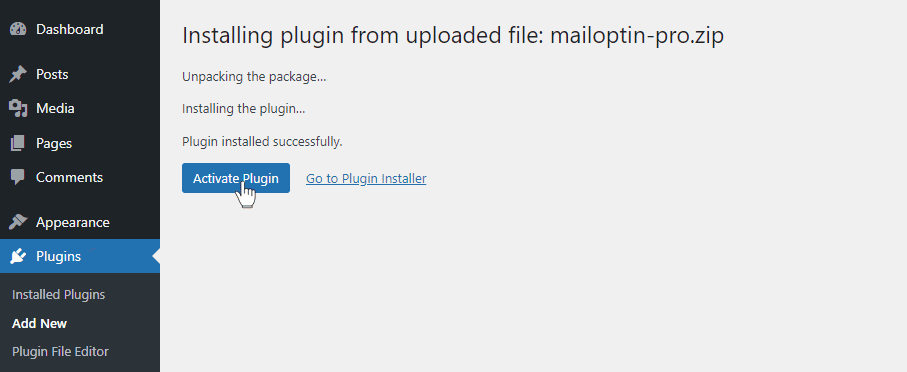
Next, log in to your WordPress admin dashboard. Go to the Plugins page. Click the Add New button and Upload Plugin.
Then click on Choose File to select the downloaded plugin zip file. Click Install Now.

After installing the plugin, activate it by clicking ‘Activate Plugin’.
Step 2: Creating an Optin Campaign
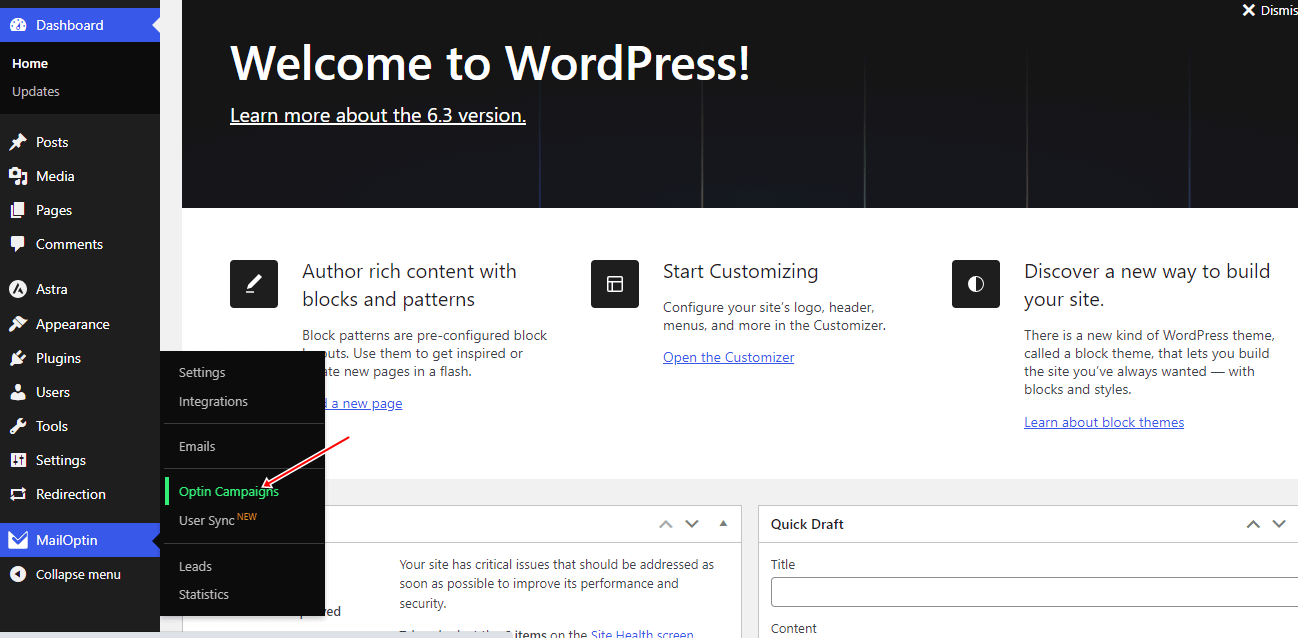
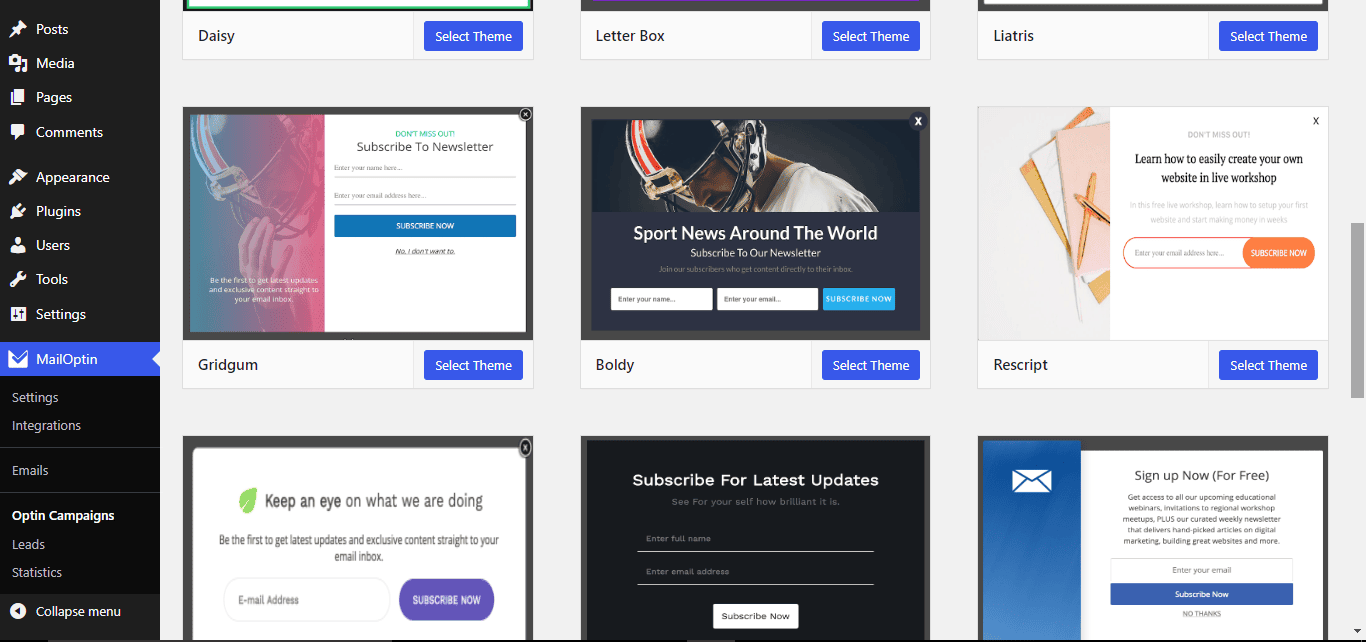
In the MailOptin menu, click on “Optin Campaigns.”
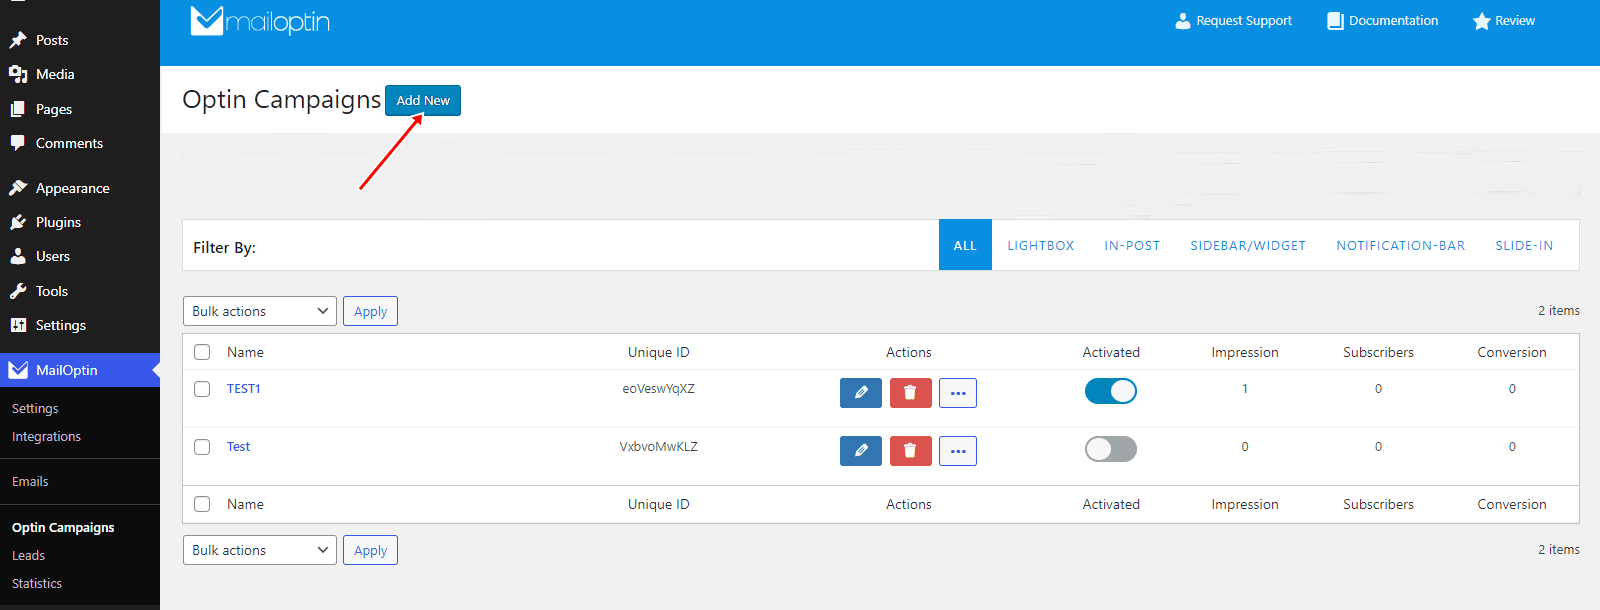
Then click the Add New button at the top to create a WordPress optin form.
Enter a title for the WordPress optin campaign, select the optin type (for this tutorial, we’ll select Lightbox), and click the optin form design you want.
Next, you will be redirected to the campaign customizer, where you can customize the opt-in form any way you like.
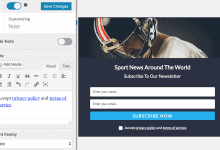
When done, open the “Note” panel, then scroll down to the “Enable Acceptance Checkbox” section and activate. A field to customize the error message shown when a user does not check the checkbox will be revealed.
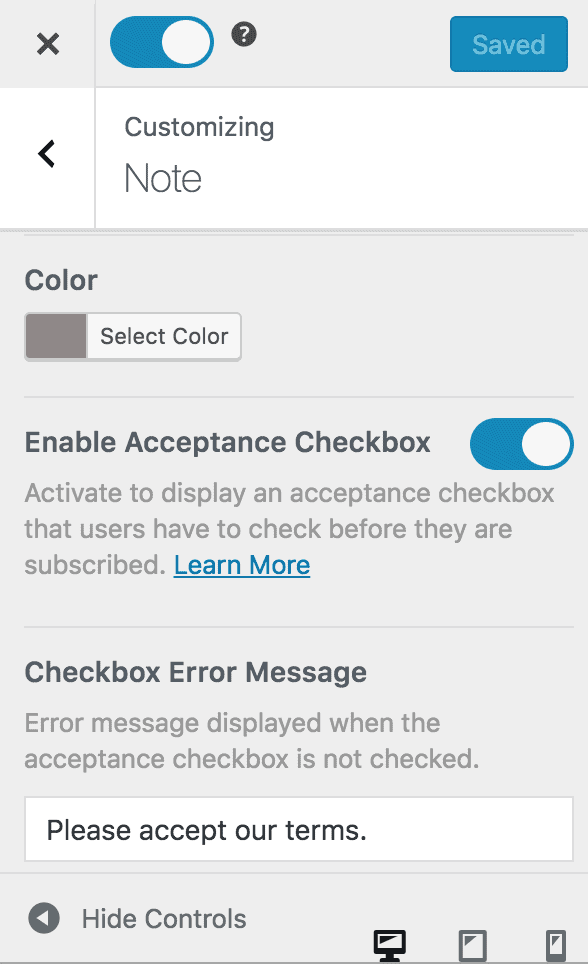
When this is activated, the note or statement below the optin form will now contain a checkbox. Use the “note” text area to add the privacy policy and/or terms of service.
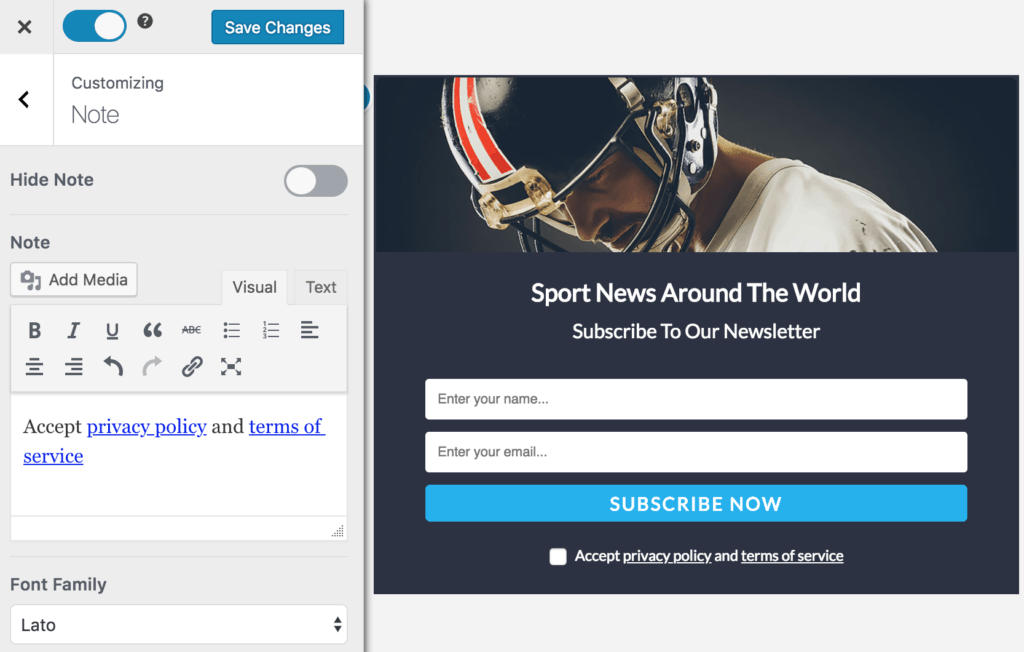
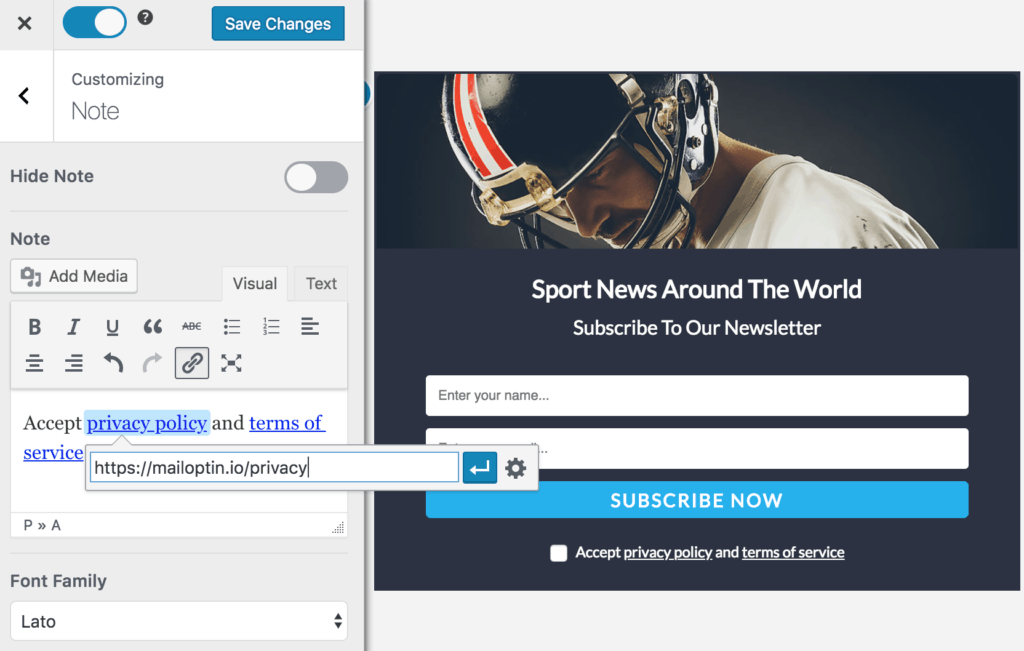
You can add a link to your privacy policy or terms of service by highlighting the desired text and clicking the link icon to add a hyperlink.
Don’t forget to save the changes when you are done.
GDPR Compliance
Besides requiring explicit consent, the GDPR also requires you to be able to demonstrate proof of explicit, affirmative consent from data subjects so that you’re able to provide it if requested.
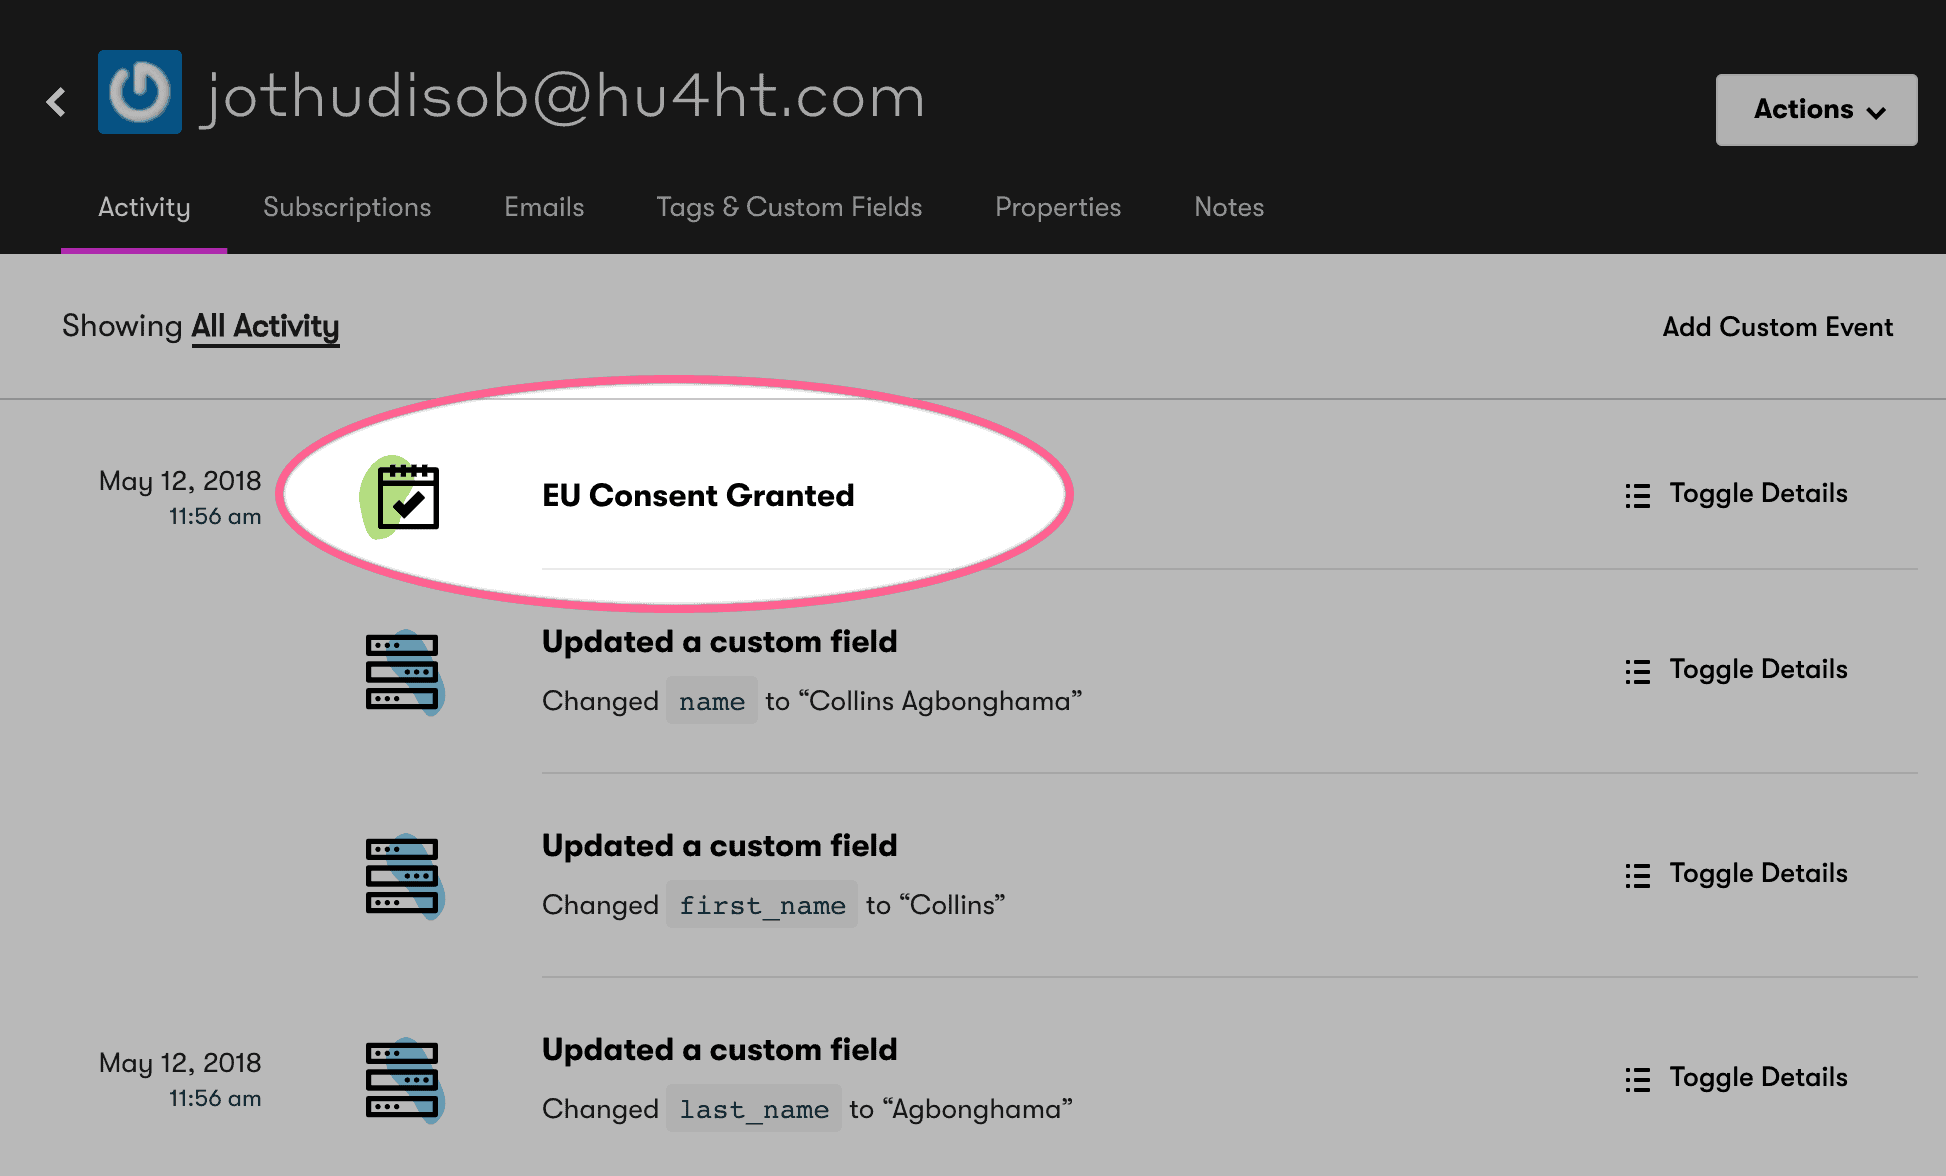
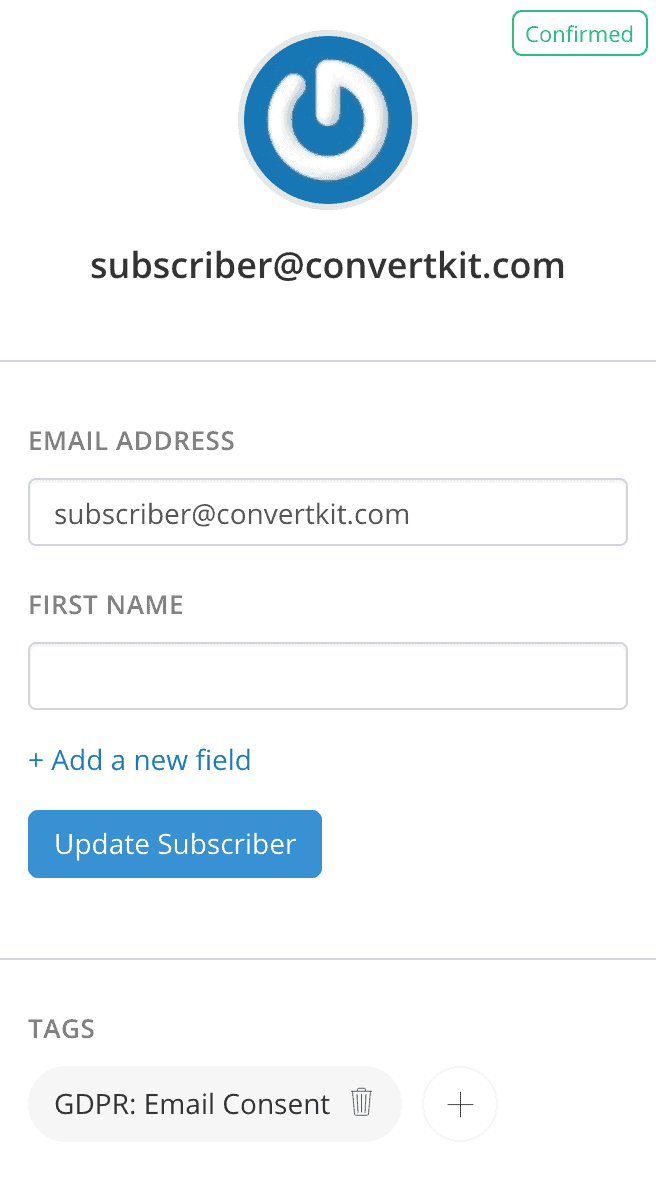
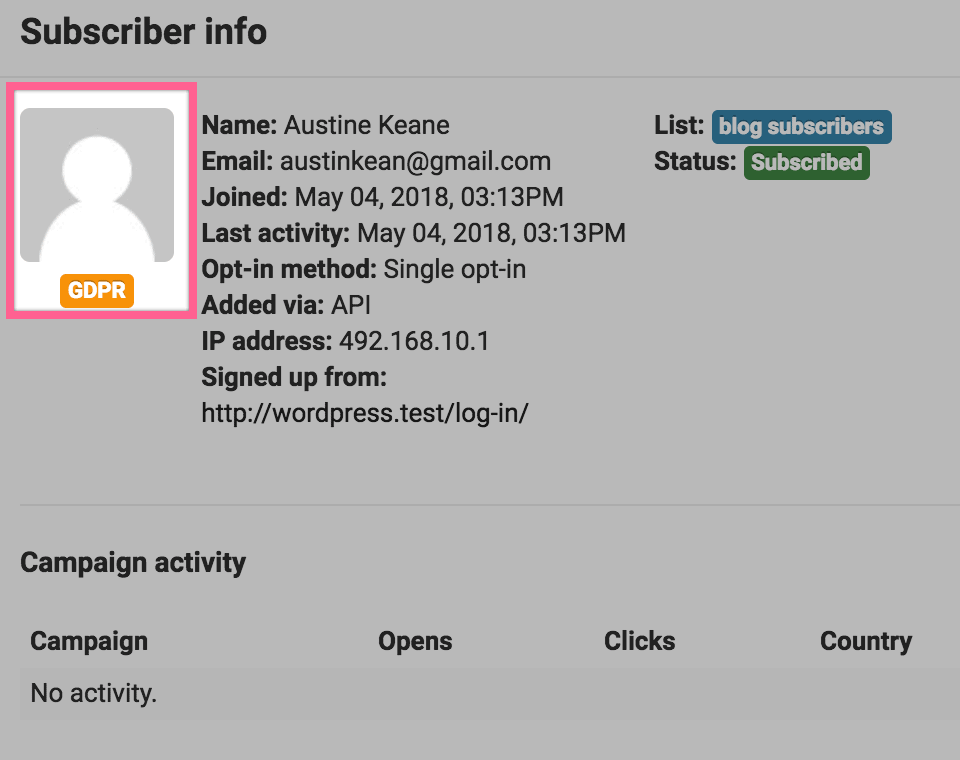
Depending on the email service provider (ESP) you are using, when a visitor agrees to your terms by checking the checkbox before submitting the optin form, MailOptin will save the consent against their profile in your ESP account either as a custom field, tag, or utilizing the API of your ESP to pass across the consent.
Taking Drip, ConvertKit, and Sendy as an example, here’s how the GDPR consent is stored.
Conclusion
Incorporating an accept terms & privacy policy checkbox into your opt-in forms is a significant step toward legal compliance and building trust with your audience.
By implementing this simple yet impactful addition, you not only ensure compliance with data protection regulations but also underscore your dedication to transparency and user privacy.
We hope this article helped you learn how to add an accept terms and privacy policy checkbox to your optin form created with MailOptin.