Allow Users Subscribe to Daily, Weekly & Monthly Email in WordPress
We are often asked about how to create a daily, weekly and monthly email newsletter in WordPress that will also allow users to choose the frequency (whether daily, weekly or monthly) of the newsletter. In this article, we will show you how to do this using MailChimp.
Please ensure you have connected MailOptin to your Mailchimp account before you proceed if you have not already done so.
The first thing you have to do is to create a group (for example “Get Connected”) in your MailChimp List and create three interests; Daily, Weekly and Monthly.
Creating MailChimp Group
To do so on MailChimp:
Navigate to “Audience” >> Select your List
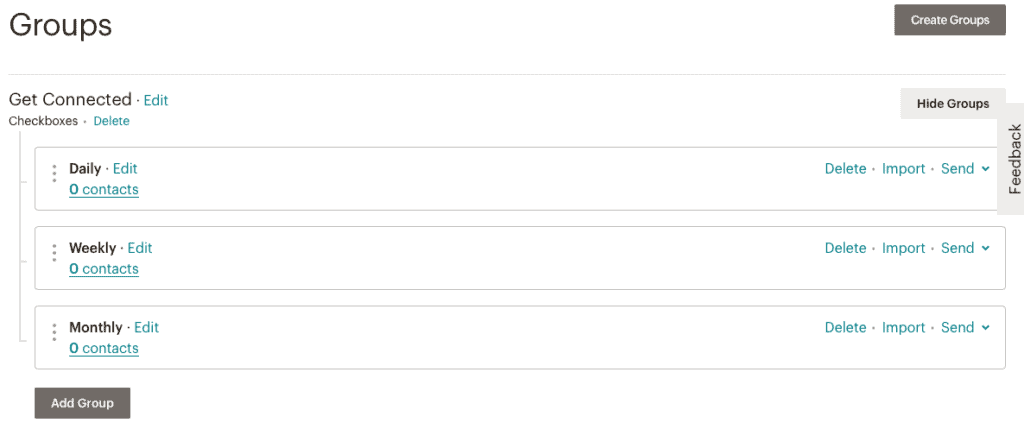
Click Manage Contacts >> Enter “Groups”
Create a Group and Name your Interests; “Daily,” “Weekly,” and “Monthly”.
Creating The Signup Form
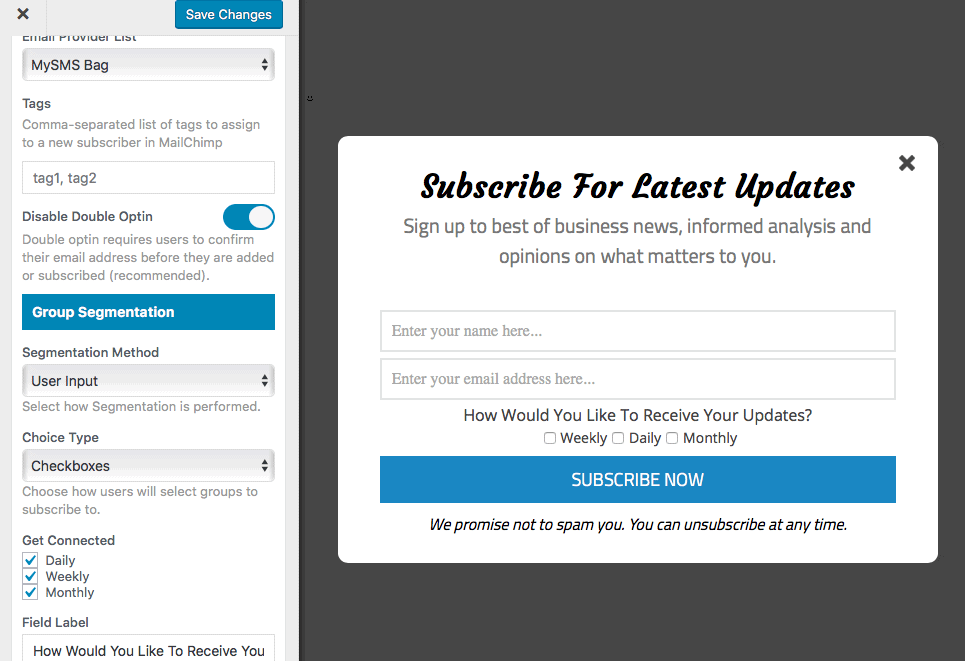
Next, proceed to creating a campaign on MailOptin. Once that is done, you will have to access the “Integration” option of your optin campaign using the customizer, select MailChimp as Email Provider and your desired list.
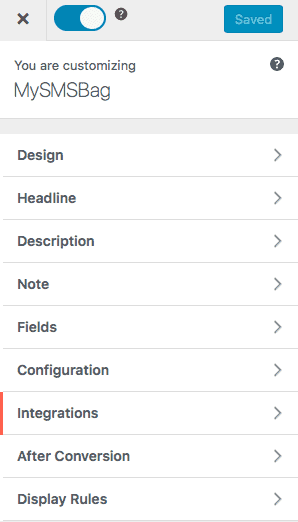
It will look like the image below.
Now, you will create three email automations; daily, weekly and monthly. Each of the email automations you create should contain either of the sending schedule sequence.
Creating Segments in MailChimp
In other to get things working properly, you will need to create MailChimp Segments. This will allow you send emails to your subscribers based on the interests they select.
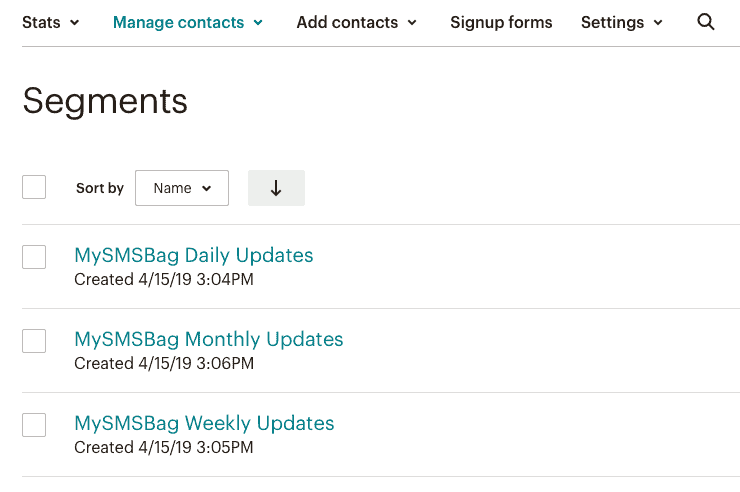
To do this, go to Audience > Manage Contacts > Segments > Create Segment.
Choose “one off” and select the group you created (i.e. Get Connected). To make things easier, I have created my segments like the image below.

You will find the initial steps to create a MailChimp Segment here.
Now, go back to your MailOptin dashboard >> “Email Automations”
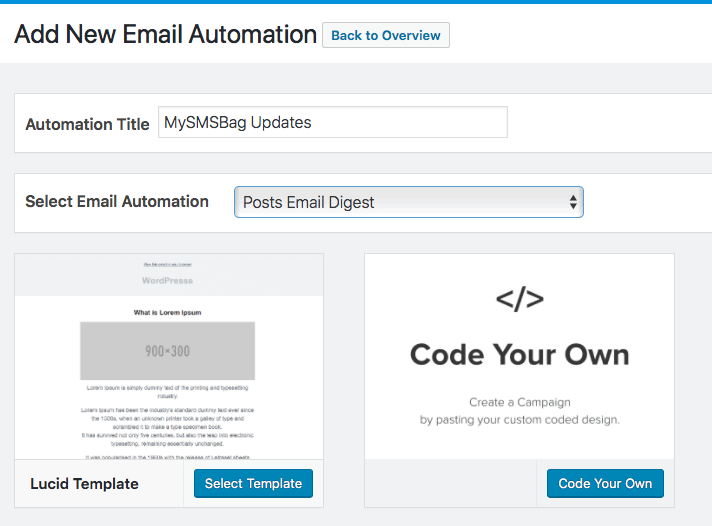
Create New Email Automations and give it a name.
Ensure you select “Posts Email Digests” from the Select Email Automation Drop-down.
Then, select a template or code one from scratch.
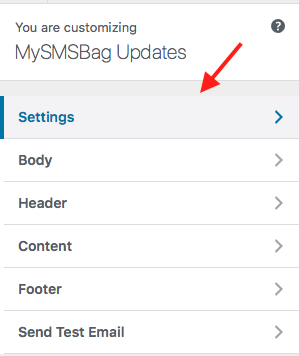
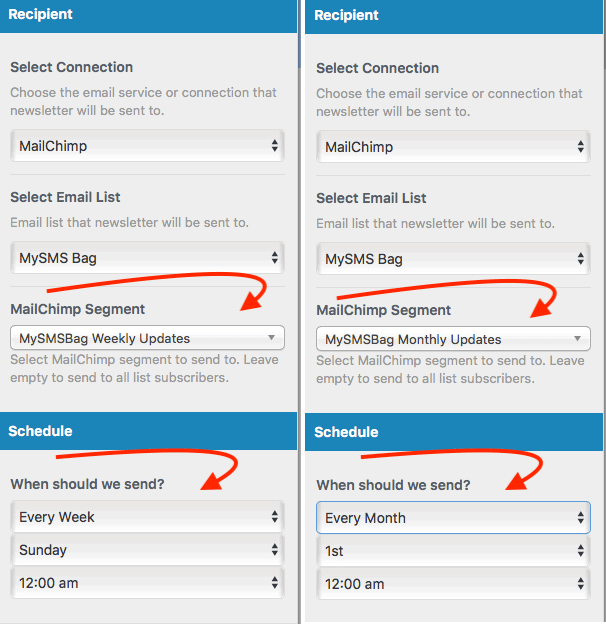
After creating an email automation, use the “customizer” to access the settings and connect it to MailChimp just like the image below:
Select your connection > MailChimp >> Email Provider List >>> MailChimp Segment
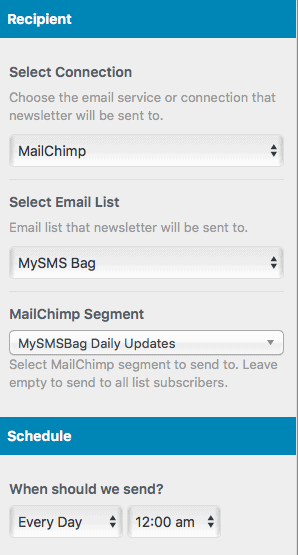
Select “Every Day” in the Schedule option for the first email automations you created and the corresponding daily MailChimp segment and save. Then create two new email automations for weekly and monthly repeating the same process but this time, the schedule and saved segment selection will be weekly and monthly respectively.
Save your changes.
Set up is now complete.
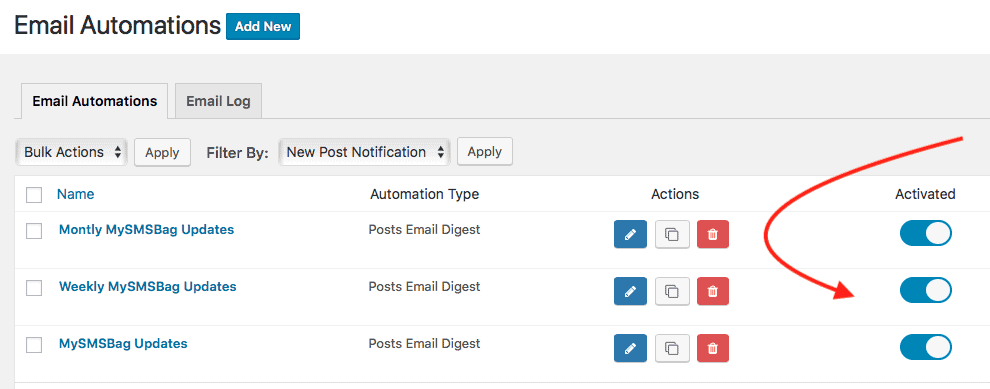
Don’t forget to activate all three automations using the toggle switch.