Send Email Digest or Roundup of New WooCommerce Products
Previously, we learned how to send an email notification to your list subscribers or customers every time you add a new product to your WooCommerce store. However, in this article, you will learn how to send daily, weekly or monthly email digests or a roundup of newly added (or published) products instead.
Getting Started
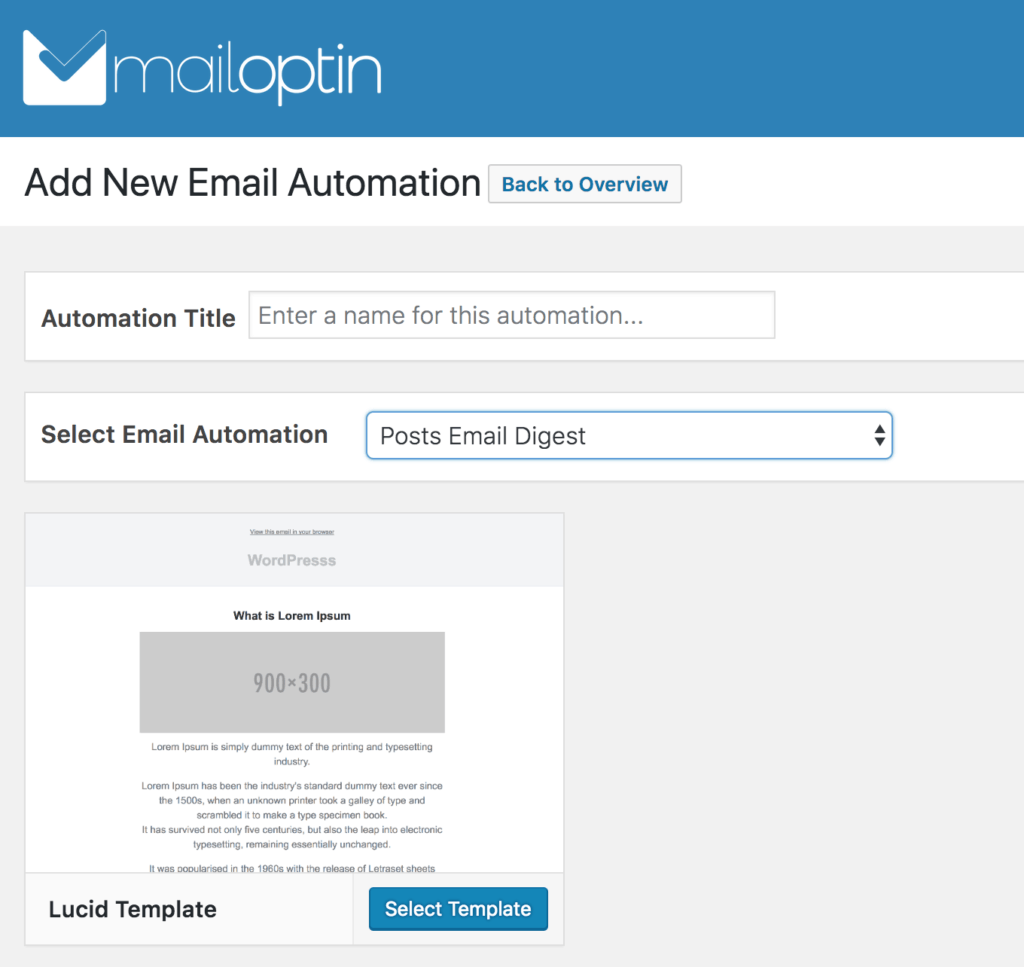
Go to the MailOptin >> “Email automation” and click the “Add New” button.
Now you have to Enter a name or title and then select “Posts Email Digest”.
Then select a template and you will be redirected to the email builder.
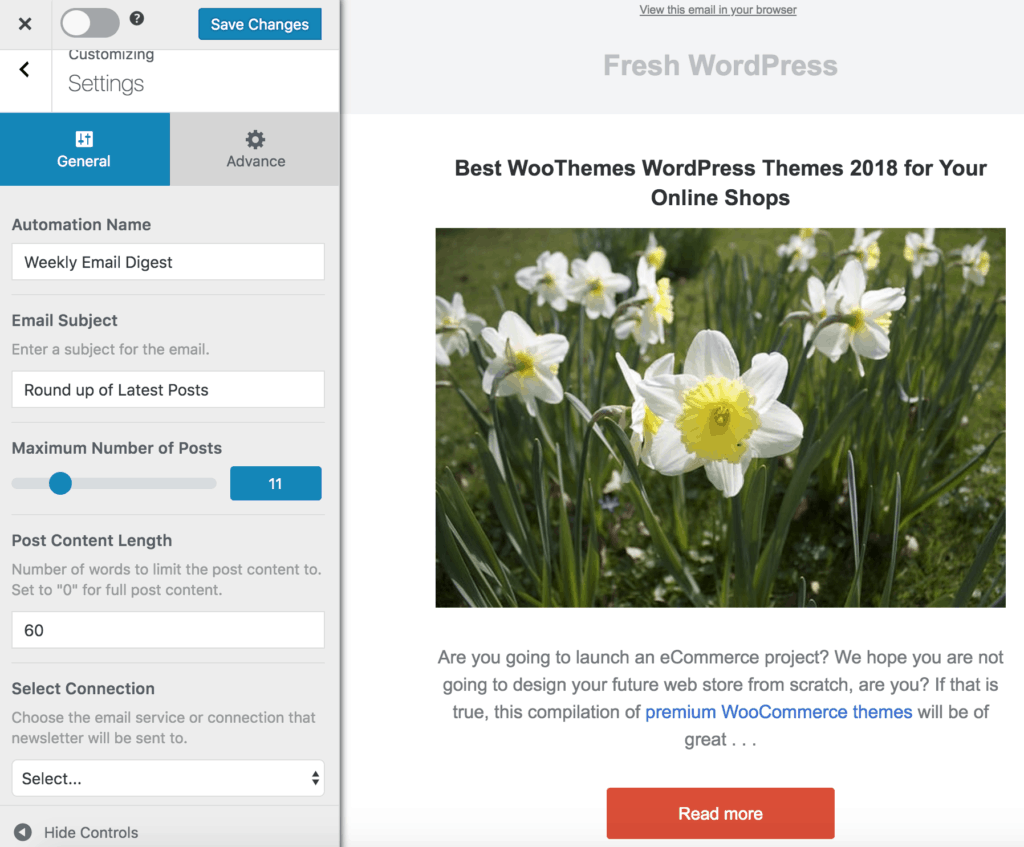
Set up the look and feel of the email to your heart content.
Set-Up
Click on the “Settings” then scroll down to the “Select Post Type” and select “Product”.
You can further filter the kind of product that will trigger the new product email by the categories and tags taxonomies they belong to.
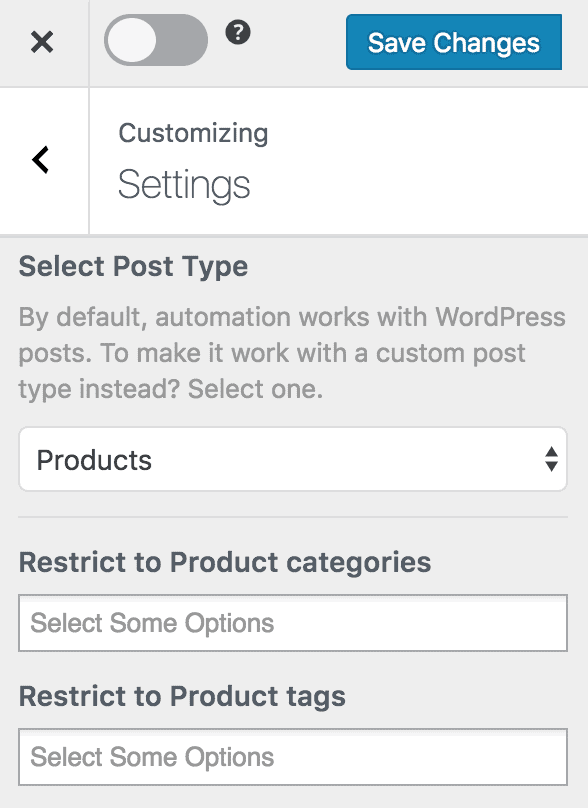
Do note that
Productis the custom post type used by WooCommerce for its product listing.
Define Email Recipients
Scroll down to the “Recipient” section to define who receives the newsletter which could be your WordPress users further filtered or restricted to specific roles such as Author, Contributor, Subscriber, Editor or a combination of roles depending on who you’re trying to reach.
Say you want the recipient of the automated email to be all WooCommerce customers, select “Registered Users” as the connection and “Customer” as the user role.

To send the email notification to your list subscribers, select your email marketing service (such as MailChimp, AWeber, Constant Contact, Campaign Monitor, Active Campaign, GetResponse, Klaviyo, VerticalResponse, Mailjet, Sendy, Sendinblue, MailerLite) as the connection and then your email list. For MailChimp, you have the option to send to a saved segment.
Please note that you need to have MailOptin connected to your email service provider before it can show up in the “Connection” select dropdown.

Schedule Setup
Select the interval or frequency and time the newsletter will be sent. This can be daily, weekly or monthly.
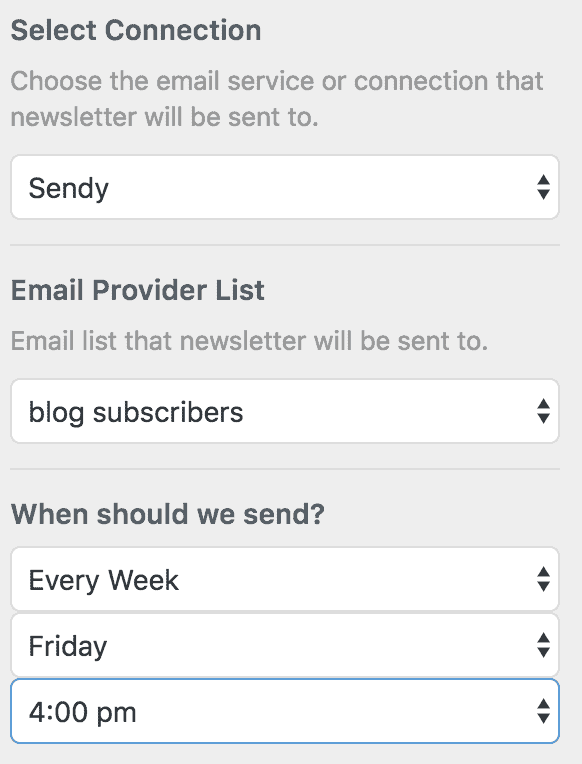
Note that the time is based on the Timezone you’ve set in WordPress. Also, MailOptin also recognizes the day you’ve selected as the start of a week in WordPress.
Finally, save the changes and activate the automation using the toggle switch at the top.
Set up is now complete.
Let us know if you have any questions or comments.