How to Let Visitors Subscribe to Your Blog via Email
Do you want to give your blog visitors an easy way to subscribe to your content via email?
This is the easiest strategy to double your website traffic. Every time you publish new content on your website, you have to spend time and effort promoting it. But when you have an email list, you get a torrent of new traffic every time you publish new content.
I’ll show you an easy way to do this in this article. I’ll also show you how to automatically email your subscribers whenever you publish new content on your blog.
Why You Should Give Your Visitors a Way To Subscribe Via Email
When someone visits your blog for the first time, they might be impressed with your content, but chances are they will never revisit your website. Most people forget about a blog after they first visit it. Almost no one except your most faithful fans will revisit your blog to see if you’ve published any new content.
Building an email list is the quickest way to double your website traffic. The more people you have on your email list, the more traffic you’ll get every time you publish a new blog post and notify your subscribers.
An email list also allows your true fans to never miss out on your best content.
One of the most significant benefits of building an email list is monetization. Unlike other methods of monetizing your blog, building an email list is the only one that gives you complete control. You don’t control what ads are displayed on your website and how much you get paid.
An email list is what differentiates hobbyist bloggers from professionals. The next time you visit your favorite blog in any category, notice how they all ask you to subscribe to their email list.
Email marketing works so well that even prominent bloggers, including Tim Ferris and Maria Poppova, use it.
Tim Ferris asks you to subscribe to his email list on all pages of his website:
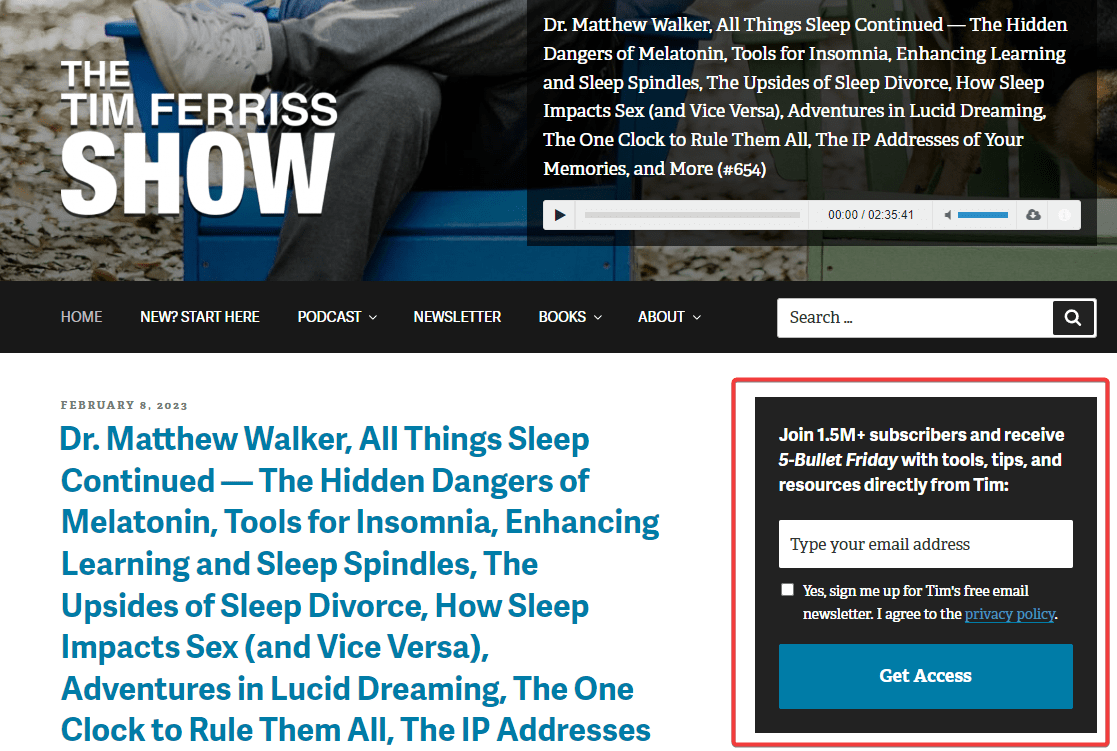
You’ll see this on every page of his website.
His email list allows him to promote his new content without additional marketing efforts. Whenever he publishes a new blog post or podcast episode, he emails his list and gets an avalanche of traffic to his new content. That’s also the reason why he’s a best-selling author.
If you’re a fan of Tim Ferris, then you have probably noticed how he also invites you to subscribe to his email list at the beginning of all his podcast episodes. This is because email marketing works better than most other marketing channels. Email has the highest ROI of all marketing channels. According to Litmus, you stand to make $36 for every $1 you spend on email marketing.
How to Let Visitors Subscribe to Your Blog Via Email
To allow your visitors to subscribe to your blog via email, you’ll first need to install a WordPress plugin on your website called MailOptin. MailOptin is an all-in-one email marketing plugin for WordPress. It comes with everything you’ll ever need to compete with the giants in your industry.
The best part about this plugin is that it’s designed for beginners. That means you can learn to use it in less than an hour, even if you aren’t a web developer. It also integrates with many popular email marketing platforms such as Mailchimp, ActiveCampaign, AWeber, Sendinblue, ConvertKit, etc.
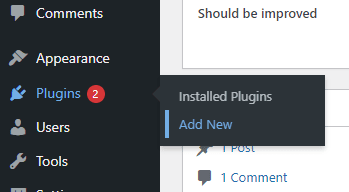
To get started, log into your WordPress admin dashboard and navigate to Plugins > Add New from the sidebar:
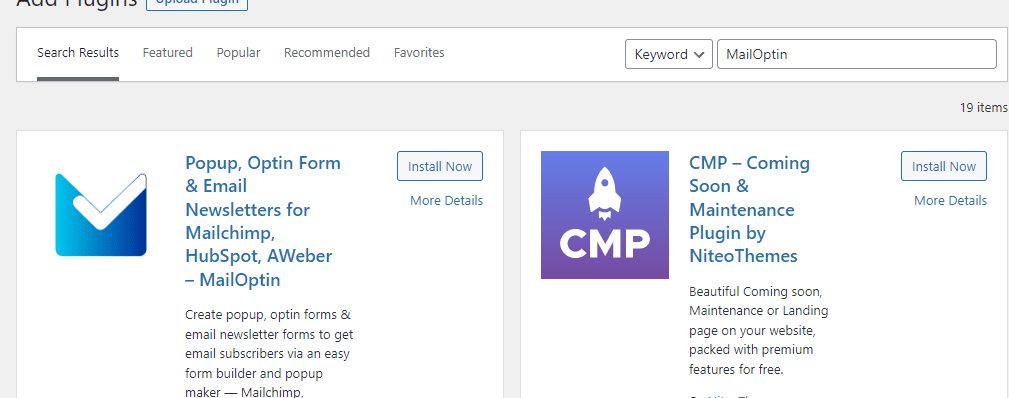
Now, search for MailOptin in the search, and install it when it appears in the list:
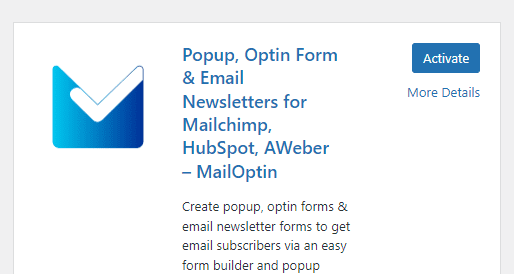
Once it’s done installing, click the Activate button:
Connect your Email Marketing Software
To notify your subscribers when you publish new content on your blog, you’ll need to connect MailOptin with your email marketing software. MailOptin supports MailChimp, Salesforce, Microsoft Dynamics 365, Drip, AWeber, ConvertKit, MailerLite, Constant Contact, GetResponse, Sendy, Campaign Monitor, ActiveCampaign, Brevo (Sendinblue), Gist, Klaviyo, Sendlane, Mailster, Vertical Response, Mailjet, HubSpot, Ontraport, Moosend, MailPoet, Zoho CRM, Zoho Campaigns, Keap Max Classic (Infusionsoft), HighLevel, Omnisend, Flodesk, Beehiiv, Benchmark Email, SendFox, iContact, Mailgun, E-goi, SendGrid Email Marketing, Elastic Email, GoDaddy Email Marketing, weMail, FluentCRM, CleverReach, NewsMAN, Facebook custom audience.
We will be using Mailchimp for this article. Mailchimp is a free email marketing platform. It allows you to send emails to your list email subscribers.
Do you know, with MailOptin, you can automatically email your subscribers in your Mailchimp audience whenever you publish a new blog post in WordPress as well as send email digests of published articles?
Once you have a Mailchimp account, MailOptin will add all your new subscribers to your Mailchimp account.
After you sign up for Mailchimp, log into your Mailchimp account.
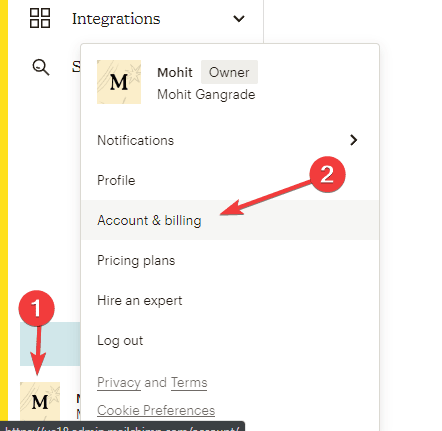
Now, click on your profile picture at the bottom left and click Account & billing from the menu:
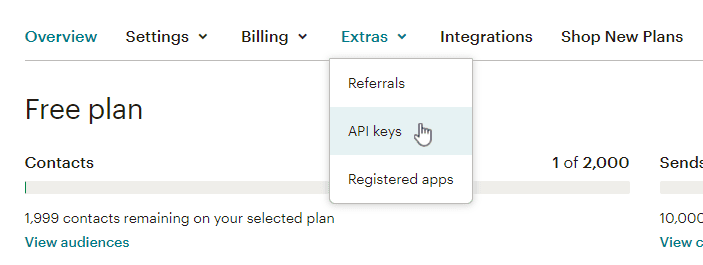
Select API Keys from the Extras tab:
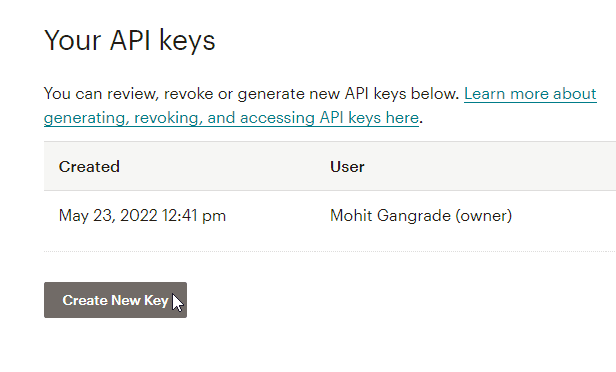
Scroll down and click the Create New Key button:
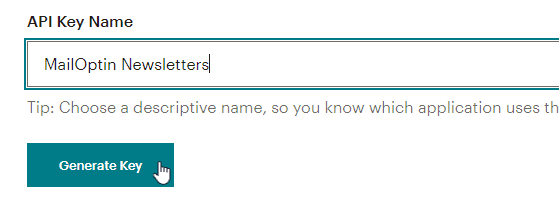
Choose a name for the new API Key and click the Generate Key button:
Copy the generated key, and click the Done button.
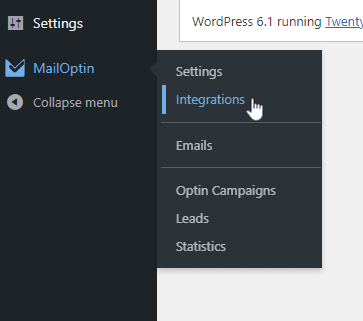
Now, log into your WordPress admin dashboard and navigate to MailOptin > Integrations:
Select MailChimp from the list of integrations on the left, and enter your API key:
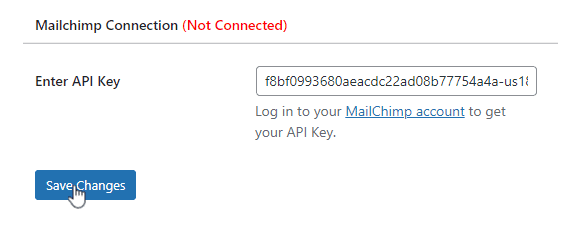
Click Save Changes.
Create Your First Optin Form
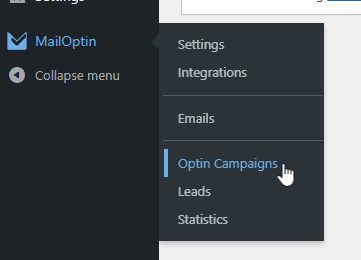
To create a new optin form in MailOptin, navigate to MailOptin > Optin Campaigns:
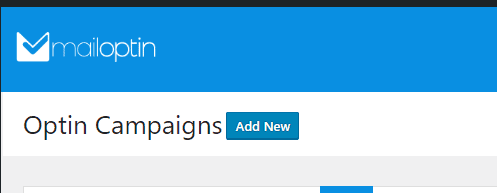
Click the Add New button on top:
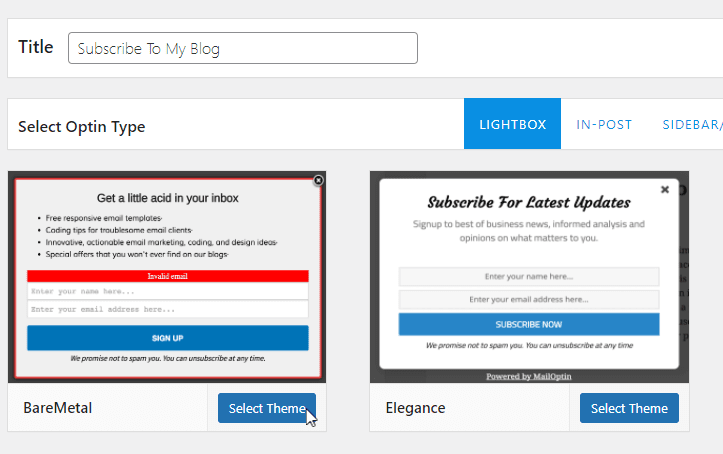
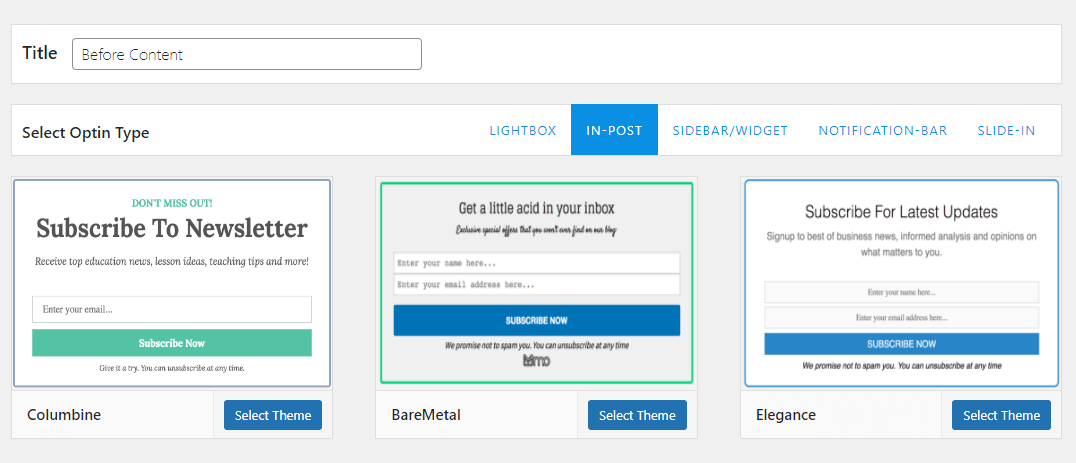
Now, enter a name for your new optin campaign in the Title field, select LightBox as the type, and select a template:
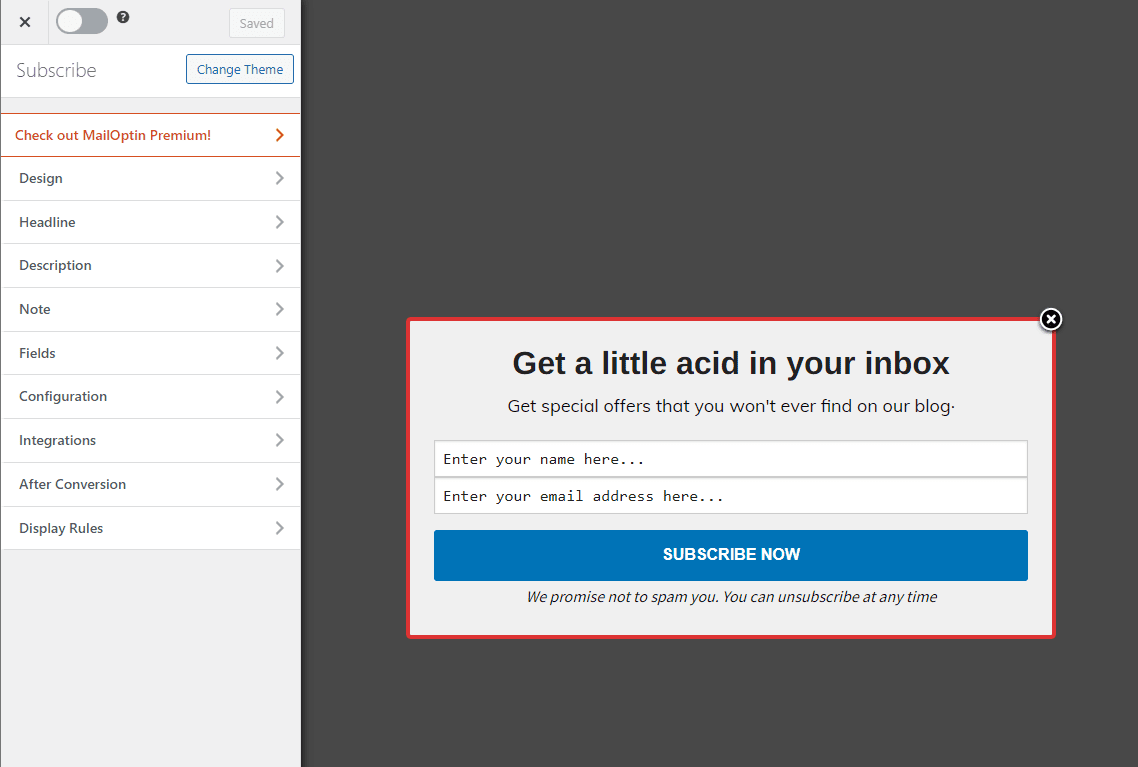
You can now customize your optin form using MailOptin’s easy-to-use editor:
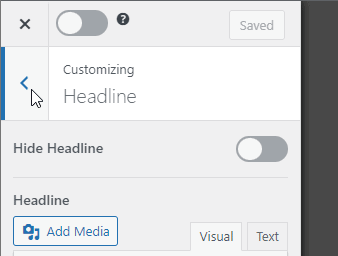
Click any element you want to customize to see the available customization options. For instance, if you click the heading, you’ll see all the available customization options for it:
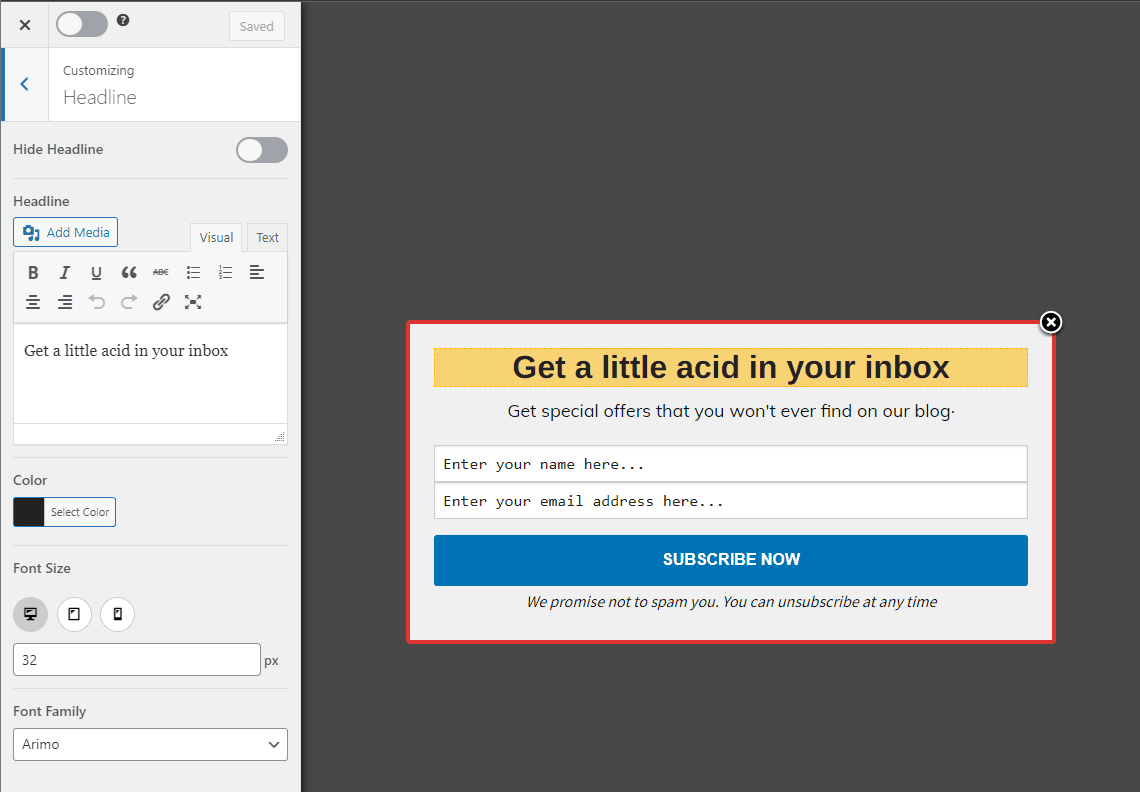
Click the Save Changes button to save all your changes.
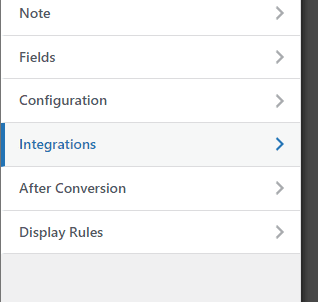
Once you’re done customizing your form, select the Integrations menu from the left side of the editor:
If you don’t see the editor menu, click the Back button on the top left of the editor:
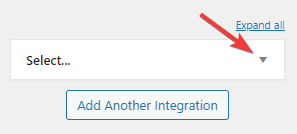
In the Integrations menu, click the drop-down button next to the New Integration option:
Now, select MailChimp from the drop-down menu, and then select the MailChimp list that you want your new subscribers added to:
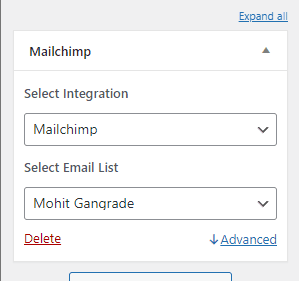
By default, MailChimp creates a list by the same name as your account name. You can select that default list for now.
Click Save Changes to save this integration.
How To Display Your Optin Form As a Popup
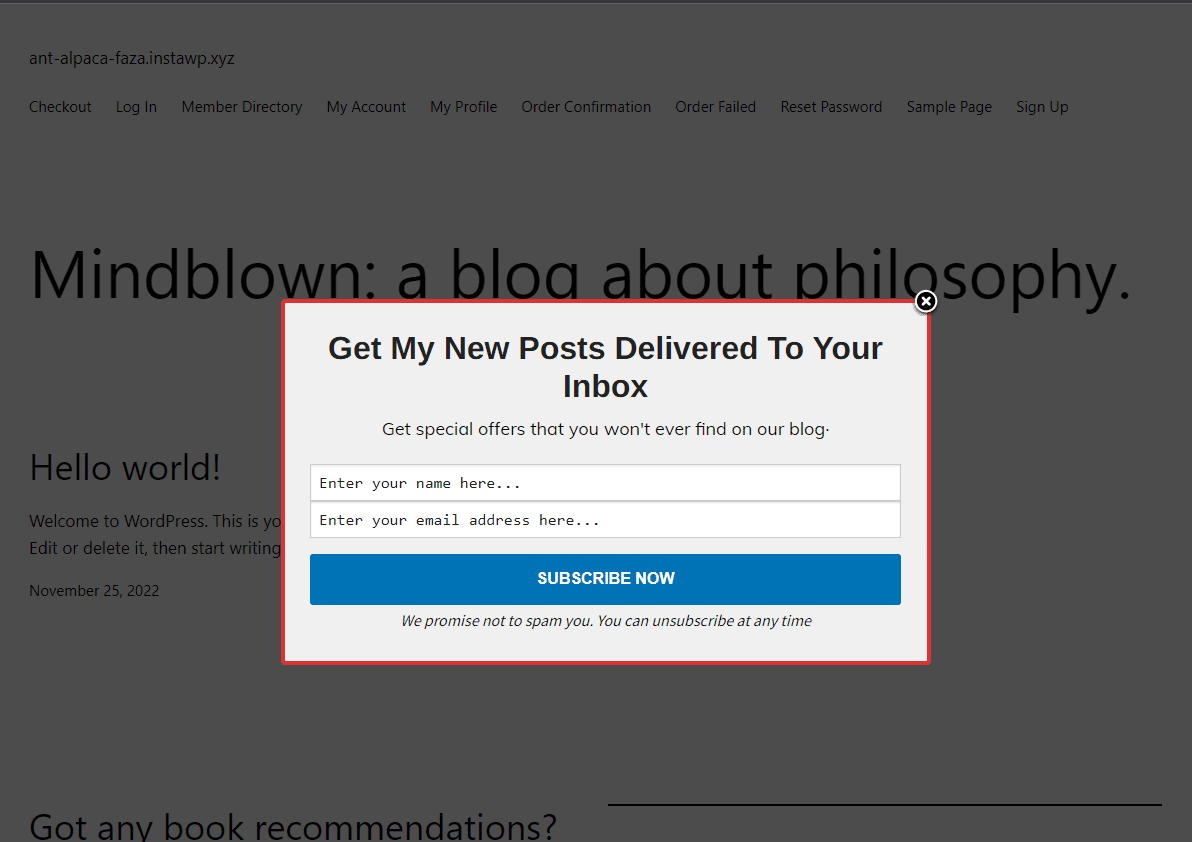
Because we’ve created a LightBox optin form, this form will be displayed, by default, on all website pages.
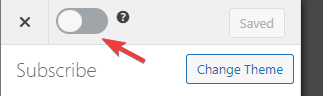
To see it in effect, click the switch button on the top left of the screen to enable this optin form:
If you visit your website now, you’ll see this popup displayed on all pages of your website:
If you only want to display this popup on certain pages, navigate to Display Rules:
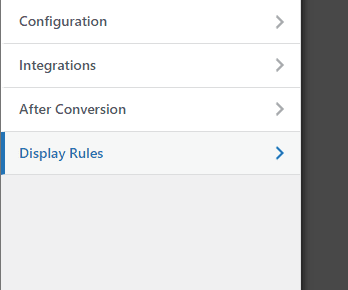
Now, enter the names of pages you want to display this popup on and uncheck the Globally show optin option:
How To Display Your Optin Form In The Sidebar
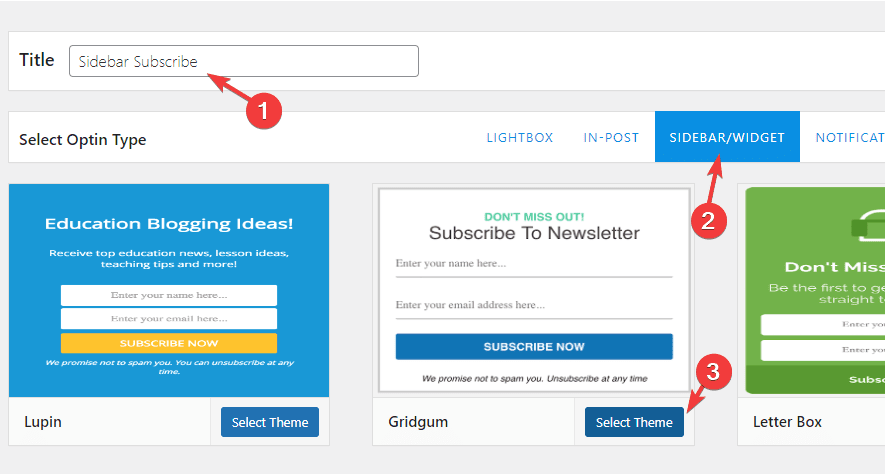
If you want to display an optin form in your website’s sidebar, create a new optin form, but this time select Sidebar/Widget as the optin type:
Customize your optin form and click the enable switch on the top left.
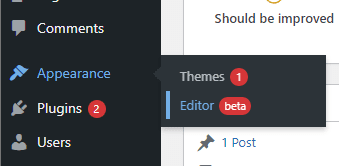
Now, navigate to Themes > Editor from your WordPress dashboard:
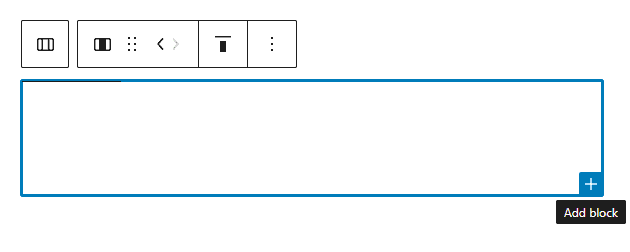
Click the Add Block button in whatever area you want to add the optin form widget:
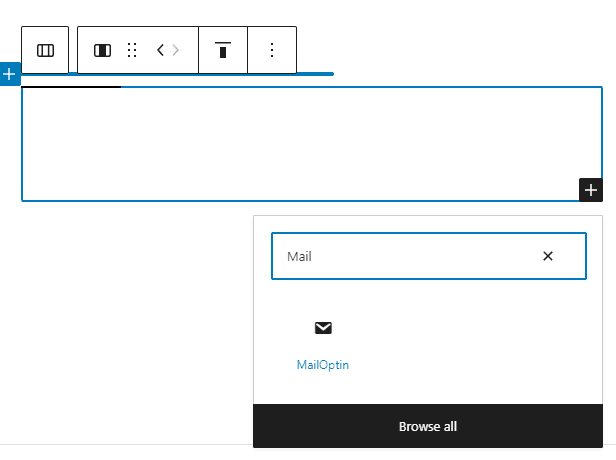
Search for MailOptin, and click it:
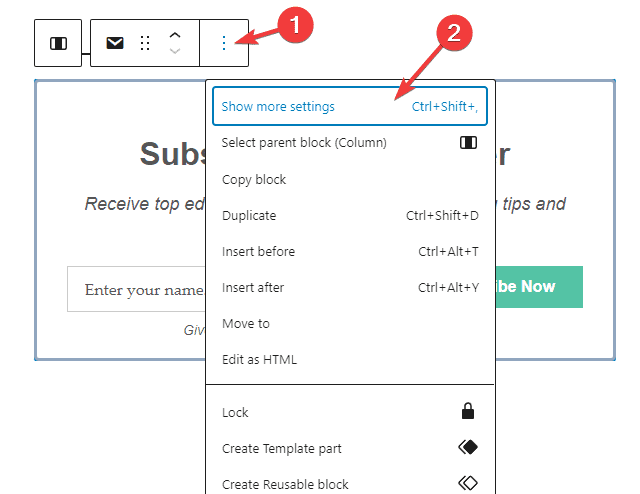
Click the Options button and then select the Show More Settings option:
You can now select the optin form you want to display from the right sidebar:
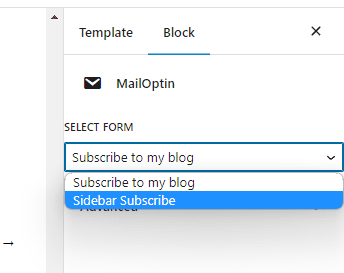
Now click the Save button on the top right of your screen.
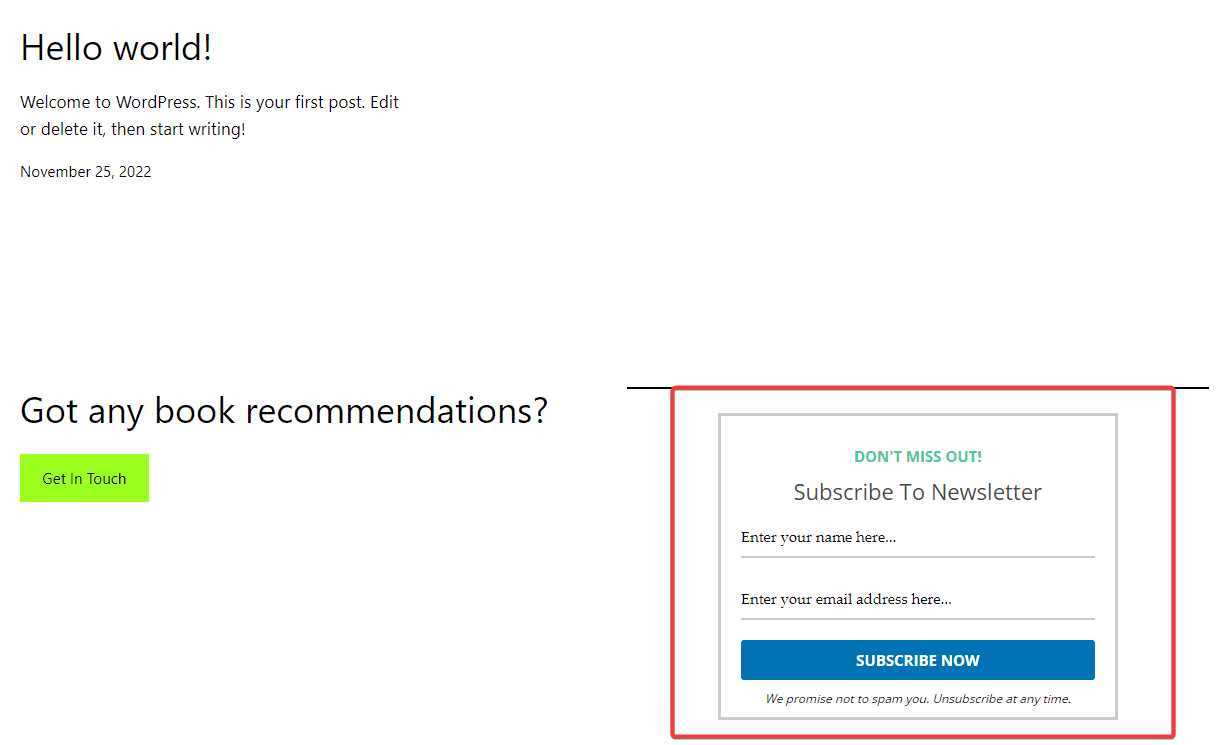
If you visit your website, you’ll now see your optin form where you added it:
How To Display Your Optin Form Before Content
MailOptin makes it easy to display an optin form before the start of your content. This optin form will be displayed right before your post’s content. This is a great place to grab your reader’s attention and get them to subscribe.
To display an optin form before content, create a new optin form, but this time select In-Post as the type:
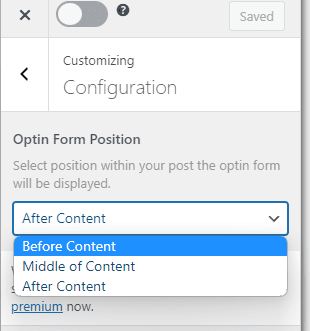
Now, go to the Configuration menu from the sidebar:
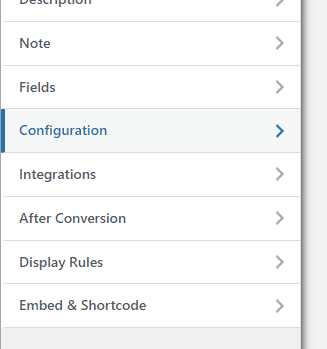
Select Before Content from the drop-down menu:
Now, click the Save Changes button and then the activation switch.
If you visit any posts on your website, you’ll now see this optin form before the content:

If you want to display this optin form at the end of your blog posts, select After Content in the Configuration menu:
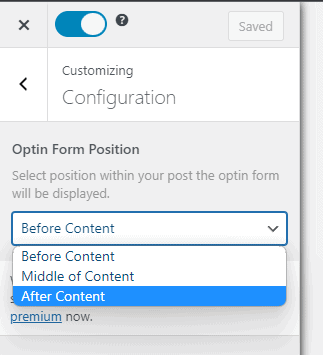
If you select Middle of Content, this optin will automatically be placed in the middle of the contents of all your posts.
Conclusion
In this article, I showed you how to let visitors subscribe to your blog via email. It doesn’t require any technical knowledge. All you need to do is install MailOptin on your WordPress website and follow the instructions in this article.
If your blog doesn’t have the option to subscribe via email, you’re missing out on many opportunities for monetization and growth. Most professional bloggers I know grew their audience and revenue with email marketing.