How to Create and Sell Courses With WordPress
Do you want to make money teaching people online?
Selling courses online is one of the best business models. However, unlike other business models, this one demands relatively little upkeep. Once you publish your course, you only need to update the course content periodically to keep it relevant.
In contrast, building software or an app requires constant maintenance and a lot of upfront capital. Creating a course mostly requires you to invest your time. Furthermore, compared to a physical product, you can sell it to as many people as you want without producing it anew every time.
This article will show you the easiest way to start selling courses with WordPress.
How To Create and Sell Courses With WordPress
WordPress is a great content management system, but it is just that. It allows you to create and manage your content. However, if you want to sell access to your content or do more than display the content, you’ll need to install and use third-party plugins.
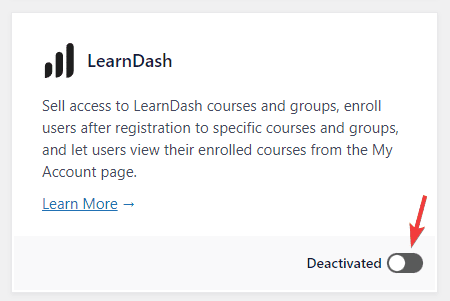
You’ll need two plugins to create and sell courses with WordPress: Learndash and ProfilePress.
LearnDash is a Learning Management System (or LMS for short) for WordPress. It is one of the most popular LMS plugins for WordPress. It is beginner-friendly and makes creating and publishing courses on your website easy.
ProfilePress is an all-in-one plugin for selling subscriptions and digital products on your WordPress website. It is built from the ground up for beginners, and unlike other plugins in the market, it doesn’t come with a steep learning curve. You don’t need to be a programmer to master it.
Whether you want to sell software or create a subscription-based membership site, ProfilePress can help you with it. It integrates with payment gateways such as Stripe and PayPal.
The Benefits of Selling Online Courses
There has been a steady rise in online courses over the last couple of years. As a result, thousands of online businesses are making banks by selling online courses.
The best part about this business model is that it doesn’t require access to large amounts of capital like other business models. Instead, you only need a computer and an internet connection to start selling courses.
When you sell online courses, you have a very high-profit margin. This is because, unlike other businesses, such as selling software, you don’t need to offer regular maintenance, updates, or support. As a result, you can build a million-dollar business selling courses without hiring anyone.
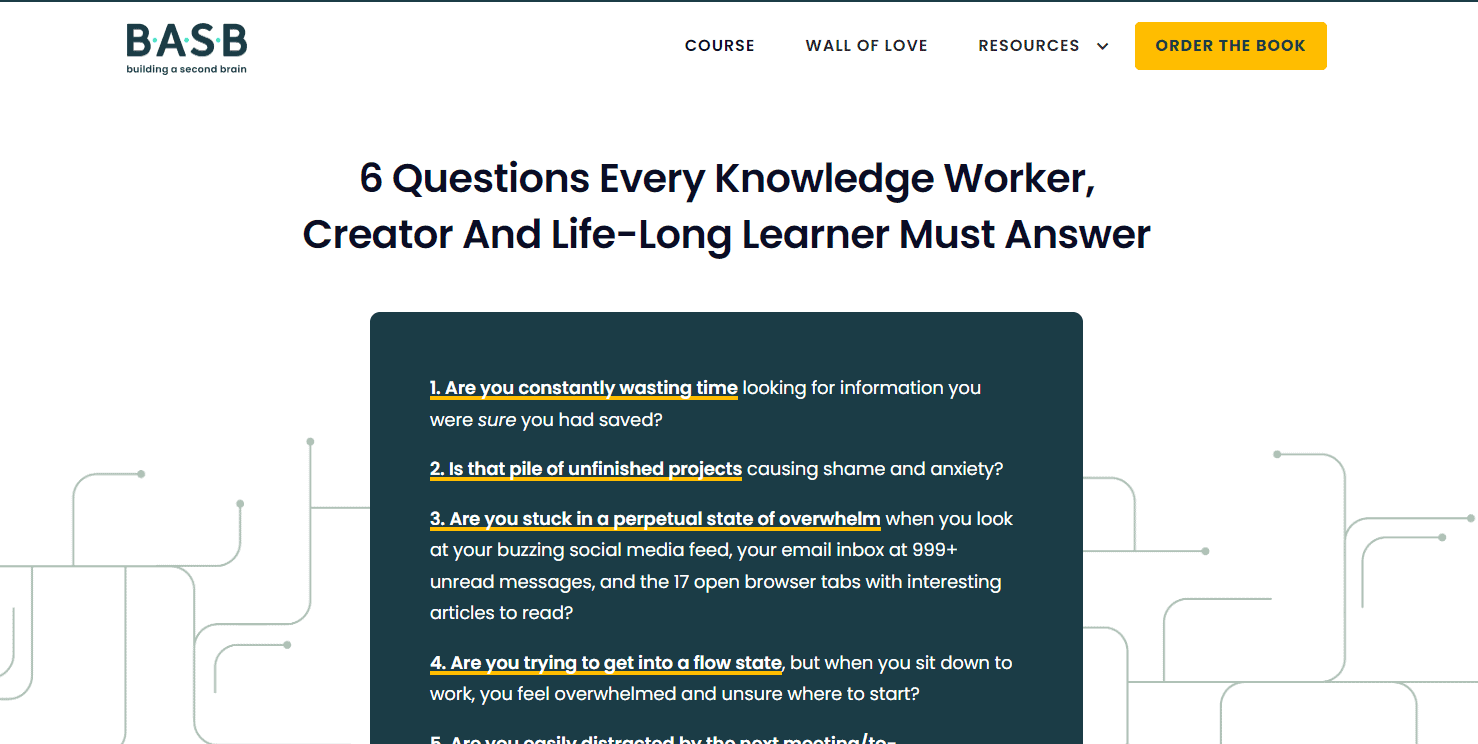
Tiago Forte, a productivity blogger, is an excellent example of someone who’s built a profitable business by selling an online course. First, he built a sizeable audience by writing about productivity. Then, he launched a course called Building a Second Brain that teaches the same productivity principles he writes about but in more detail:
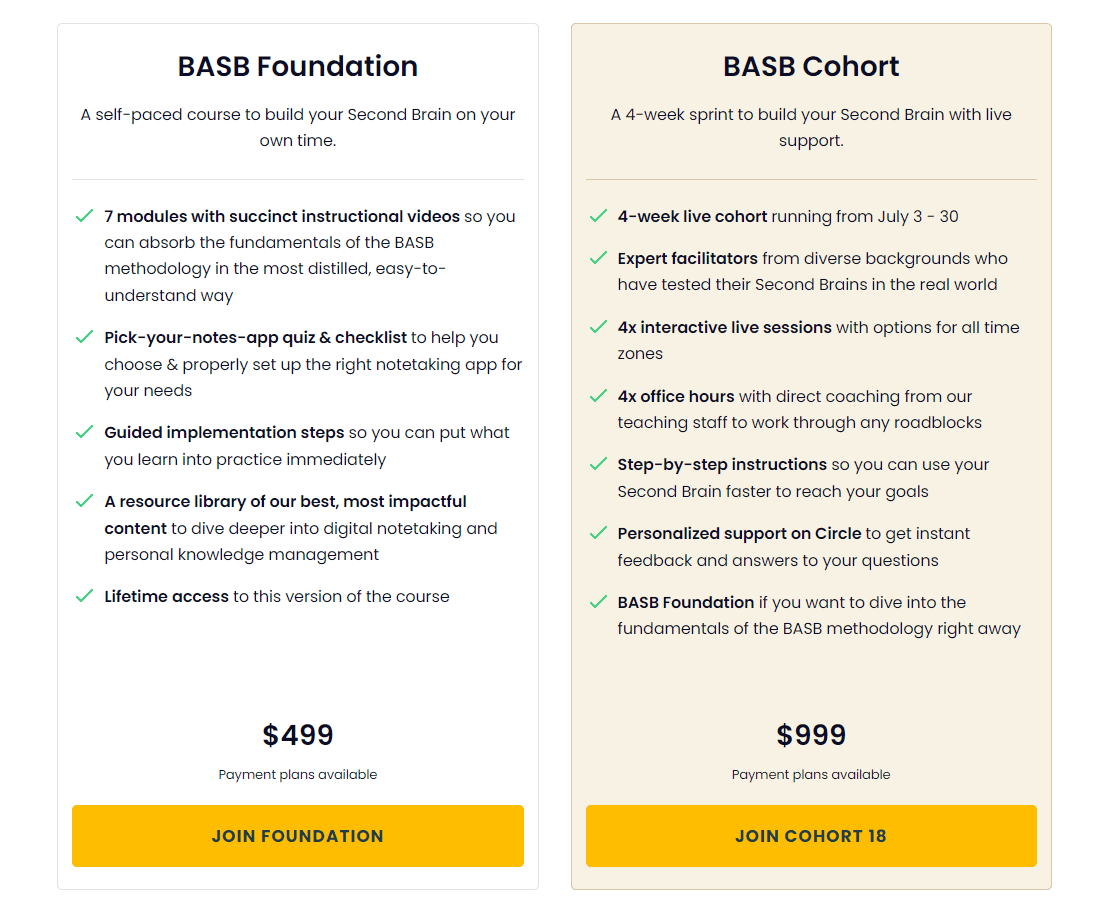
The pricing for his course starts at $499 if you don’t want to attend the live sessions:
People pay a lot for courses such as Build a Second Brain which directly or indirectly help people make more money.
Your course doesn’t have to be this expensive. An alternative is to offer recurring subscription-based access to your content as Ness Labs does:
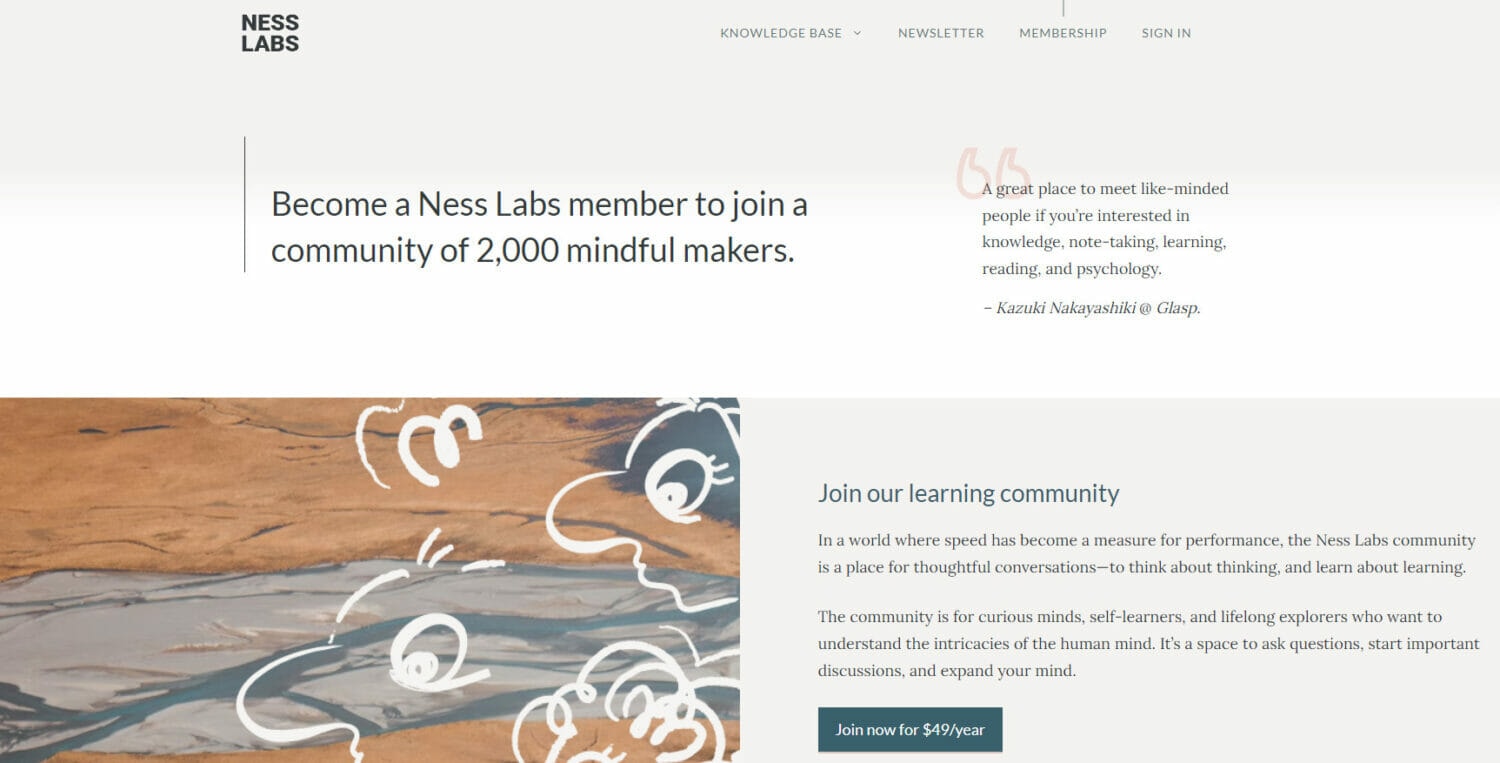
Ness Labs sells access to its premium content as an annual subscription of $49. The subscription gives you access to not one but all of Ness Labs’ courses.
This article will show you how to sell individual courses and course bundles.
Create Your First Course
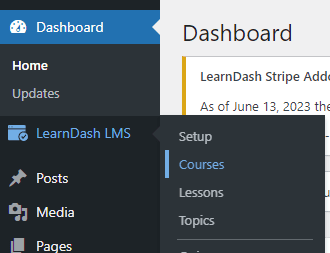
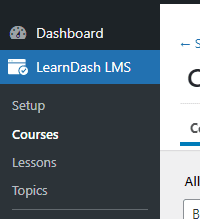
To create a course, navigate to the Courses section of LearnDash CMS from your WordPress dashboard:
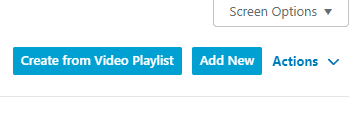
Now, click the Add New button on the top right of the page:
This will take you to the course creation page:
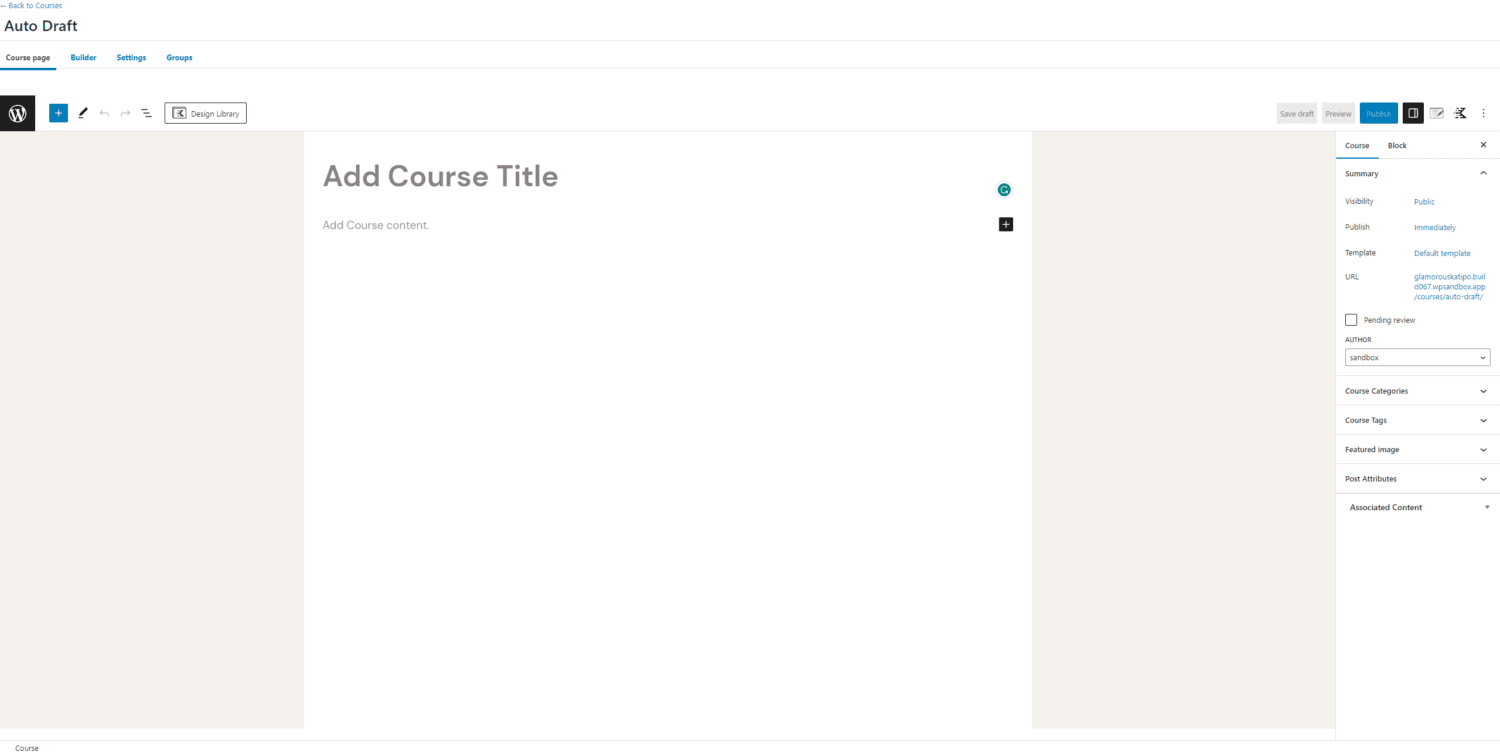
First, enter a title for your course.
Next, describe your course’s contents. What is this course about? Be as descriptive as possible. Include details such as the benefits of taking the course and how this course is different from others in the market.
The contents of this page will be displayed to your website visitors when they visit the course page.
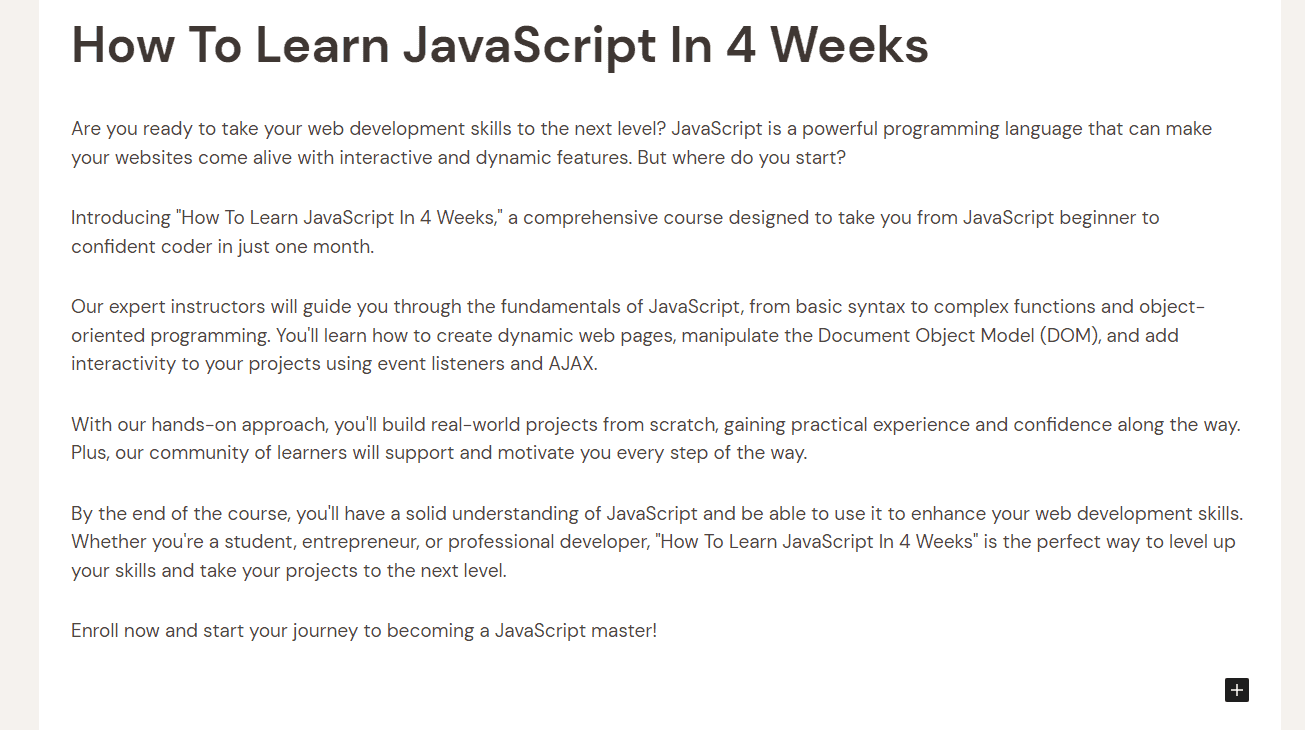
Here’s an example of what this might look like:
Are you experiencing writer’s block? Just enter a title and skip the description for now. You can always revisit it later when you’re feeling more inspired…
Now, navigate to the Builder tab of the editor:
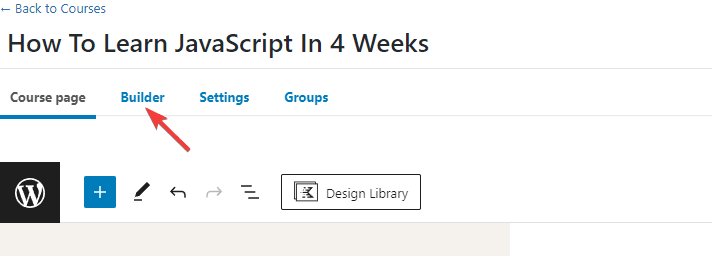
This is where you will create your course’s curriculum:
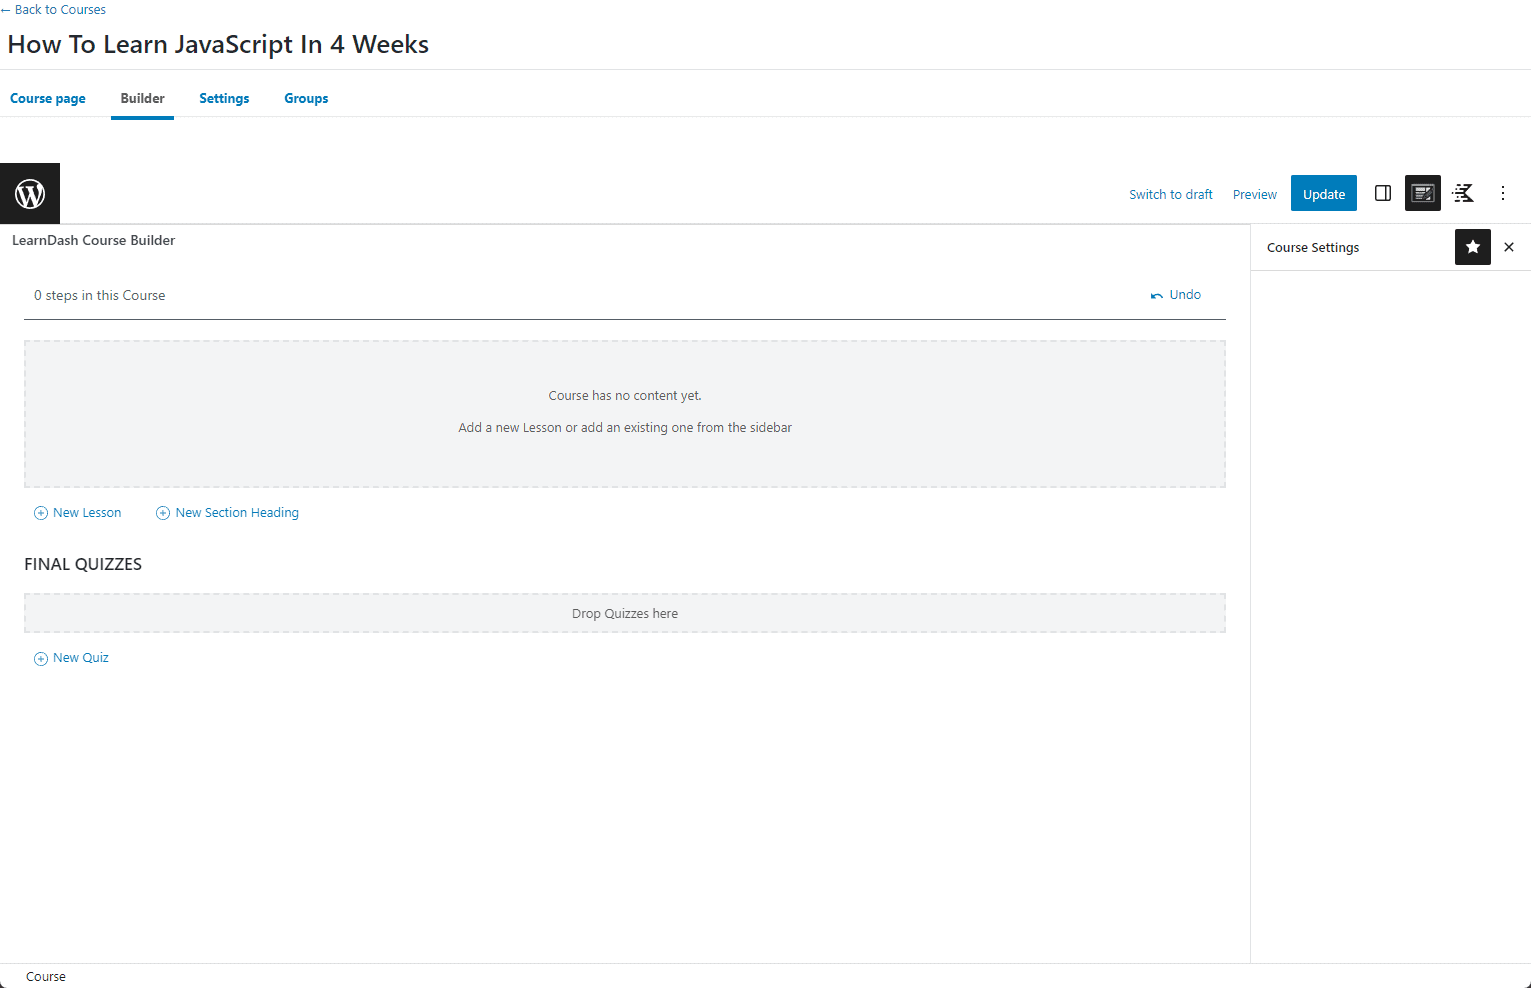
Click the New Section Heading link to add a new heading to your curriculum:
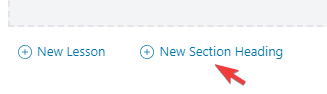
Think of a heading as a section of your course.
Now, enter a title for your new section and hit enter:

I’ve created four sections for my fictional JavaScript course:
Click the New Lesson button to add a new lesson to your course. Enter a title for the lesson and hit enter to save it.
You can now drag and drop the lesson under its appropriate section:

Then, add as many lessons as you need to each section.
When you’re done, click the preview button to see your changes. For example, this is what my fictional course’s landing page looks like now:

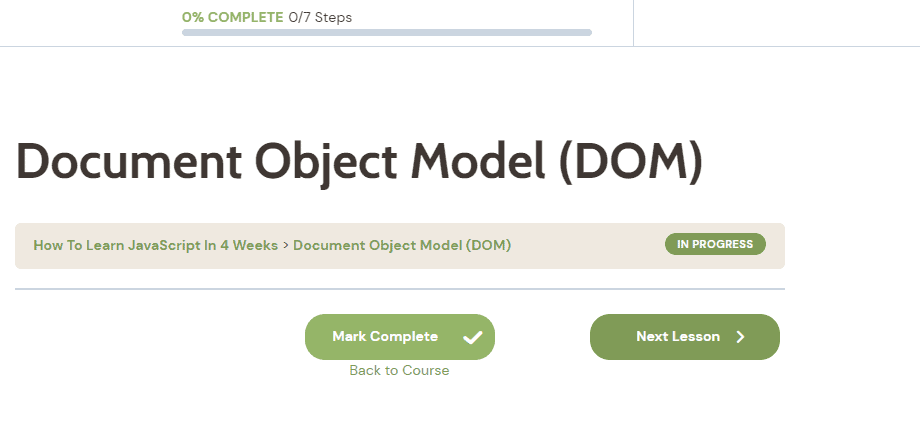
If you click on any of the lessons on the course preview page, you’ll see something like this:
We’ve successfully created a curriculum for your course, but your lessons have no content.
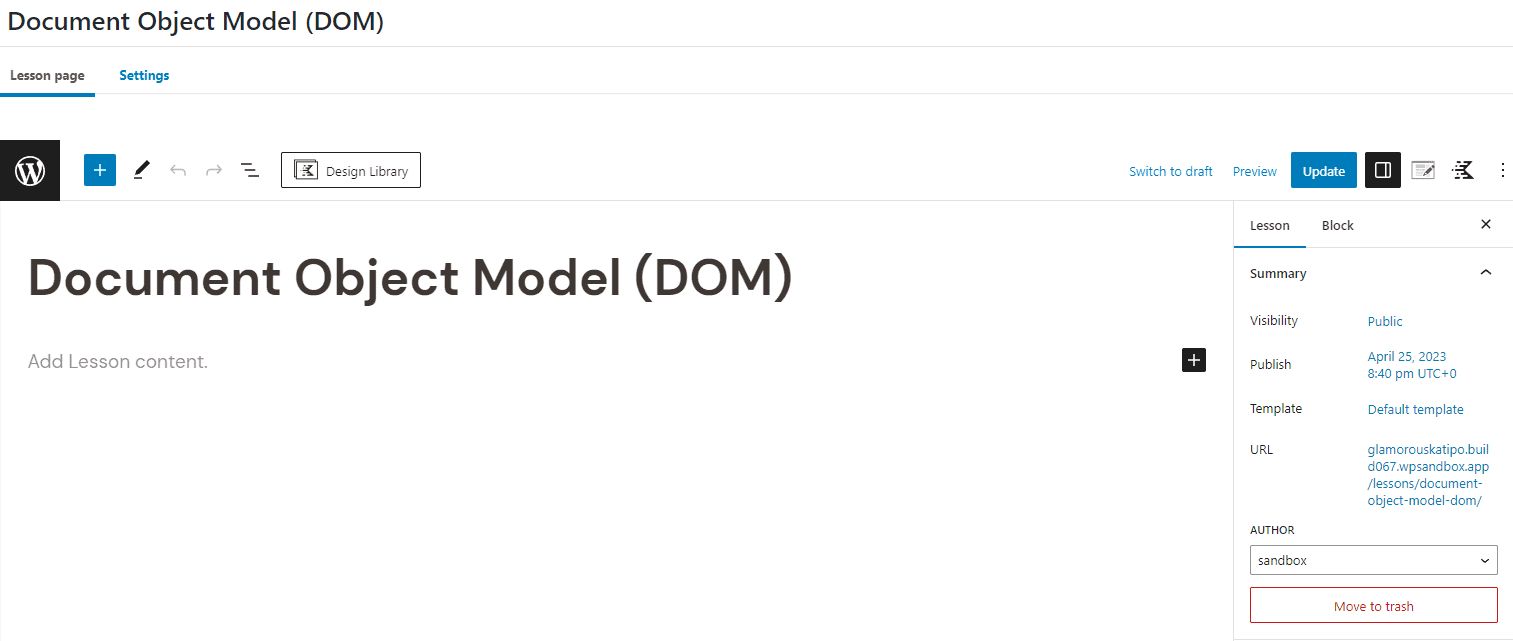
To add content to your lessons, take your mouse over a lesson, and click the Edit button:

This will take you to the lesson editor:
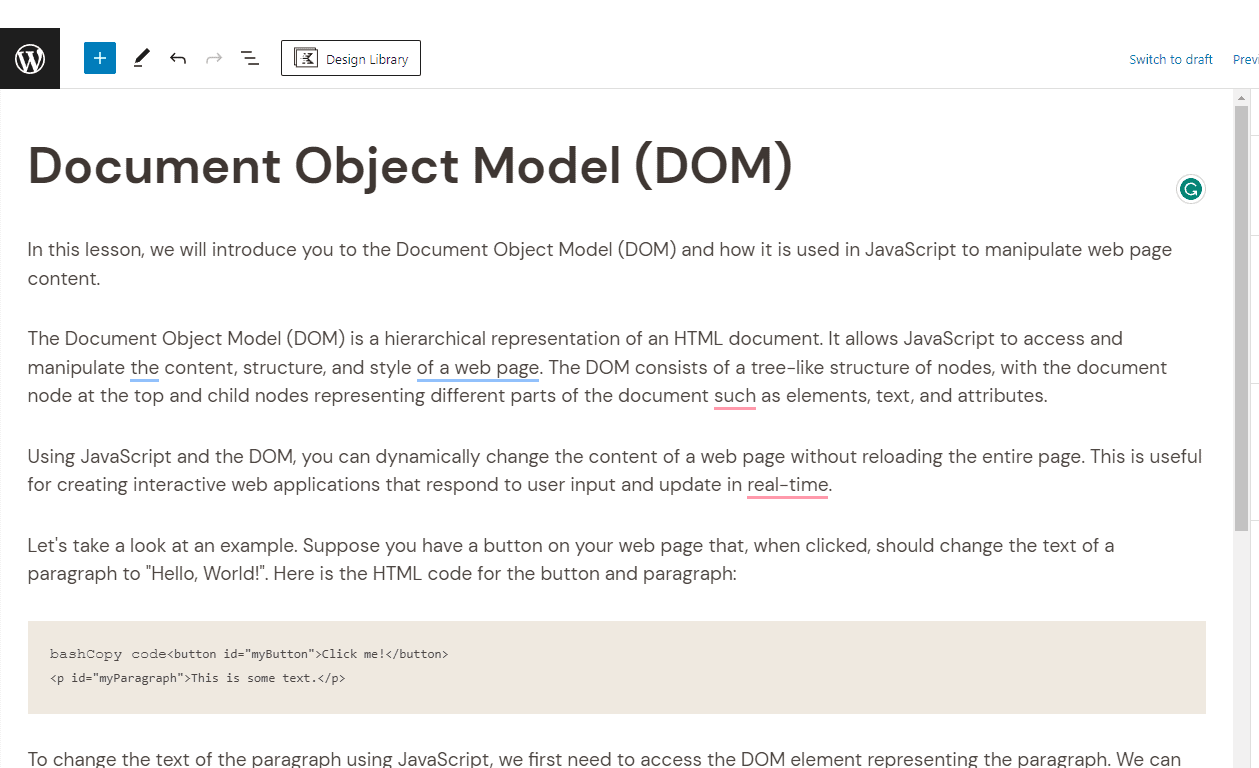
This is where you can add content to your lessons.
You can make use of WordPress’ Gutenberg blocks to create your content. You can add videos, audio, HTML, or anything else. To add a block, type / (backslash) on an empty line to see available options. Or click the black + icon at the end of blank lines.
Here’s what my lesson content looks like:
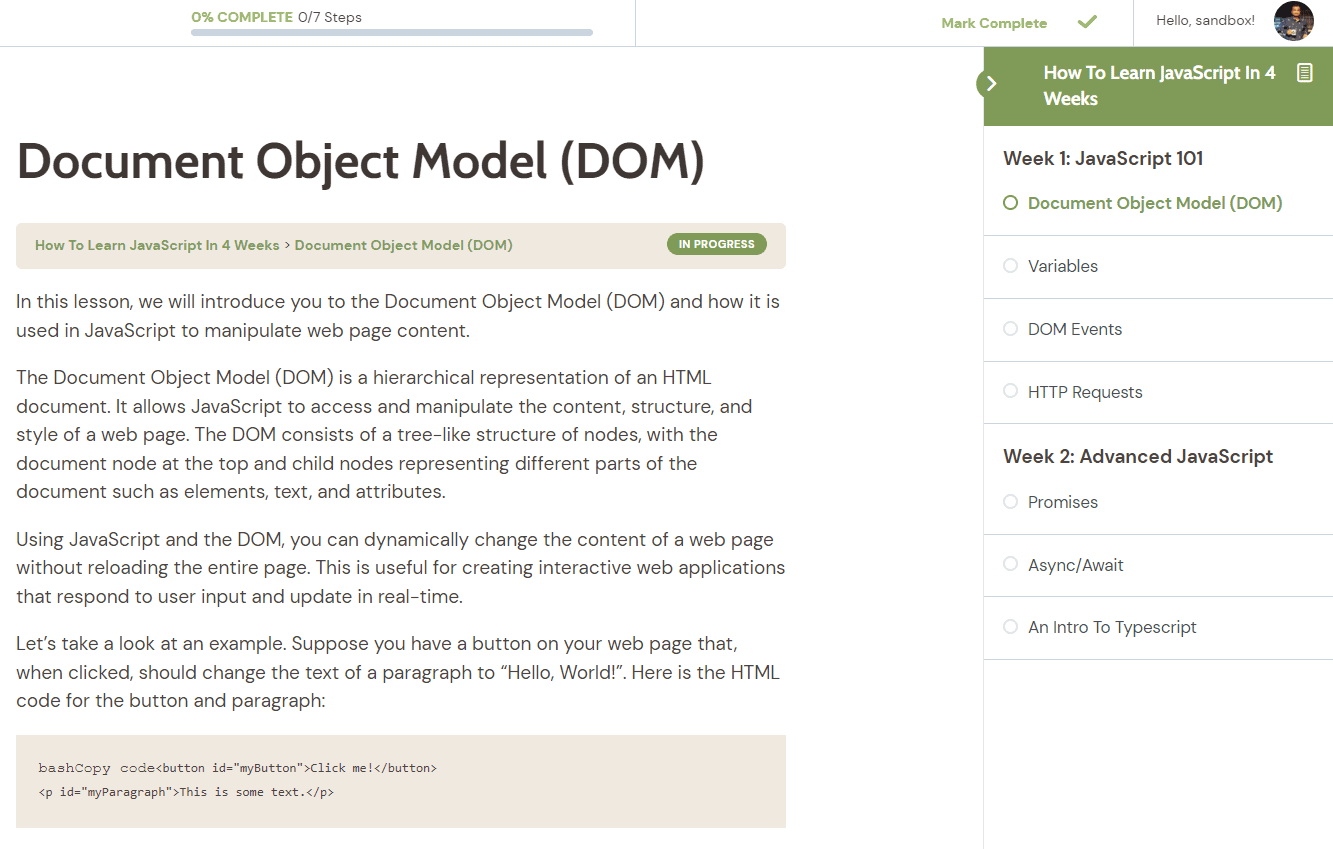
Click the Update button to save the contents.
If you visit this lesson’s preview now, you’ll see your content:
In the next section, we’ll set up a payment plan for your course.
How To Create Payment Plans For Your Course With ProfilePress
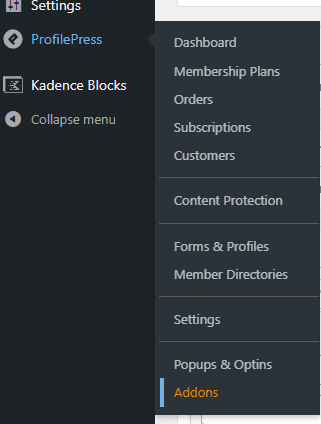
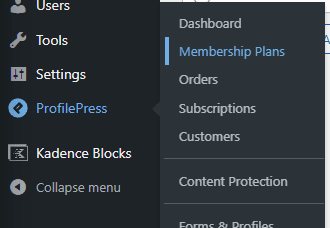
Before creating payment plans, you’ll need to enable the LearnDash addon in ProfilePress. First, navigate to ProfilePress > Addons in your WordPress dashboard:
Scroll down and enable the LearnDash addon:
Now, go to the ProfilePress Settings page:
Next, select the LearnDash tab, and enable the Courses My Account Menu option:
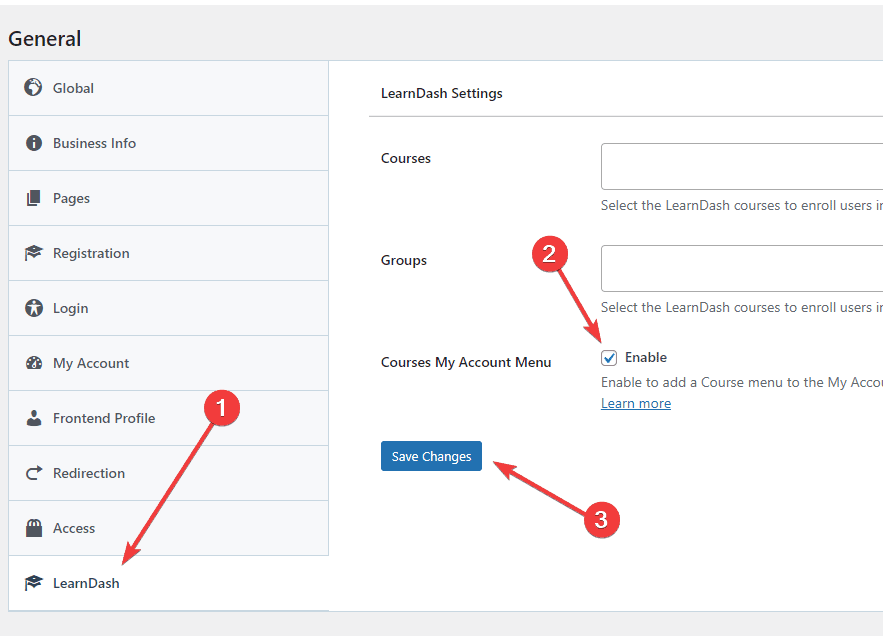
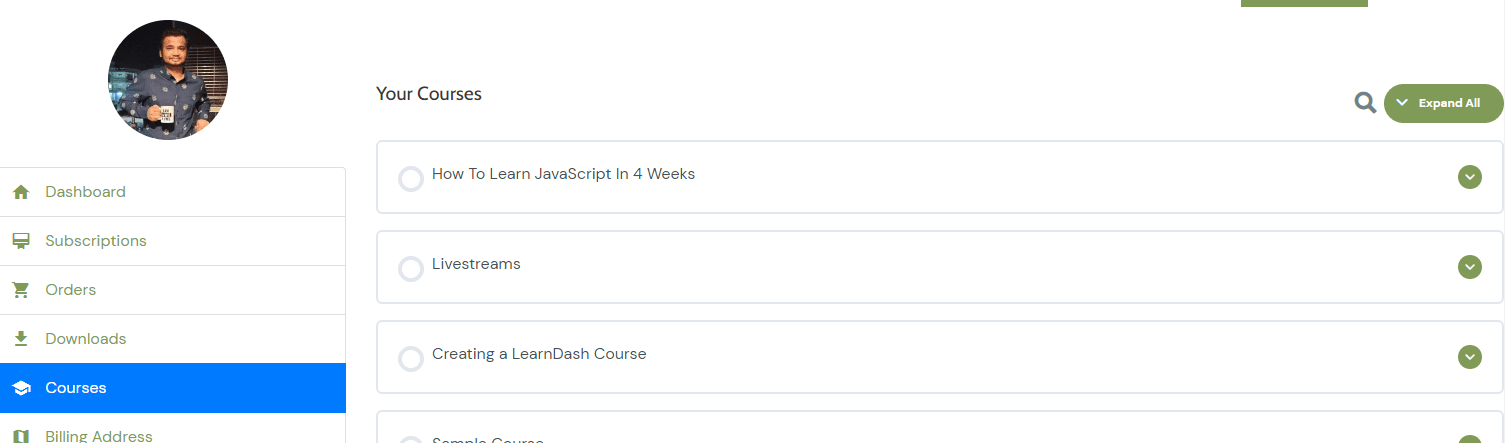
This will add a Courses section to ProfilePress’ My Account page:
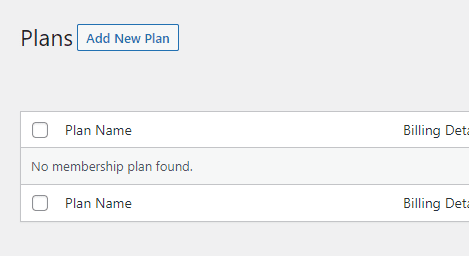
Now, navigate to the Membership Plans page under ProfilePress:
Next, click the Add New Plan button:
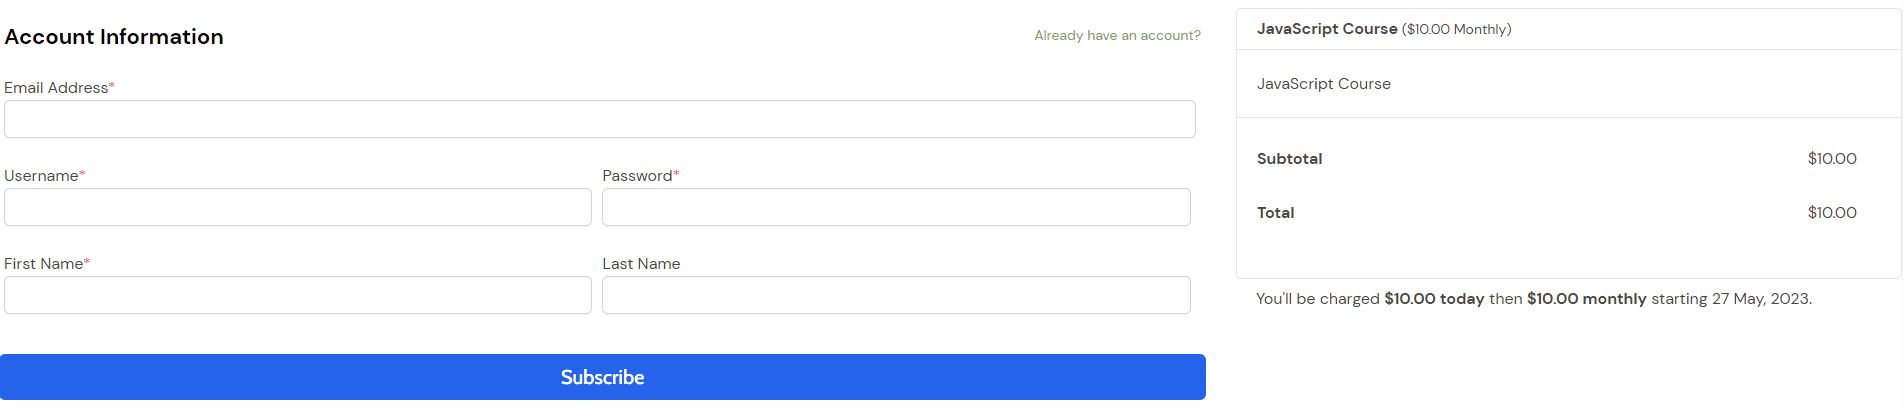
This will take you to the Add Plan page:
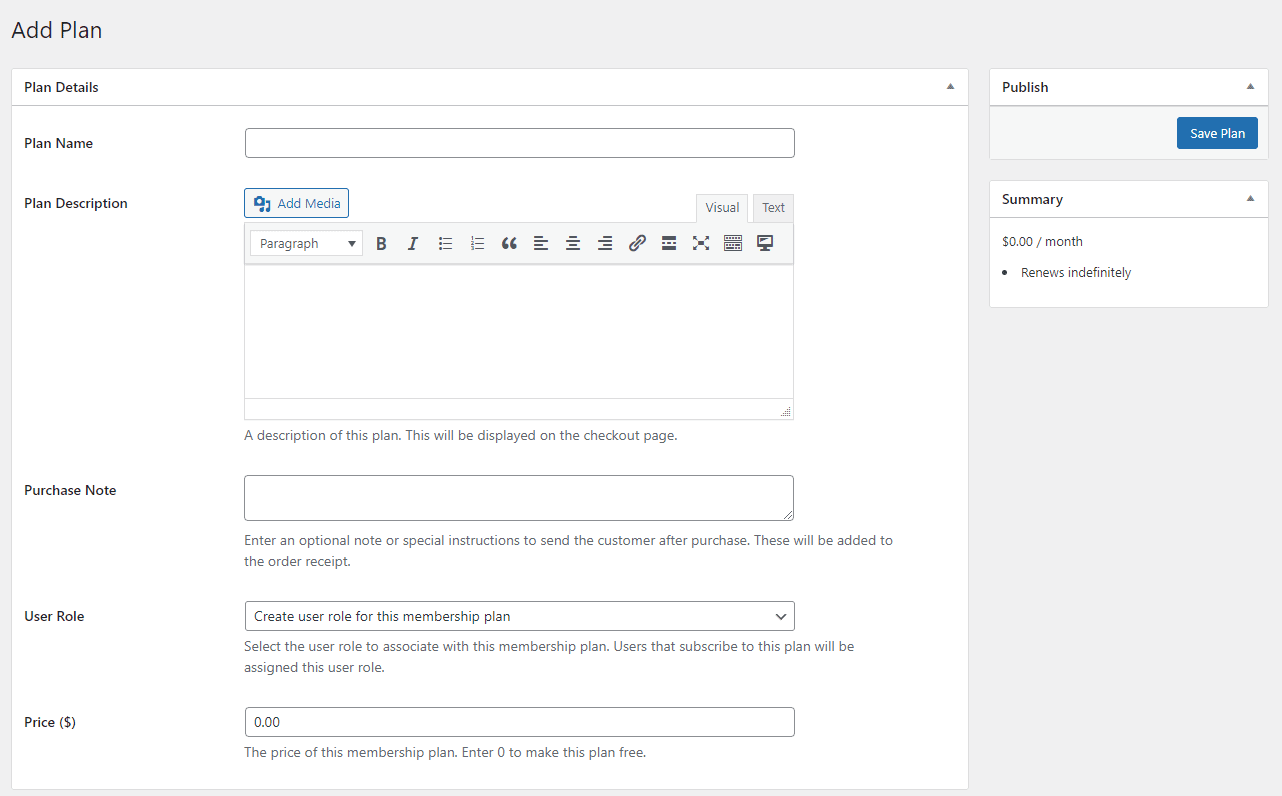
First, enter a name and a description for this plan. These details will be displayed to your visitors on the checkout page.
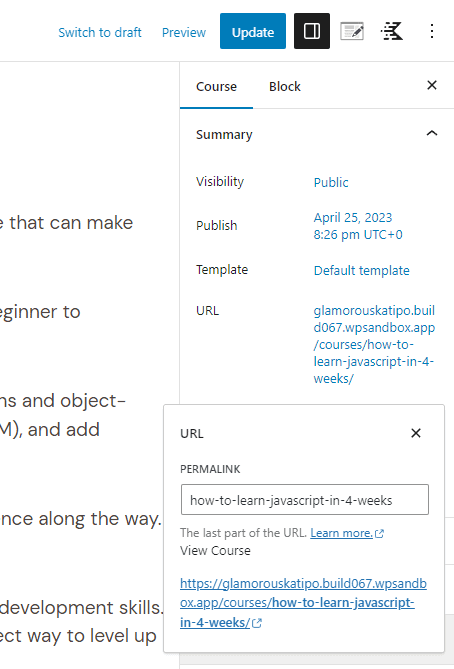
For the next step, you’ll need the URL of your course’s page. To find the URL, open your course in Course Editor, and copy the URL from the right sidebar:
Enter the URL of your course in the purchase note as an HTML link like this:
<a href="<https://yoursite.com/your-course/>">Start Learning</a>
This purchase note is emailed to your customers when they purchase this payment plan.
Now, enter a price for this payment plan:

If you’re creating a recurring subscription, this price will be charged on a recurring basis.
Next, let’s go over the Subscription Settings:
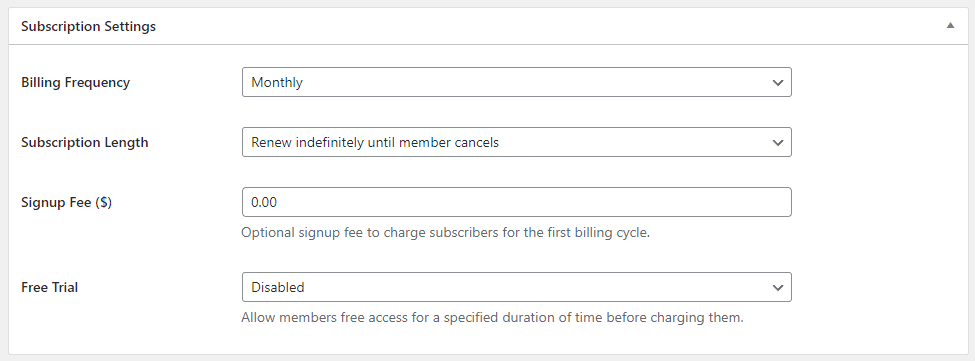
Billing Frequency is how often the user is charged for this plan. If you only want to charge the user one-time for the course, select one-time as the frequency.
If you’re creating a recurring plan (monthly or annual), you can select Subscription Length. By default, your customers will be charged indefinitely unless they cancel the subscription. You can also enter a number of payments if you’re trying to create an installment plan.
If you want to charge your customers an additional one-time fee when they sign up, you can enter the amount you wish to charge in the Sign Up Fee field.
The Free Trial setting allows you to offer a free trial to your customers for this plan. Your customers will only be charged once the free trial period is over. If they cancel the plan before then, they won’t be charged.
If you scroll down, you’ll see the Downloads & Integrations section. Then, click the LearnDash tab in that section:
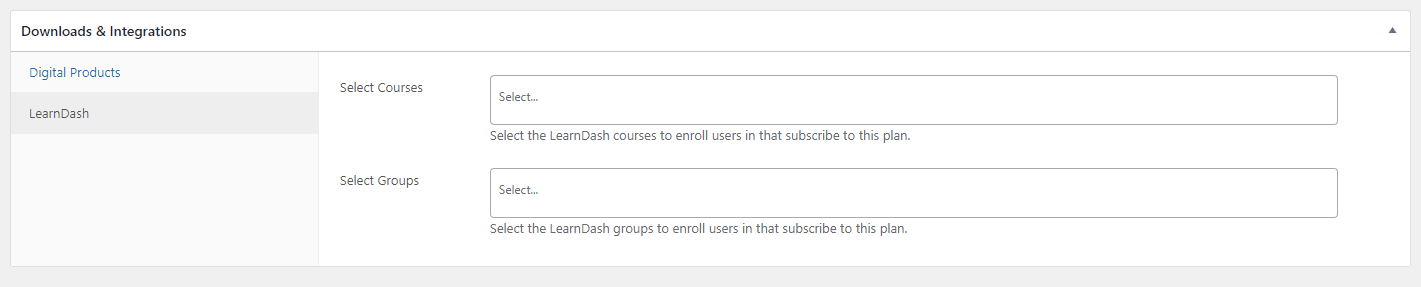
In this section, you can select the courses you want this plan offers access to. In the Select Courses field, begin typing the name of a course, and you’ll see it in the drop-down:

Click the course name from the list to add it to this plan:

If you want to create a course bundle, you can select multiple courses in this field.

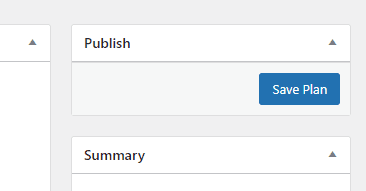
Once you’re done customizing the details of this plan, click the Save Plan button to publish this plan:
When you publish the course, you’ll see a checkout link for your course:
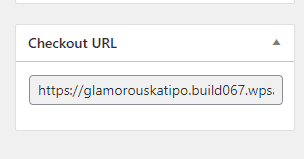
Copy this link, as we’ll need it later. This is the page where you’ll need to send your customers to let them purchase this plan.
Now, navigate to the Courses page of LearnDash:
Take your mouse over the course you created and click the Edit link:

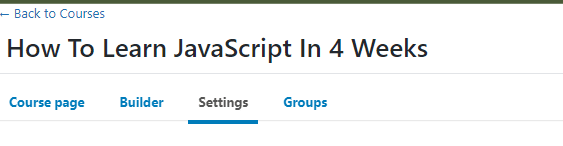
Now, select the Settings tab from the top:
In the Access Mode section, select the Closed option:
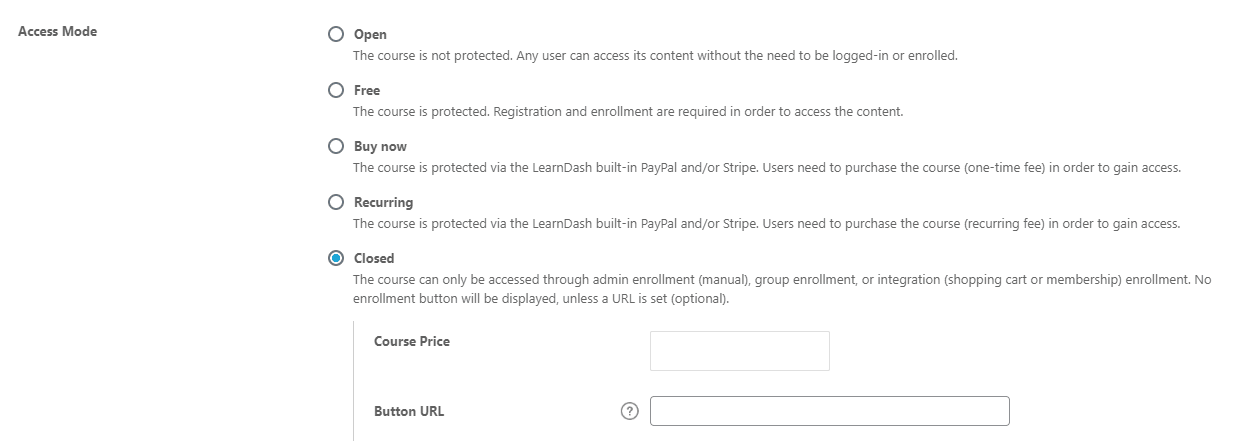
In the Course Price field, enter your chosen price for the payment plan. This price will be displayed on the course page. In the button URL, enter the checkout URL you copied earlier.
Now, click the Update button to save.
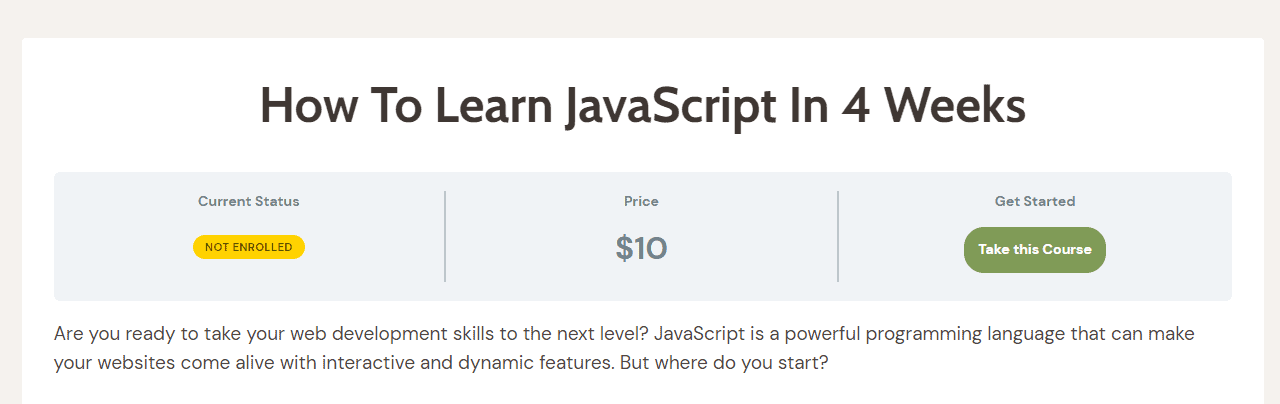
If you visit this course’s page in an incognito window (or after logging out), you’ll now see the price and a Take This Course button:
Clicking the Take This Course button will take you to the ProfilePress checkout page:
Grow Your Email List by Connecting LearnDash to MailOptin
You can supercharge your marketing efforts by using MailOptin. It’s an all-in-one email marketing plugin for WordPress. It can help you grow your business using the power of email marketing.
It offers a built-in integration for LearnDash. You can use it to send your LearnDash customers to your email lists on email marketing platforms like Mailchimp, AWeber, Campaign Monitor, Constant Contact, MailerLite, ConvertKi, and Klaviyo. You can also use it to send regular newsletters to your customers and subscribers to keep them engaged and promote your new courses.
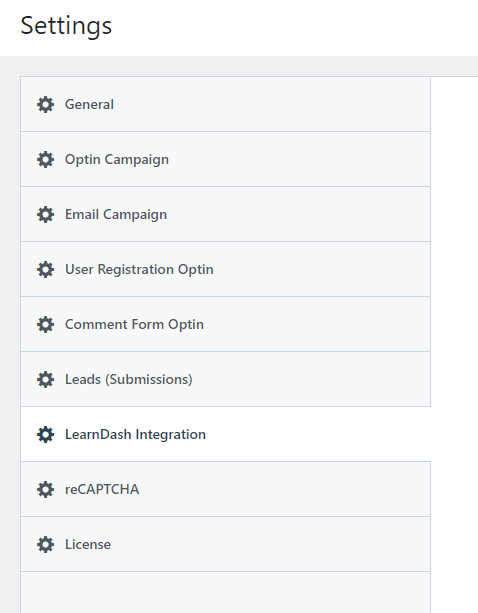
To connect LearnDash to MailOptin, install MailOptin and go to the MailOptin Settings page:
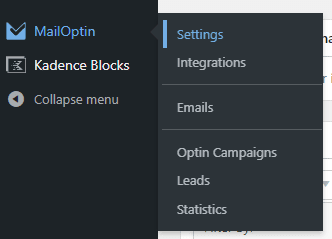
Now, click on the LearnDash Integration tab:
From here, you can automatically add your new students to your email lists:
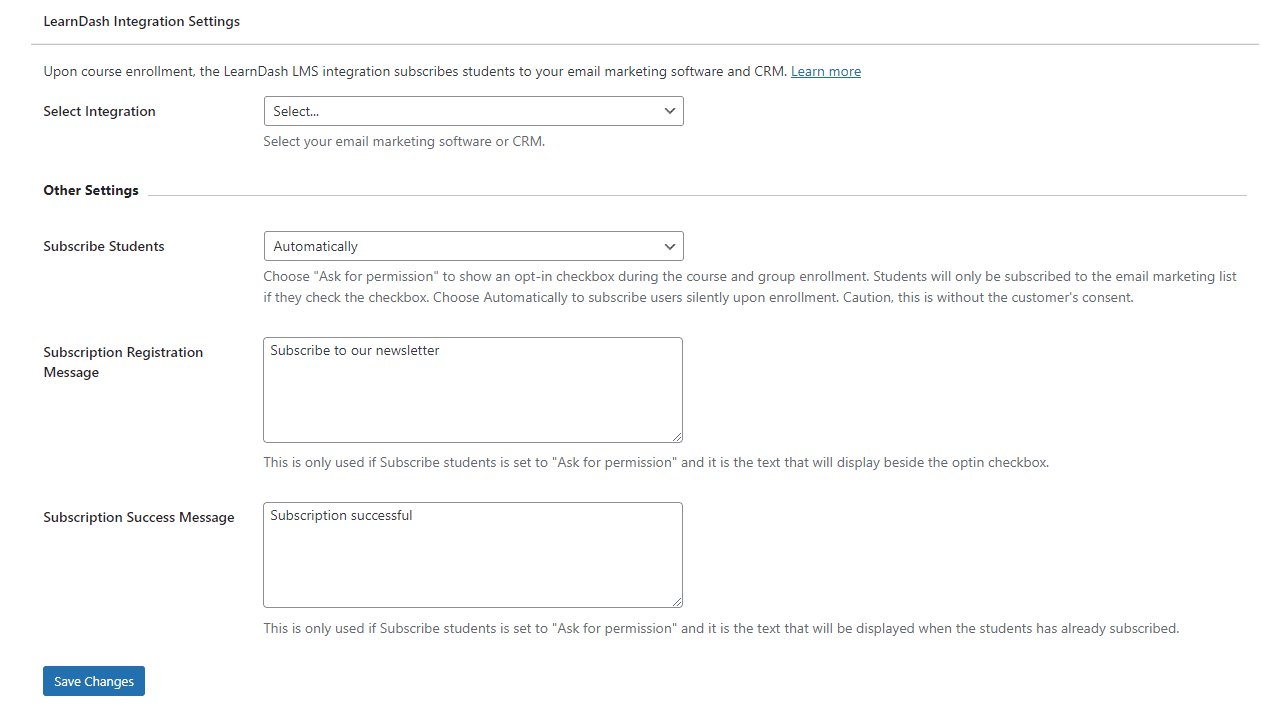
You’ll see it in the dropdown if you have connected an email marketing platform such as MailChimp or Infusionsoft to MailOptin. If not, you can select MailOptin Leads for now:
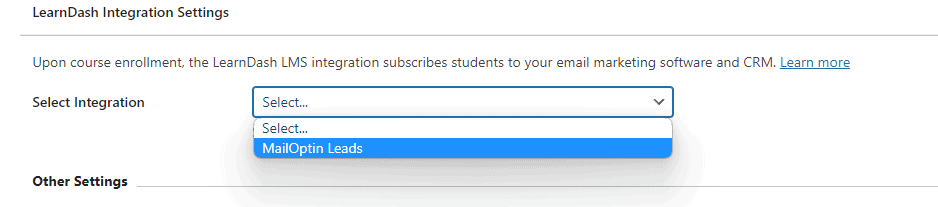
It’ll store the new leads in your website’s database. You can later export the list and import it into your email marketing platform.
When you enable this integration, MailOptin will automatically tag the new subscribers with the name of the course they are enrolled in. This can be effective for segmentation in your email marketing campaigns.
You can also use MailOptin to email your LearnDash students. You can choose to email all your students or just the ones who are enrolled in a particular course or are part of a group.
Conclusion
If you’re considering selling courses online, WordPress is the best platform, as it offers you complete control over your website. In addition, it gives unlimited flexibility in what you can do. Other platforms only offer basic customization options.
The easiest way to sell courses with WordPress is by using LearnDash to create the courses and using ProfilePress to sell them. ProfilePress makes it easy to sell digital products on your website. In addition, it offers a lot of flexibility. It not only allows you to sell digital products such as eBooks and courses, but it even allows you to create paid membership sites.