Upgrading from MailOptin Lite to Premium Version
Upgrading from the lite version of MailOptin to the premium version is straightforward. The good thing is no settings and customization made previously in the lite version will be lost.
Firstly, go to the pricing page and make a purchase to get a license key.
Warning: ensure “Remove Data on Uninstall” is not checked in Settings. All previous work you’ve done will be deleted if it is checked.

Manual Upgrade
To upgrade to MailOptin’s paid plans, uninstall and delete the free/lite version on your site.
Download the paid version emailed to you after purchase or from your account.
Go to Plugins >> Add New >> Upload Plugin.
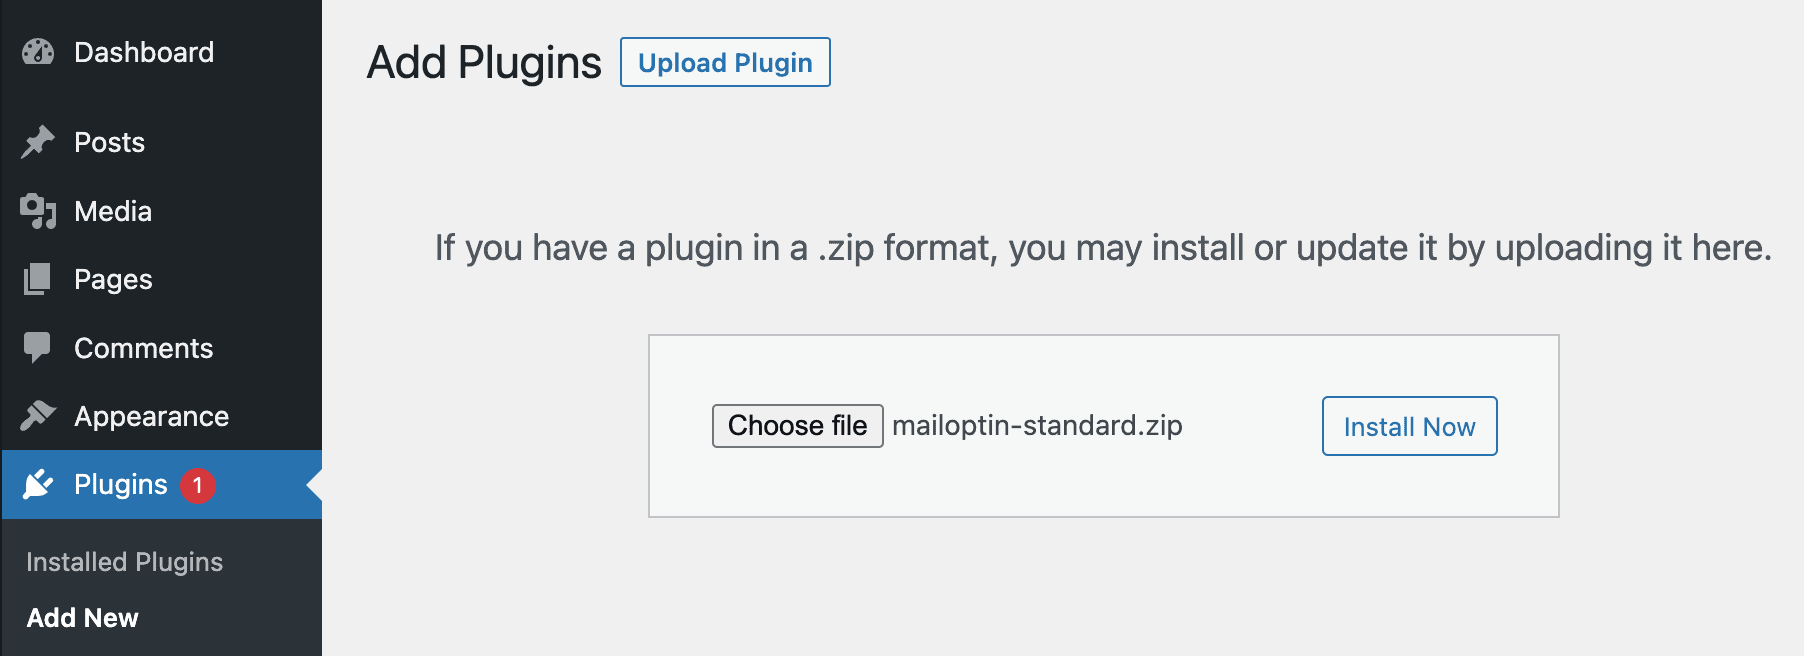
Upload the MailOptin premium plugin and install it. Don’t forget to activate the plugin after installation.
Automatic Upgrade
Go to MailOptin >> Settings. You should see a field to enter your license key on this page.
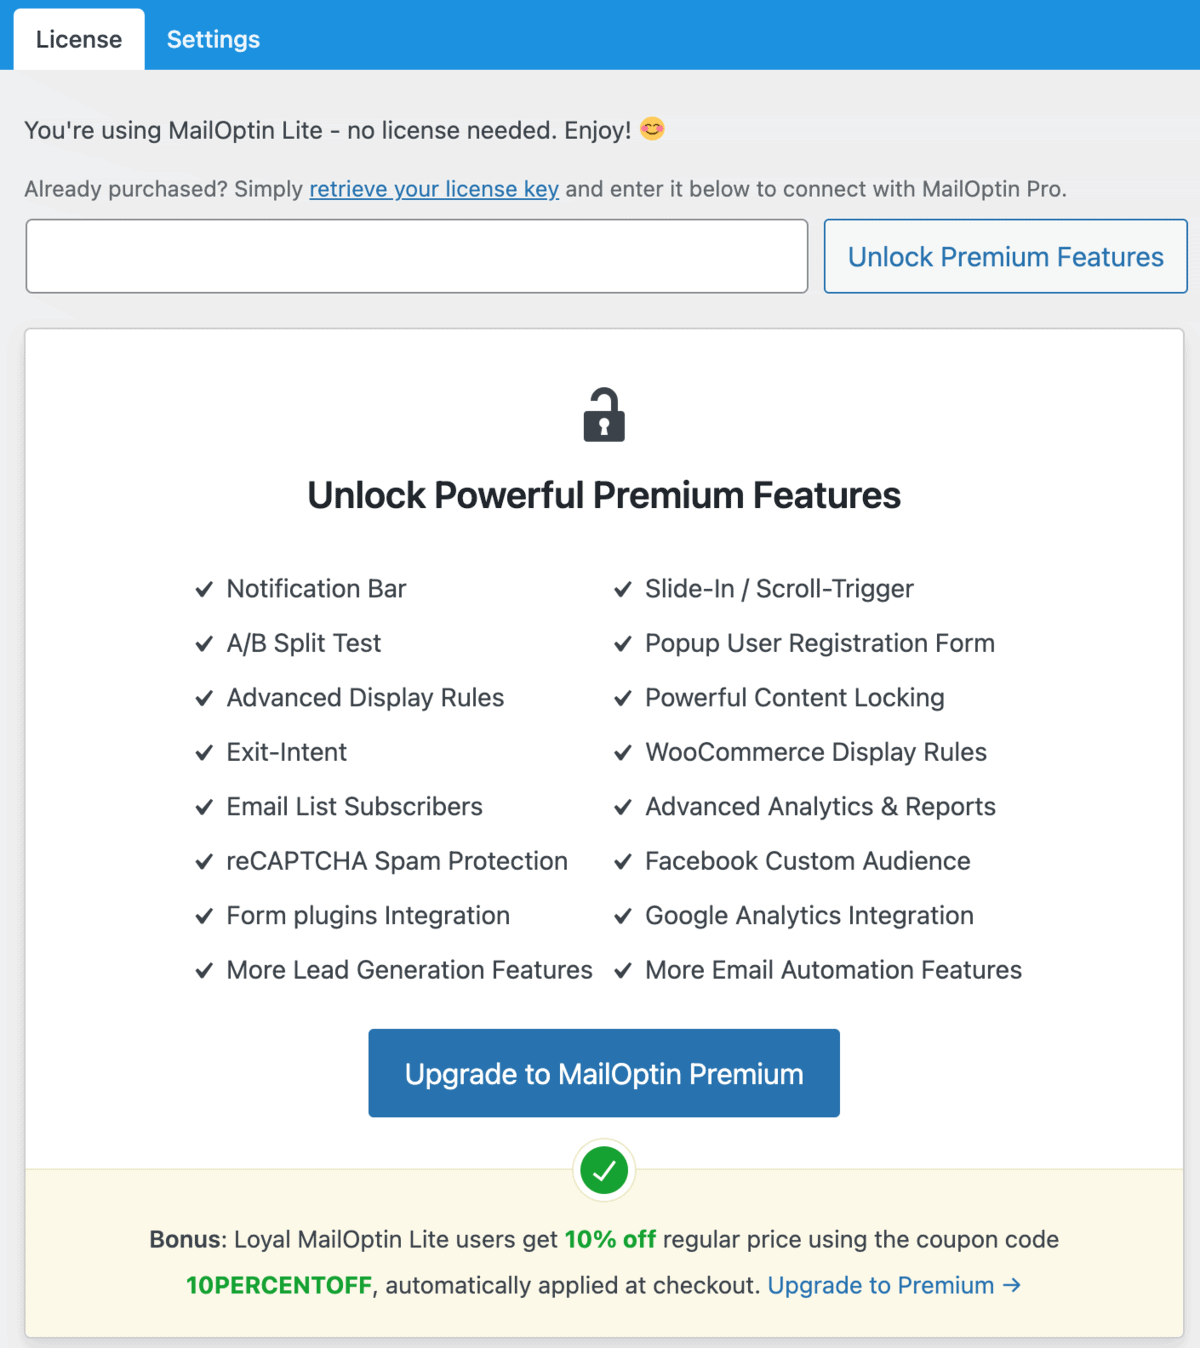
To find your license key, check your email after your purchase or log in to your MailOptin account in another browser tab.
Then paste your license key into the license field and click the Unlock Premium Features button.
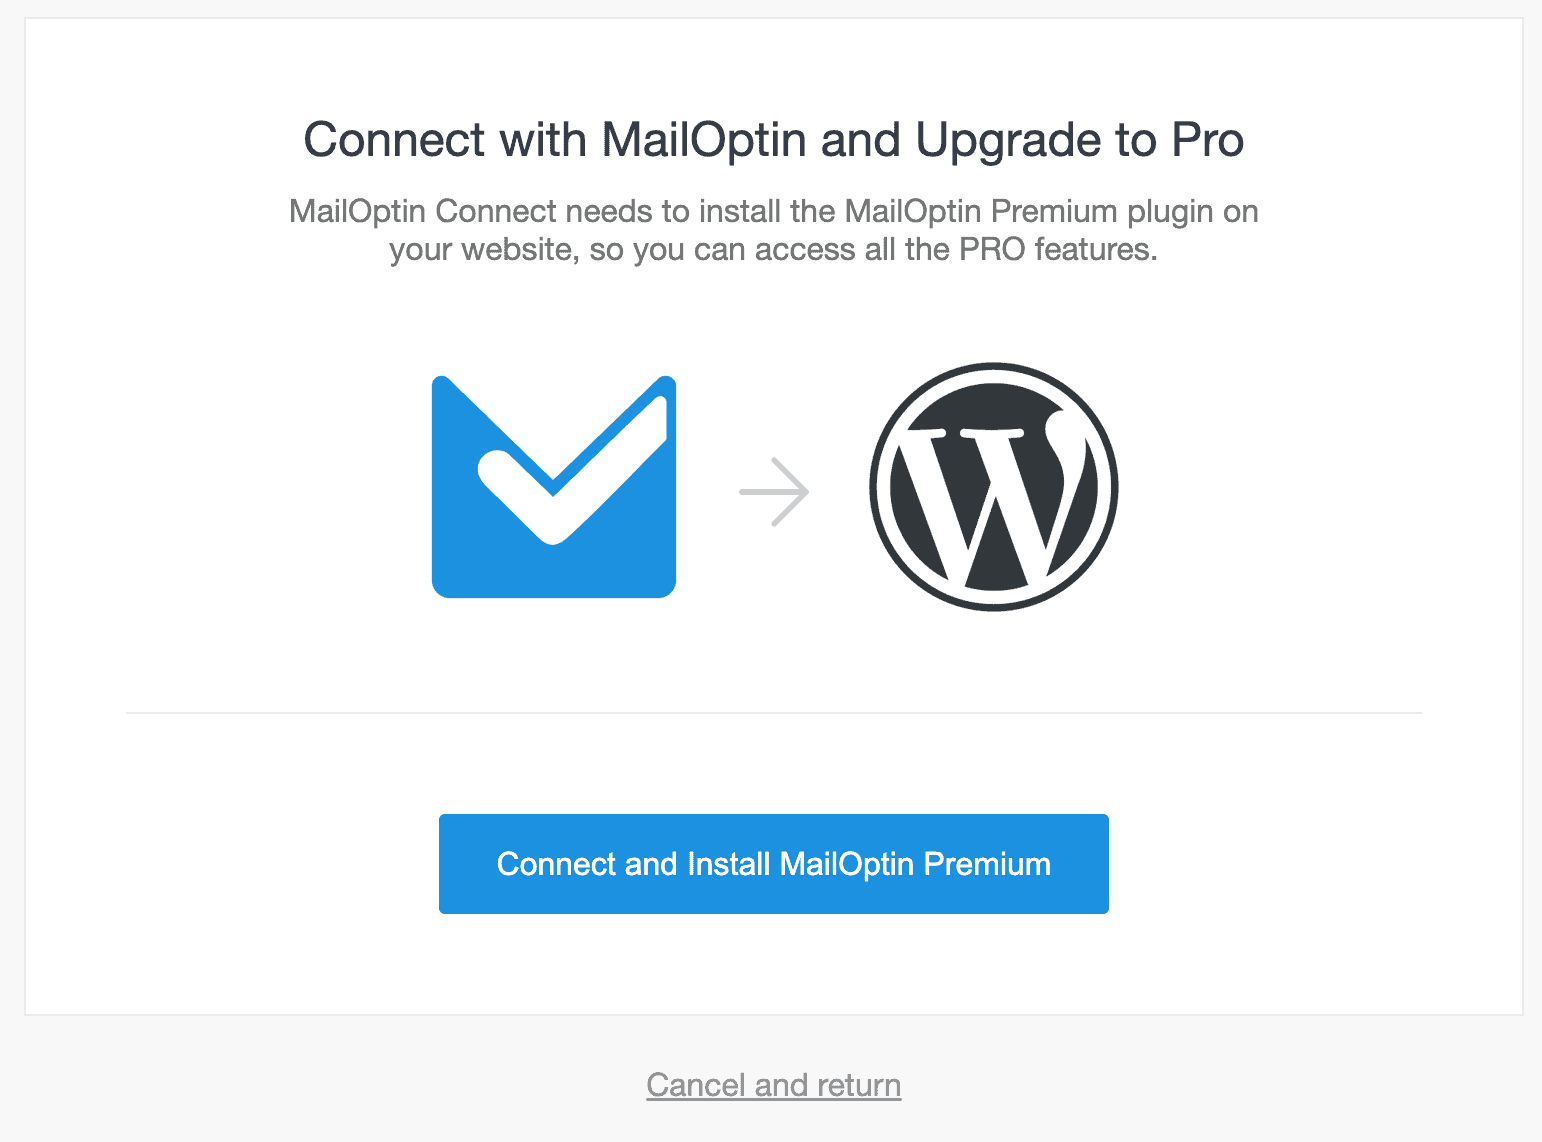
The automatic verification process will then run. As soon as your license key has been verified, you should be taken to a new screen to confirm that you’d like to proceed.
You’ll need to click the Connect and Install MailOptin Premium button to begin the installation process.
Next, the paid plugin will be automatically installed for you (this may take a few moments). Once it’s all done, you’ll get a success message.
If the automatic installation fails, your host may have restrictions that prevent it from running. You’ll need to manually install the paid version. See our above on how to manually upload and activate MailOptin.
After you click the OK button, you should be redirected back to the MailOptin settings for your WordPress site. The paid version of MailOptin is all set and ready for you to use!
La fin!