WordPress New Post Notification To Moosend Email List
Do you want to automatically send WordPress new post notifications to your Moosend email list?
The New Post Notification feature in MailOptin, also known as Post2Email or RSS-to-Email, is a powerful tool for email marketers. This tutorial will guide you through the process of setting up automatic new post notifications to your Moosend list, saving you the hassle of manually creating newsletters for each post.
With MailOptin, you can ensure that your subscribers are always up-to-date with your latest content, as the plugin will automatically send a new post newsletter on your behalf every time you publish.
Let’s dive into how you can easily set this up and make your email marketing more efficient.
Step 1: Install and Activate MailOptin Plugin
Begin by purchasing a copy of the MailOptin plugin.
After your purchase, log in to your WordPress admin dashboard and navigate to the Plugins page. Click on the “Add New” button and click “Upload Plugin. ”
Upload the zip file, install, and activate the plugin on your WordPress site.

Step 2: Connect MailOptin to Moosend
Next, you need to connect MailOptin to your Moosend account. To do this, go to the Integrations settings page by clicking the sidebar menu link or the top menu tabs.
At the Moosend Connection section, you will see a text field to enter your API key.
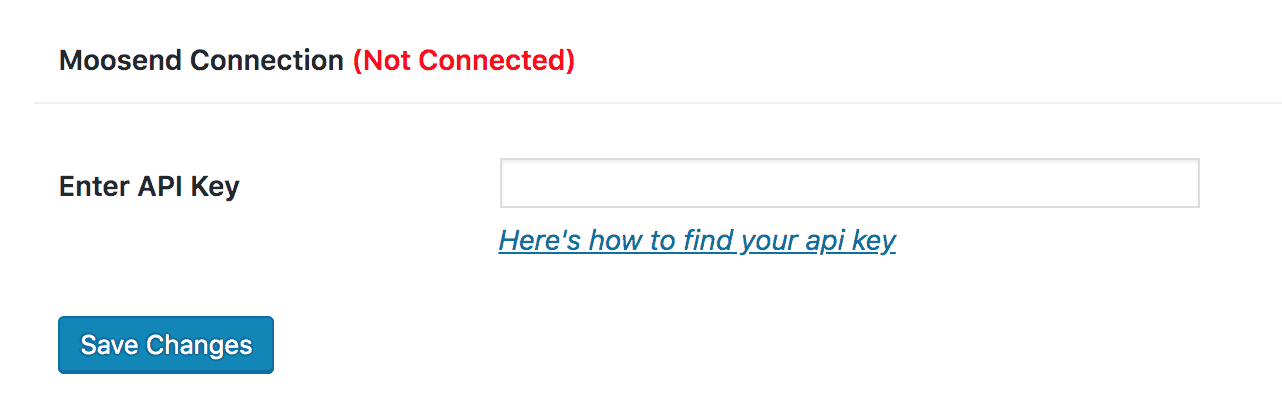
To get your API key, log in to your Moosend account and navigate to Account >> API Key. Copy your API key, paste it in the “Enter API Key” text field, and finally click the “Save Changes” button to save.
Step 3: Setting Up the WordPress New Post Notifications to Moosend
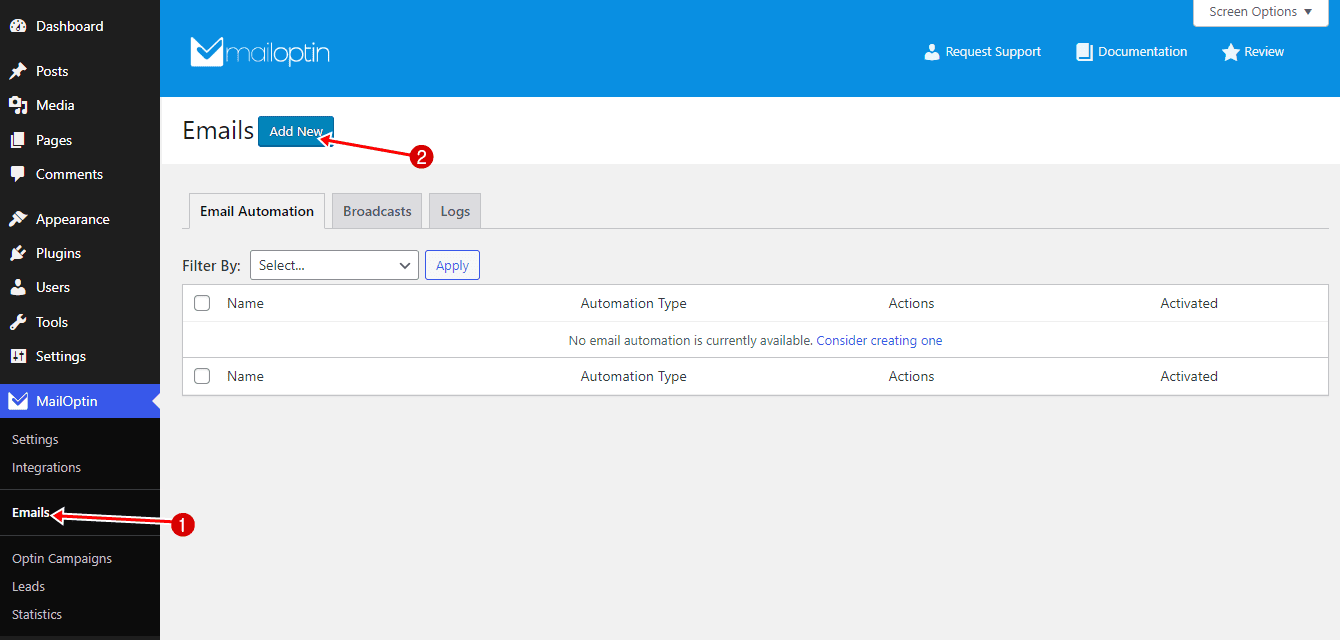
To set up new post notification automation to your Moosend email list, go to MailOptin >Email > Add New.
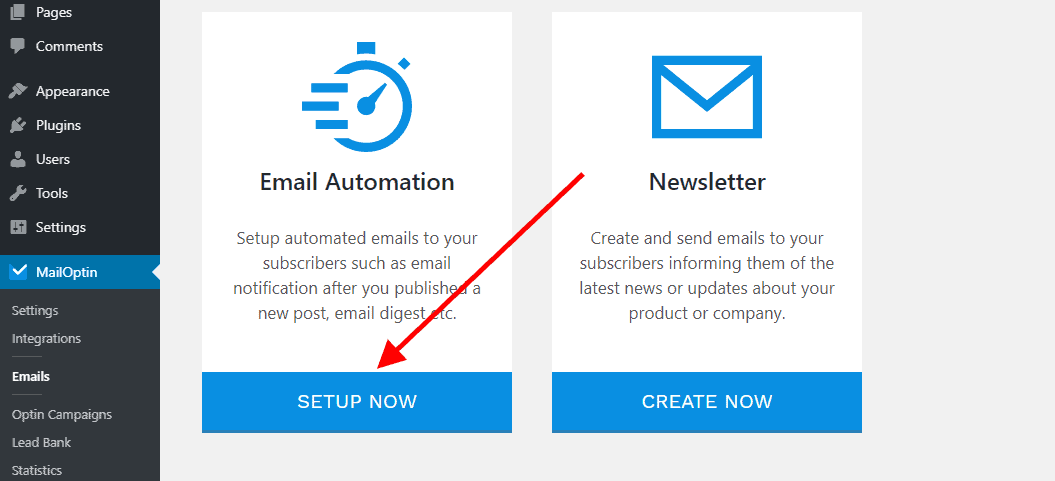
Locate the Email Automation card and click on the Setup Now button below it.
Next, enter a title that describes your automation…

… then select the type of automation you want to set up.

Next, select a template for this automation. This tells MailOptin what your email should look like.
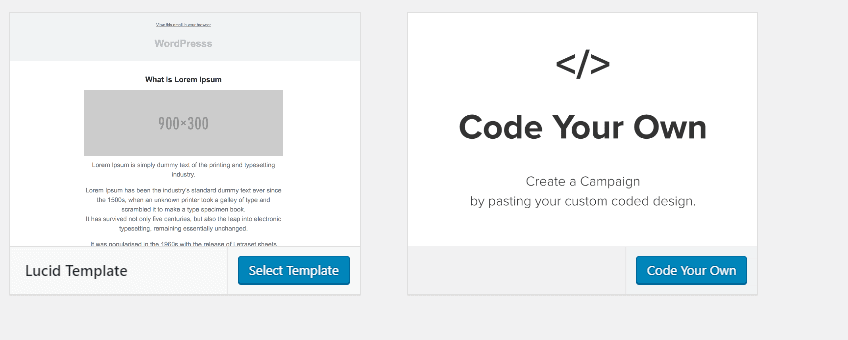
Here’s how to use your custom email template.
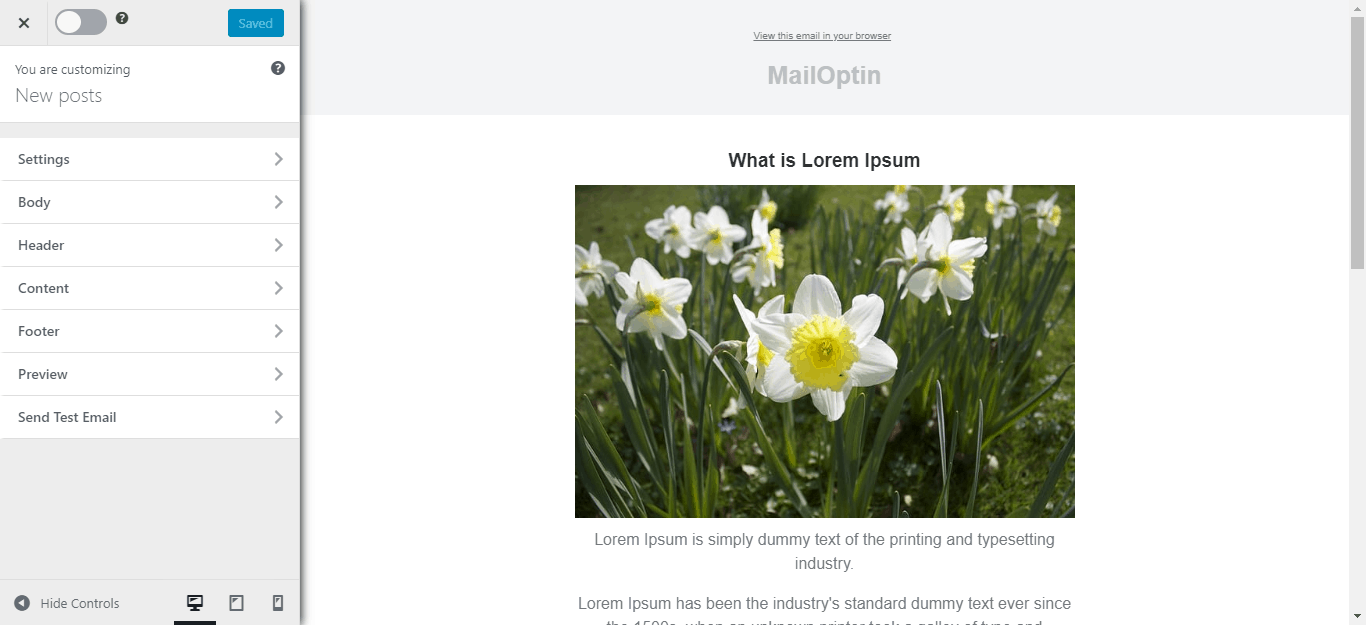
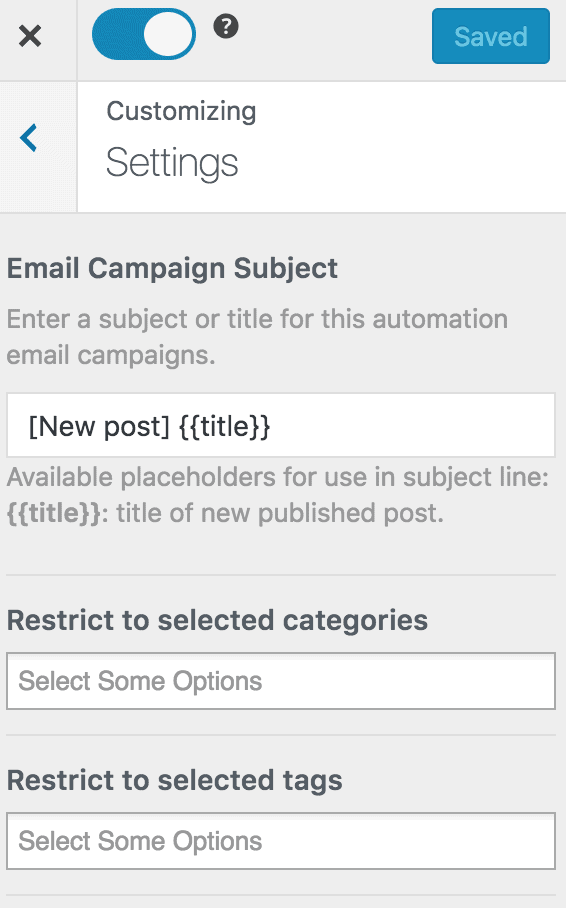
After selecting your template, you will be taken to the email customizer page, where you can configure the Moosend new post email automation settings (such as choosing the post type, categories, and tags the post has to belong to), template page, template header, template content and even send a test email to your email address.
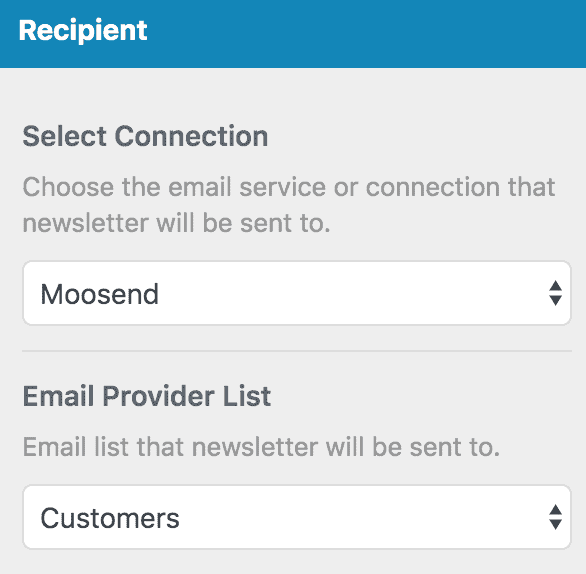
Finally, we need to tell MailOptin to send the emails to a Moosend list or segment.
To do this; First, click on the Settings Panel, scroll down to the Recipient section, and select Moosend under the Select Connection dropdown.
Next, select a specific email list that the new post newsletters that will be sent.
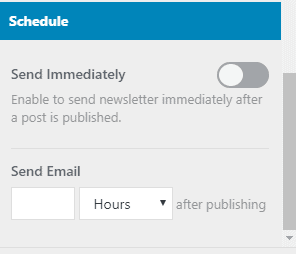
You can also decide to send the newsletters immediately or schedule them to be sent minutes, hours, or days after publication.
You can also create various automation to be sent out to different email lists based on the categories and tags the post belongs to.
When you are done setting up your new automation campaign. Remember to activate it by clicking on the activation switch at the top of the page. Finally, click the Save Changes button to save your new automation campaign.
![]()
Every time a new post is published, MailOptin will send out an email to your subscribers.
You can also decide to send a daily, weekly, or monthly round-up of published posts instead of immediately after posts are published.
Note: For this to work without any issue, please ensure all email campaign settings, especially the address and sender part, are filled and saved. Also, please ensure the From Email and Reply-To email addresses are verified senders.
We hope this article helped you learn how to setup new post email automation that emails your post content to your Moosend list subscribers whenever you publish a new post in WordPress.