Creating Your First Optin Campaign
This is a step-by-step guide on creating and activating your first email optin form campaign in MailOptin.
Please note that the images in this article are outdated, but we are working on updating them.
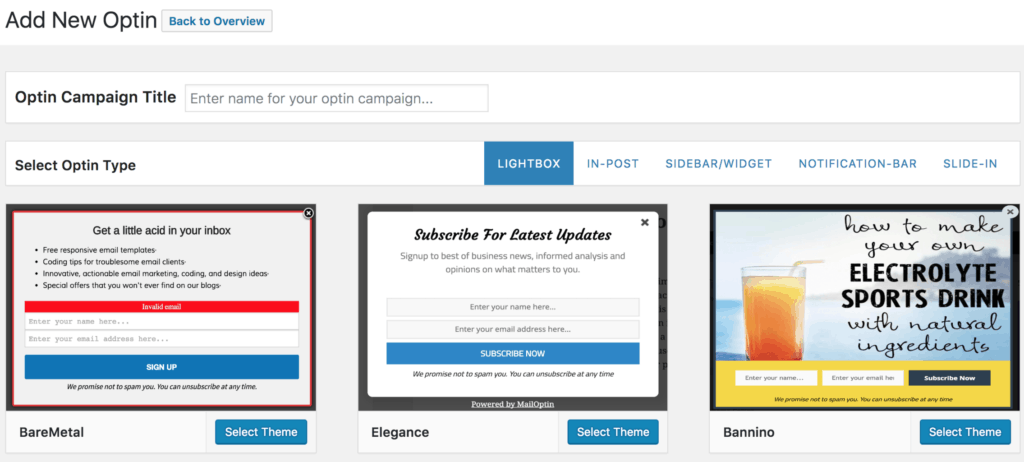
First, click the Optin Campaigns menu link or tab navigation and click the “Add New” button to create a new optin campaign.

Enter a title for the campaign, select the optin type and click the optin form theme of your choice and you will be redirected to the form builder.
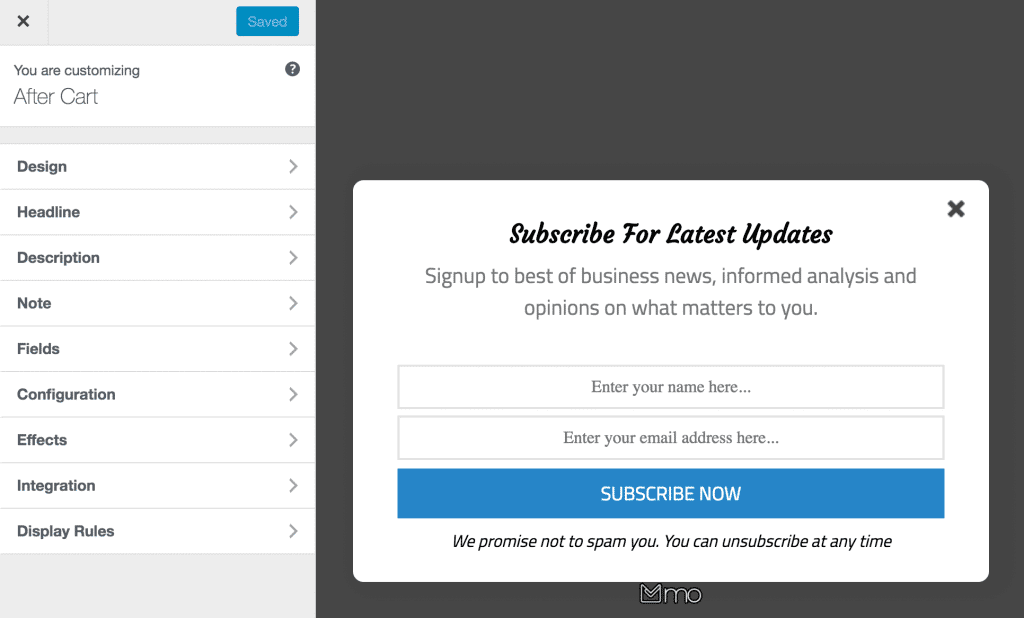
The following are some of what is possible in the form builder.
-
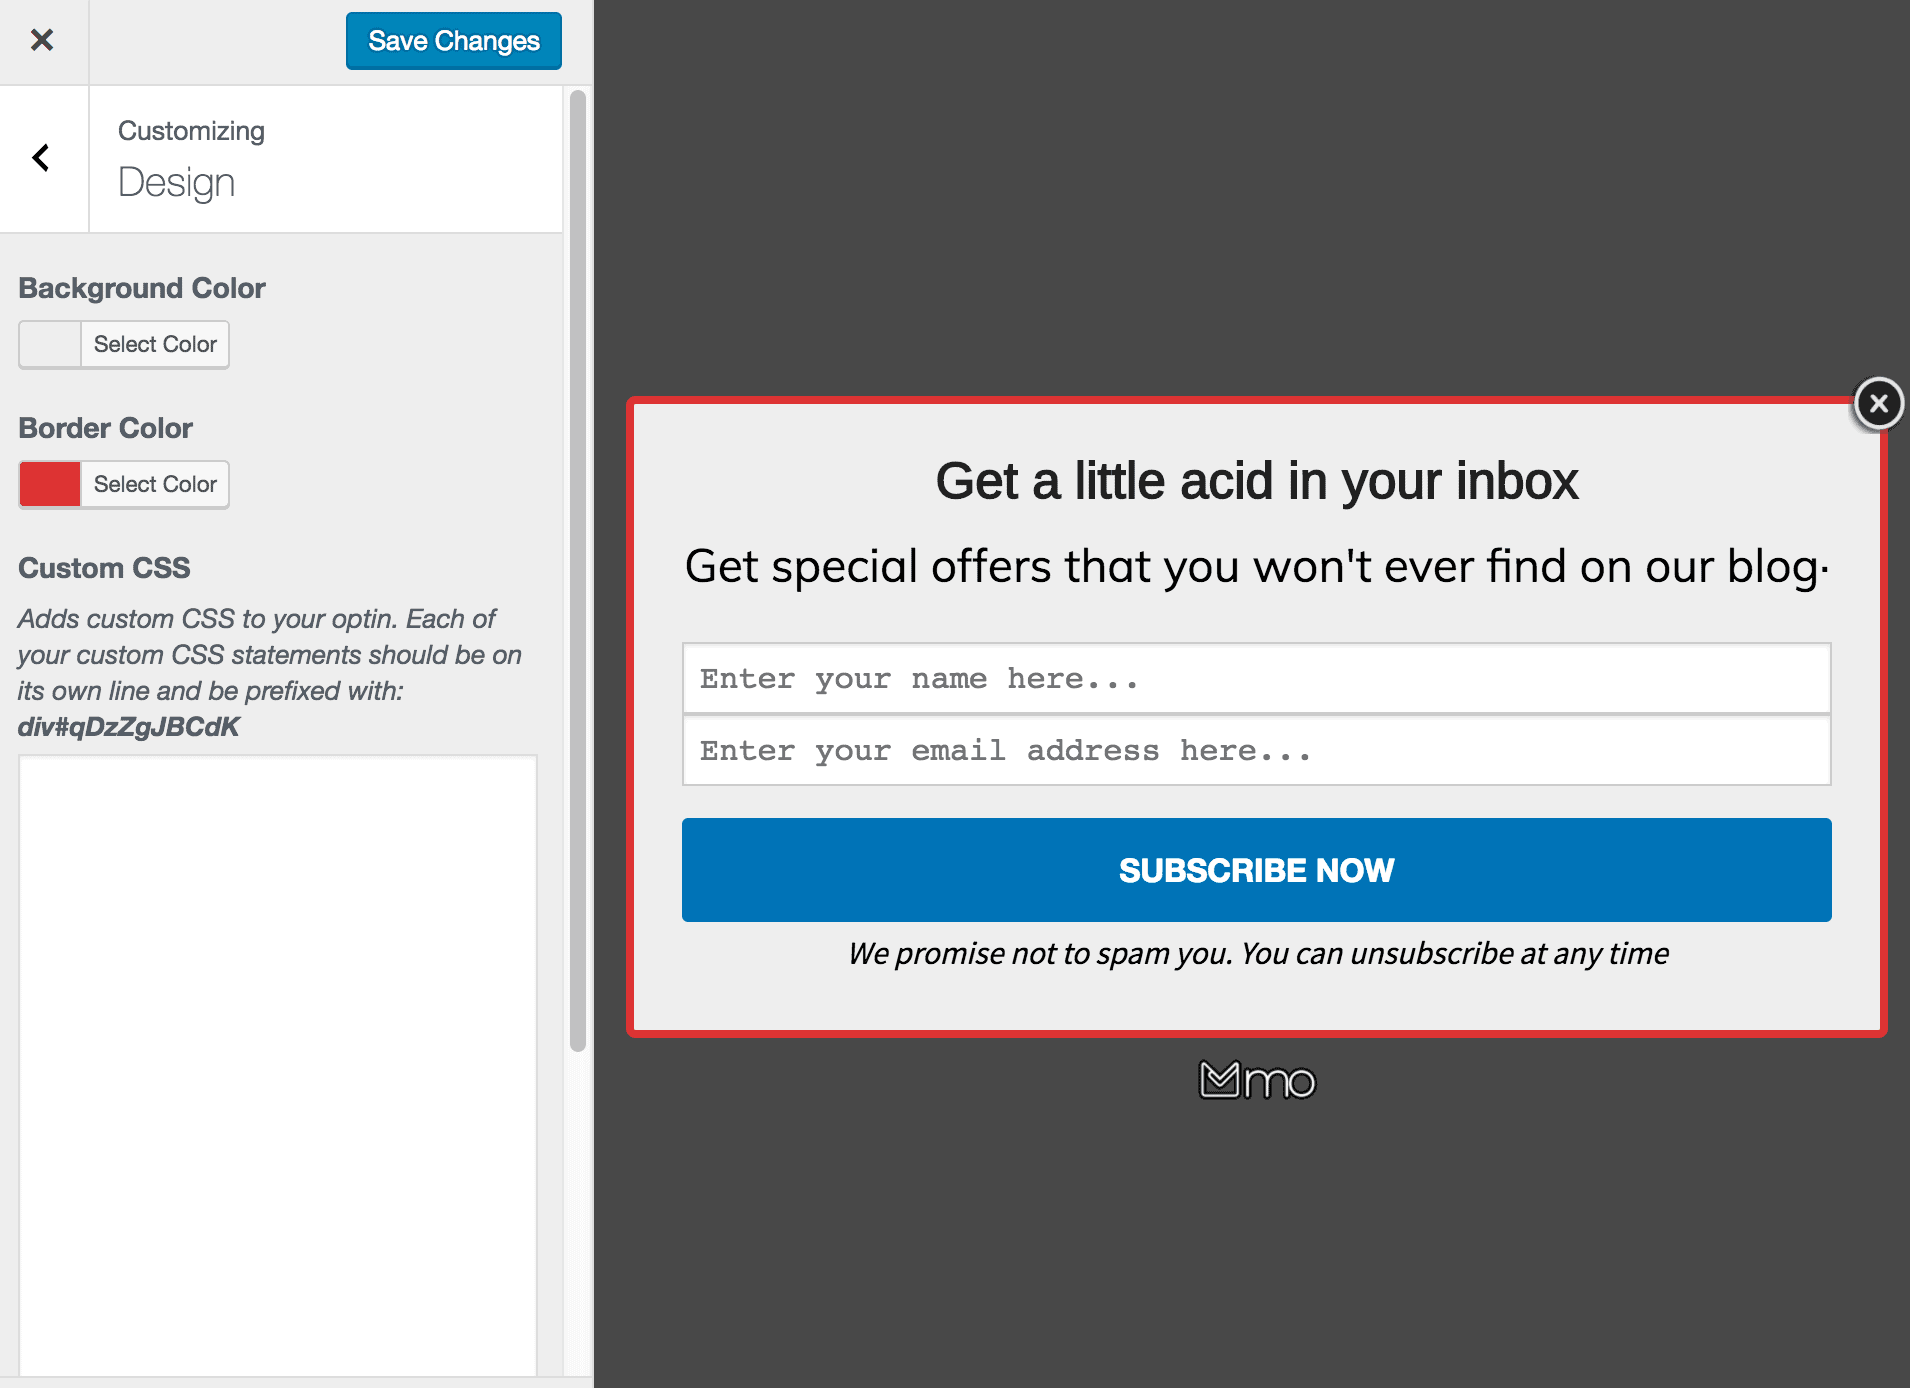
- The Design panel allows you to customize the optin background color, border color, add custom CSS, and lots more.
-
- The Headline panel allows you to add a custom headline, change the font and color, and lots more.
-
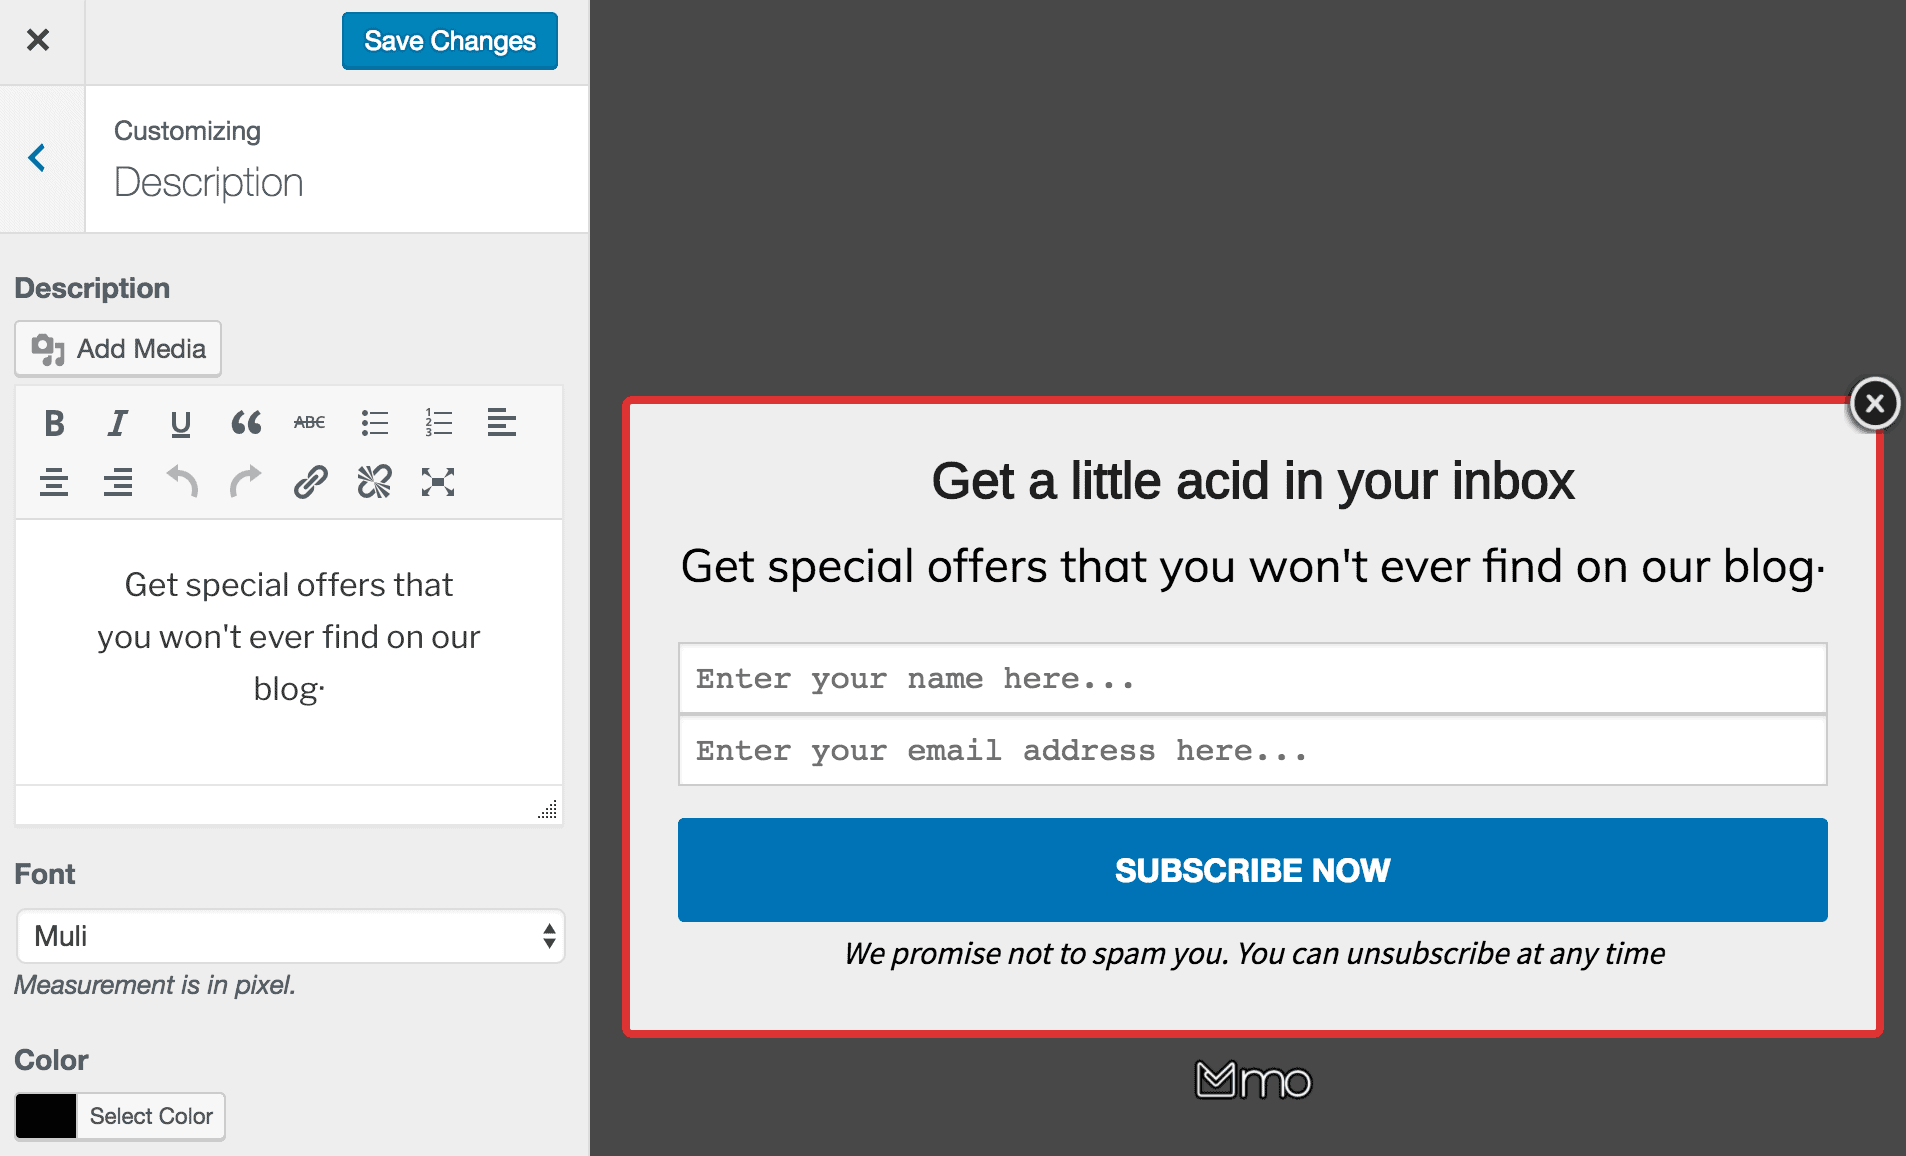
- Like the Headline panel, the Description panel customizes the sentence/text beneath the headline.
-
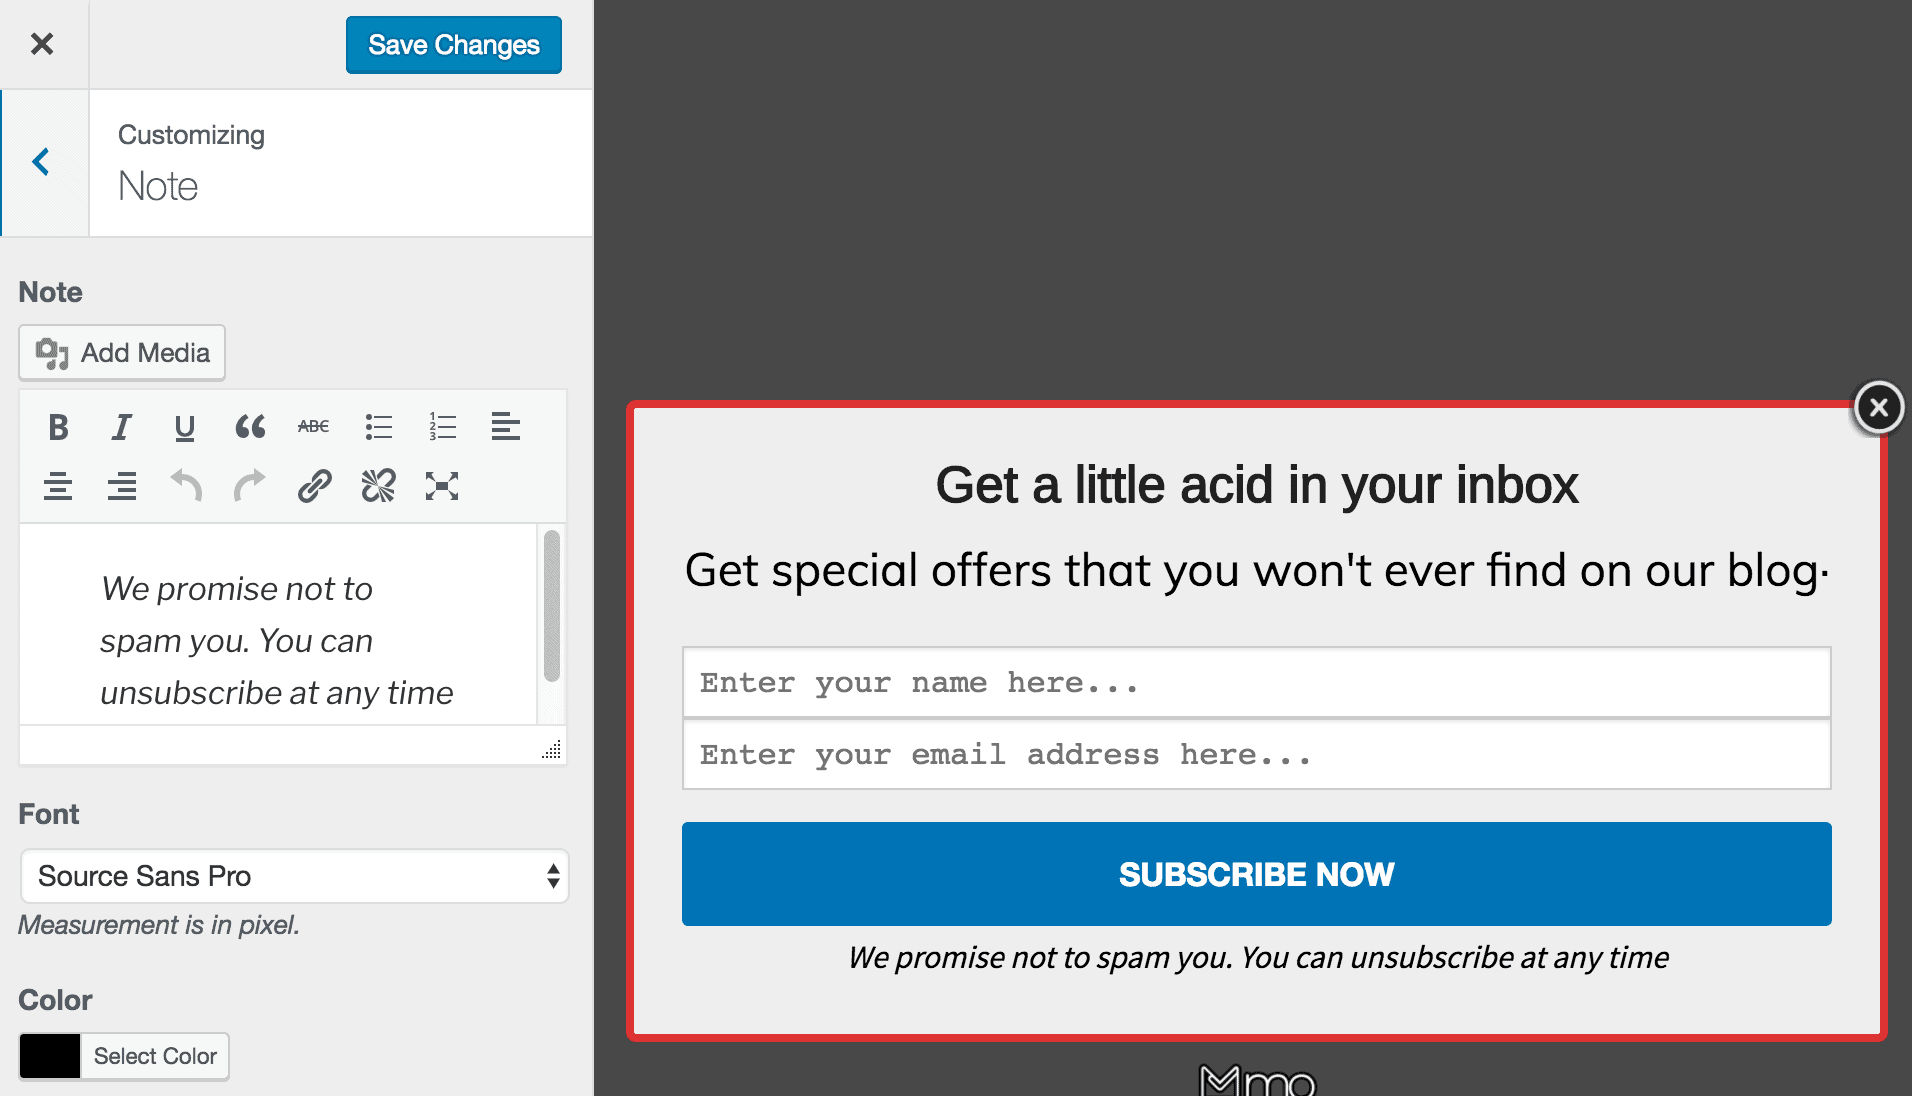
- Similar to the Headline and Description panel, the Note panel customizes the sentence beneath the optin form.
- The Fields panel allows you to customize the form fields, such as the name and email fields and the submit button. You can change the placeholder, colors, font, option to hide the name field, etc.
-
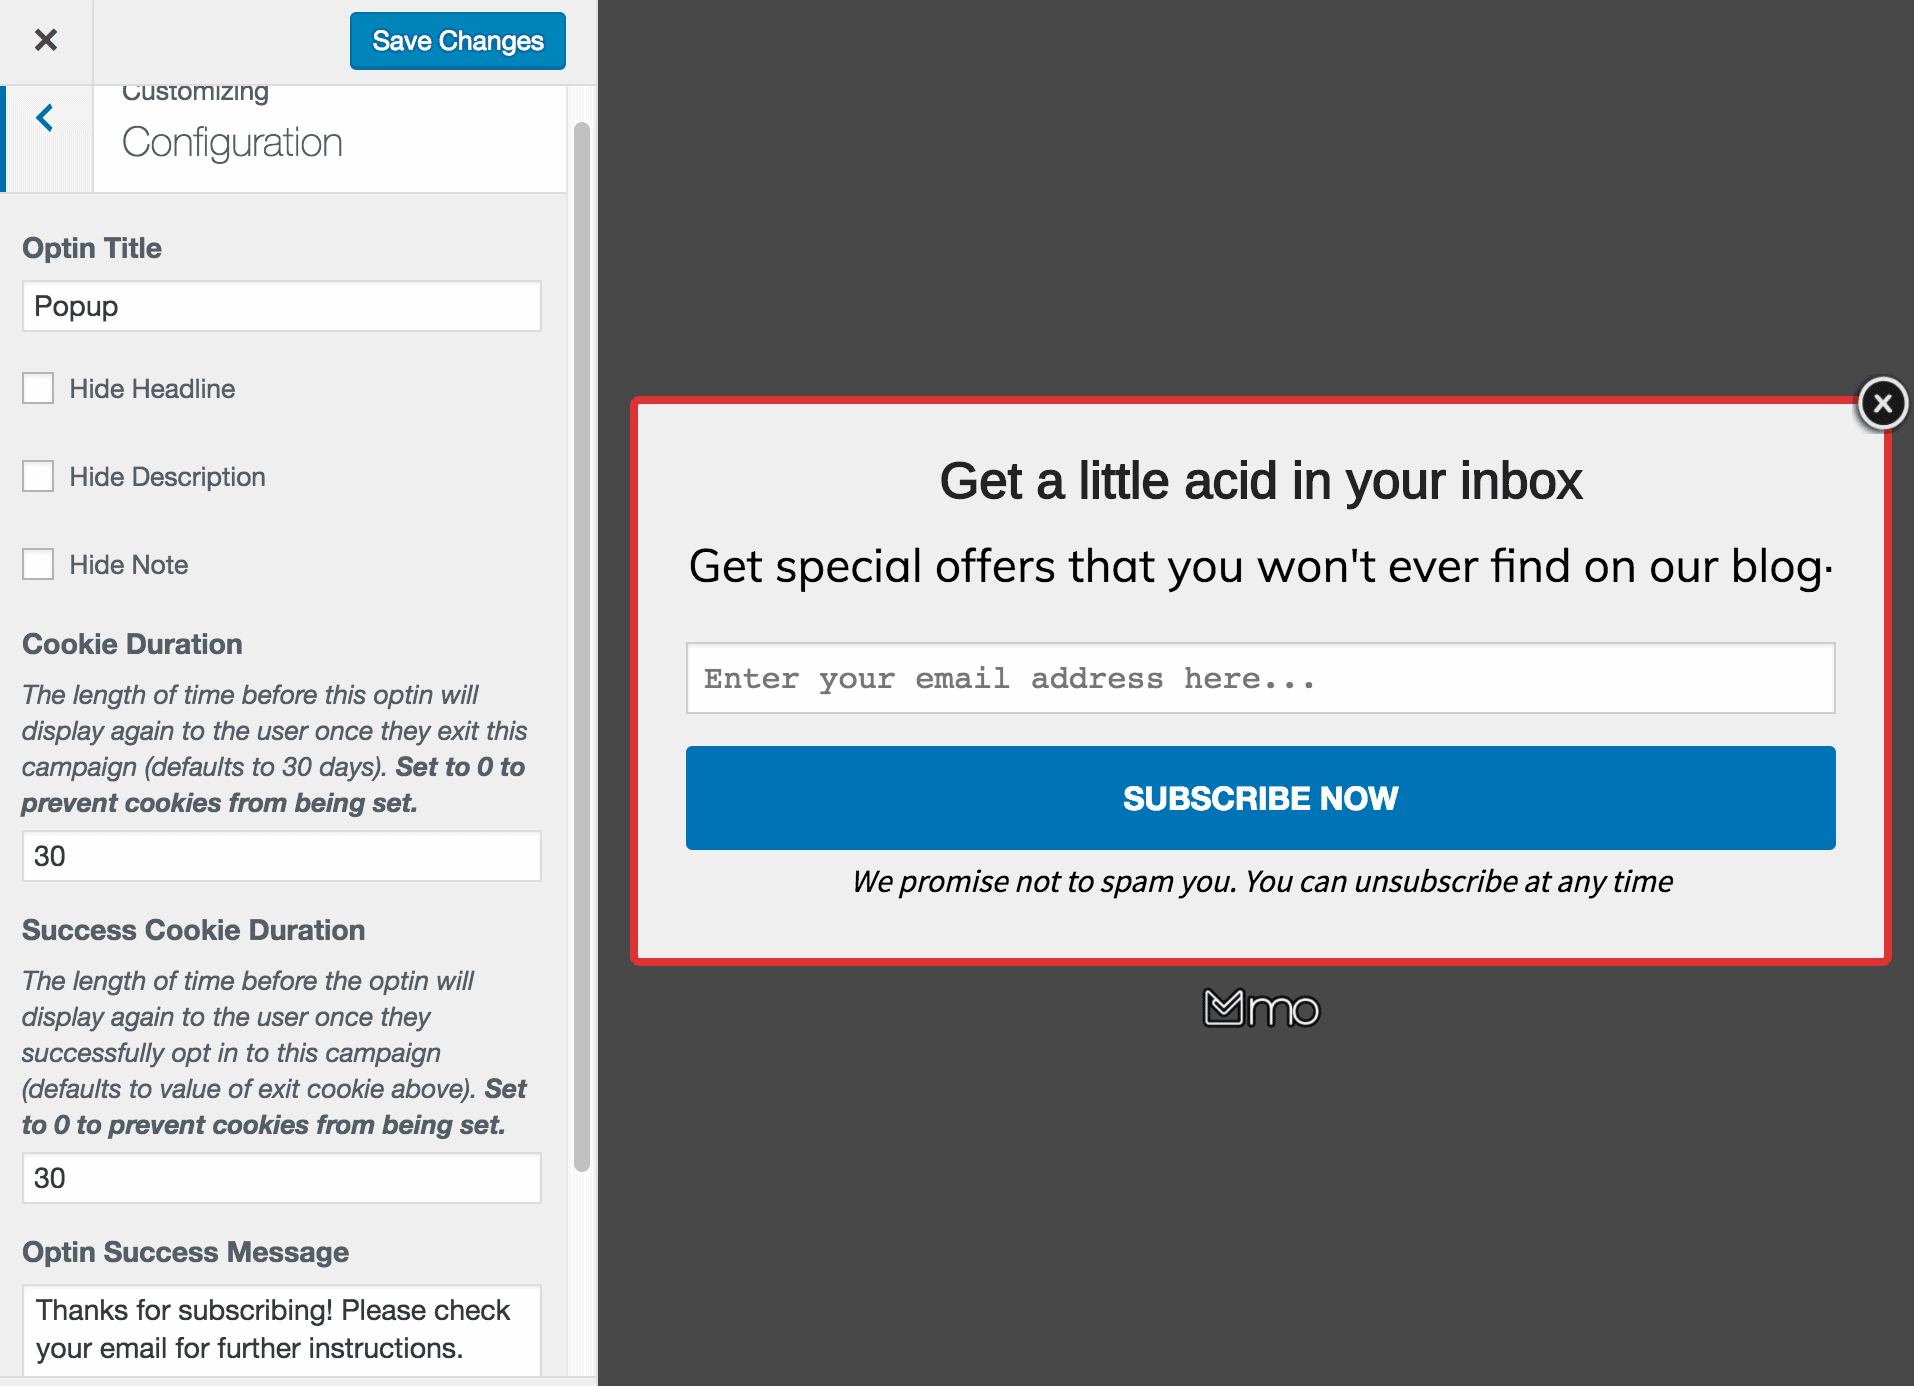
- In the Configuration panel, you can do things such as change the optin title, hide the headline, description, and note, customize the success message, cookie duration, and success cookie duration, as well as remove the MailOptin branding.
-
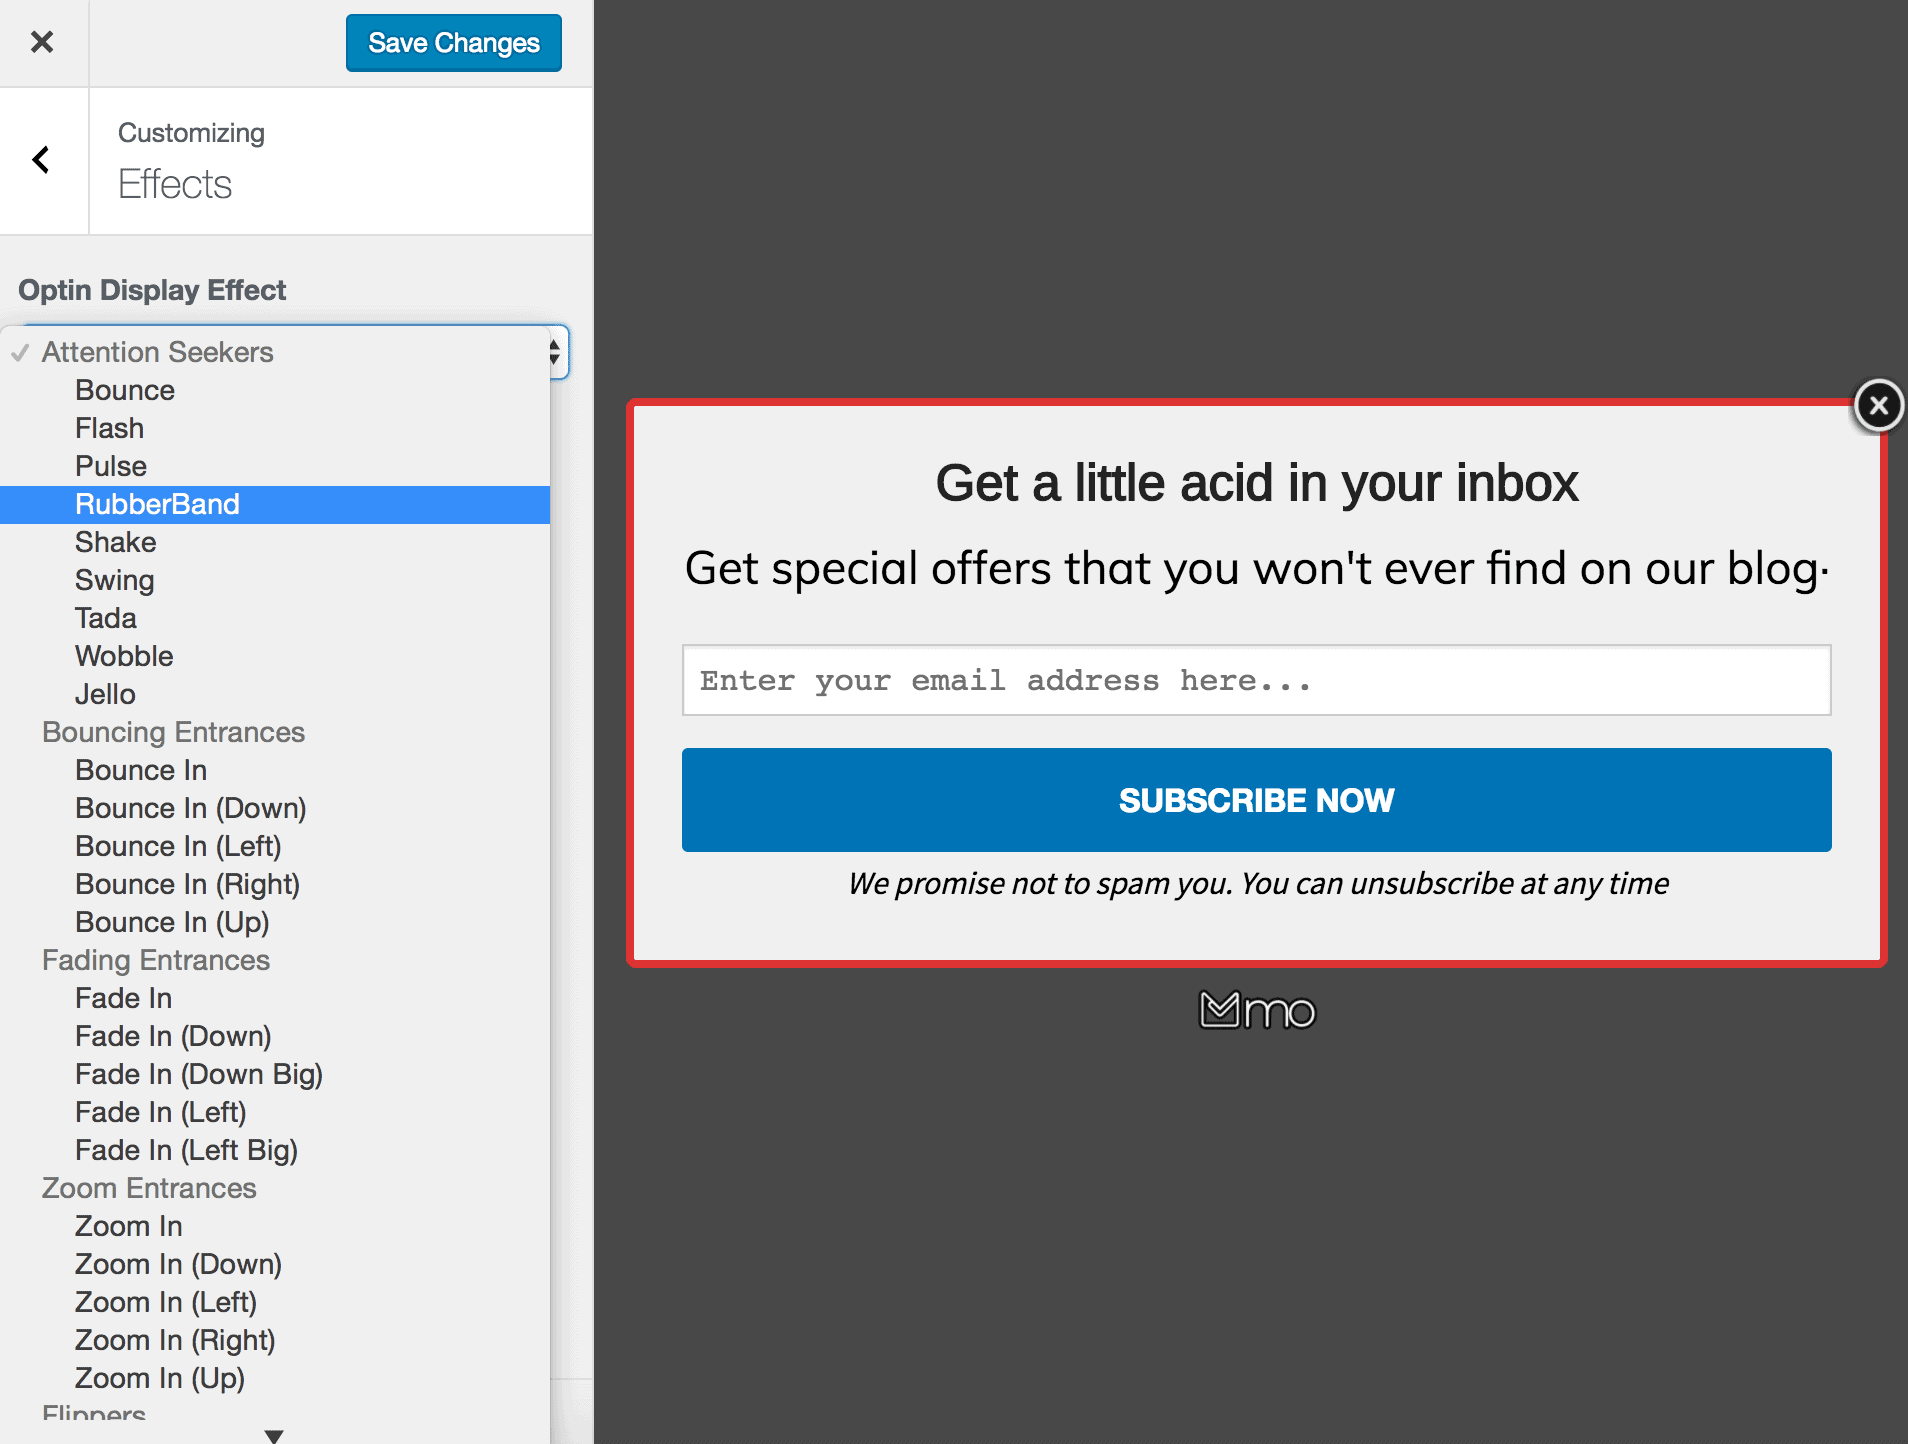
- The Effects panel (available in the PRO and Agency plan) allows you to add CSS3 animation effects that will capture your visitors’ attention and bring awareness to your optin campaigns.
-
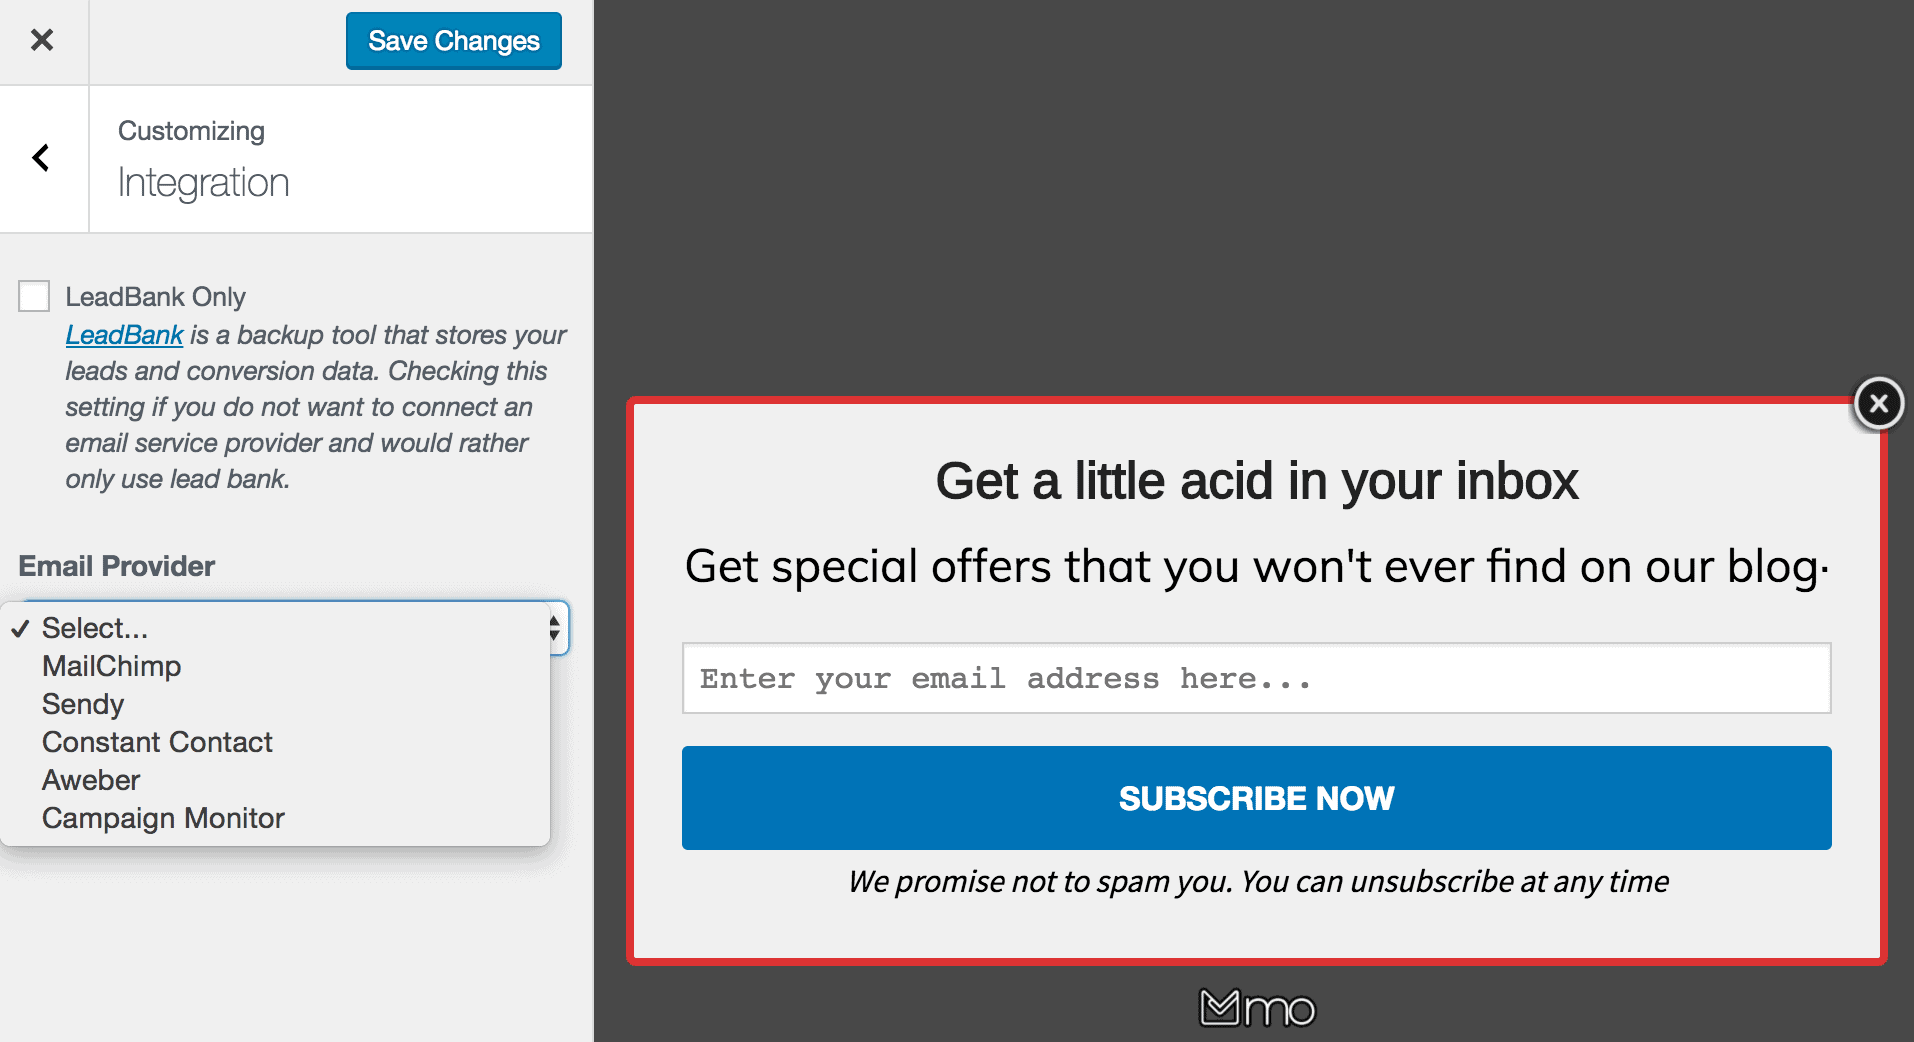
- The Integration panel allows you to select the email marketing service provider and list to store your leads/conversions/subscribers. You could also use our MailOptin Leads feature to store your leads within MailOptin without needing an email service provider like MailChimp.
-
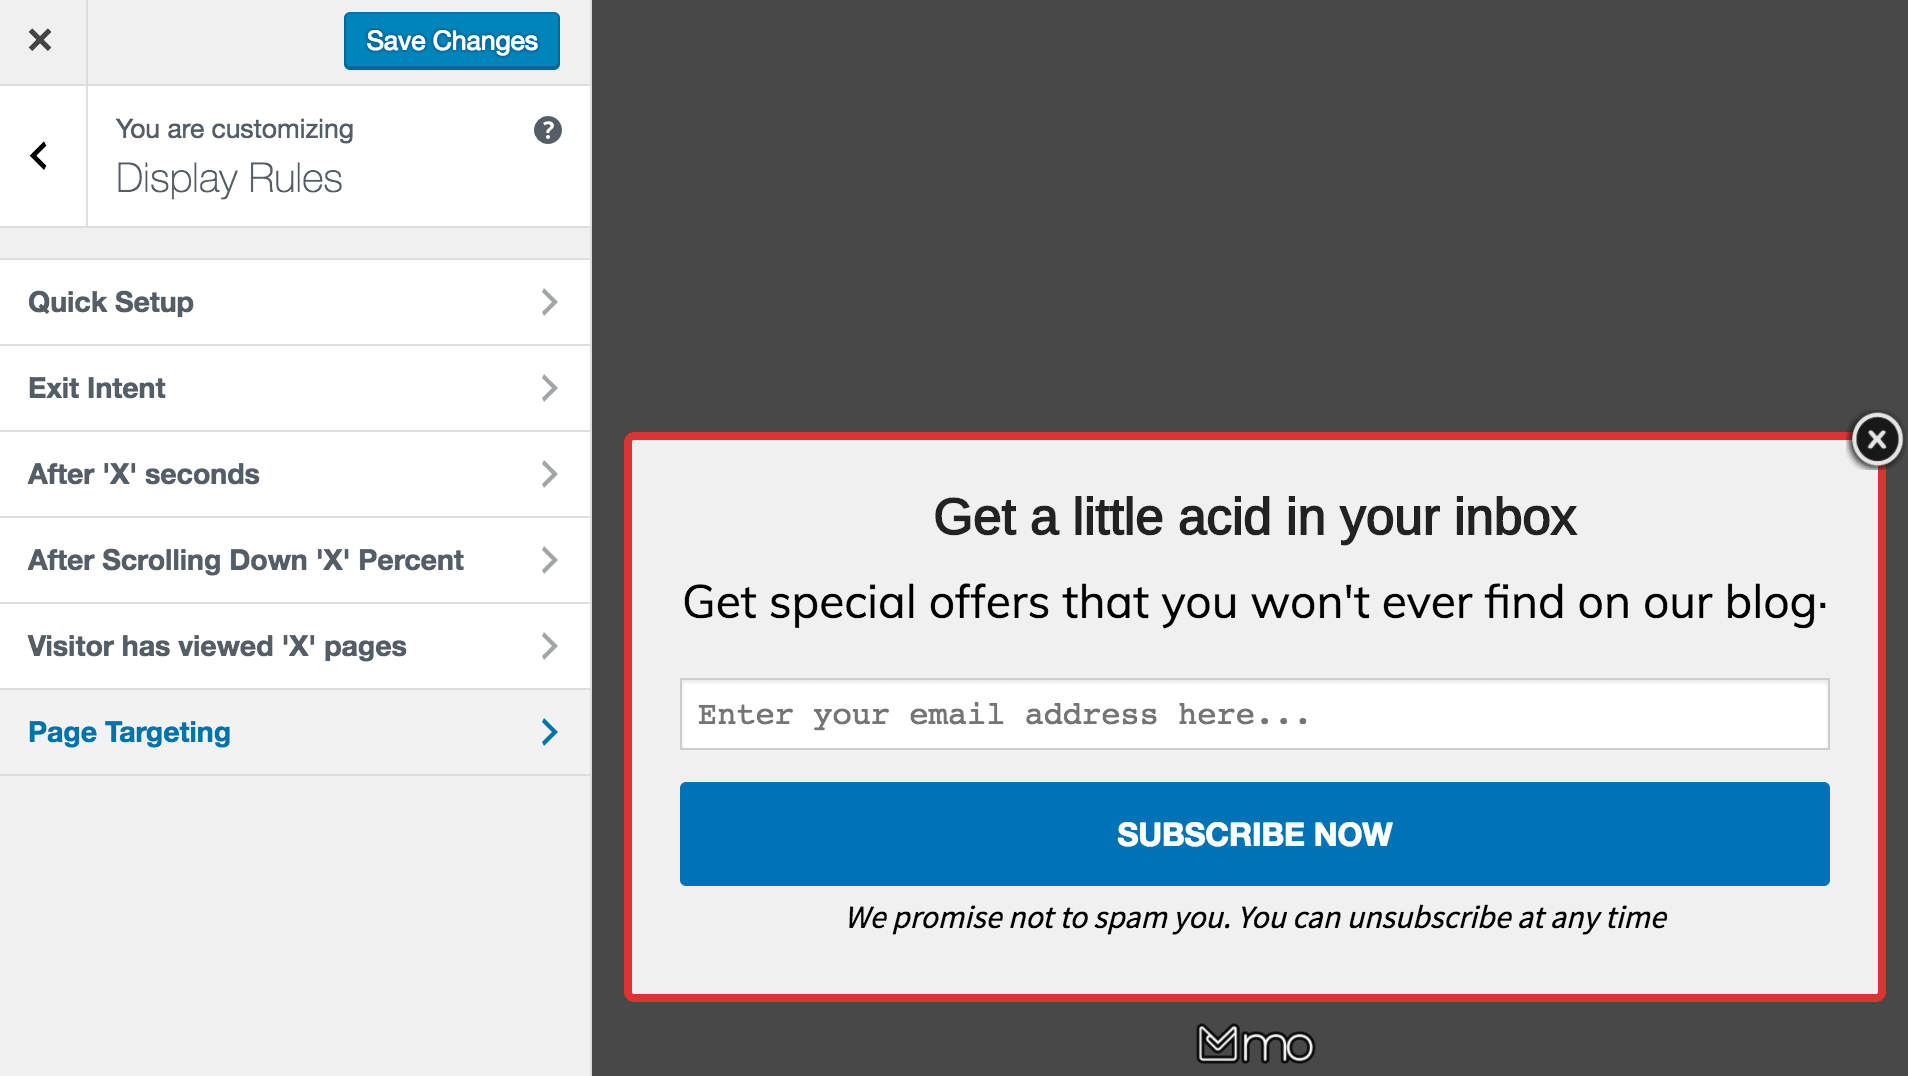
- And finally, the Display Rules panel gives you fine-grain control of how your optin campaign will be displayed, such as the specific post(s) and/or pages(s) and/or custom post types, activities, or events that will trigger the optin, e.g., scroll, exit intent, time on site, page views, etc.